

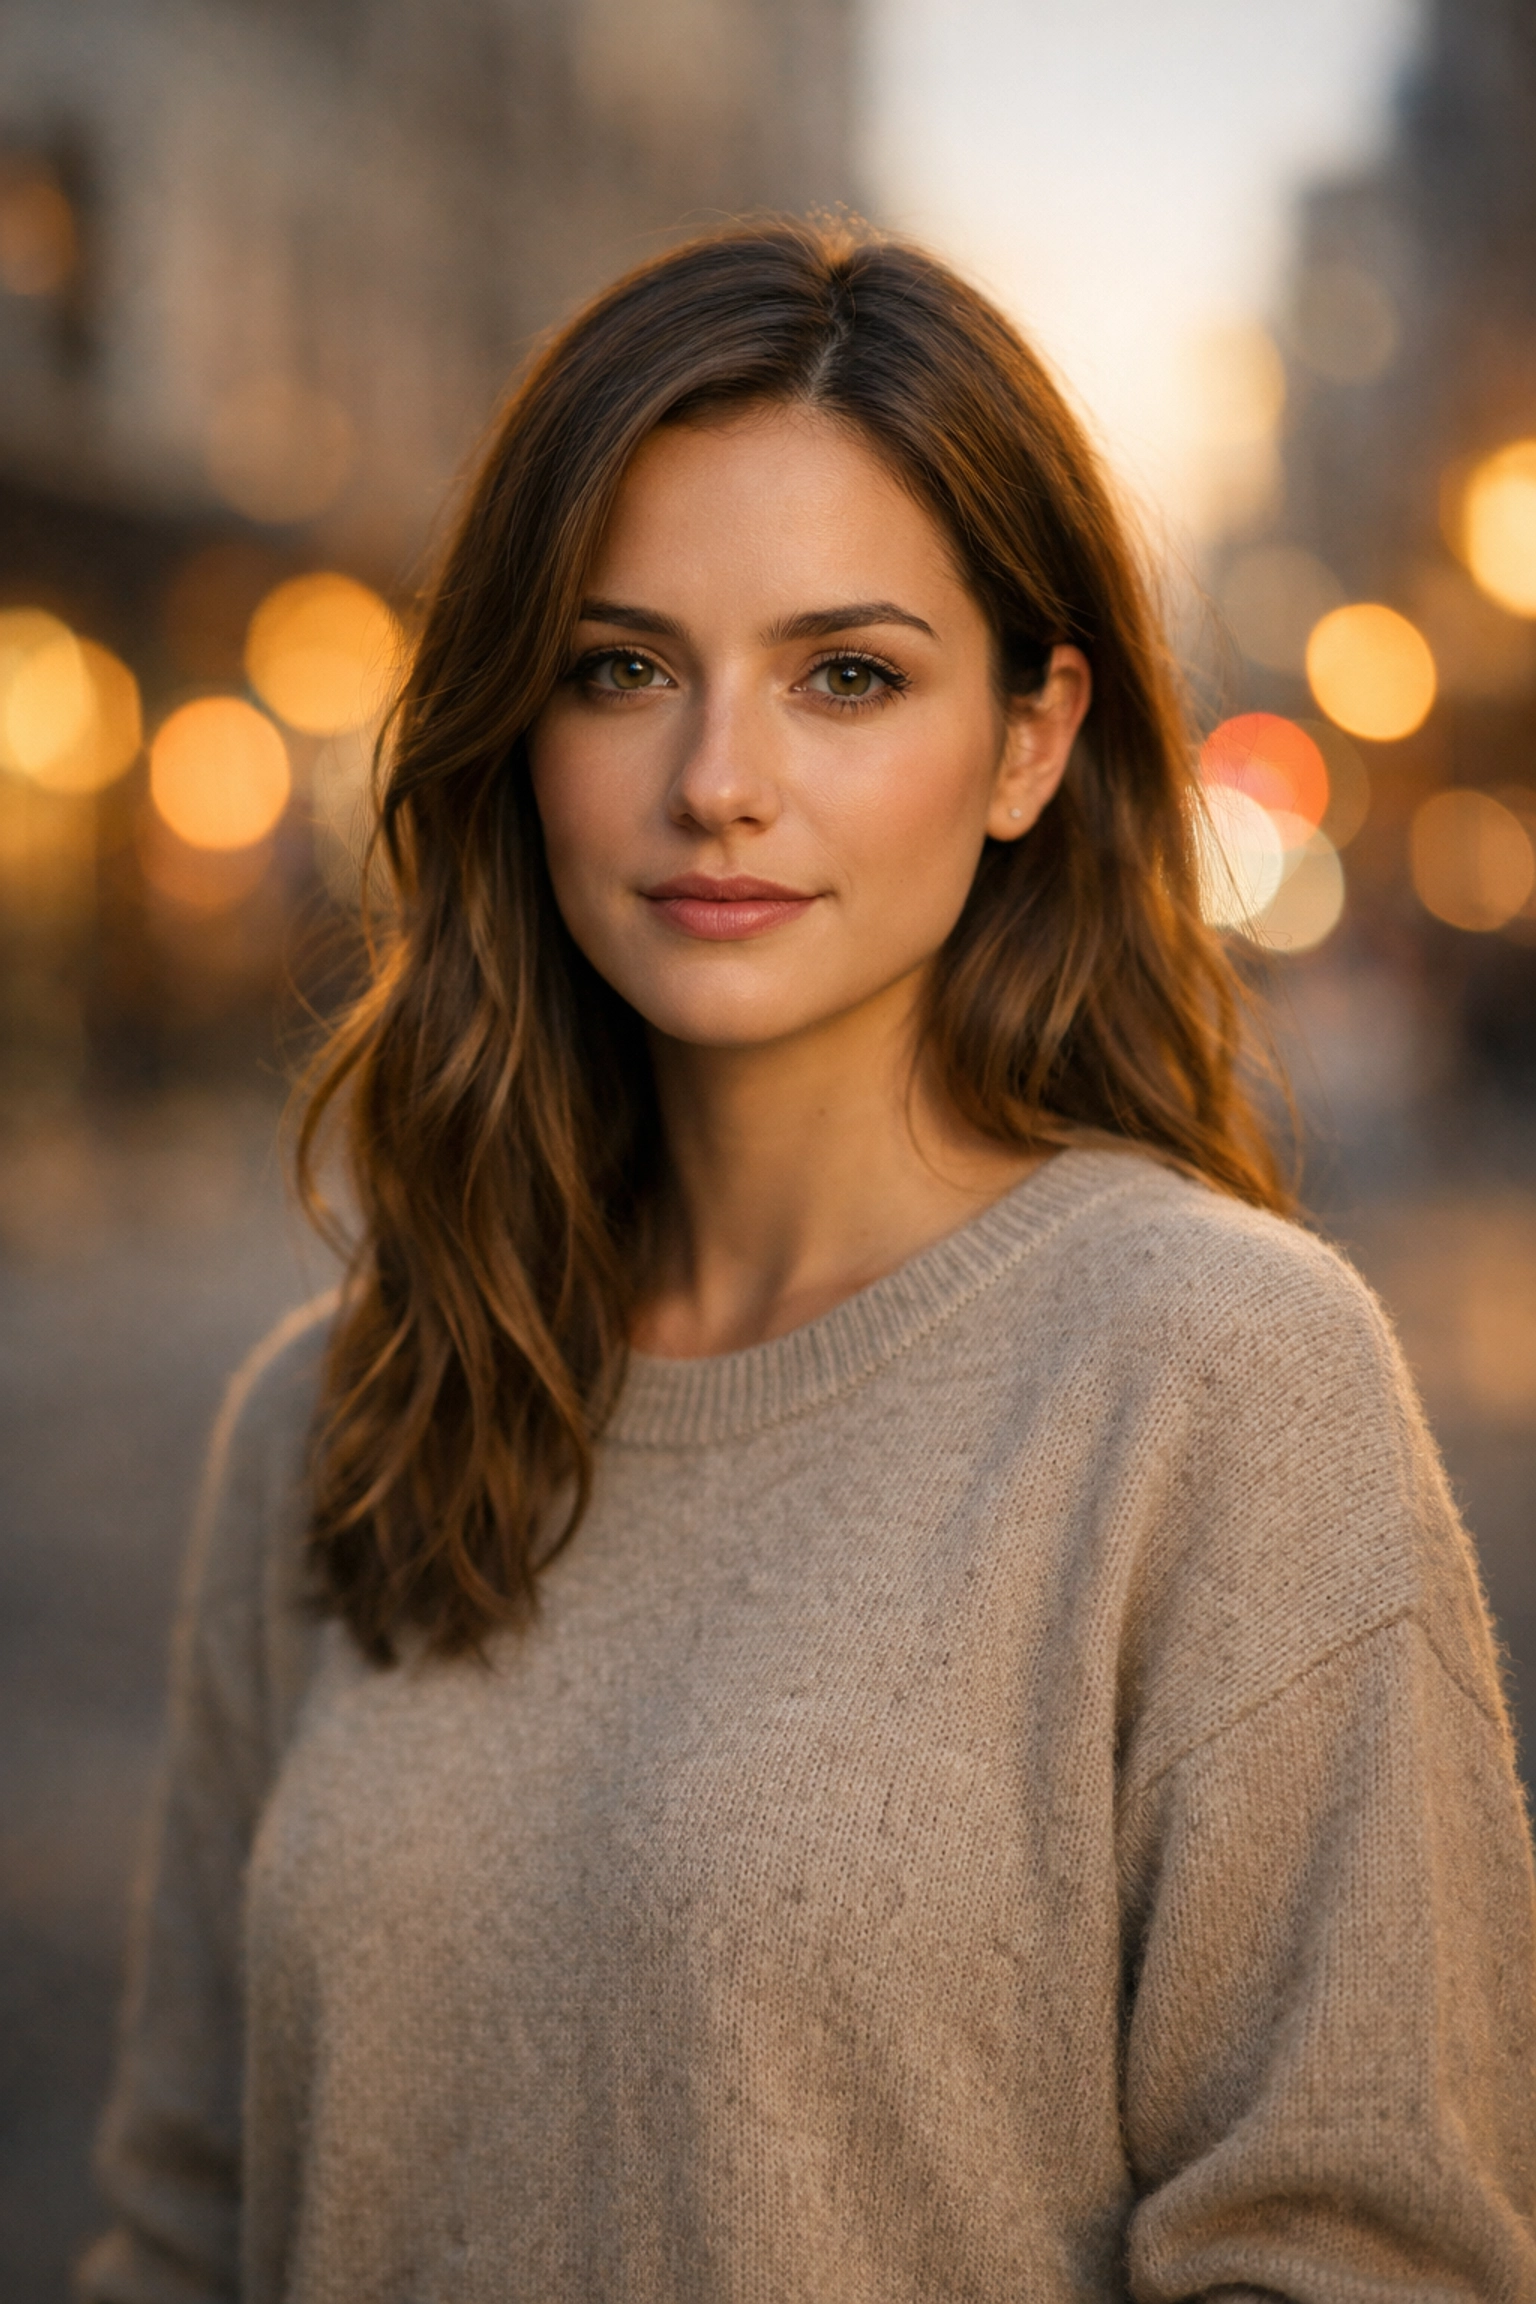
Let’s be honest: taking a portrait should be easy, right? You have a person, you have a camera, and you click the button. But then you get home, load the photos onto your computer, and realize your subject looks like they have a telephone pole growing out of their head, or their eyes are as blurry as a Bigfoot sighting.
Portrait photography is a deceptive beast. It looks simple on the surface, but it’s actually a complex dance of psychology, technical settings, and environmental awareness. If you’ve been feeling like your portraits are "just okay" instead of "wow," you’re probably falling into a few common traps.
At Shut Your Aperture, we believe in keeping things simple but effective. You don't need a $10,000 kit to take a world-class portrait, but you do need to stop making these seven common mistakes.
1. The "Wing It" Mentality (Skipping Pre-Production)
The biggest mistake happens before you even take your lens cap off. A lot of photographers think that "authenticity" means showing up to a location they’ve never seen and hoping for the best. This isn't being an artist; it’s being unprepared.
When you don’t scout your location, you’re at the mercy of the environment. You might show up at 2:00 PM only to realize the sun is bouncing off a glass building directly into your subject’s face, causing them to squint like they’re looking into a supernova. Or worse, the "perfect park" you found online is actually under construction and surrounded by orange mesh fencing.
How to Fix It:
Treat your shoot like a mission. Visit the location a few days prior at the exact time you plan to shoot. Look for where the light falls. Is there shade? Is the background too busy? Knowing the terrain allows you to focus entirely on your subject during the shoot rather than scrambling to find a spot that doesn't look like a dumpster fire. If you’re looking for more general guidance on getting the basics right, check out our guide on mastering photography 10 essential tips.
2. Ignoring the "Background Noise"
We’ve all done it. You’re so focused on the subject’s smile and the catchlight in their eyes that you completely miss the trash can, the fire hydrant, or the literal branch poking out from behind their ear. This is called "merging," and it’s the silent killer of great portraits.
Your brain is very good at filtering out junk in real life, but the camera sensor is an unbiased witness. It sees everything. If your background is cluttered, it pulls the viewer's eye away from the person: which is the whole point of a portrait.
How to Fix It:
Slow down. Before you press the shutter, do a "perimeter check" of the frame. Look at the edges. Look directly behind the subject's head. If there’s something distracting, move the subject or move yourself. Sometimes, just stepping two feet to the left can transform a messy background into a clean, professional-looking canvas.
If you do end up with a bit of clutter, tools like Luminar are incredible for cleaning up distractions in post-processing without making the photo look fake. You can also learn a lot about framing by looking at how the pros do it, like in these lessons in landscape photography from Peter Lik: the principles of "clean frames" apply everywhere.
3. Sloppy Cropping and the "Dead Space" Trap
Composition in portraits is about balance. A common mistake is leaving way too much "dead space" above the subject’s head. This makes the person look like they’re sinking to the bottom of the frame or, worse, like they’re accidentally included in a photo of a wall.
Another classic error is "amputating" your subjects. If you crop a photo exactly at a joint: the wrist, the elbow, the knees: it creates an uncomfortable optical illusion where the person looks like they’re missing limbs.
How to Fix It:
Follow the "Rule of Thirds," but don't be a slave to it. Generally, you want the eyes to be in the upper third of the frame. If you're doing a tight headshot, fill the frame. Don't be afraid to cut off the very top of the hair if it means getting more detail in the face.
When it comes to limbs, the rule is simple: crop mid-bone, never at the joint. Crop at the mid-thigh or the mid-forearm. It looks more natural and less like a surgical accident. If you're struggling with composition in general, you might find similarities in the 7 mistakes you’re making with landscape photography.
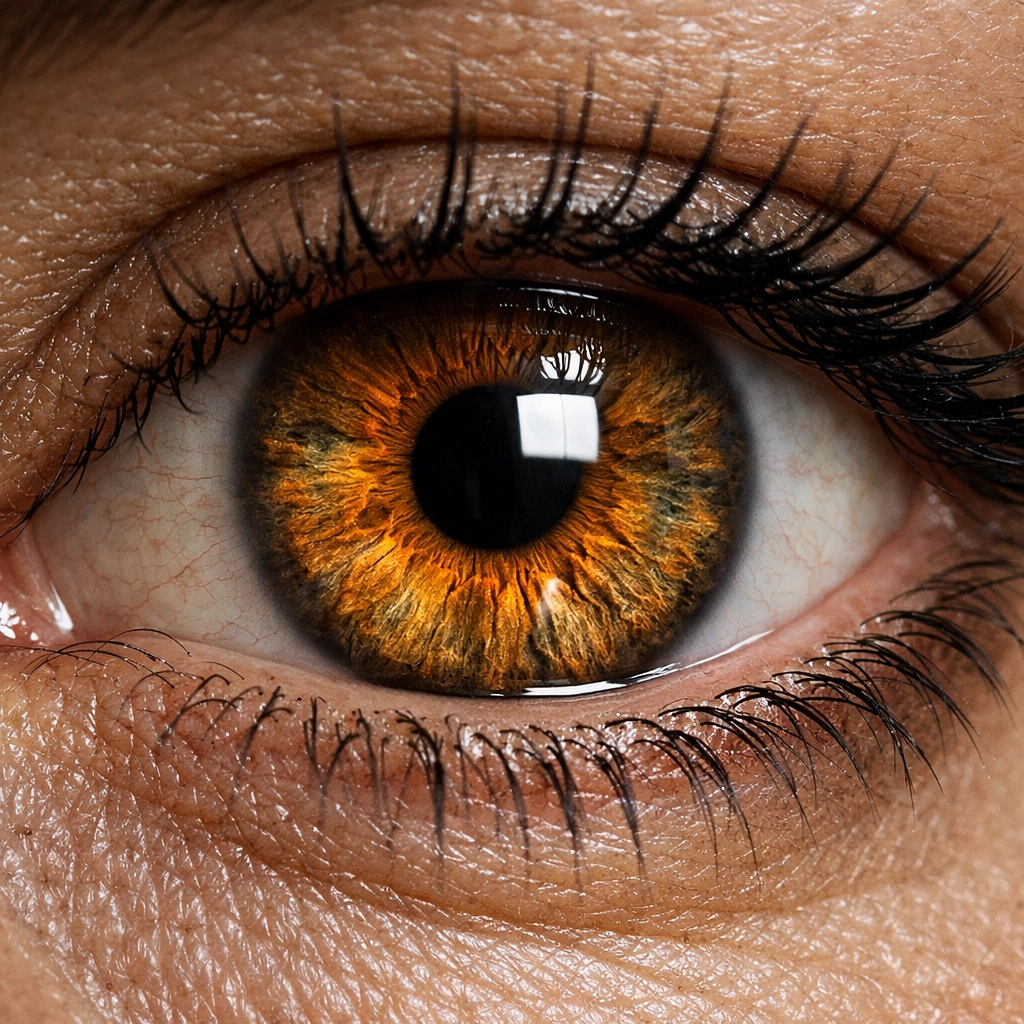
4. Missing the "Soul" (Focusing on the Wrong Spot)
In portraiture, the eyes aren't just the window to the soul; they are the mandatory point of focus. If the tip of the nose is sharp but the eyes are soft, the photo is a "delete." Our brains are hardwired to look at eyes first. When they aren't sharp, the viewer feels a subconscious disconnect from the image.
With modern mirrorless cameras having "Eye-AF," this is getting easier, but many people still struggle: especially when shooting with a wide aperture like f/1.4 or f/1.8 where the depth of field is razor-thin.
How to Fix It:
If your camera has Eye-AF, turn it on and trust it. If you’re rocking an older DSLR, use a single focus point and manually place it over the eye closest to the camera. Always focus on the closest eye. If the person is at an angle and you focus on the far eye, the image will feel "off."
For more technical deep dives on gear and focus, head over to PhotoGuides.org. They have some great breakdowns on how different lens focal lengths affect your focus plane.
5. The "Shutter Speed" Shakes
"But I’m holding the camera steady!" Sure you are. But is your subject a statue? Probably not. Even the slightest micro-movements from a person breathing or swaying can cause motion blur if your shutter speed is too slow.
Many beginners try to shoot portraits at 1/60th of a second to keep their ISO low, only to find that every single photo is just a tiny bit soft. That "softness" is usually just motion blur.
How to Fix It:
A good rule of thumb for portraits is to keep your shutter speed at least double your focal length. Shooting with an 85mm lens? Don't go below 1/200th. If you’re working with kids or someone who moves a lot, bump that up to 1/500th. It’s better to have a slightly grainier photo from a higher ISO than a blurry photo that you have to throw away.
Professional work, like the high-end imagery seen at Edin Fine Art, relies on tack-sharp execution. You can't fake sharpness in a large print.
6. Rigid Posing and the "Police Lineup" Look
Nothing kills the vibe of a portrait faster than telling someone to "just stand there and smile." Most people aren't professional models; they are awkward, they don't know what to do with their hands, and they are terrified of looking bad.
The "Police Lineup" mistake is when you have the subject stand square-on to the camera. This makes people look wider and more stiff. It lacks energy and depth.
How to Fix It:
Give them a job. Tell them to shift their weight to their back foot. Ask them to put a hand in a pocket (but leave the thumb out!). Give them something to lean against.
One of the best tips for hands is the "staircase" method. Don't let fingers bunch up into a "claw." Ask them to relax their hands so the fingers are at slightly different levels. It looks elegant and natural.
Remember, your job is to be a director as much as a photographer. If you need inspiration on how to direct "luxury" looks, check out the compositions in luxury dining and exclusive restaurants: the way people are positioned in high-end environments is a masterclass in subtle posing.

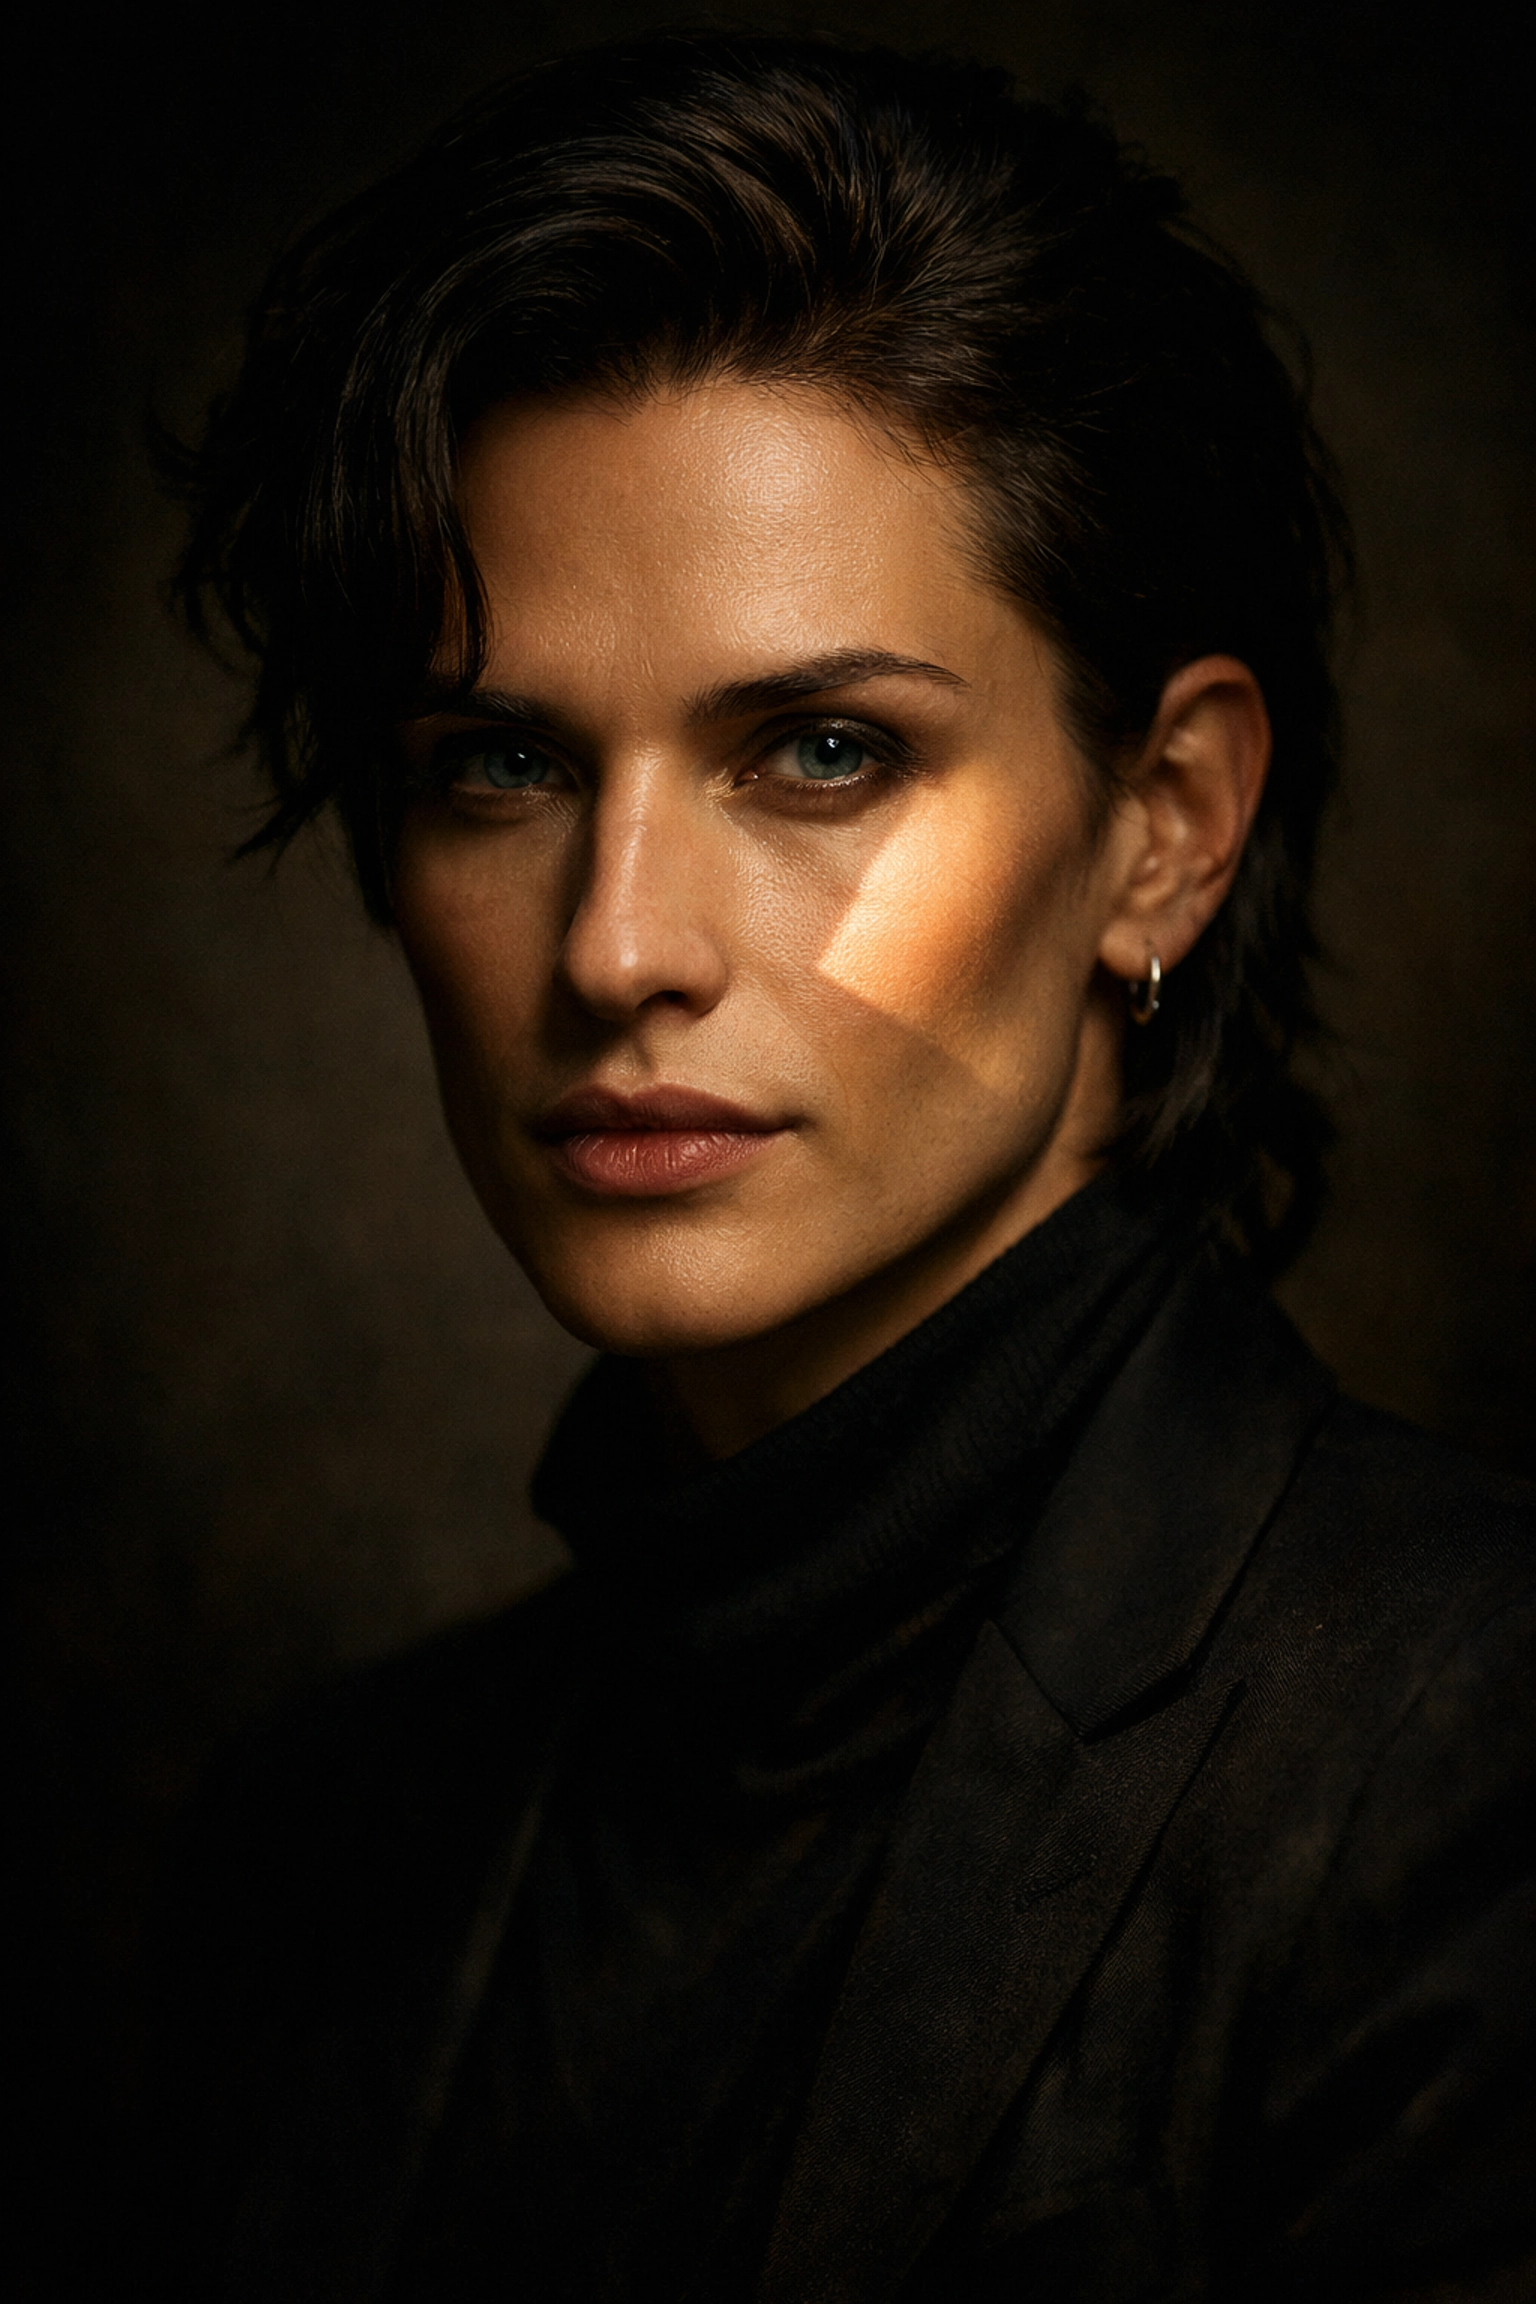
7. Being Afraid of "Bad" Light
The final mistake is only shooting when the light is "perfect" or, conversely, not realizing when the light is terrible. Mid-day sun creates "raccoon eyes" (dark shadows in the eye sockets) and harsh hotspots on the skin. On the flip side, some photographers are so afraid of shadows that they use a direct flash that flattens the face and makes the subject look like a deer in headlights.
How to Fix It:
Learn to see light, not just brightness. If you're stuck in the mid-day sun, move to the "open shade": the edge of a shadow cast by a building or a tree. The light there is soft, directional, and flattering.
If you are using artificial light, move it off-camera. Lighting from the side creates highlights and shadows that define the bone structure of the face. Understanding the role of luminosity is just as important in portraits as it is in real estate or landscape. Light creates shape. Without shape, you just have a flat, boring face.
Bonus Tip: The Power of Post-Processing
Even if you nail all seven of these, a RAW file is just a flat starting point. Don't make the mistake of thinking "SOOC" (Straight Out Of Camera) is the only way to be a "real" photographer. Every great portrait you’ve ever admired has been edited.
Using software like Luminar allows you to subtly enhance the eyes, soften skin texture without losing detail, and fix the color balance. The goal isn't to change how the person looks, but to make the photo look the way your eyes saw it in person.
Bringing It All Together
Portrait photography is a journey. You’re going to mess up. You’re going to forget to check the background. You’re going to accidentally crop someone’s hand off. It’s fine. The key is to recognize these mistakes and fix them one by one.
Start by focusing on just one of these fixes during your next shoot. Maybe this weekend you focus entirely on getting the eyes sharp. Next weekend, focus on the background. Before you know it, these "fixes" will become second nature, and you’ll be taking portraits that actually mean something.
For more professional insights and to see how high-end photography is executed in the real world, you can always browse through Edin Studios or check out some of the techniques behind Peter Lik’s work. While Lik is known for landscapes, his mastery of light and composition is something every portrait photographer should study.
Now, get out there, stop overthinking it, and go shoot someone (with your camera, obviously).
If you found this helpful, Sonny, our Social Media Manager, will be sharing some "behind the scenes" clips of these techniques in action on our Instagram: so keep an eye out for those and link back here when you need a refresher on the details!
Photography doesn't have to be complicated. Just shut your aperture (or open it wide for that sweet bokeh) and start creating. Whether you're interested in cinematic techniques for property or just taking a better photo of your kids, the rules of great imagery remain the same. Keep it simple, keep it clean, and always, always focus on the eyes.


