

Let’s be honest: taking a portrait is easy, but making a great portrait is hard. We’ve all been there. You have a beautiful model, great light, and a killer location. You press the shutter, look at the back of the screen, and… it’s just okay. Or worse, it’s a disaster.
Portrait photography is a psychological game as much as it is a technical one. You aren’t just managing apertures and shutter speeds; you’re managing human energy, distracting backgrounds, and the weird way a 35mm lens makes a nose look twice its actual size.
If your portraits feel a little "blah," don’t worry. You’re likely making one of these seven common mistakes. The good news? They are incredibly easy to fix. I’ve teamed up with Sonny, our social media manager, to ensure these tips are as digestible as they are effective, so expect to see some bite-sized versions of these fixes over on our Instagram soon.
Here are the seven mistakes you’re making with your portrait photography and exactly how to fix them today.
1. The "Tree-Growing-Out-of-the-Head" Syndrome (Distracting Backgrounds)
One of the biggest mistakes beginners make is focusing so hard on the subject that they completely forget about what’s behind them. You might capture a genuine smile, but if there is a telephone pole looking like it's growing out of your subject’s left ear, the photo is ruined.
Distracting backgrounds pull the viewer's eye away from the person. Cluttered streets, bright red exit signs, or messy interiors create visual "noise."
The Fix:
Before you even lift your camera, scout the area. Look for clean lines and simple textures. If you’re stuck in a messy location, use a wider aperture (like f/1.8 or f/2.8) to blur that background into oblivion. This creates a beautiful "bokeh" effect that makes your subject pop.
If you want to learn more about the basics of framing and composition to avoid these traps, check out our guide on mastering photography with 10 essential tips.
2. The "Awkward Turtle" (Bad Posing and Hand Placement)
Most people aren't professional models. When you put a camera in front of someone, they suddenly forget what to do with their limbs. They stand "square-on" to the camera, which makes them look wider and more rigid. Then there are the hands: often referred to as "the claw": where fingers look stiff and unnatural.
The Fix:
Stop expecting your subject to know what to do. You are the director.
- The Angle: Ask your subject to turn their shoulders about 45 degrees away from the lens. This creates a slimmer, more dynamic profile.
- The Hands: Give the hands a job. Have them hold a coffee cup, touch their hair lightly, or put a hand in a pocket. If the hands are visible, ensure they are "soft": fingers slightly curved and staggered.
- The Psychology: Keep talking. Silence is the enemy of a relaxed subject. For more professional advice on guiding subjects, I always recommend checking out the posing guides at PhotoGuides.org.
3. Using the Wrong Focal Length (The "Funko Pop" Effect)
We’ve all seen it: a portrait where the person’s nose looks huge and their ears seem to disappear. This usually happens because you’re using a wide-angle lens (anything wider than 50mm) and standing too close.
While wide-angle lenses are great for landscape photography, they distort features when used for tight portraits.
The Fix:
Switch to a "portrait" focal length. Generally, 85mm to 135mm is the "sweet spot" for flattering faces. These longer focal lengths provide "compression," which flattens features in a way that is much more pleasing to the eye. If you only have a 50mm lens, that’s fine, but give your subject some breathing room. Don’t try to do a tight headshot with it unless you want that distorted look.

4. Incorrect Exposure and "Muddy" Skin Tones
Exposure is tricky in portraits because skin tones are sensitive. Overexpose, and you lose the texture of the skin (the "blown out" look). Underexpose, and the skin looks "muddy" and grey.
Many photographers rely too heavily on their camera's "Auto" mode, which often gets confused by the light reflecting off different skin tones or bright backgrounds.
The Fix:
Learn to read your histogram. You want a nice "mountain" in the middle, not pushed up against the right side (overexposed) or the left (underexposed).
If you do miss the mark in-camera, don't panic. Using an AI-powered editor like Luminar can help you recover those details and relight the face naturally. The "Face AI" tools in Luminar are a lifesaver for fixing exposure issues on the fly without making the subject look like a plastic doll. Understanding the role of luminosity is just as vital in portraits as it is in real estate or landscape work.
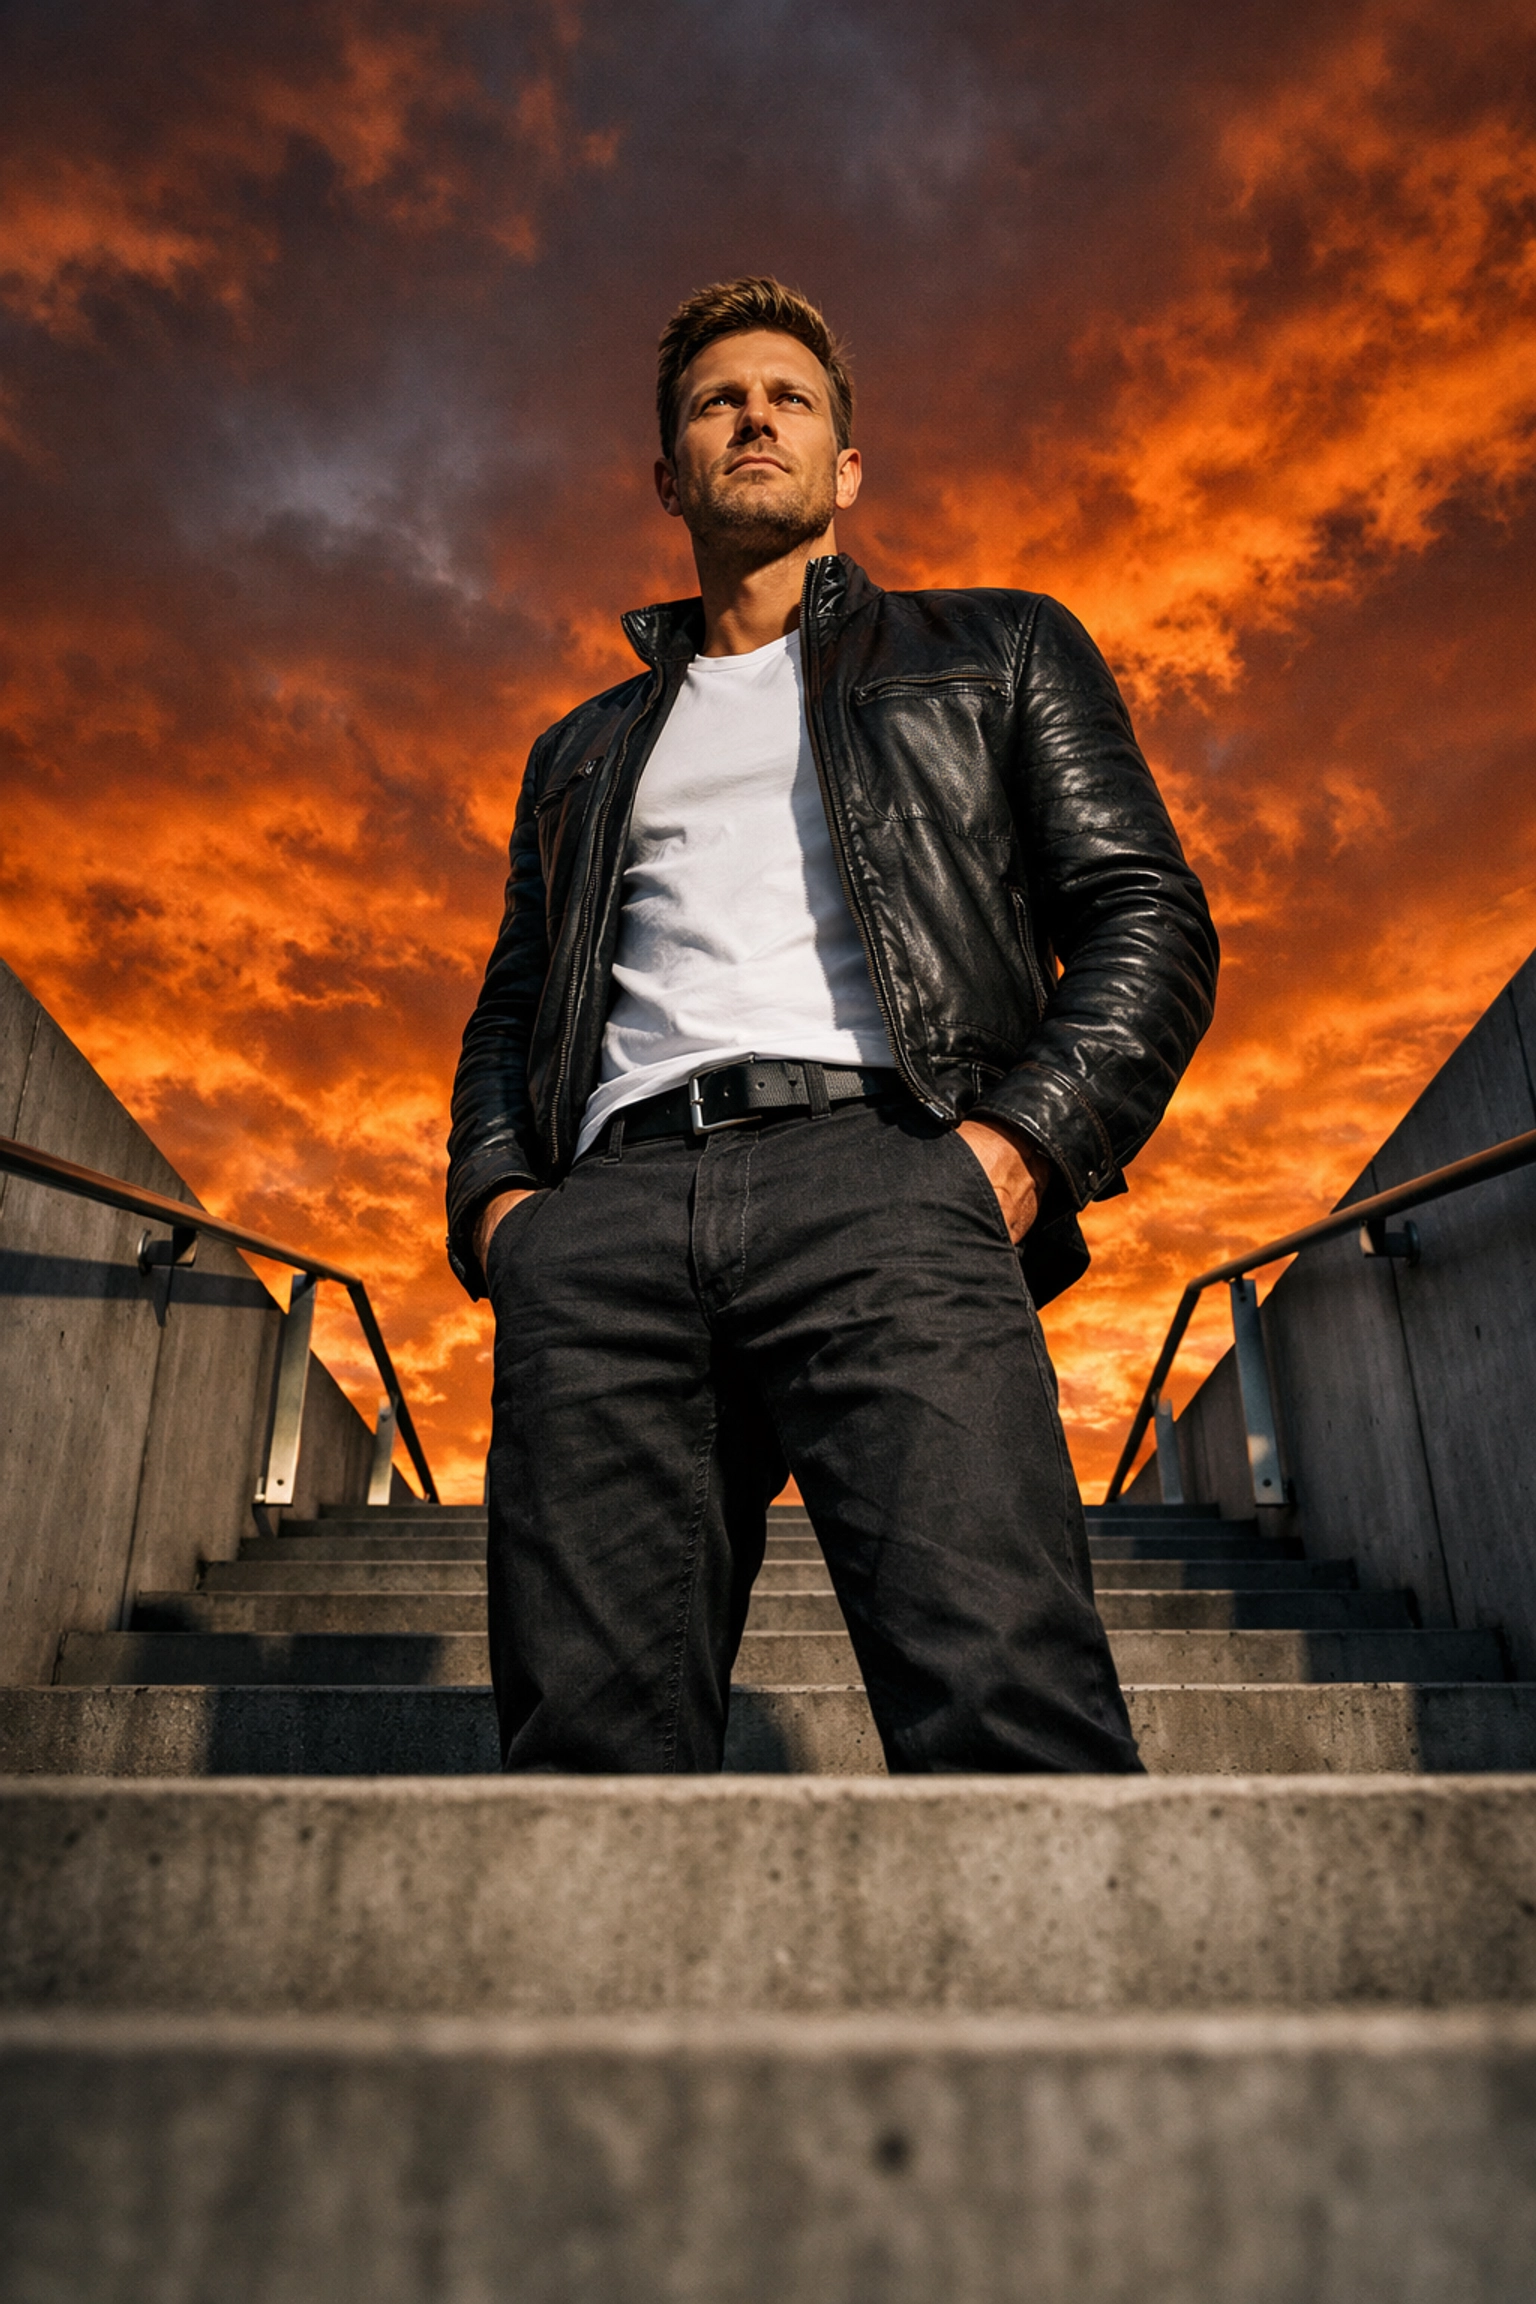
5. Playing it Safe at Eye Level
Most people take portraits from: you guessed it: eye level. It’s what we see every day. While it’s a safe bet, it’s also the fastest way to make your work look "standard" or boring.
If you look at the work of iconic photographers like Peter Lik, you'll see they are constantly manipulating perspectives to create a sense of awe. You should be doing the same with your human subjects.
The Fix:
Move your feet. Get low and shoot slightly upward to give your subject a sense of power and presence. Or, get a stool and shoot from slightly above to create a more intimate, vulnerable look. Just a 6-inch change in height can completely change the mood of the photo.
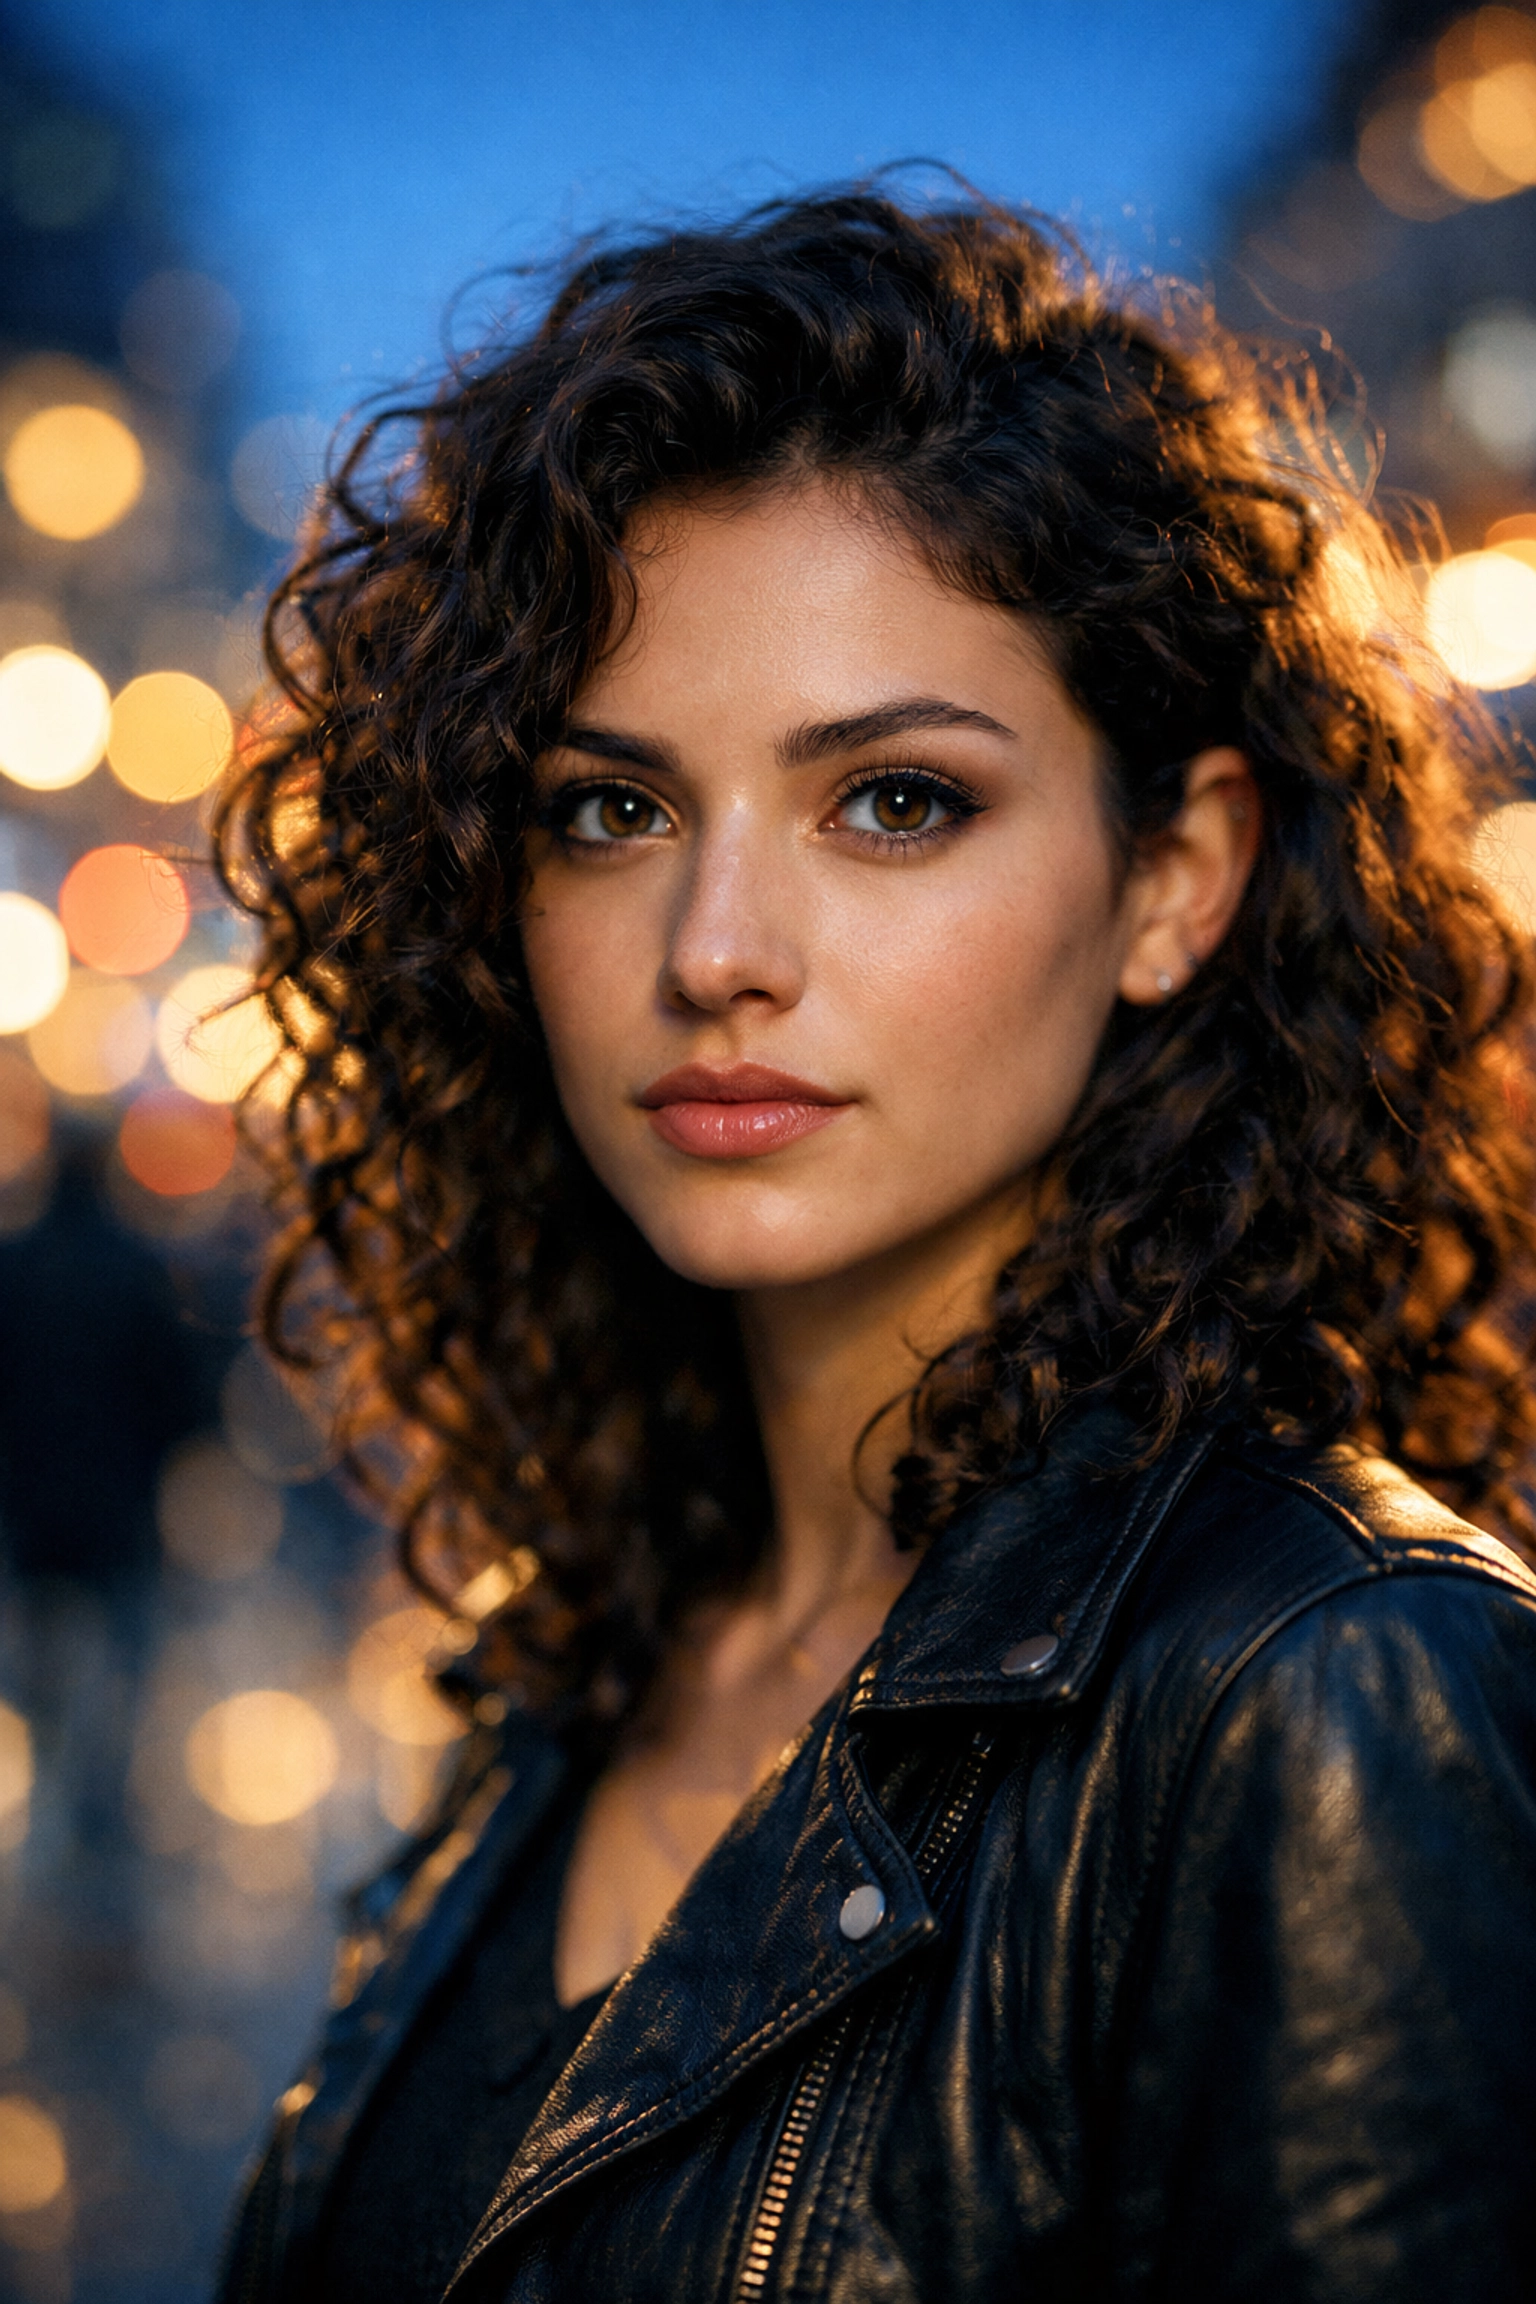
6. The "Invisible Man" (Lack of Subject Separation)
Have you ever taken a photo of someone in a dark jacket against a dark background? Suddenly, they are just a floating head. This is a lack of "separation." Without separation, the subject blends into the environment, and the image loses its 3D feel.
The Fix:
You need to create "rim light" or "hair light." If you’re using natural light, position the sun behind the subject (backlighting) to create a glowing outline around their hair and shoulders. This pulls them away from the background.
If you’re indoors, use a small lamp or a flash behind them. Also, consider color contrast. If the background is cool (blue/green), have your subject wear something warm (red/orange). For more on how shot composition affects the viewer's attraction to an image, read our piece on shot composition's impact.
7. Using a Slow Shutter Speed (The Micro-Blur)
This is the silent killer of portraits. You think the photo is sharp when looking at the tiny 3-inch screen on your camera, but when you get home and open it on your laptop, it’s slightly blurry.
Even if your subject is sitting still, they are breathing. Their eyes are micro-moving. If your shutter speed is too slow, you’ll lose that tack-sharp focus on the eyes that makes a portrait compelling.
The Fix:
A good rule of thumb for portraits is to keep your shutter speed at at least 1/250th of a second. If you’re using a long lens (like a 200mm), you might need to go even faster to compensate for "hand shake."
Don’t be afraid to bump up your ISO to achieve a faster shutter speed. Modern cameras handle "noise" incredibly well, and a slightly grainy sharp photo is always better than a clean blurry one. You can always check ProShoot.io for more technical gear specs if you're looking to upgrade to a camera with better high-ISO performance.

Putting it All Together: The Portrait Workflow
Now that you know the mistakes, how do you fix them "instantly"? It comes down to a mental checklist. Every time I set up a shot, I run through this:
- Background: Is there a trash can or a tree branch in a weird spot?
- Light: Where is my light coming from? Do I have separation?
- Lens: Am I zoomed in enough to be flattering?
- Settings: Is my shutter speed fast enough? Is my histogram healthy?
- The Human: Are they comfortable? Are their hands looking "clawy"?
If you can nail these five things, your portrait quality will skyrocket overnight.
Why Quality Gear Matters (But Isn't Everything)
While techniques are the most important part of the puzzle, having gear that encourages you to shoot more often is a close second. I’ve been playing around with the new Rewindpix setup lately. It’s a great example of gear that focuses on the essentials, allowing you to focus on the person in front of the lens rather than fiddling with a thousand menus.

Whether you’re using a high-end mirrorless setup or a compact Rewindpix, the rules of light and human interaction don't change.
Final Thoughts
Portrait photography is a journey of constant learning. Don't beat yourself up if your first few shoots feel clunky. Even the pros have days where they forget to check their shutter speed or don't notice a distracting sign in the background.
The key is to keep shooting and keep refining your "eye." If you’re looking for more inspiration on how to elevate your visual storytelling, take a look at how cinematic techniques can transform property showcases: the principles of lighting and mood are surprisingly similar to high-end portraiture.
And remember, once you've captured that perfect shot, don't let it sit on your hard drive. Use tools like Luminar to bring out the best in your subjects, and share your work with the world.
If you want to dive deeper into the artistic side of photography, I highly recommend reading about Peter Lik's creative process. While he is known for landscapes, his dedication to the "perfect shot" is a masterclass for any photographer.
Now, go grab your camera, find a patient friend, and go fix those mistakes!


