

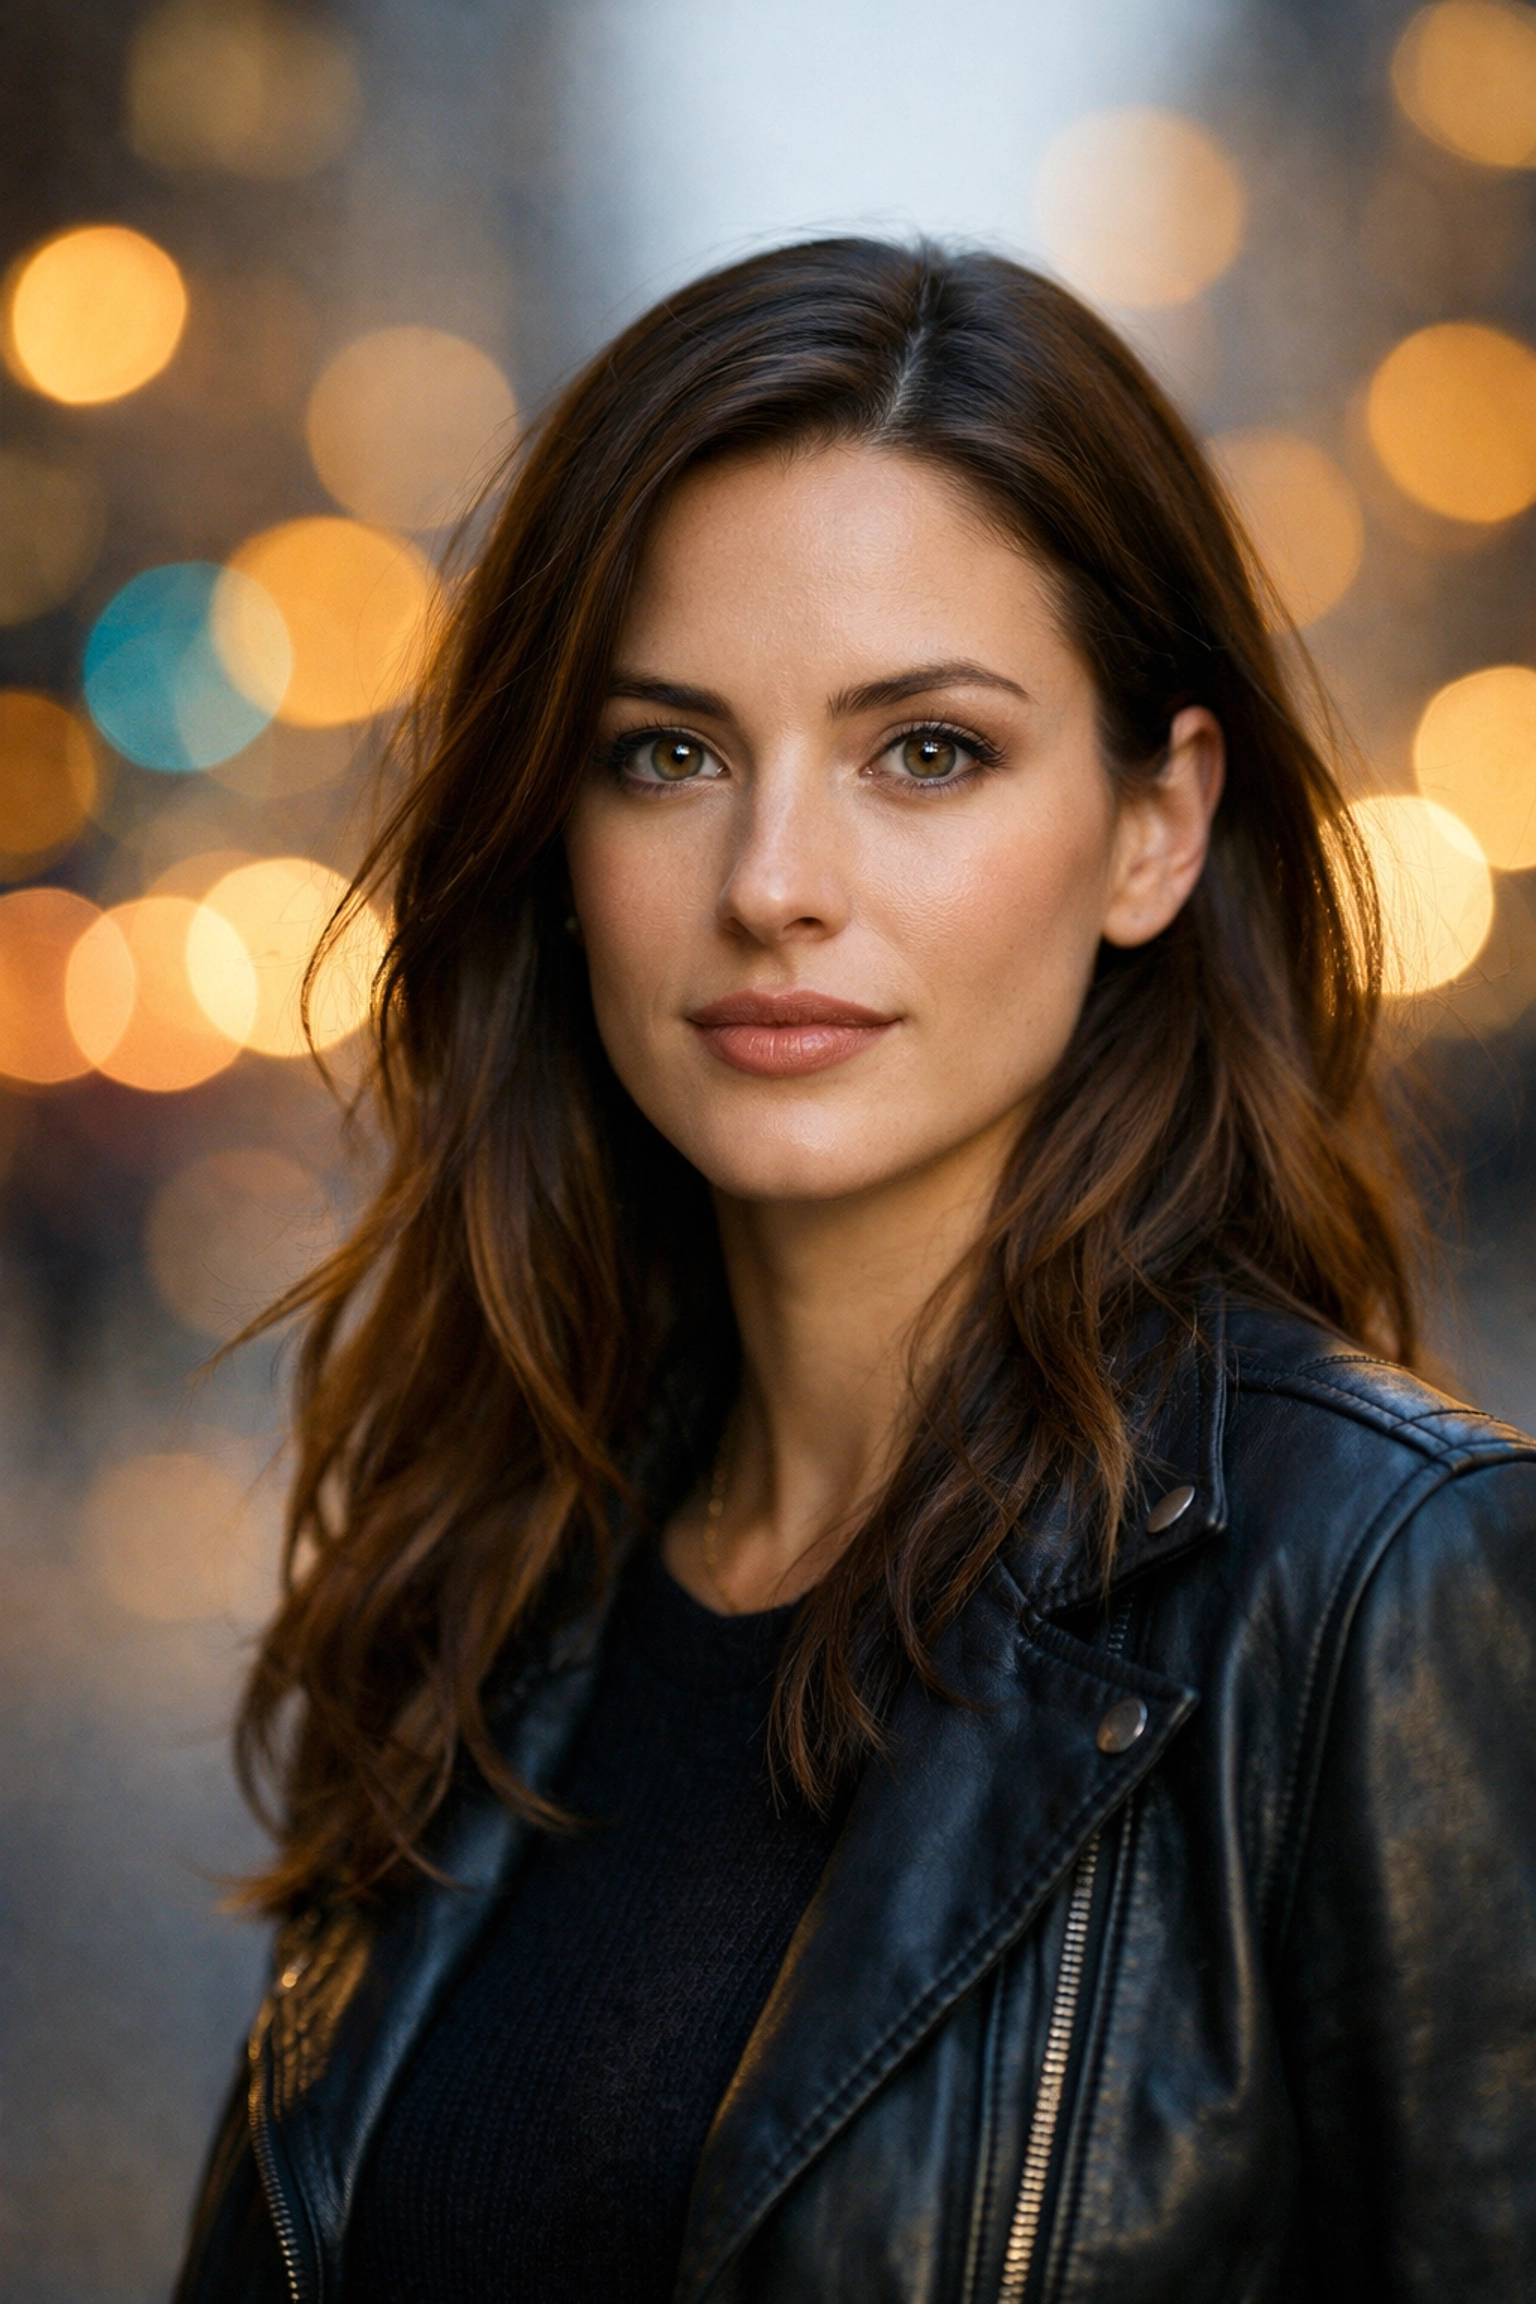
Let’s be honest: taking a photo of a person should be the easiest thing in the world. You have a subject, you have a camera, and you have a finger to press the shutter. Yet, somehow, we’ve all ended up with portraits where the person looks like they’re being held hostage, or worse, they have a literal tree growing out of their head.
Portrait photography is a strange beast. It’s part technical skill, part psychology, and part "hoping the wind doesn't blow at the wrong moment." If you’ve been feeling like your portraits are lacking that oomph, you aren't alone. Even pros slip up. But the difference between a snapshot and a masterpiece often comes down to a few repeatable techniques, and avoiding the traps that everyone falls into.
At Shut Your Aperture, we want you to stop taking "okay" photos and start taking "wow" photos. Whether you are using the latest AI-integrated mirrorless cameras or an old DSLR you found in the attic, these seven mistakes are likely holding you back.
Here is how to fix them and finally get the shots you’re proud to share.
1. The "Tree-Head" Syndrome (Distracting Backgrounds)
We’ve all seen it. A beautiful model, perfect lighting, but there is a telephone pole sticking out of their left ear. Or maybe there’s a bright red trash can in the distance that draws the eye away from your subject’s face.
The Mistake: Beginner photographers often focus so intensely on the subject that they completely forget to look at what’s behind the subject. You might think that shooting at f/1.8 will blur everything into oblivion, but high-contrast clutter or "foreground junk" will still show up as distracting blobs of color.
The Fix: Simplicity is your best friend. Before you even lift the camera, do a 360-degree scan of the environment. Look for clean lines, neutral colors, or textures that complement the subject's outfit. If you’re stuck in a cluttered area, use your subject's body to block the most distracting elements.
If the background is unavoidable, try using controlled lighting. A rim light (placing a light behind the subject) can create a "halo" effect that separates them from a messy background, making them pop regardless of the chaos behind them. If you're looking for more ways to level up your technical game, check out the resources section on our site.
2. The "Deer in Headlights" Pose
Unless you are shooting a professional model, most people don’t know what to do with their bodies. If you just stand there and wait for them to "look natural," you’re going to get a very stiff, very awkward photo.
The Mistake: Shooting your subject "square-on." When a person stands directly facing the camera with their shoulders parallel to the lens, it makes them look wider and more static. It also leads to the dreaded "hand problem": where people’s hands look like stiff claws or awkward appendages they wish they could detach.
The Fix: Give direction! Instead of having them face you directly, ask them to turn their shoulders about 30 to 45 degrees away from the lens. This creates a more slimming, dynamic profile.
When it comes to hands, the rule is simple: if it bends, bend it. Ask your subject to put a hand in a pocket, lightly touch their hair, or hold a prop. For a more elegant look, suggest "staircase fingers": where the fingers are slightly staggered rather than bunched together. You are the director; don’t be afraid to speak up. For more tips on directing and vision, browse through PhotoGuides.org.
3. The Eye-Level Trap
Most people view the world from about five to six feet off the ground. If you take every photo from your own standing height, your photos are going to look like every other photo ever taken. It’s boring.
The Mistake: Only shooting from your own eye level. This perspective lacks depth and fails to tell a compelling story. It’s the "standard" view, and standard is the enemy of great art.
The Fix: Move your feet! Get low, or get high. Shooting from a lower angle can make your subject look powerful and heroic. Shooting from slightly above can make them look more approachable and can actually be very flattering for the jawline (it forces them to look up, stretching the neck).
Experiment with different perspectives. Have your subject sit on the ground while you shoot from above, or have them stand on a ledge while you shoot from below. Breaking the eye-level habit is one of the fastest ways to get better at photography, whether you're shooting people or mountains.

4. The "Headspace" Odyssey (Poor Composition)
Composition is where most portraits live or die. One of the biggest tells of an amateur photographer is how they frame the person within the rectangle.
The Mistake: Leaving way too much empty space above the subject’s head. If there is a massive gap between the top of their hair and the top of the frame, the subject looks like they’re sinking out of the photo. Conversely, cutting off people at the joints (knees, elbows, wrists) creates a "ghost limb" effect that feels jarring to the viewer.
The Fix: Tighten it up. Use the Rule of Thirds to place your subject’s eyes in the upper third of the frame. If you’re going for a close-up, don’t be afraid to crop into the top of the hair: it’s much better than having a foot of empty wall above them.
Always remember: crop at the "meat," not the "joint." If you need to crop a leg, do it at the mid-thigh or mid-calf. Never crop at the knee. If you want to see how these compositional rules apply to other niches, take a look at our real estate photography tips which also rely heavily on clean framing.
5. The "Big Nose" Distortion (Wrong Focal Length)
Lenses are like funhouse mirrors; they change the way things look based on their focal length. If you use the wrong one for a portrait, your subject isn't going to be happy with the result.
The Mistake: Using a wide-angle lens (anything wider than 50mm) too close to the subject’s face. Wide lenses exaggerate whatever is closest to them. If you’re two feet away with a 24mm lens, your subject’s nose is going to look twice its actual size, and their ears will seem to disappear into the distance. It’s unflattering and technically incorrect for traditional portraiture.
The Fix: Stick to the "Portrait Zone." Traditionally, focal lengths between 85mm and 135mm are considered the sweet spot for portraits. These lenses provide "compression," which flattens the features in a flattering way and makes the background blur look creamier.
If you only have a 50mm lens (the "nifty fifty"), just make sure you aren't filling the entire frame with just the face. Step back, include some of the body, and you’ll avoid the worst of the distortion. For more gear-related advice, you can always check out blog.edinchavez.com.

6. Over-Processing and "Plastic Skin"
We live in the age of filters, but in the world of professional photography, there is a fine line between "polished" and "alien."
The Mistake: Going way too hard on the retouching. We’ve all seen those portraits where the skin looks like it was rendered in a 2005 video game. No pores, no texture, just a smooth, blurry mess. People have skin texture; it’s okay to show it. Over-whitening the eyes is another common sin: it makes people look like they’re glowing from within in a very creepy way.
The Fix: Less is more. Use tools that allow for frequency separation or subtle AI enhancements. I personally love using Luminar because its AI tools are designed to recognize skin texture rather than just obliterating it.
The goal should be to remove temporary distractions (like a blemish or a stray hair) while keeping the permanent features (like freckles or character lines) intact. If you’re struggling with the editing process, look into using Lightroom presets as a starting point to keep your look consistent without overdoing it.
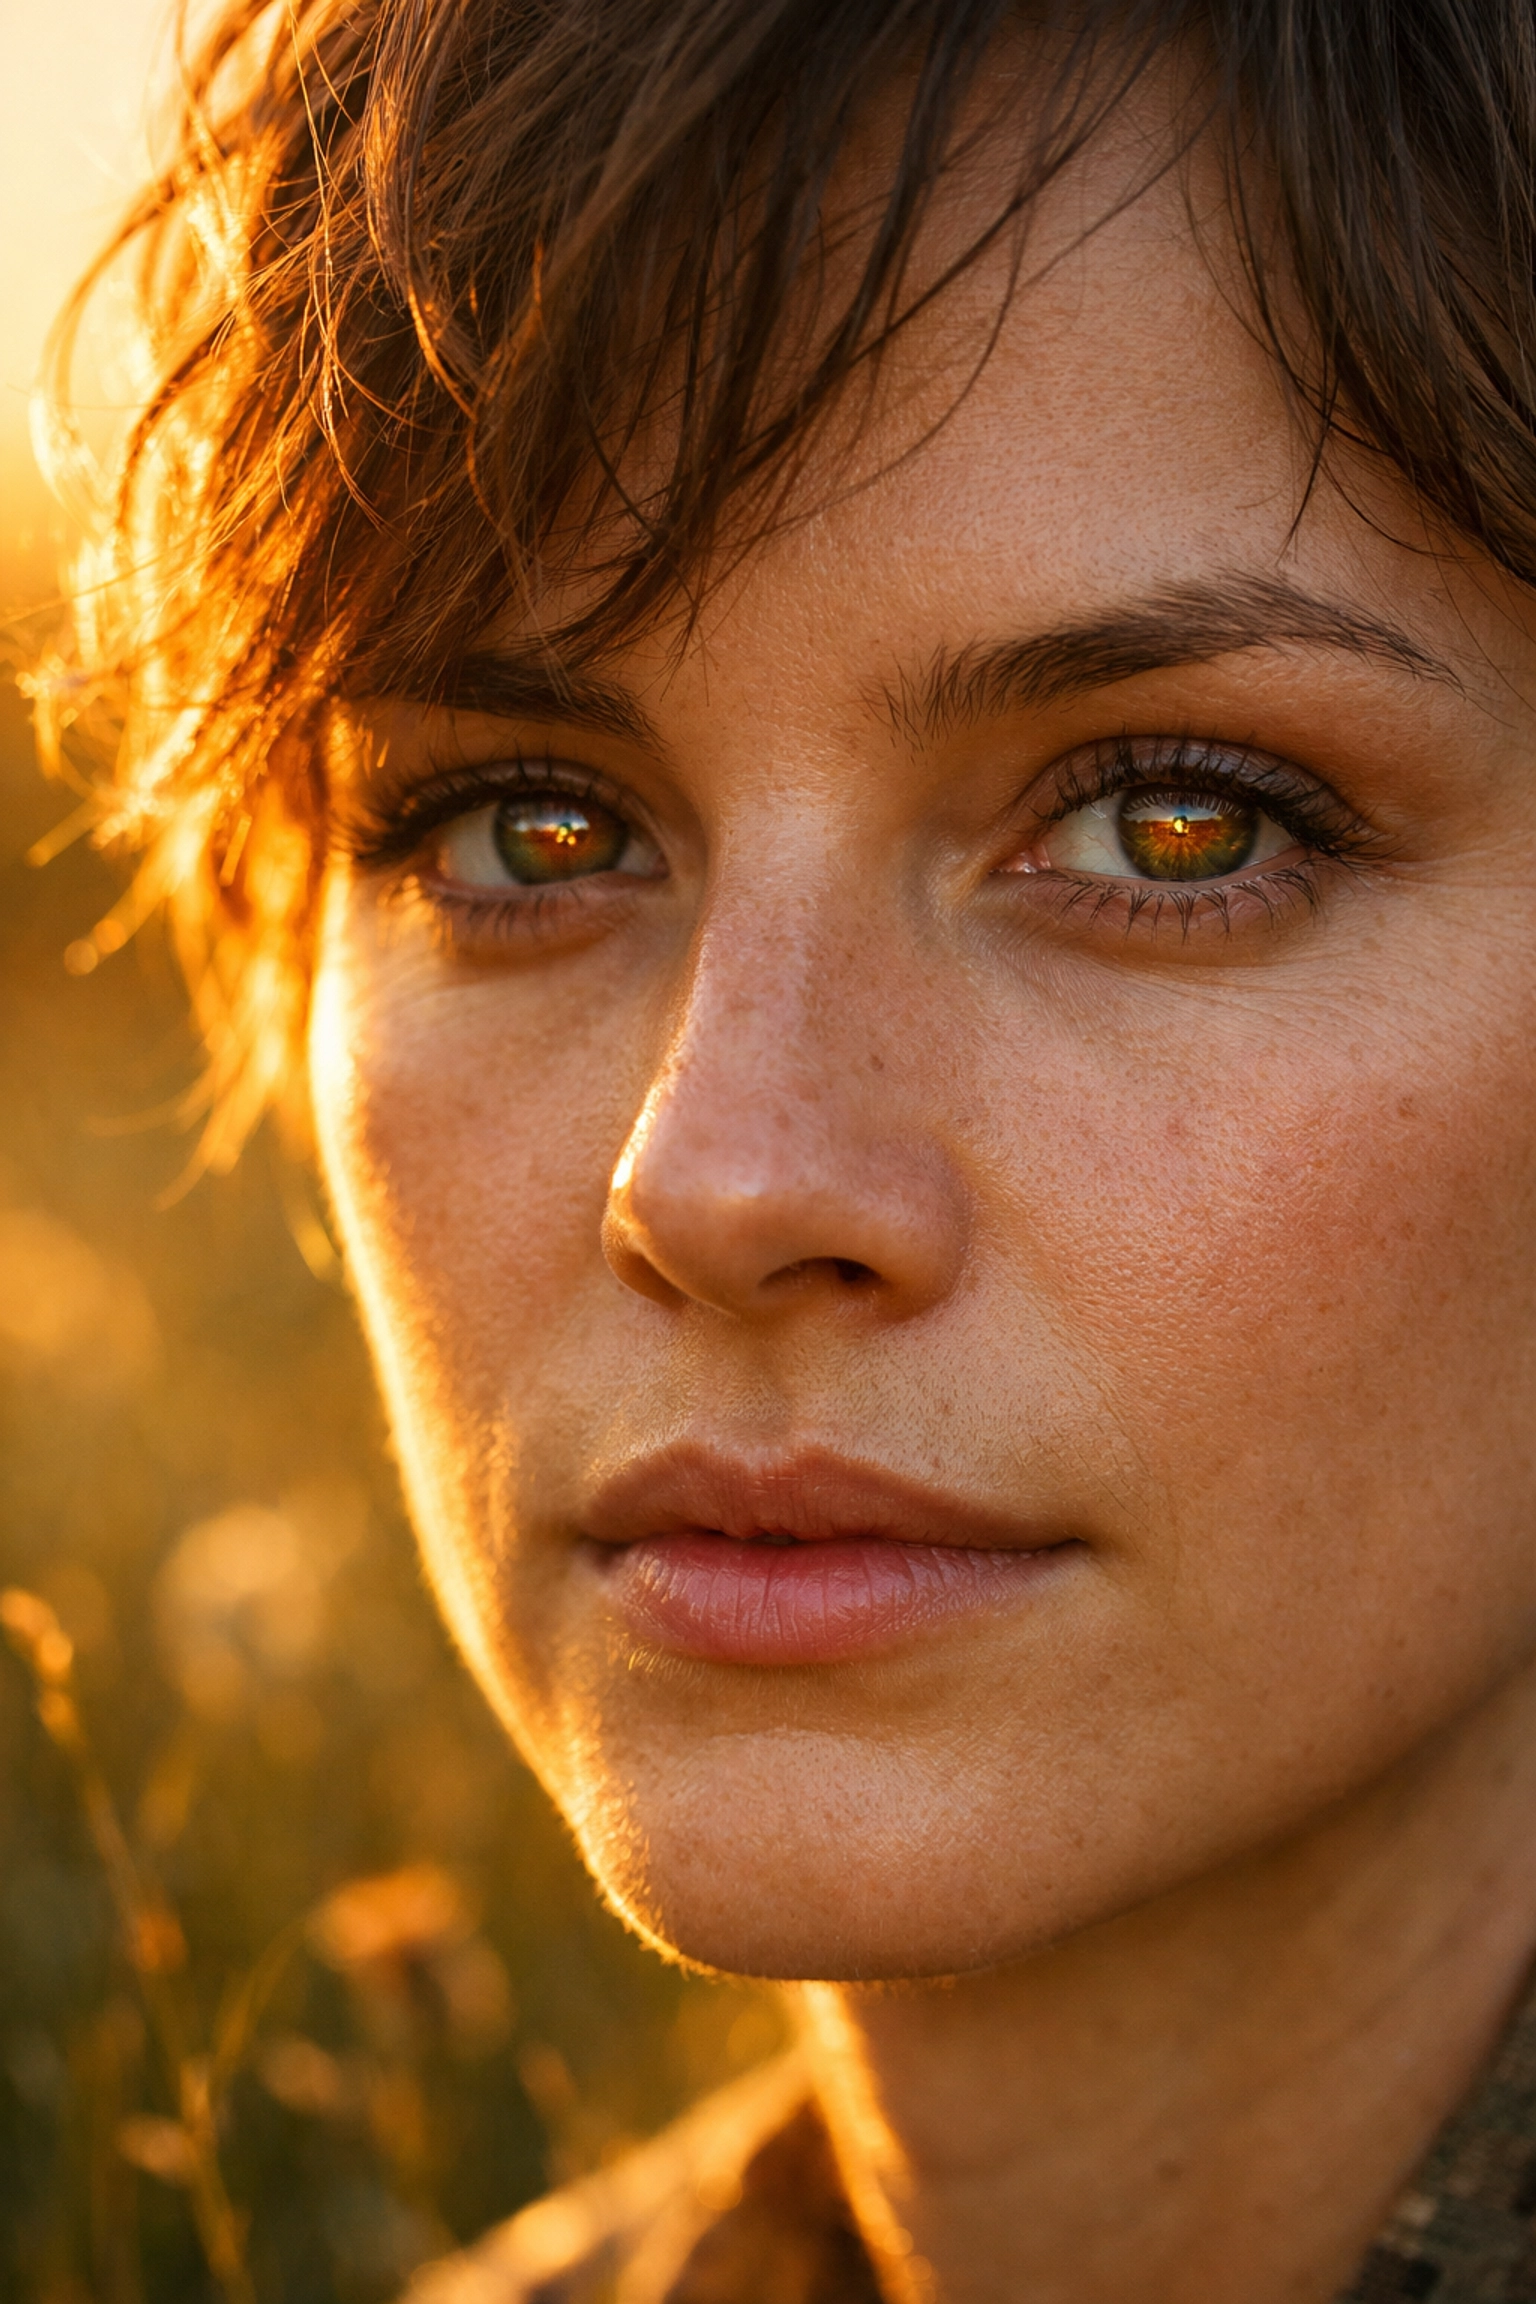
7. Ignoring the "Light Quality"
You can have the best camera in the world, but if your light is bad, your photo is bad. It’s the most fundamental rule of photography.
The Mistake: Shooting in harsh, direct sunlight or failing to control your shadows. High-noon sun creates "raccoon eyes" (dark shadows in the eye sockets) and highlights every bump on the skin. On the flip side, flat, boring light can make a portrait look lifeless.
The Fix: Seek out "Soft Light." This could be the "Golden Hour" (the hour after sunrise or before sunset), or it could just be the shade of a large building. If you are shooting indoors, move your subject closer to a window, but avoid direct sun hitting them.
If you’re ready to take it a step further, look into off-camera flash. Even a simple reflector can bounce light back into those "raccoon eye" shadows and add a "catchlight" to the eyes. A catchlight is that tiny spark of light in the pupil that makes a person look alive. Without it, the eyes look dull and flat. For high-end lighting techniques, you might find inspiration at www.proshoot.io.
Putting It All Together
Portrait photography isn't just about technical settings; it’s about the connection between you and the person in front of your lens. When you stop worrying about these seven common mistakes, you free up your brain to actually talk to your subject, make them laugh, and capture their real personality.
If you’re feeling overwhelmed, just pick one thing to work on during your next shoot. Maybe this weekend you focus entirely on backgrounds. Next weekend, focus on posing. Photography is a journey, and even the fastest-changing news in the industry won't replace the need for solid, fundamental techniques.
Remember to keep it simple, keep it fun, and most importantly, keep shooting. If you want to see how we handle different styles of photography: from drones to fine art: feel free to explore our shop or check out our latest tutorials.
Now, go out there, find a subject, and stop making these mistakes! Your portfolio will thank you.


