
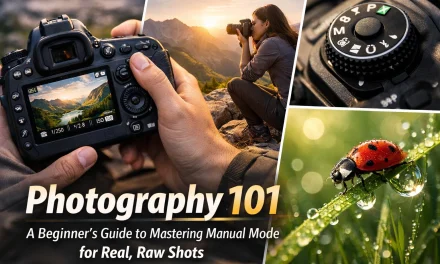
Let’s be real: picking up a camera for the first time is intimidating. You’ve got buttons, dials, menus that look like flight controls, and a lens that stares back at you while you wonder why your photos look like a blurry mess. We’ve all been there. But here’s the secret: photography isn't magic. It’s a craft. And like any craft, you just need the right photography tutorials to bridge the gap between "point-and-pray" and "pro-level shot."
At Shut Your Aperture, we believe everyone has a story to tell. Whether you’re trying to capture the milky way or just your kid’s soccer game without the motion blur, you’ve come to the right place. Consider this your roadmap to mastering the art of the lens.
The Foundation: Understanding the Exposure Triangle
Before you dive into the deep end, you have to understand the basics. If you don't master the exposure triangle, you’re basically guessing. The triangle consists of three elements: ISO, Aperture, and Shutter Speed. They work together to decide how much light hits your sensor.
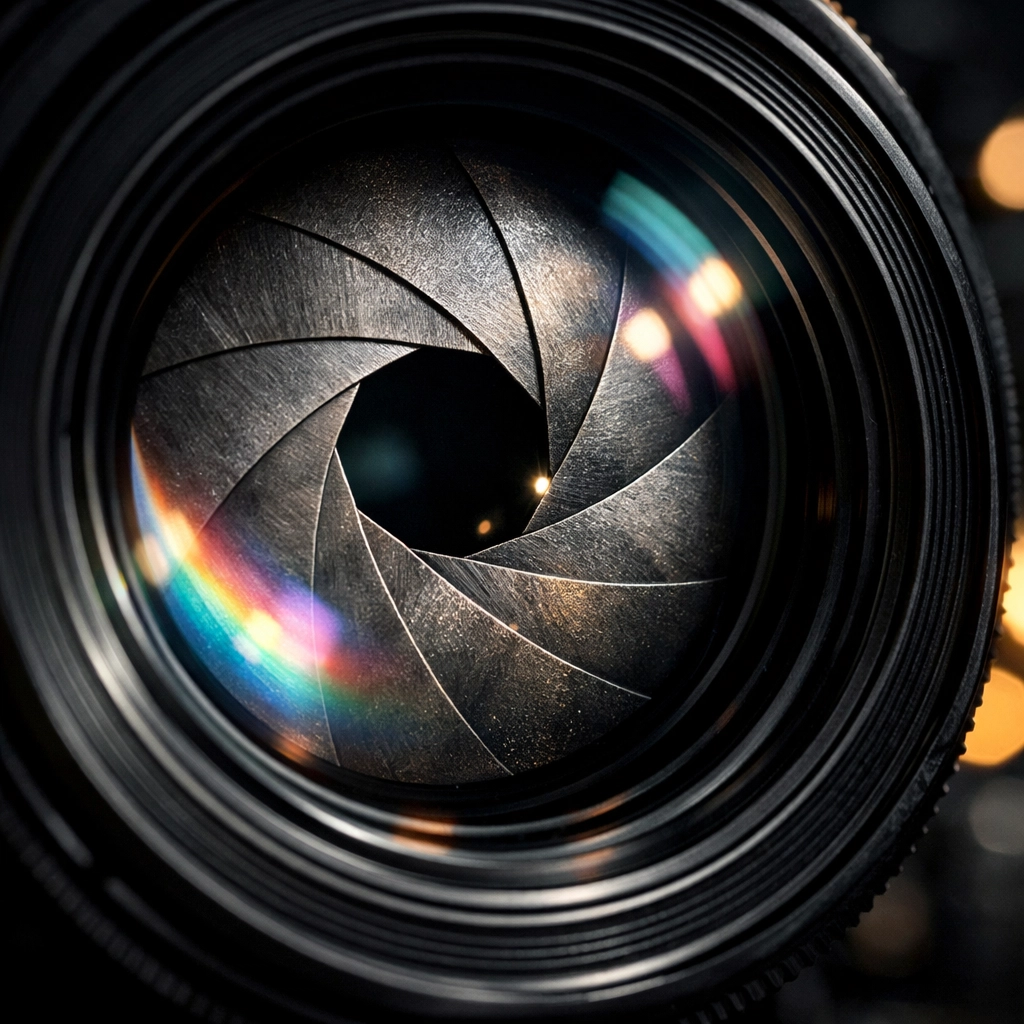
1. Aperture (The "F-Stop")
Think of aperture like the pupil of your eye. The wider it is, the more light comes in. In photography terms, a lower number (like f/1.8) means a wide opening, creating that creamy, blurred background everyone loves. A higher number (like f/16) keeps everything in focus, which is perfect for landscape photography tips.
2. Shutter Speed
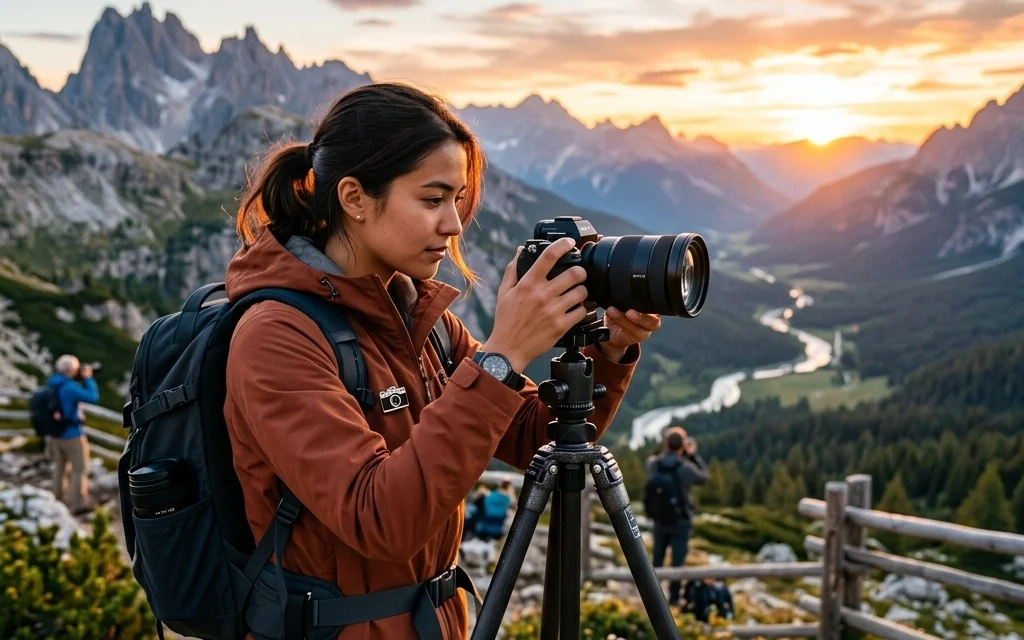
This is how long your camera’s "eye" stays open. Want to freeze a bird in mid-flight? Use a fast shutter speed (1/1000s). Want to make a waterfall look like silk? Go slow (2 seconds). Just remember, if you go slow, you’ll need a tripod from Edin Studios to keep things steady.
3. ISO
ISO is your sensor's sensitivity to light. Lower ISO (100) is for bright sunny days. Higher ISO (3200+) is for dark rooms. The catch? High ISO adds "noise" or grain to your photos. It’s a balancing act.
SEO Alt Text: A detailed diagram showing the relationship between Aperture, Shutter Speed, and ISO for beginner photography tutorials.
How to Use Manual Mode Camera Like a Pro
If you really want to level up, you have to turn that dial to "M." Learning how to use manual mode camera is the single biggest step you can take toward becoming a professional photographer. Auto mode is like letting a robot decide what your art should look like. Manual mode puts you in the driver's seat.
When you’re in manual, you control all three parts of the exposure triangle. Start by setting your Aperture based on the depth of field you want. Then, set your Shutter Speed based on the movement in the scene. Finally, use your ISO to balance out the light. It takes practice, but once it clicks, you’ll never go back to Auto.
For more hands-on practice and deep dives into gear, check out PhotoGuides.org.
Composition: The Secret Sauce
You can have the most expensive camera in the world and perfect exposure, but if your composition sucks, the photo sucks. Photography tutorials often focus too much on the tech and not enough on the "feel."
- Rule of Thirds: Imagine a grid on your screen. Place your subject on the lines or intersections. It’s simple, but it works every time.
- Leading Lines: Use roads, fences, or rivers to lead the viewer’s eye into the frame.
- Framing: Use natural elements like trees or windows to frame your subject. This adds depth and makes the image more "tangible." Speaking of texture, you should check out our guide on using rare textures for tangible aesthetic photography.
SEO Alt Text: An example of the rule of thirds and leading lines used in a professional travel photography shot.
Master the Light
Photography is literally "writing with light." Without good light, you’ve got nothing. Beginners often think they need a massive studio setup, but some of the best shots are done with just a window and a reflector.
If you’re moving into professional territory, you’ll want to look at lighting setups that give you total control. For the best gear and lighting tutorials, we always recommend ProShoot.io. They specialize in the technical side of studio lighting that can make your portraits look like they belong in a magazine.
If you prefer natural light, learn about the "Golden Hour": the hour after sunrise and the hour before sunset. The light is soft, warm, and makes everyone look like a movie star.
Post-Processing: Bringing Your Vision to Life
Taking the photo is only half the battle. The other half happens in the digital darkroom. Raw files (which you should always be shooting in) are flat and boring until you edit them.
One of our favorite tools for this is Luminar. It uses AI to handle the tedious stuff: like sky replacement or skin retouching: so you can focus on the creative side. Whether you want to add a bit of drama to a landscape or fix the exposure on a portrait, Luminar makes it stupidly easy.
Don't overdo it, though. The goal of editing is to enhance what’s already there, not to turn it into a CGI movie poster (unless that’s your vibe).
Finding Your Niche
Once you’ve got the basics down, it’s time to find what moves you. Do you love the grit of the city or the silence of the mountains?
- Travel Photography: It’s about more than just selfies at the Eiffel Tower. It’s about finding hidden gem locations for travel photography and telling a story of a place.
- Landscape Photography: This requires patience. You’ll be waking up at 4 AM to hike to a spot just to wait for the light. It’s worth it for those ethereal landscapes.
- Portrait Photography: This is about human connection. Learning how to make someone feel comfortable in front of a lens is a skill in itself.
If you’re looking for inspiration on where to go next, Edin’s personal blog at blog.edinchavez.com is packed with stories from the field that show the reality of being a working pro.
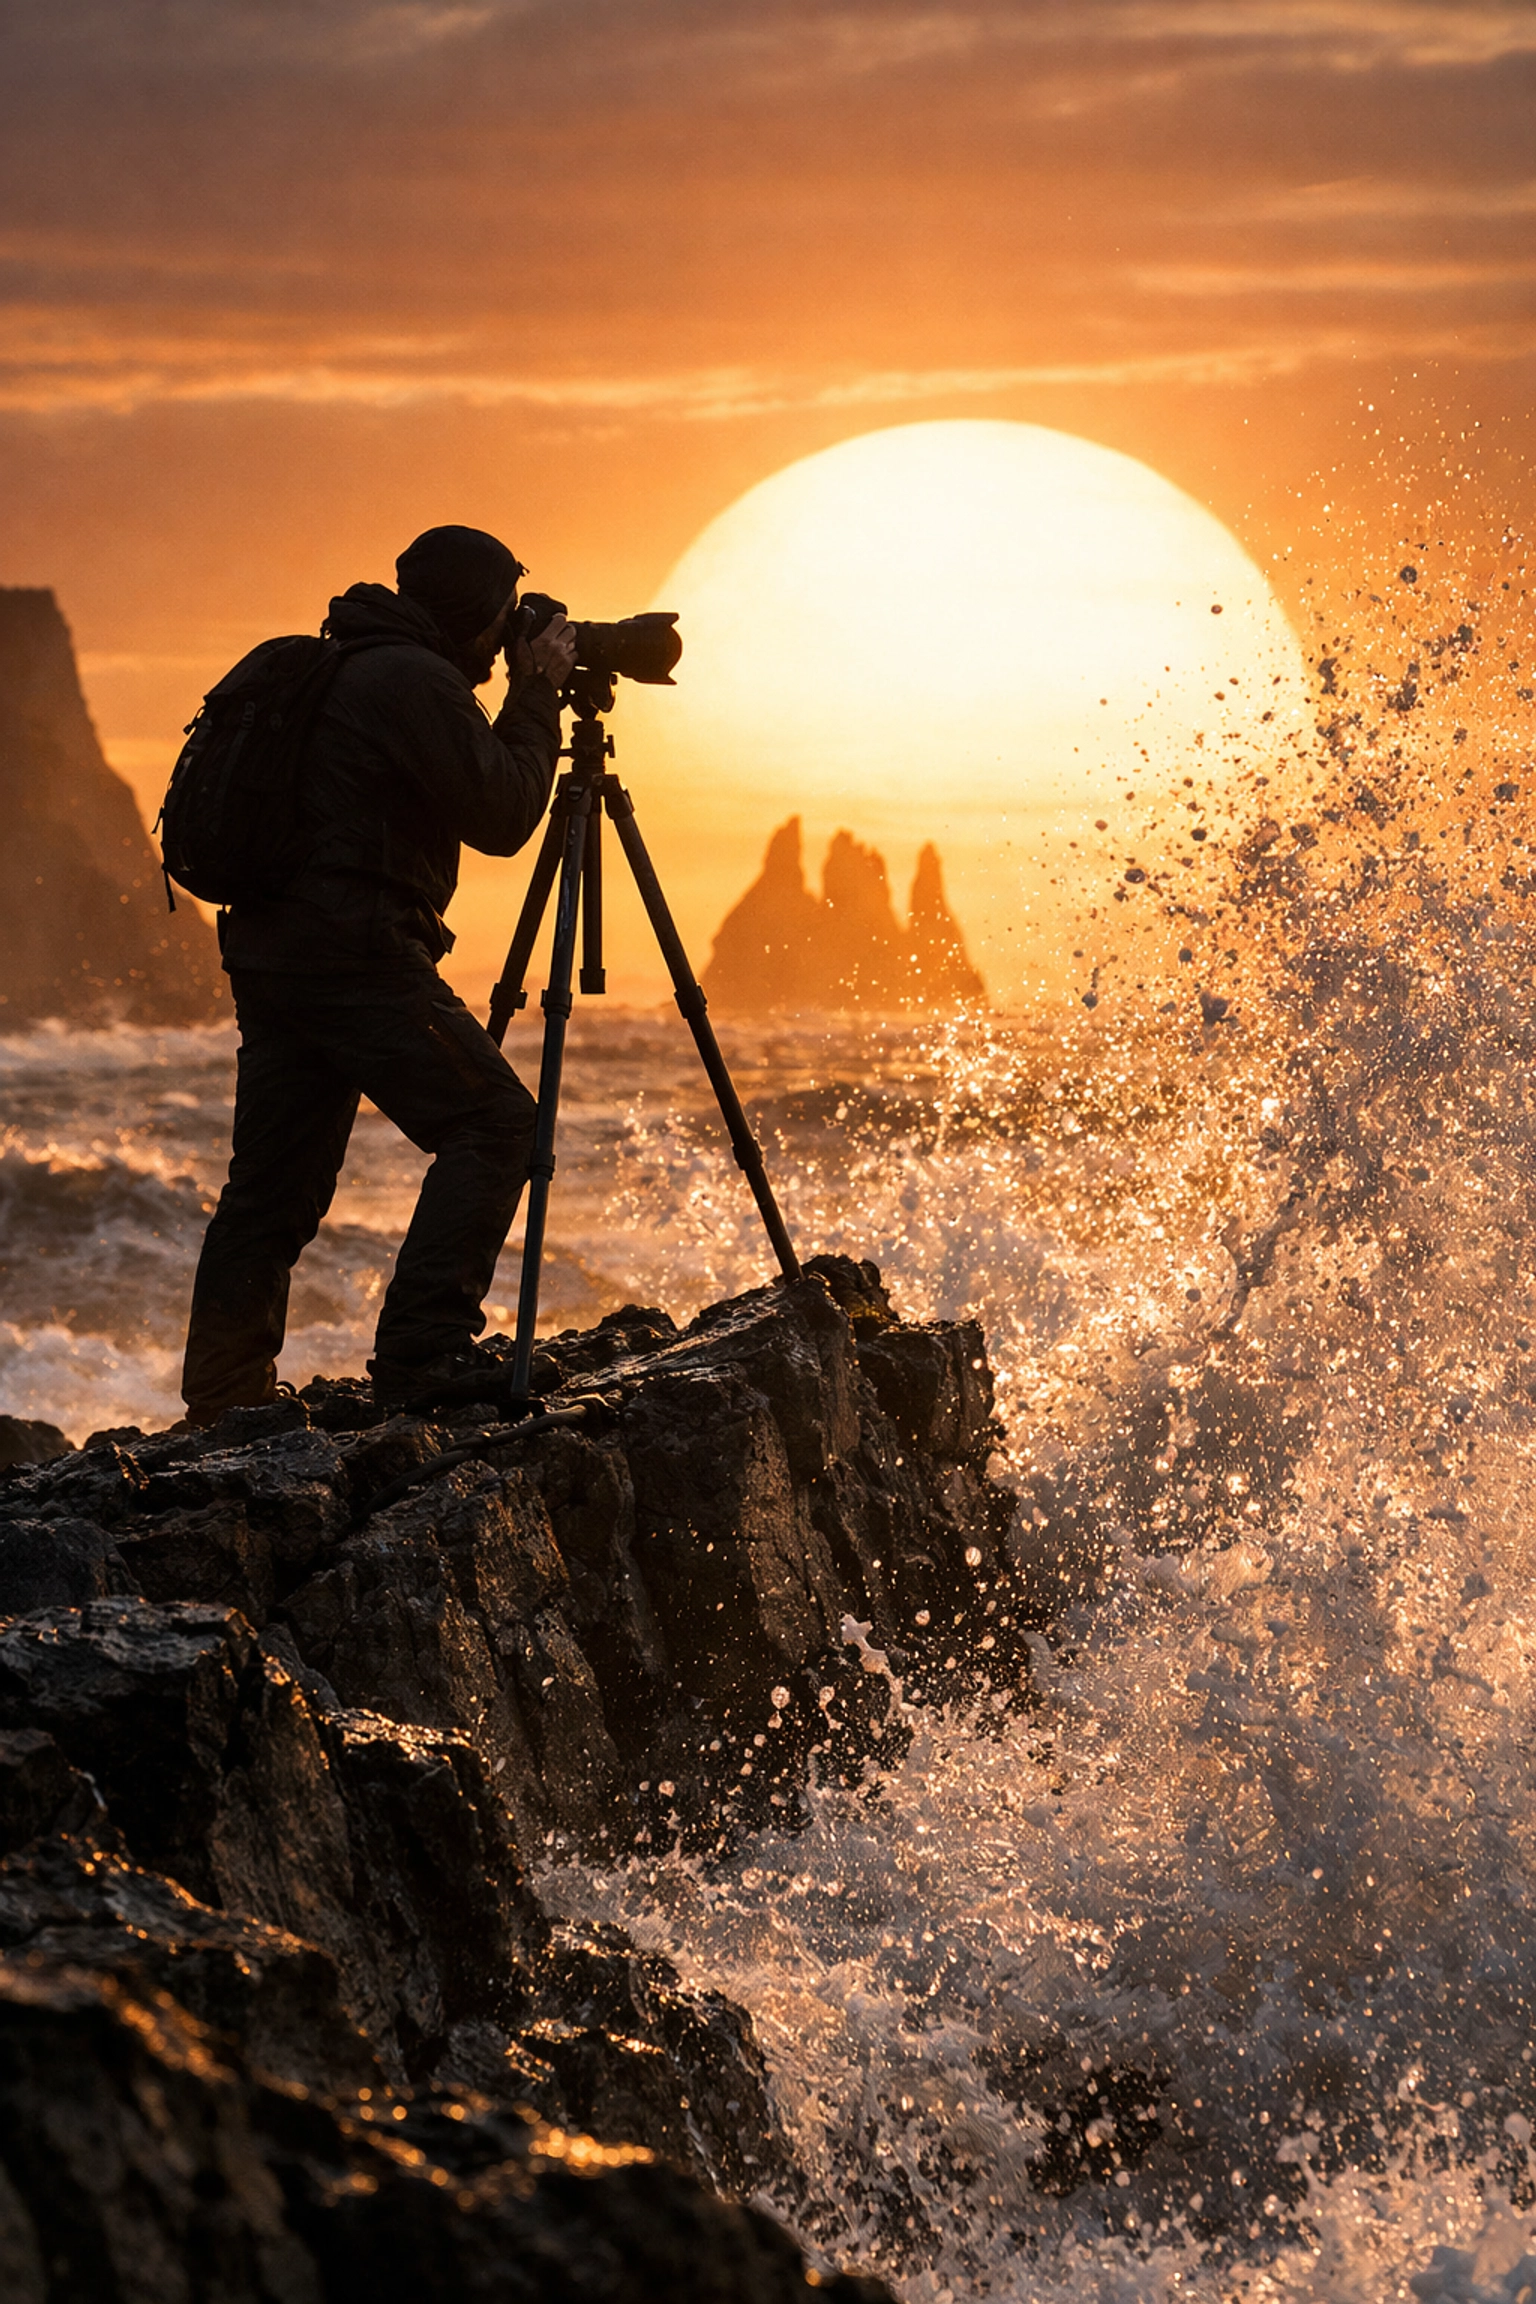
SEO Alt Text: A photographer capturing a sunrise in a remote location, illustrating the dedication required for professional photography tutorials.
Why Shut Your Aperture is the Only Photography School You Need
There are a million photography tutorials online. You can get lost in a YouTube rabbit hole for hours and come out more confused than when you started. That’s why we built Shut Your Aperture.
We don't do fluff. We don't do "technical jargon just to sound smart." We give you the straight-up, simple truth about what works and what doesn't. Our goal is to be the number one photography school online by making professional techniques accessible to everyone.
From learning how to use manual mode camera to mastering high-end fine art prints (which you can see at Edin Fine Art), we cover the full spectrum.
The Gear Trap (Don't Fall Into It)
A quick word of advice: don't get obsessed with gear. A $10,000 camera won't make you a better photographer if you don't understand composition and light. Start with what you have. Even a modern smartphone can take incredible photos if you apply the principles found in our photography tutorials.
Upgrade when your gear starts to limit your creativity, not because a new model came out. Focus on lenses before camera bodies. A great 50mm f/1.8 lens (the "nifty fifty") will do more for your photography than a new body ever will.
Exploring the Unknown
If you're feeling stuck and your photos all look the same, it’s time to change your environment. Sometimes the best way to learn is to put yourself in a situation where you have to adapt. Look for lesser-known vistas for enigmatic photos or try finding hidden gems for stunning travel photography. When you're in a new place, your eyes are more open to the details that make a great shot.
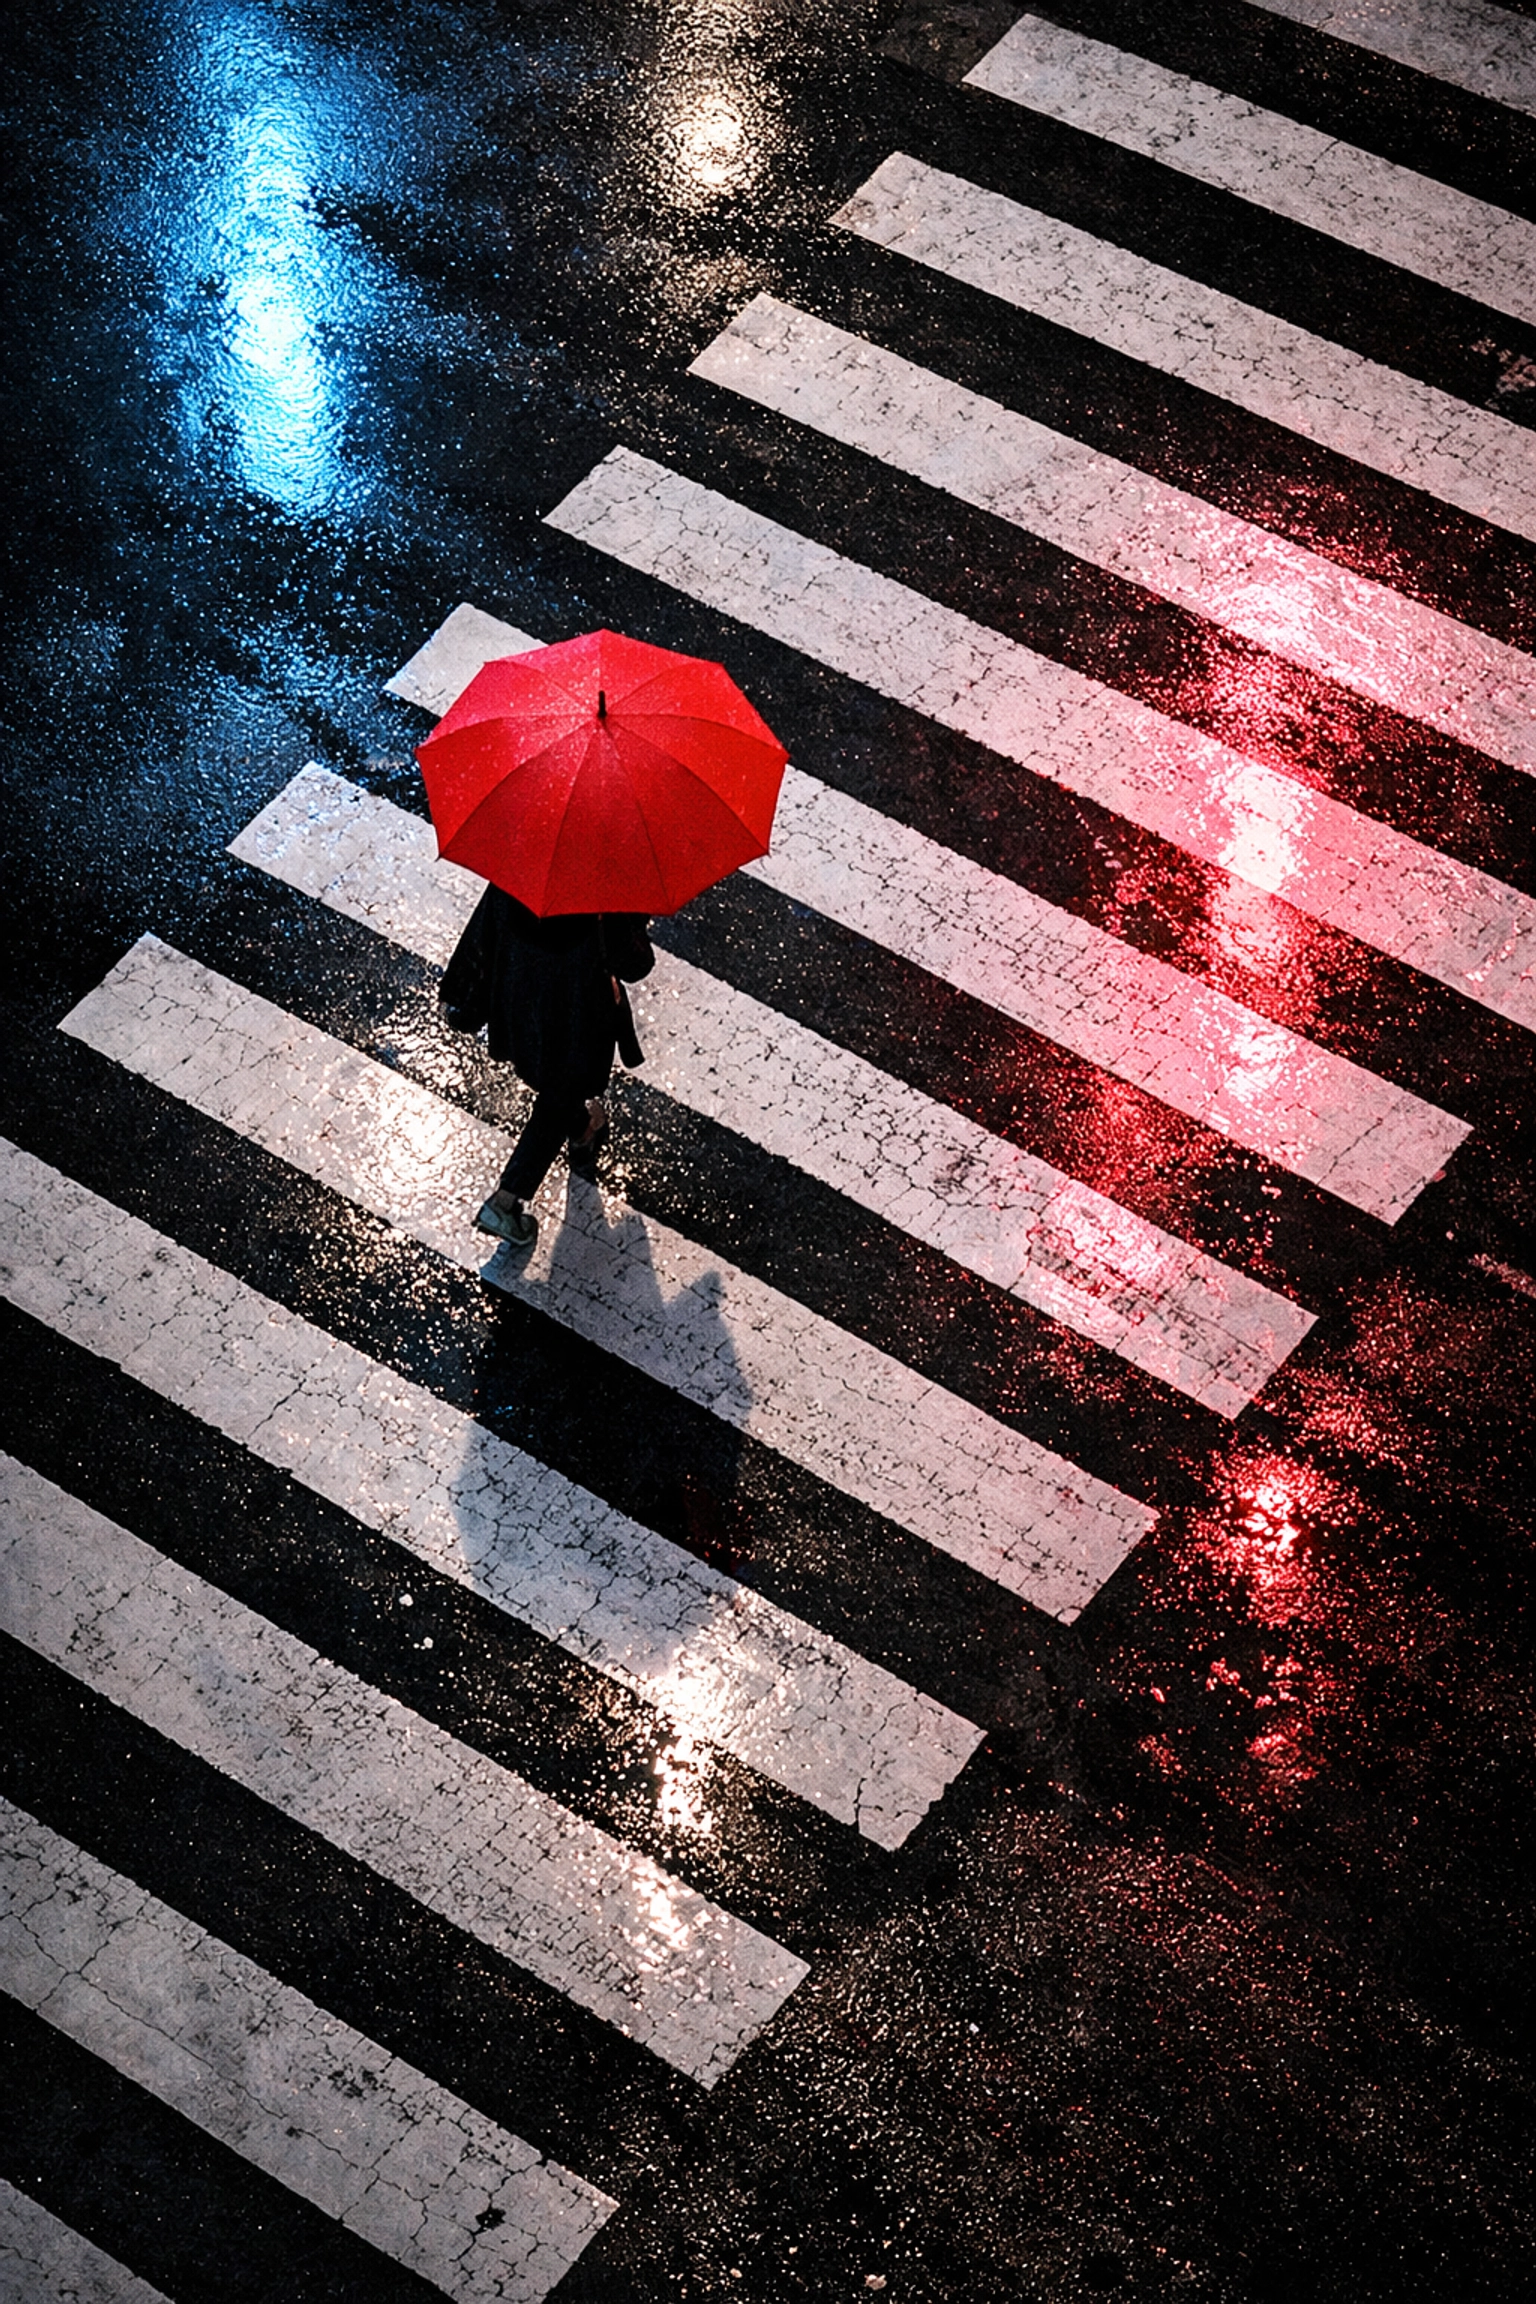
SEO Alt Text: A minimalist black and white street photography shot showing the importance of composition and light.
Putting it All Together
Success in photography comes down to three things: Knowledge, Practice, and Persistence.
- Knowledge: Watch the photography tutorials, read the blogs, and understand the "why" behind the settings.
- Practice: Take your camera everywhere. Take 100 bad photos to get one good one. That’s the ratio even for the pros.
- Persistence: Don't get discouraged when a shot doesn't turn out. Analyze it. Why is it blurry? Why are the colors off? Fix it next time.
Photography is a journey, not a destination. There’s always a new technique to learn, a new location to scout, or a new way to see the world.
Whether you're just starting out or you're looking to turn your hobby into a career, Shut Your Aperture is here to help you every step of the way. We're constantly updating our site with new guides, from our sitemap index to specific category deep-dives.
Now, quit reading and go take some photos. The world is waiting to be seen through your lens.

