Listen, picking up a camera is the easy part. Pointing it at something and clicking the shutter? Anyone can do that. But if you’re here, you probably realized that there’s a massive gap between "taking a picture" and "creating an image." At Shut Your Aperture, we believe photography isn't some secret club for people with expensive gear. It’s a skill, and like any skill, you need the right photography tutorials to bridge that gap.
We’ve designed our daily school to be the number one photography resource online. Whether you are struggling to figure out why your photos are blurry or you're trying to master high-end commercial lighting, we’ve got you covered. This guide is your roadmap. We’re going to dive deep into the fundamentals and the advanced stuff so you can finally stop shooting on "Auto" and start creating the art you’ve always envisioned.
Why Most Photography Tutorials Fail You
Most tutorials you find online are either way too technical or way too vague. You get hit with "use a fast shutter speed" without anyone explaining why or when to do it. Or worse, they try to sell you a $2,000 lens before you even know how to hold the camera.
At Shut Your Aperture, we keep it simple. We focus on the "why" just as much as the "how." We want you to understand the physics of light so that when the situation changes, you aren't stuck looking for a specific tutorial: you just know what to do. If you're looking for more inspiration, you can always check out blog.edinchavez.com for some behind-the-scenes looks at professional shoots.
Step 1: Mastering the Gear (Without the Headache)
Before you can fly, you have to know how the plane works. Your camera is just a box that records light. That’s it. Whether it's a $5,000 Mirrorless or the phone in your pocket, the principles remain the same.
Understanding Your Camera Body
Your camera body is essentially a housing for the sensor. The sensor is the most important part: it's what captures the light. You’ll hear people talk about "Full Frame" vs "Crop Sensor." Don't lose sleep over this yet. Just know that a bigger sensor usually handles low light better.
The Magic of Lenses
Lenses are where the character of your image comes from. A "Prime" lens has a fixed focal length (it doesn't zoom), but it usually offers a wider aperture and sharper images. A "Zoom" lens gives you versatility. For most beginners, a 24-70mm lens is the "Swiss Army Knife" of photography.
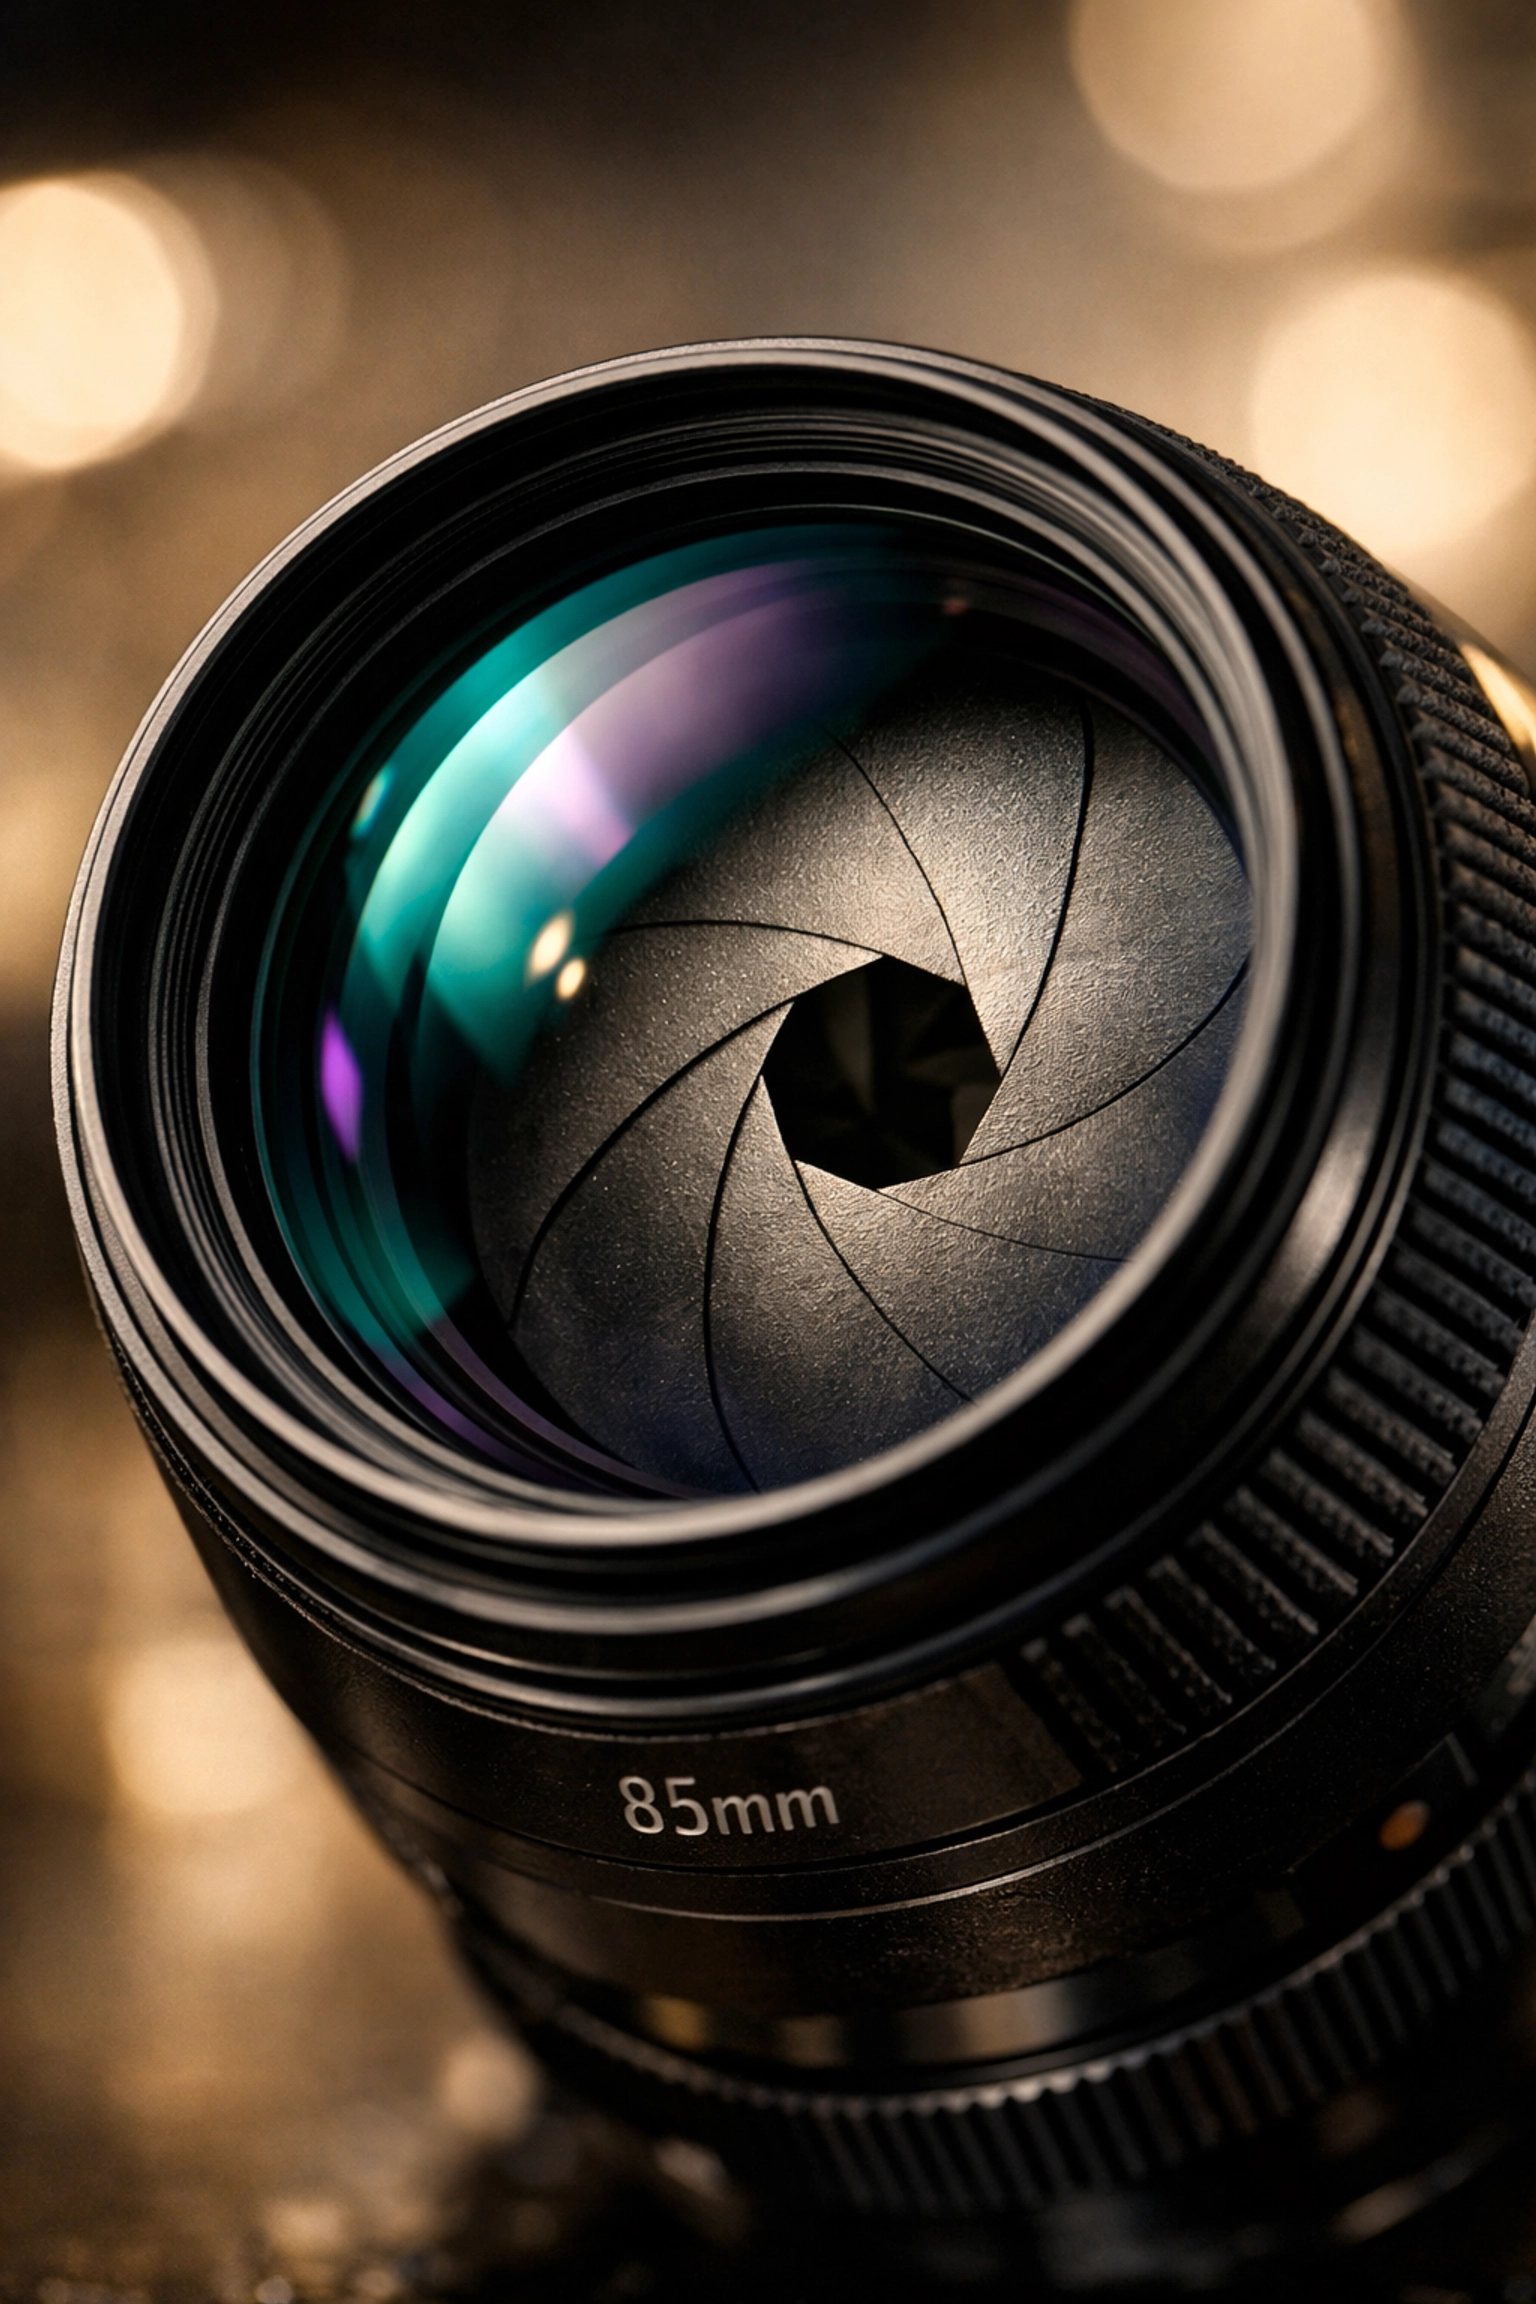
Alt Text: A close-up, ultra-realistic shot of a professional mirrorless camera lens showing the glass elements and aperture blades, SEO optimized for photography tutorials.
Step 2: The Exposure Triangle (The Holy Grail)
If you want to know how to use manual mode camera settings, you have to master the Exposure Triangle. This is the relationship between Aperture, Shutter Speed, and ISO. Think of it like a three-legged stool; if you move one, you have to adjust the others to keep the stool level.
Aperture (The F-Stop)
Aperture is the opening in your lens.
- Small F-number (like f/1.8): Wide opening, lots of light, blurry background (bokeh).
- Large F-number (like f/16): Small opening, less light, everything in focus.
Shutter Speed
This is how long your "curtain" stays open.
- Fast Shutter (1/1000s): Freezes action. Great for sports or birds.
- Slow Shutter (1/10s or longer): Blurs motion. Think of those silky waterfall photos.
ISO
This is your sensor's sensitivity to light.
- Low ISO (100): Clean, crisp images. Use this when it’s bright out.
- High ISO (3200+): Allows you to shoot in the dark, but adds "noise" or grain to your photo.
For a deeper dive into how professional gear handles these settings in the real world, ProShoot.io has some incredible breakdowns of high-end equipment.
Step 3: How to Use Manual Mode Camera Settings Like a Pro
Now, let’s get into the meat of it. Switching your dial to "M" is terrifying for the first time. You see a black screen, or a white screen, and you panic. Don’t.
When learning how to use manual mode camera controls, follow this simple workflow:
- Set your ISO first: If you're outside, set it to 100. If you're inside, try 800.
- Decide on your Aperture: Do you want a blurry background? Go low (f/2.8). Do you want a landscape? Go high (f/11).
- Adjust Shutter Speed until the meter hits zero: Look through your viewfinder. There is a little scale from -3 to +3. Move your shutter speed dial until the marker is in the middle.
That’s it. You’re shooting in manual. From here, it’s just about fine-tuning. If the photo is too dark, slow down the shutter or raise the ISO. If it's too bright, do the opposite.
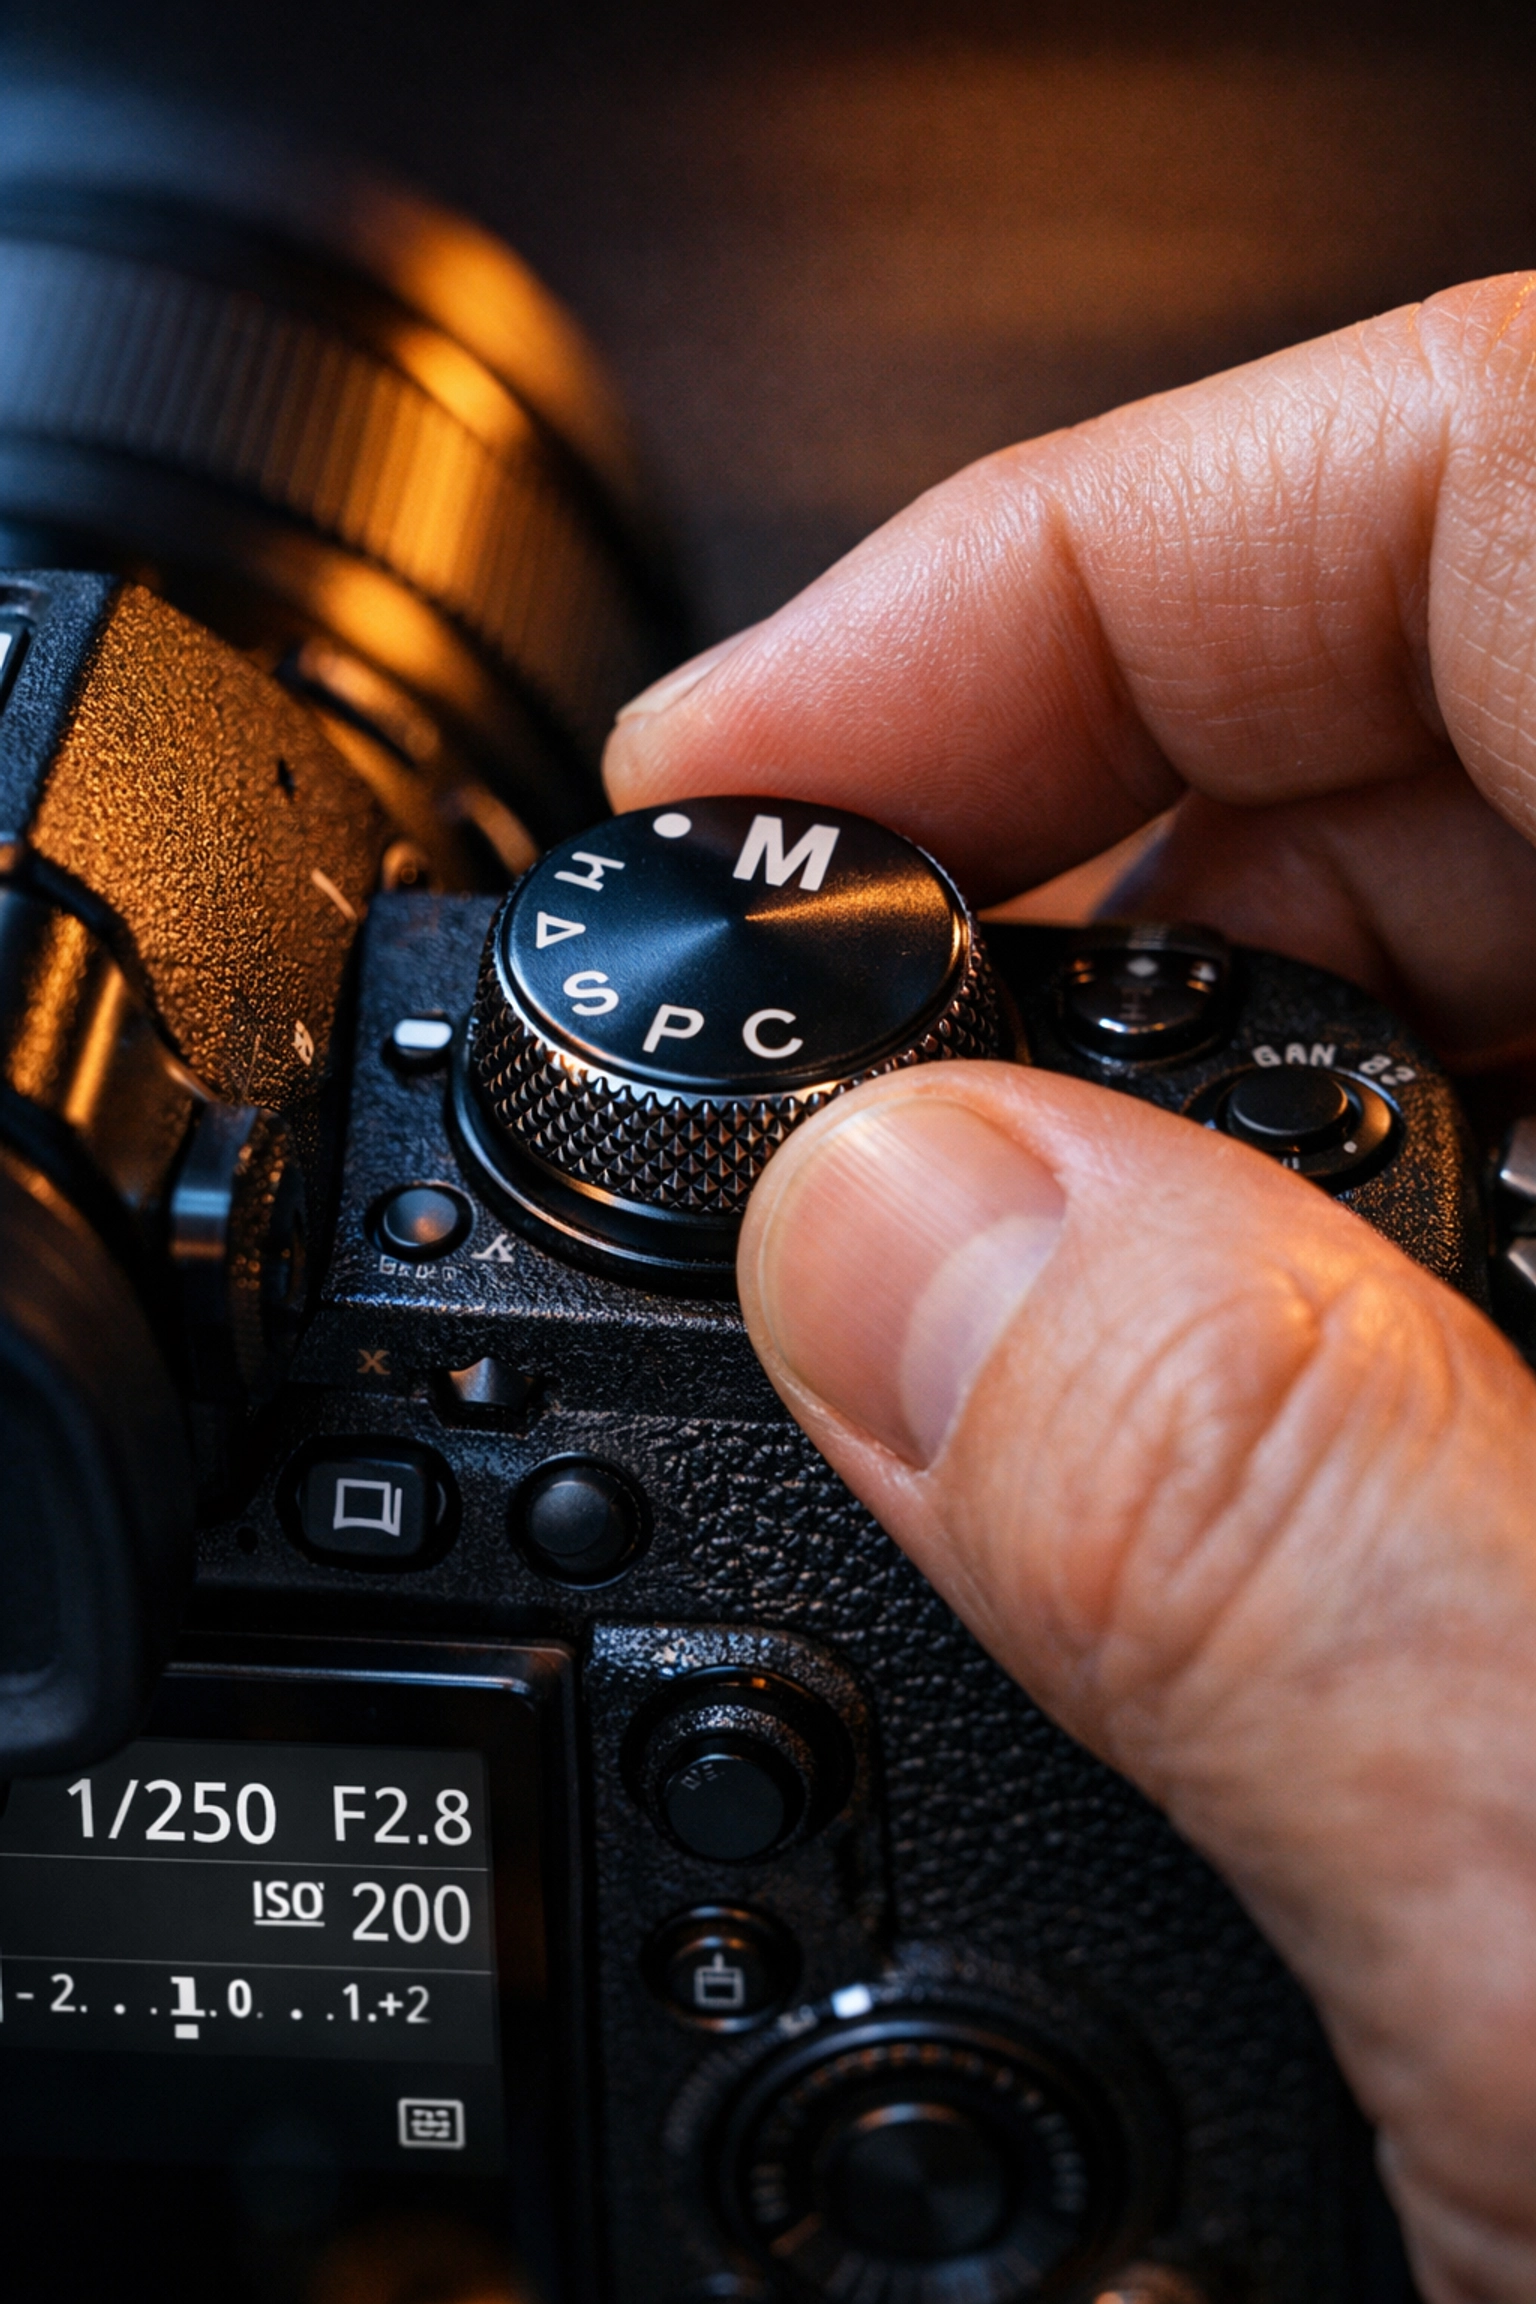
Alt Text: A high-detail AI generated image of a photographer's hand adjusting the manual dial on a camera in a moody, low-light studio setting.
Step 4: Composition – Telling a Story
Technical skills are great, but composition is what makes people stop scrolling. It’s how you arrange the elements in your frame.
- Rule of Thirds: Imagine a tic-tac-toe board over your image. Place your subject on the intersections.
- Leading Lines: Use roads, fences, or shadows to lead the viewer’s eye toward your subject.
- Negative Space: Sometimes, what you don't include is just as important as what you do. Giving your subject "room to breathe" creates a sense of scale.
If you are interested in portraiture specifically, you might be making some common mistakes. Check out our guide on 7 mistakes you’re making with professional corporate headshots to see how composition and posing work together.
Step 5: Mastering Lighting
Light is everything. You can have the best camera in the world, but if the light sucks, the photo sucks.
Natural Light
The "Golden Hour" (the hour after sunrise and the hour before sunset) is famous for a reason. The light is soft, warm, and directional. Avoid shooting at noon if you can: the shadows are harsh and unflattering.
Artificial Light
Once you graduate from our basic photography tutorials, you’ll want to look into flashes and strobes. Controlling light means you can create "Golden Hour" in a basement at 2 AM.
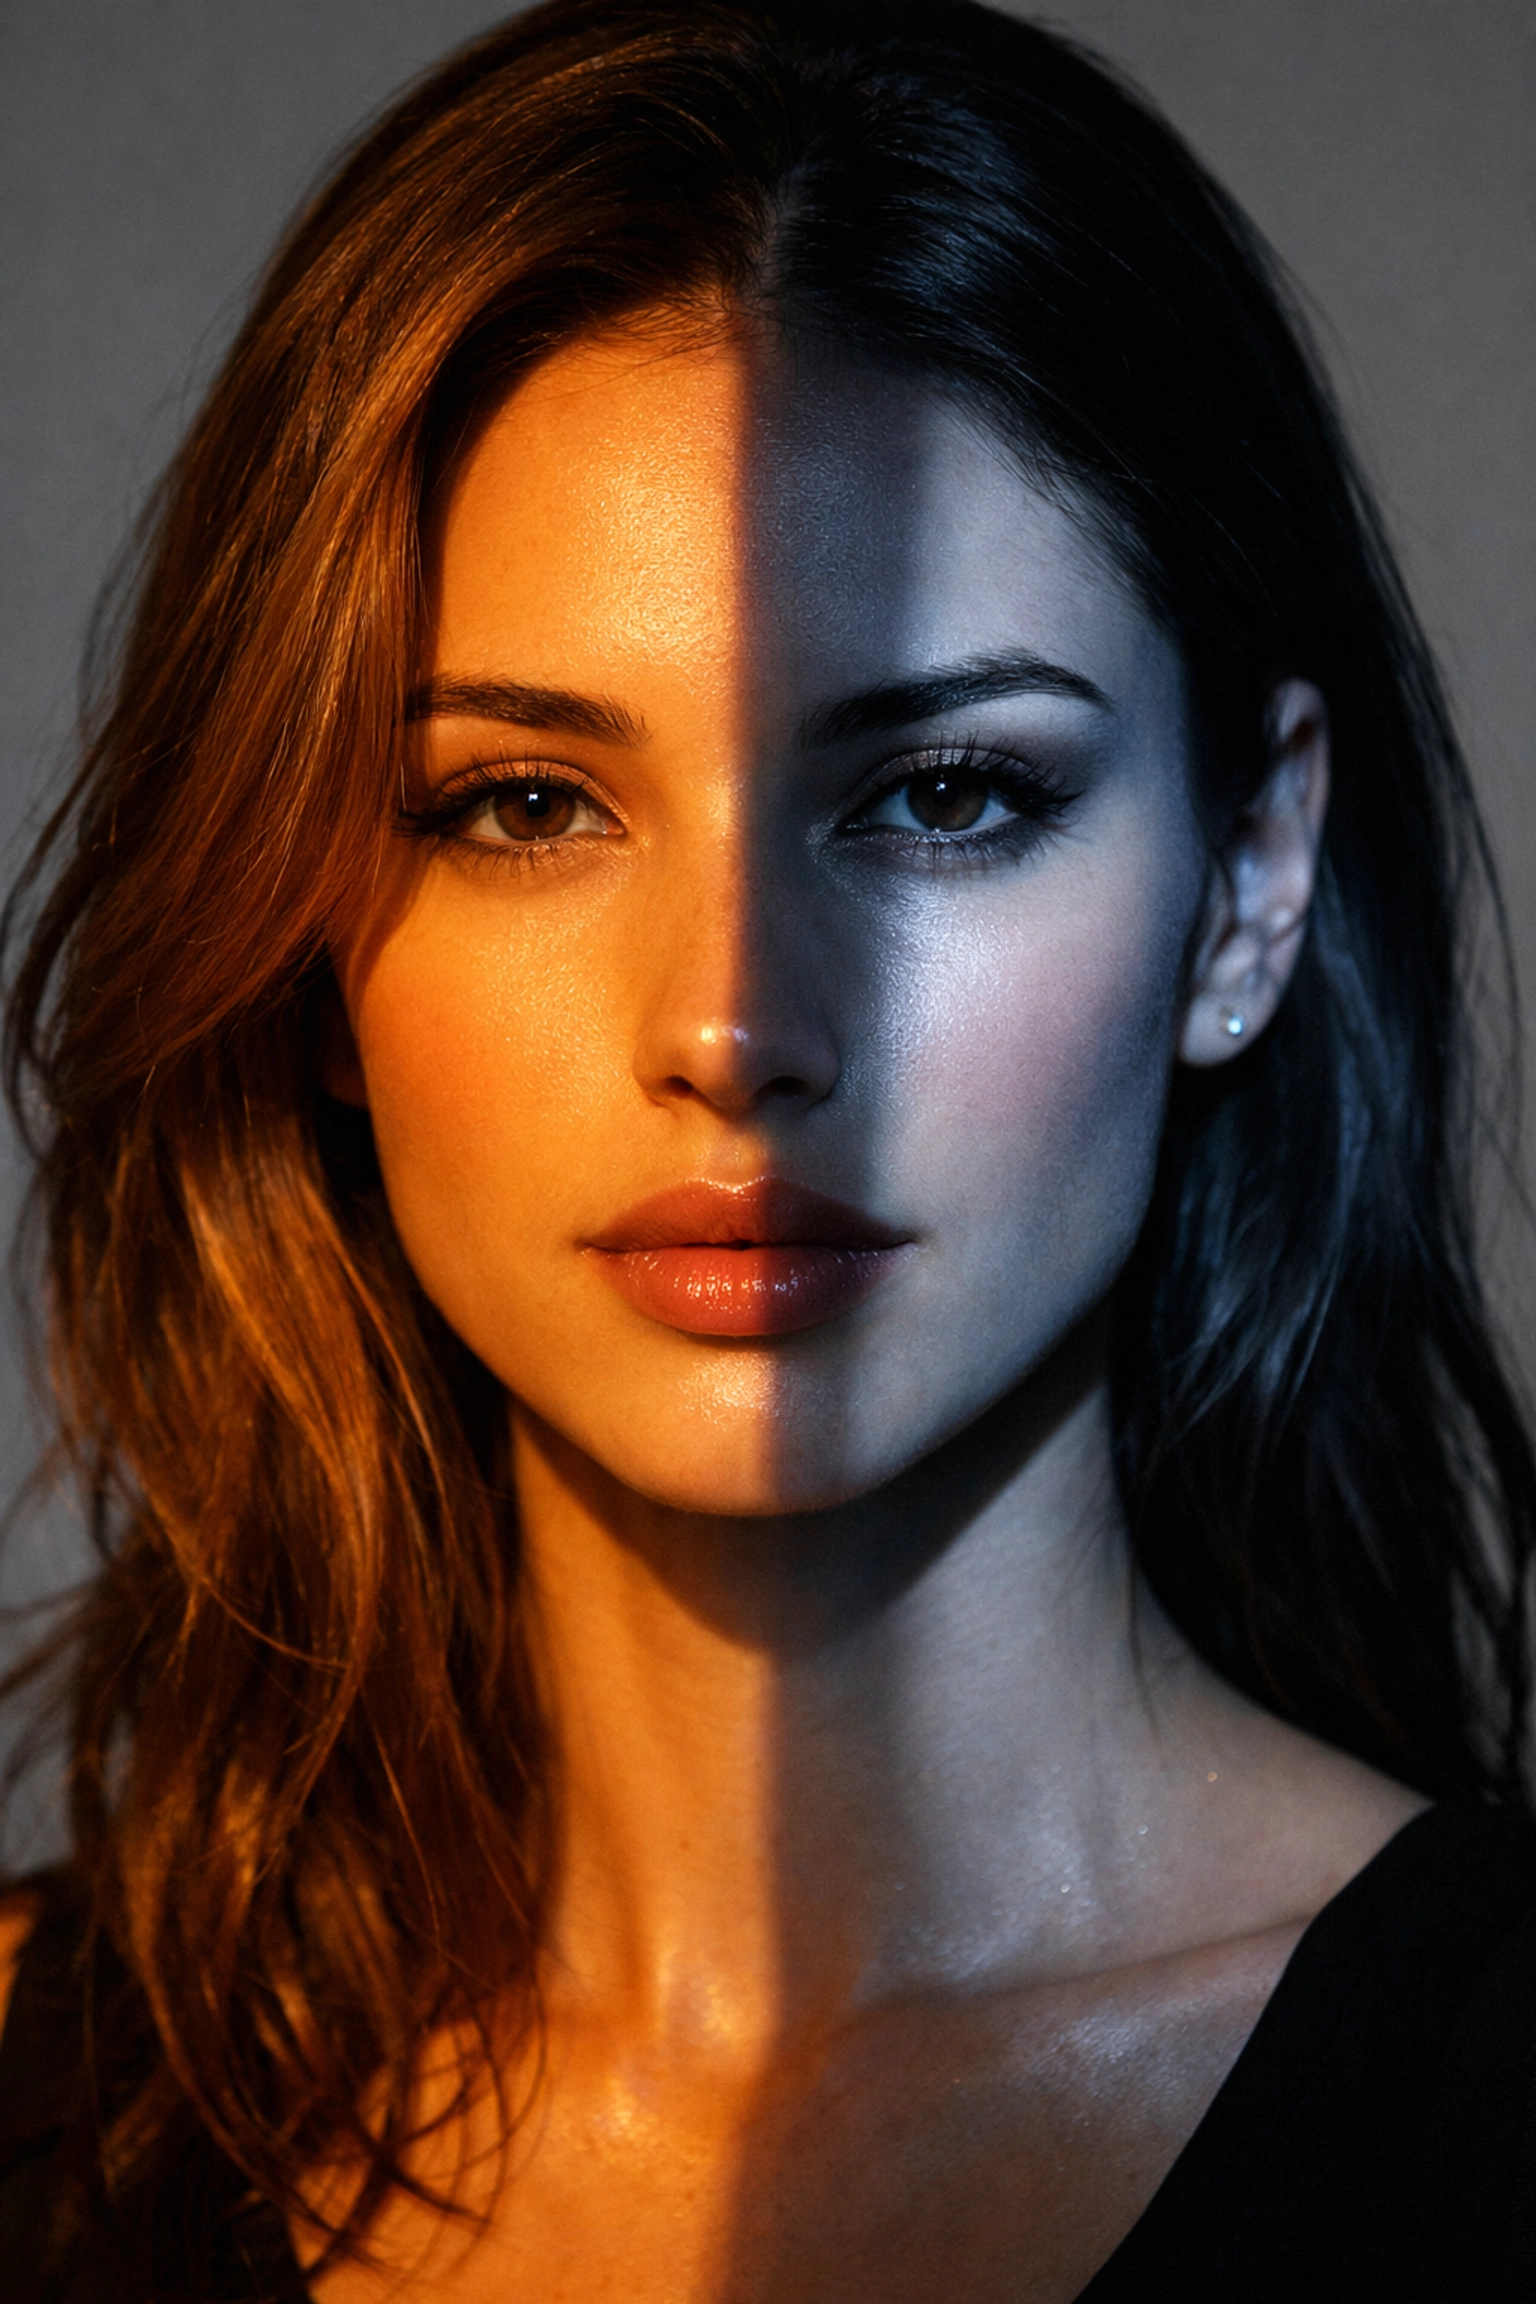
Alt Text: An ultra-realistic AI image showing the contrast between warm golden hour natural light and cool-toned studio lighting on a model's face.
Step 6: Post-Processing and Editing
Taking the photo is only 50% of the work. The other 50% happens in the digital darkroom. This is where you fix the colors, adjust the exposure, and give the image your personal "look."
While many people start with Lightroom, we highly recommend checking out Luminar. It uses AI to handle the tedious parts of editing: like masking sky or retouching skin: so you can focus on the creative side. It’s a game-changer for anyone who wants professional results without spending five hours behind a computer screen.
For more technical guides on specific editing styles, Shut Your Aperture is a fantastic resource to keep in your bookmarks.
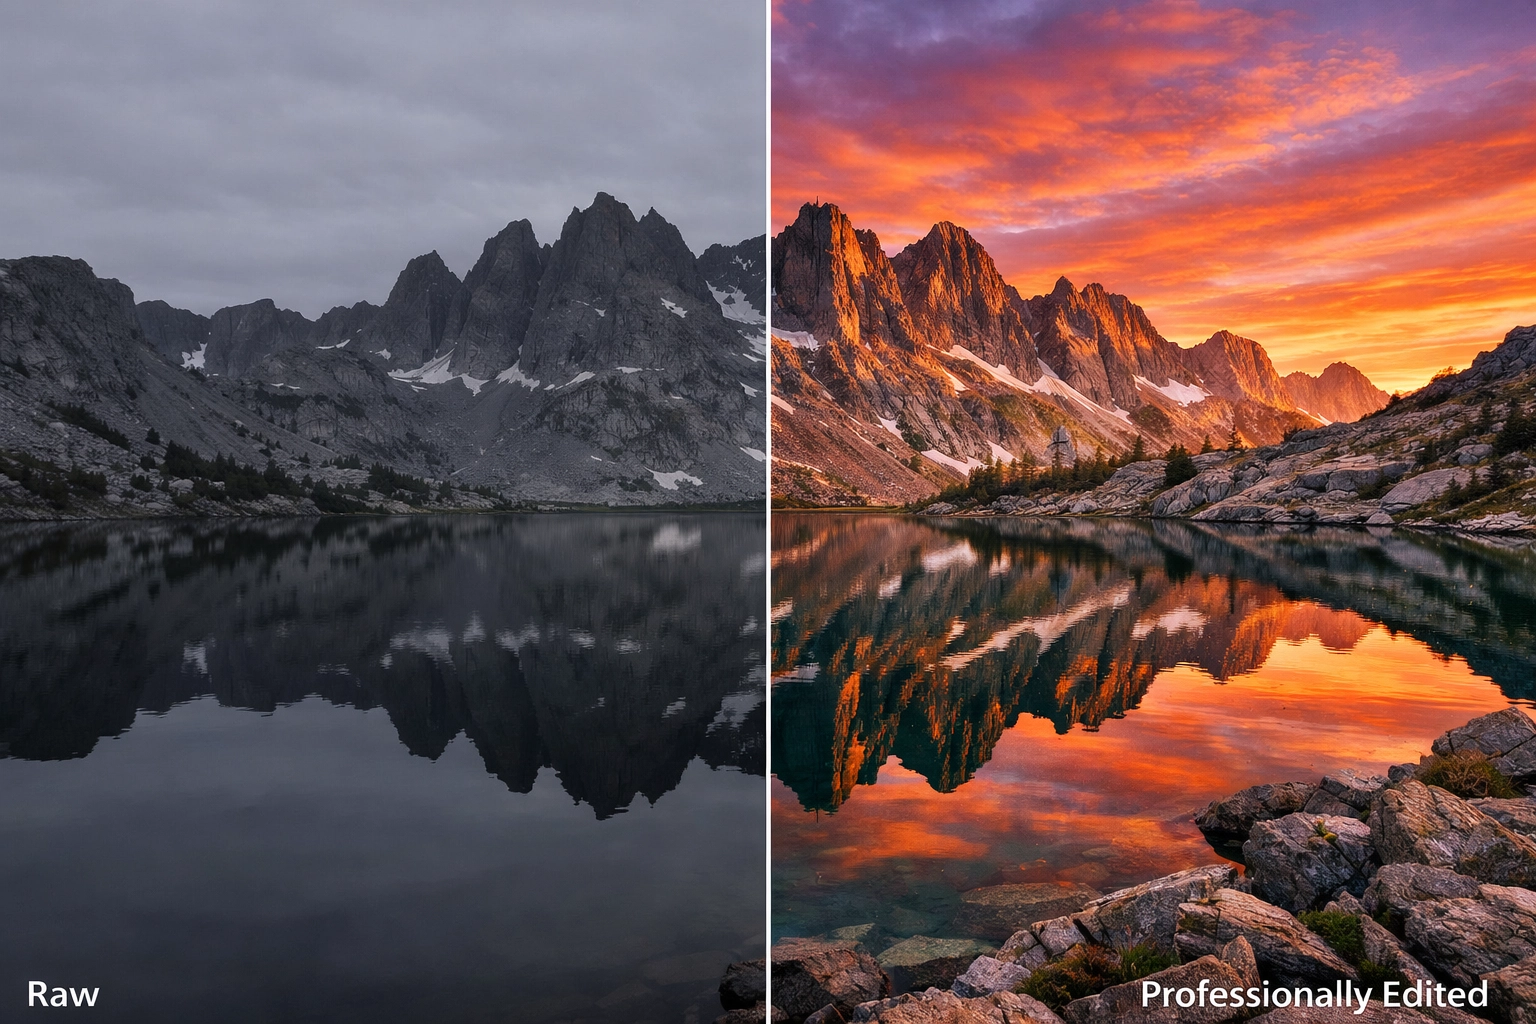
Alt Text: A split-screen AI generated image showing a "before and after" of a raw landscape photo versus a fully edited version with vibrant colors and enhanced lighting.
Step 7: The Shut Your Aperture Daily School Philosophy
Why are we building the best photography school online? Because we’re tired of the gatekeeping. Photography should be accessible.
In our daily school, we don't just give you a PDF and wish you luck. We provide:
- Daily Challenges: Practical tasks to get you out of the house and shooting.
- Critique Sessions: Real feedback on your work (the only way to actually get better).
- Community Support: A place to ask "Why is my photo grainy?" without being judged.
If you’re serious about your growth, you need to be consistent. You can’t read one tutorial and expect to be the next Annie Leibovitz. You have to put in the "shutter miles."
Advanced Techniques: Finding Your Voice
Once you’ve mastered how to use manual mode camera settings and you understand lighting, you’ll hit a plateau. This is where most people quit. To get past it, you have to find your "voice."
What do you care about? Are you a street photographer capturing the grit of the city? Are you a fine art photographer like those featured at edinfineart.com? Or maybe you want to run your own studio like edinstudios.com?
Finding your voice means experimenting. It means taking 1,000 bad photos to get one good one. It means breaking the rules you just learned.

Alt Text: A wide-angle AI generated shot of a diverse group of photographers in a workshop setting, sharing ideas and looking at camera screens.
Putting it All Together
So, what’s next?
- Grab your camera. It doesn't matter if it’s a DSLR, a Mirrorless, or a film camera.
- Go to Manual Mode. Force yourself to stay there for a week.
- Study the light. Watch how it moves across your living room during the day.
- Join the community. Don't learn in a vacuum.
We are constantly updating our site with new content. If you want to see our latest updates, check out our sitemap for a full list of recent tutorials and articles.
Photography is a journey, not a destination. There is always a new technique to learn, a new piece of gear to master, or a new way to see the world. At Shut Your Aperture, we are here to make sure you have the tools, the knowledge, and the community to make that journey worth it.
Stop overthinking and start shooting. The world is waiting to be seen through your lens. Stay tuned for our next deep dive into specialized genres, and remember: the best camera is the one you have with you( as long as you know how to use it.)