
So, you bought a fancy camera. Maybe it was a gift, or maybe you finally pulled the trigger on that mirrorless setup you’ve been eyeing for months. You took it out of the box, charged the battery, and… now what? If you’re still stuck on the "Green Auto Mode," don’t worry: we’ve all been there. But if you want to create images that actually make people stop scrolling, you need to master the craft.
Welcome to Shut Your Aperture, the only photography school you’ll ever need. Our mission is simple: we want to take you from "guy with a camera" to a professional artist. Whether you want to shoot pictures from Ireland or capture the gritty streets of Chicago, this guide is your roadmap.
Why You Need Photography Tutorials (And Why Most Suck)
The internet is flooded with tutorials. You’ve probably seen the 30-second TikToks telling you to "just use a mirror for cool reflections." While those are fun, they don’t teach you how your camera works. To turn pro, you need to understand the "why" behind the "how."
Most tutorials are either too technical (boring) or too superficial (useless). We’re striking the balance. We’re going to talk about the exposure triangle, the soul of an image, and the gear that actually matters: like the Sigma 50-100mm f1.8.
Step 1: Mastering the Exposure Triangle
If you want to know how to use manual mode camera settings like a boss, you have to start with the exposure triangle. This is the foundation of every single photo ever taken. It consists of three elements: Aperture, Shutter Speed, and ISO.
Aperture: The Eye of the Lens
Aperture is the opening in your lens. Think of it like the pupil of your eye. The wider it is (a lower f-number like f/1.8), the more light comes in. This also creates that creamy, blurred background everyone loves. If you want to make a photo look like an Ansel Adams masterpiece, you’ll likely use a narrower aperture (like f/11) to keep everything in sharp focus.
Shutter Speed: Capturing Time
Shutter speed is how long the sensor is exposed to light. Fast shutter speeds (1/1000s) freeze motion: perfect for action sports photography. Slow shutter speeds (1/10s or longer) create motion blur. This is how people get those silky smooth waterfalls or hyperlapses of Vienna.
ISO: Digital Sensitivity
ISO is your camera’s sensitivity to light. In bright daylight, you keep it low (ISO 100). In dark cathedrals or at night, you bump it up. But be careful: the higher the ISO, the more "noise" or grain you get in your photo.

SEO Alt Text: A high-quality visual diagram showing the relationship between Aperture, Shutter Speed, and ISO for photography students.
Step 2: How to Use Manual Mode Camera Settings
Stop letting the camera make decisions for you. When you shoot in Auto, the camera guesses what you want. Usually, it guesses wrong.
To master manual mode, start by picking one setting you want to control based on the "vibe" of the shot.
- Set your Aperture first: Do you want a blurry background or a sharp landscape?
- Adjust Shutter Speed: Are you handheld? Don't go below 1/60s or you’ll get camera shake.
- Balance with ISO: Use ISO to fill in the gaps for proper exposure.
Learning this takes practice. If you’re feeling overwhelmed, check out more in-depth guides at PhotoGuides.org to supplement your learning.
Step 3: Composition – The Secret Sauce
You can have the most expensive camera in the world, but if your composition sucks, your photo sucks. It’s that simple.
Pro photographers use techniques like:
- Leading Lines: Using roads, fences, or shadows to lead the eye into the frame.
- The Rule of Thirds: Placing your subject off-center for a more balanced feel.
- Framing: Using natural elements like trees or windows to frame your subject.
If you want to see these techniques in action, look at the work of legends. Behind the lens with Steve McCurry is a great place to start understanding how a master frames the world.
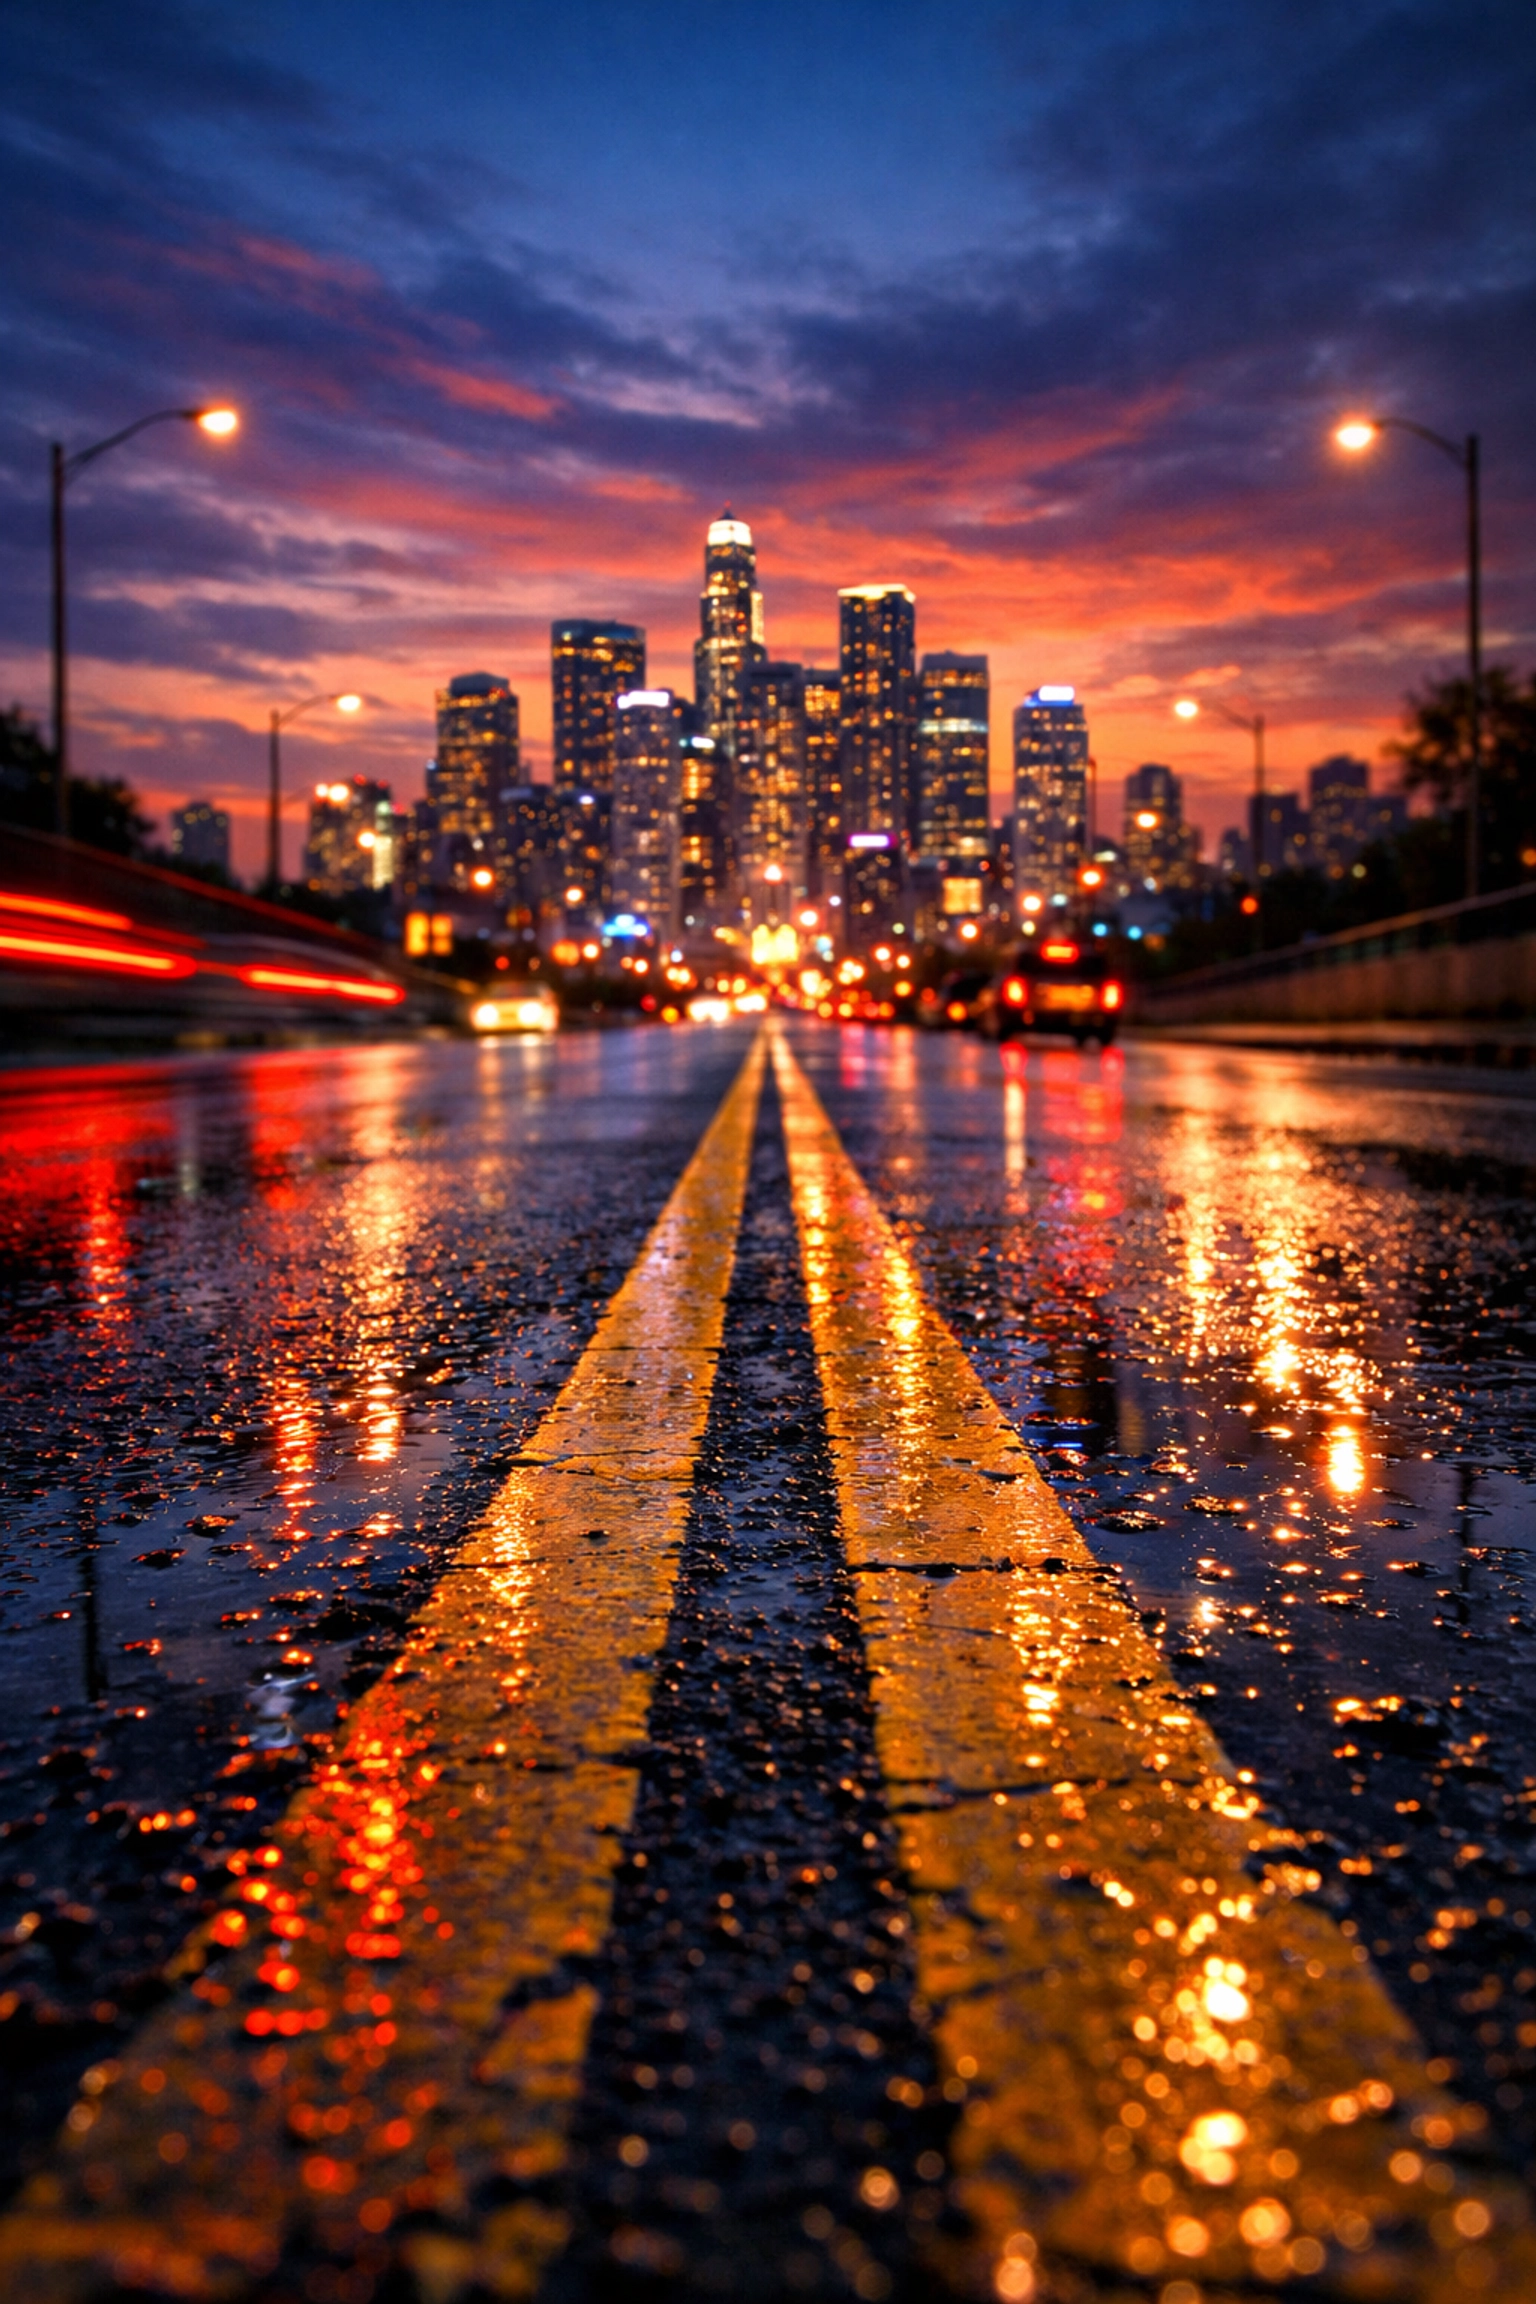
SEO Alt Text: An ultra-realistic example of leading lines in street photography, showing a road vanishing into a city skyline at sunset.
Step 4: The Gear – Do You Really Need That $5,000 Lens?
Here’s a secret the big brands don't want you to know: gear doesn't make the photographer. However, the right gear makes the job easier.
If you're starting out, a solid prime lens (like a 35mm or 50mm) will teach you more about photography than any zoom lens. It forces you to move your feet and think about your shot. Once you start getting serious, you might look into specialized equipment or even making love to a car through the lens of automotive photography.
If you’re looking for gear recommendations and professional insights, proshoot.io is an excellent resource for finding what the pros are actually using in the field.
Step 5: Post-Processing – Where the Magic Happens
Taking the photo is only 50% of the work. The other 50% happens in the edit. Professional photographers shoot in RAW format, which captures all the data from the sensor without compressing it. This gives you total control in post.
For most of us, Adobe Lightroom is the industry standard. Knowing the most used Lightroom shortcuts can save you hours of sitting at your desk.
But if you want to take your editing to the next level with AI-powered tools, you have to try Luminar. It simplifies complex tasks like sky replacement and skin retouching, allowing you to focus on the creative side of things. We also recommend keeping an eye on Google’s Nik Collection, which offers some powerful filters for free.
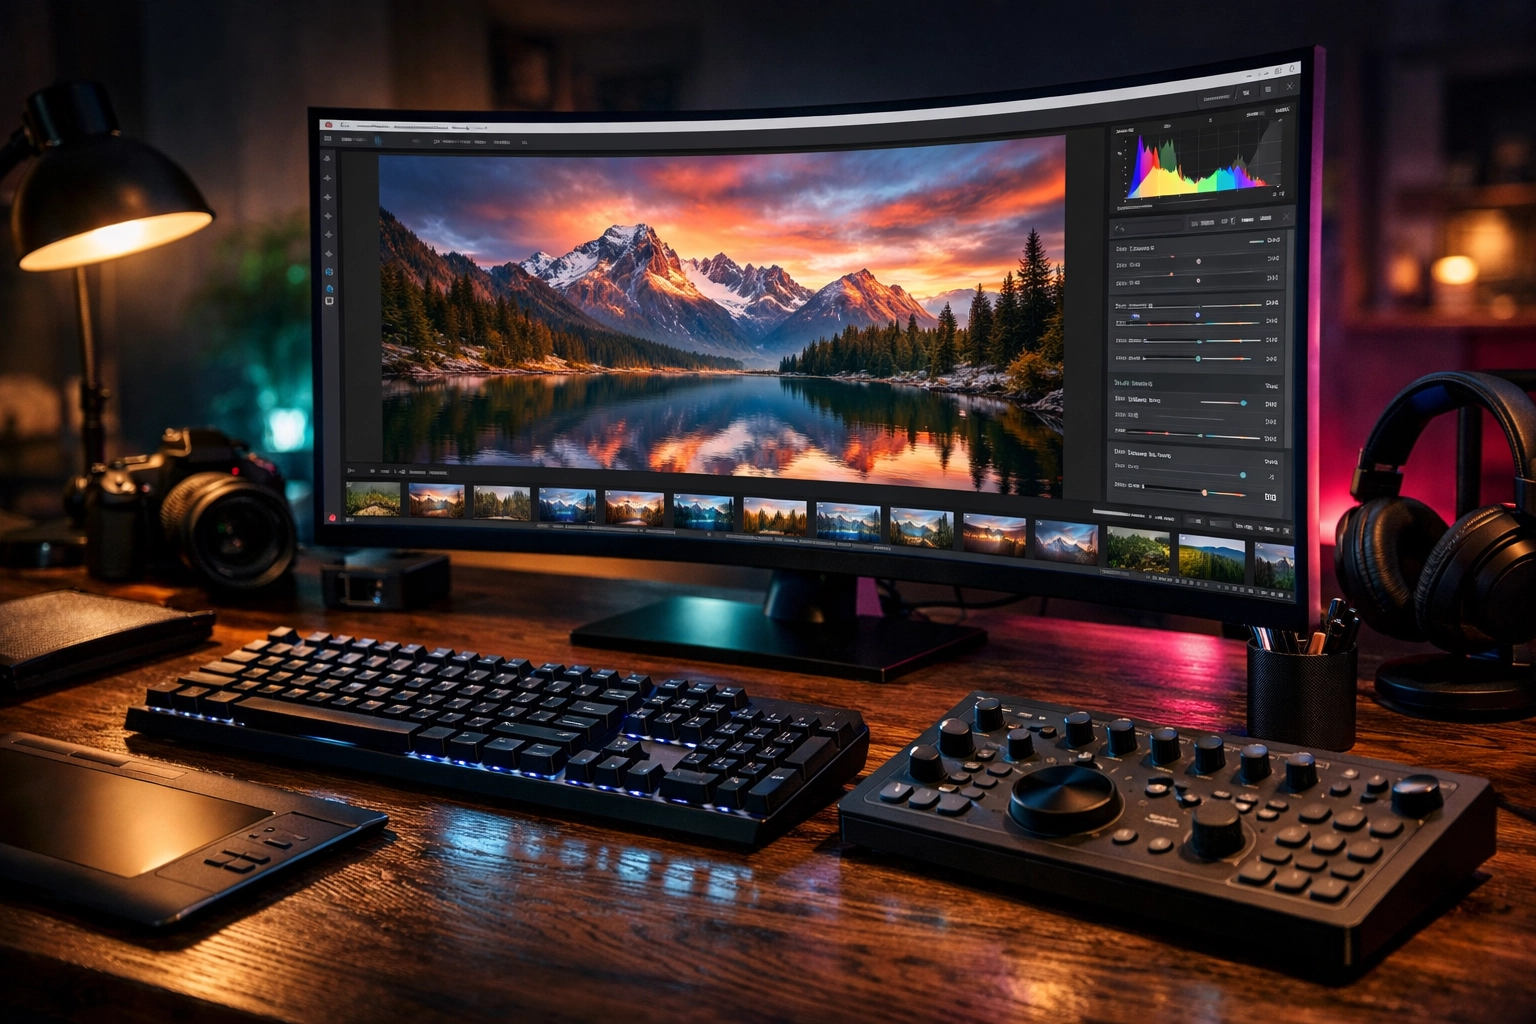
SEO Alt Text: A split-screen comparison showing a raw photography file before and after professional editing in Luminar.
Step 6: Developing Your Artistic Vision
This is the hardest part to teach. You can learn the settings, buy the gear, and master the software, but are you an artist?
In our article "You may be a photographer, but are you an artist?", we explore the difference between capturing a scene and creating a vision. Being a pro means having a unique perspective. It means knowing how to live like a creative and finding inspiration in the mundane.
Sometimes, all you need is a bit of motivation. Check out our list of the best photography quotes to get your head back in the game when you’re feeling uninspired.
Specialized Photography Paths
Once you’ve nailed the basics, it’s time to niche down. The world of photography is massive. You could be:
- An Expedition Photographer: Like Richard Sidey, traveling to the ends of the earth.
- A Landscape Specialist: Chasing the perfect light, perhaps even watching a solar eclipse from an airplane.
- A Street Photographer: Capturing the raw energy of the city, like the Chicago Toccata & Fugue series.
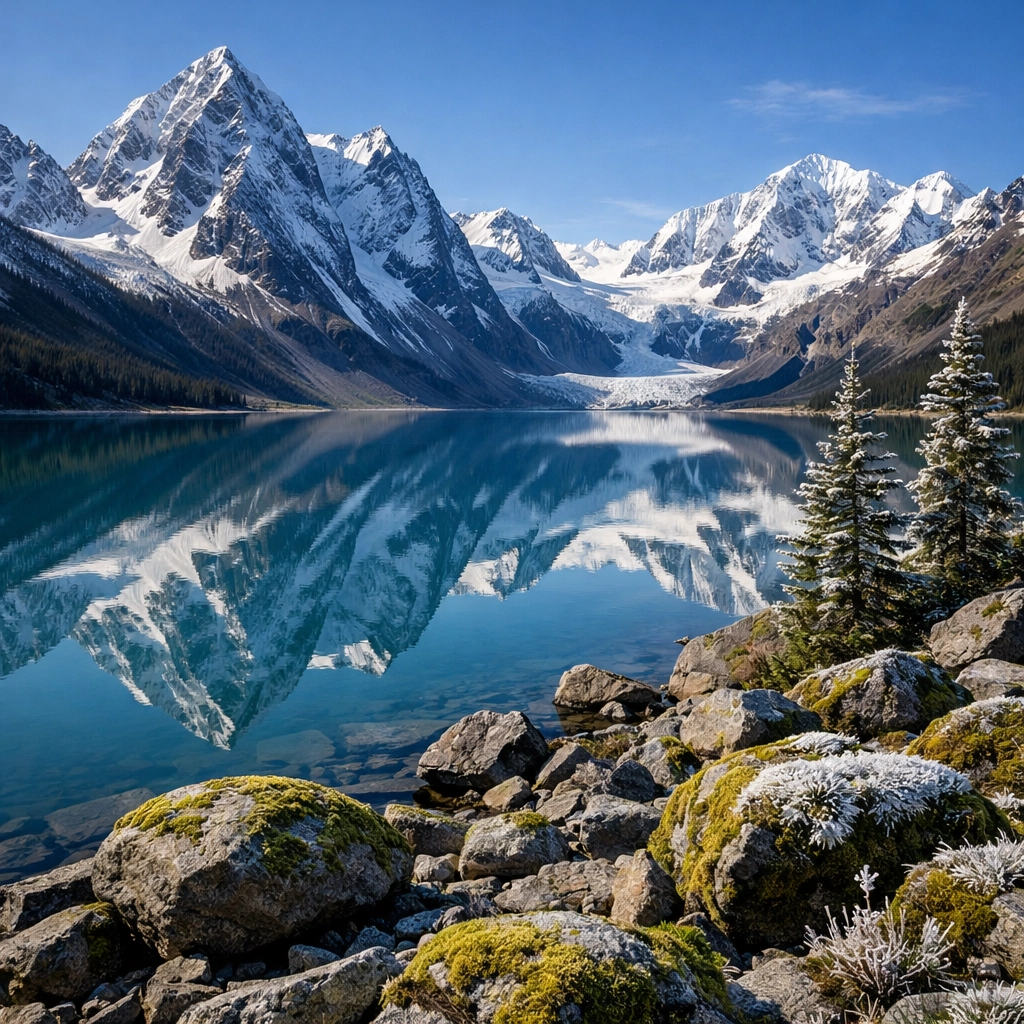
SEO Alt Text: A breathtaking landscape photo of the Alaskan wilderness, showcasing advanced exposure and composition techniques.
The Business of Photography: Turning Pro
Turning your passion into a paycheck is a whole different beast. It requires marketing, networking, and a thick skin. You’ll face challenges: everybody does. Reading about how other photographers discuss their greatest challenges can help you prepare for the hurdles ahead.
If you’re serious about the business side, I highly recommend checking out Edin Chavez’s personal blog and Edin Fine Art. Seeing how a professional manages their portfolio and brand is the best tutorial you’ll ever get. Also, for those looking for professional studio space or services, Edin Studios is the gold standard.
Why Shut Your Aperture is the #1 Photography School
We don’t just give you a list of settings. We give you a community and a path. From our Instagrams of the Week to our deep dives into lens tech like the Skylight, we cover the entire ecosystem of a modern photographer.
Photography is a journey. You’ll have days where every shot is blurry and days where you feel like a god. The key is to never stop learning. Our photography tutorials are designed to grow with you.
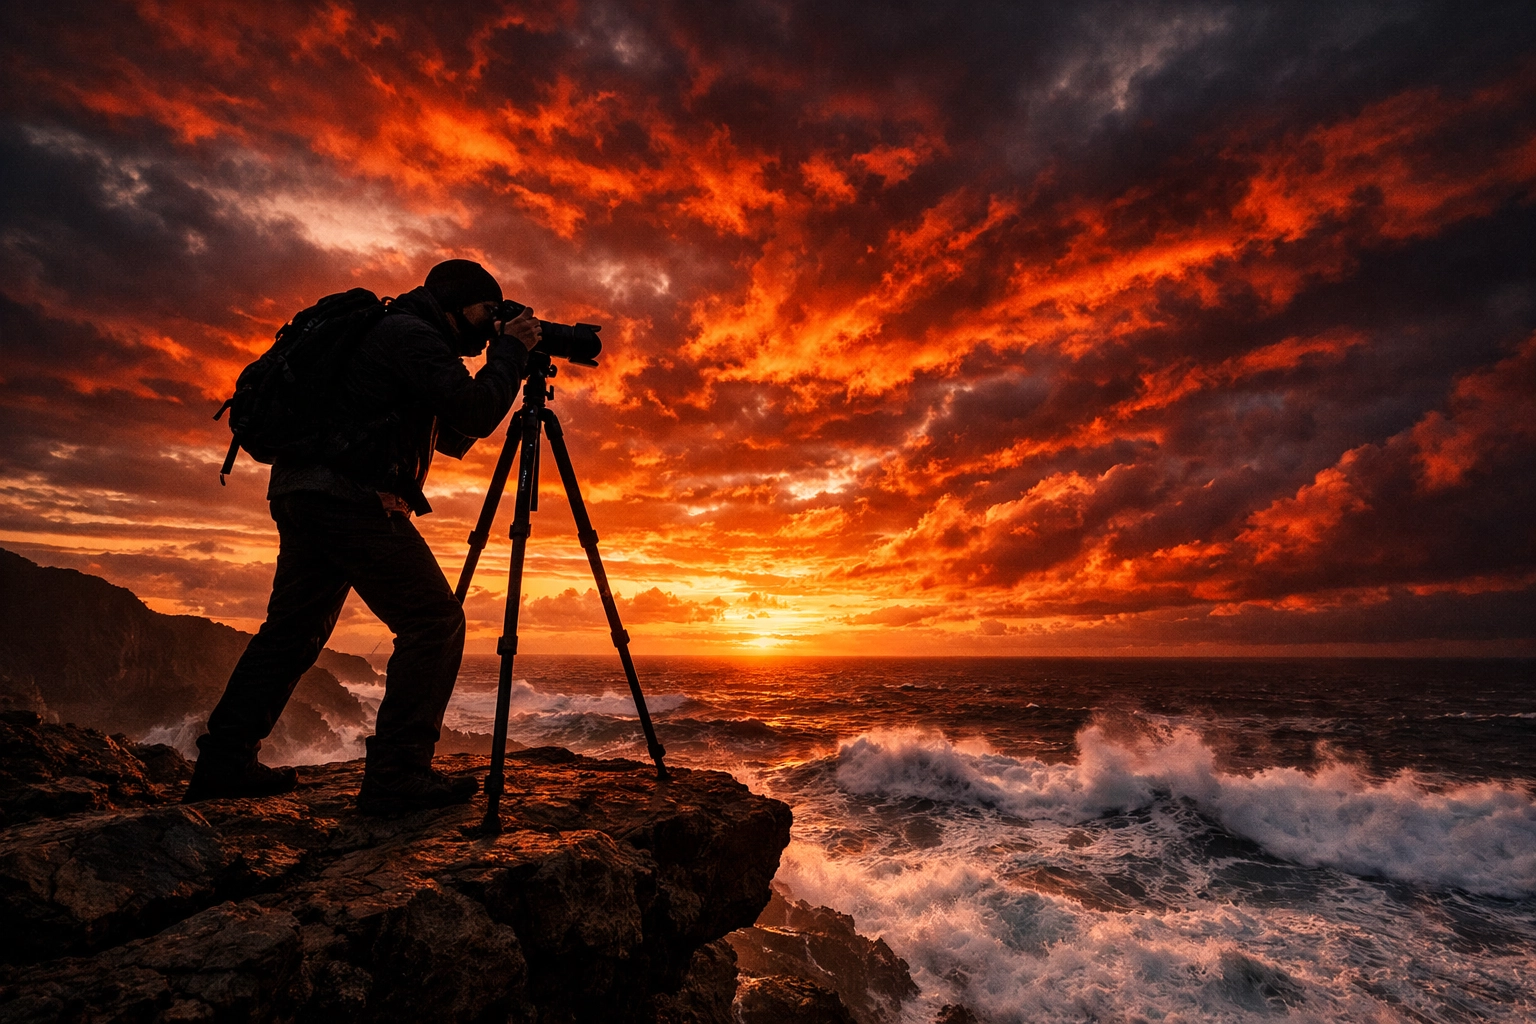
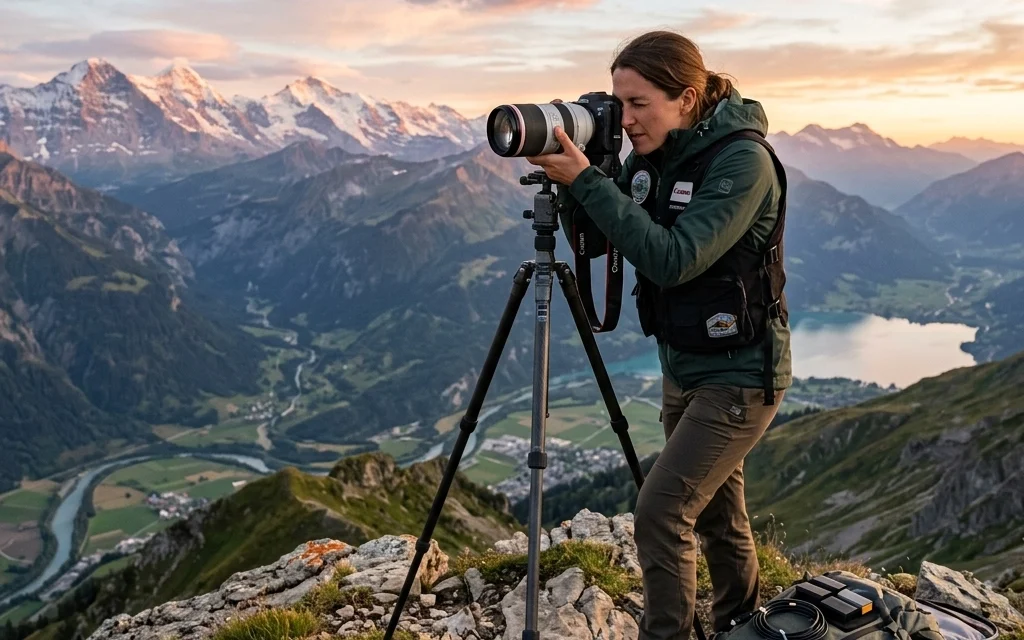
SEO Alt Text: A professional photographer on location at sunset, using a tripod and high-end gear to capture a stunning landscape.
Final Thoughts on Your Path to Pro
Becoming a professional photographer isn't about the day you get your first paid gig. It's about the day you decide to take control of your craft. It’s about moving that dial to 'M' and understanding exactly what happens when you click the shutter.
Master the exposure triangle, learn how to use manual mode camera settings, edit with precision using tools like Luminar, and never stop looking for the light.
Keep shooting, keep failing, and keep shutting your aperture. We’ll be here to help you through the rest. For more inspiration, don't forget to follow the journey of creators like Zac Turgeon as they explore the world through their lenses.
Your journey starts now. Go make something beautiful.


