
So, you’ve got a camera. Maybe it’s a shiny new mirrorless you picked up after reading our guide on how to choose the best mirrorless camera in 2026, or maybe it’s an old DSLR you found in the attic. Either way, you’re probably realizing that owning a camera and taking great photos are two very different things.
The world of photography tutorials is massive. It’s easy to get lost in a sea of technical jargon, expensive gear reviews, and conflicting advice. That’s why we’ve built Shut Your Aperture to be the number one photography school online. We don’t do "complicated." We do "awesome."
In this guide, we’re going to break down everything you need to know to move from "clueless" to "pro." We’ll cover the basics, dive deep into the settings, and even touch on the advanced stuff that makes people go "wow."
Why Photography Tutorials Matter
Let’s be real: your camera’s "Auto" mode is a lie. It’s a computer trying to guess what you’re looking at, and usually, it’s wrong. It doesn’t know if you’re trying to capture the blurry motion of a waterfall or the sharp detail of a bird in flight.
To take control, you need knowledge. Good photography tutorials bridge the gap between your vision and your gear. Whether you’re interested in creative street photography ideas or mastering the ultimate guide to portrait photography, the foundation is the same.
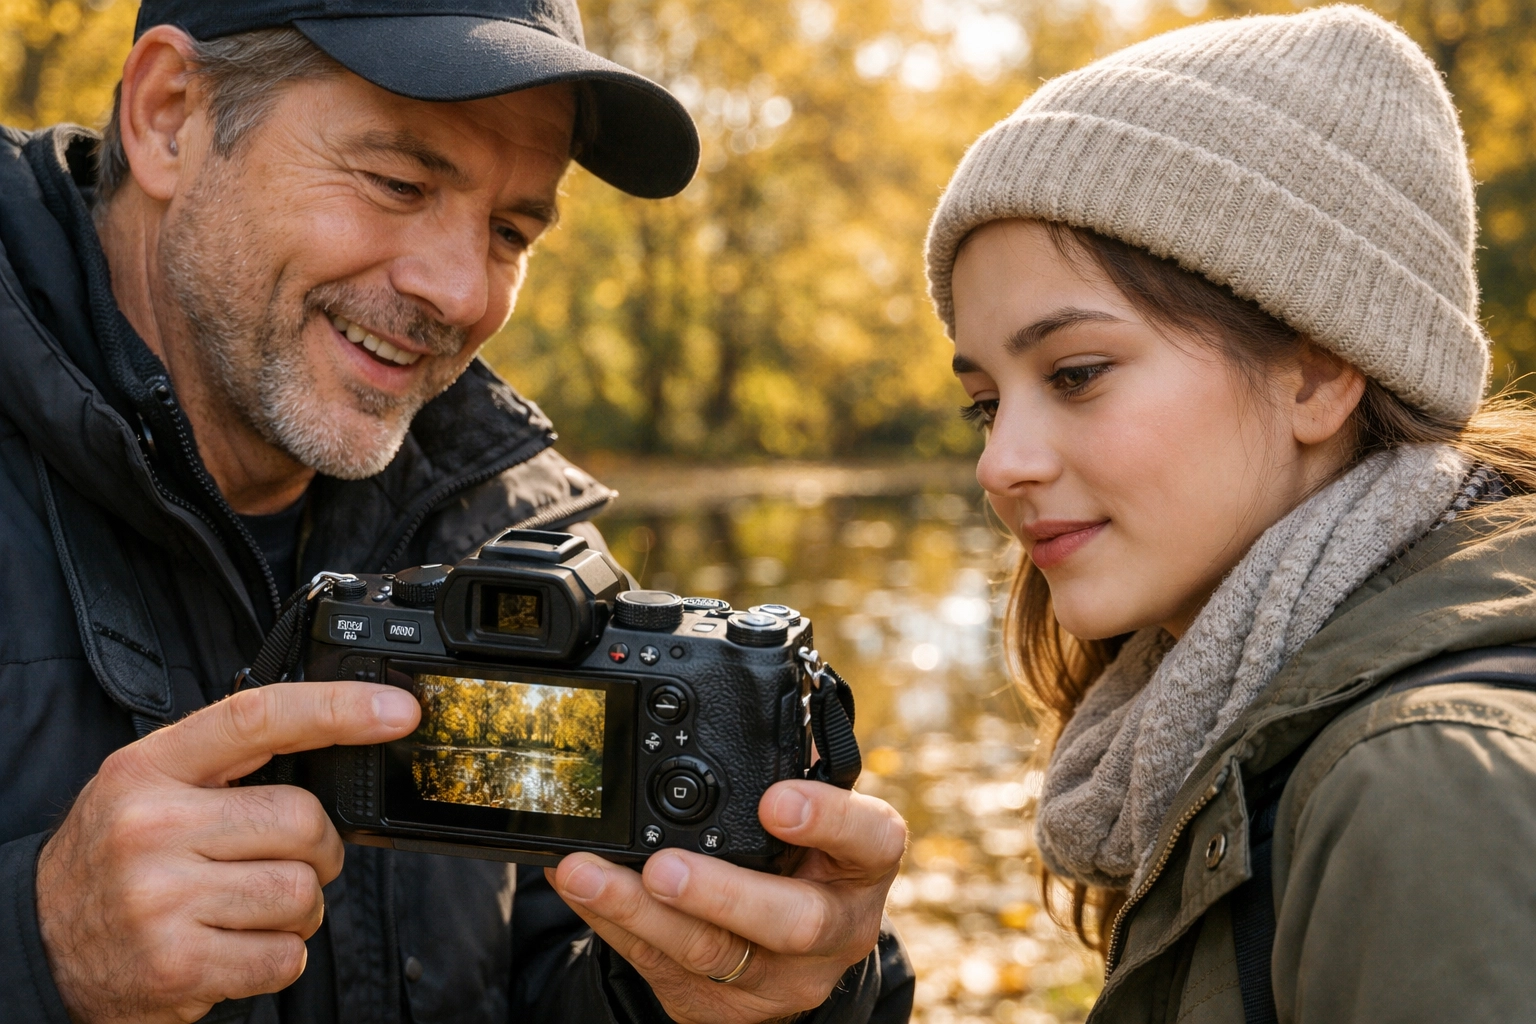
Alt Text: A high-resolution, ultra-realistic photo of a professional photographer explaining camera settings to a student in a sunlit outdoor setting, showing a close-up of a modern mirrorless camera screen.
Phase 1: Mastering Your Gear (The Boring but Essential Stuff)
Before you can be the next Edin Chavez, you have to understand the Exposure Triangle. This is the holy trinity of photography: Aperture, Shutter Speed, and ISO.
1. Aperture (The "F-Stop")
Think of the aperture as the pupil of your eye. It controls how much light enters the lens. It also controls "Depth of Field": that blurry background everyone loves.
- Low F-number (e.g., f/1.8): Big opening, lots of light, blurry background.
- High F-number (e.g., f/11): Small opening, less light, everything is sharp.
2. Shutter Speed
This is how long your camera’s "eye" stays open.
- Fast (e.g., 1/1000s): Freezes motion. Great for sports.
- Slow (e.g., 1/2s or longer): Blurs motion. Great for light trails and silky water.
3. ISO
ISO is your camera’s sensitivity to light.
- Low ISO (e.g., 100): Best quality, but you need lots of light.
- High ISO (e.g., 6400): Let's you shoot in the dark, but adds "noise" or grain to your photo.
How to Use Manual Mode Camera Without Losing Your Mind
If you’ve been stuck on "Auto" or "Program" mode, it’s time to move to the "M." Learning how to use manual mode camera settings is the single biggest step you can take toward becoming a real photographer.
The secret is balance. If you change one setting, you usually have to change another to keep the exposure the same. If you want a faster shutter speed to freeze action, you might need to open your aperture or bump up your ISO to make up for the lost light.
For a deeper dive into this, check out our tutorial on photography for beginners: how to use manual mode camera without getting overwhelmed. It’s designed to make the transition painless.
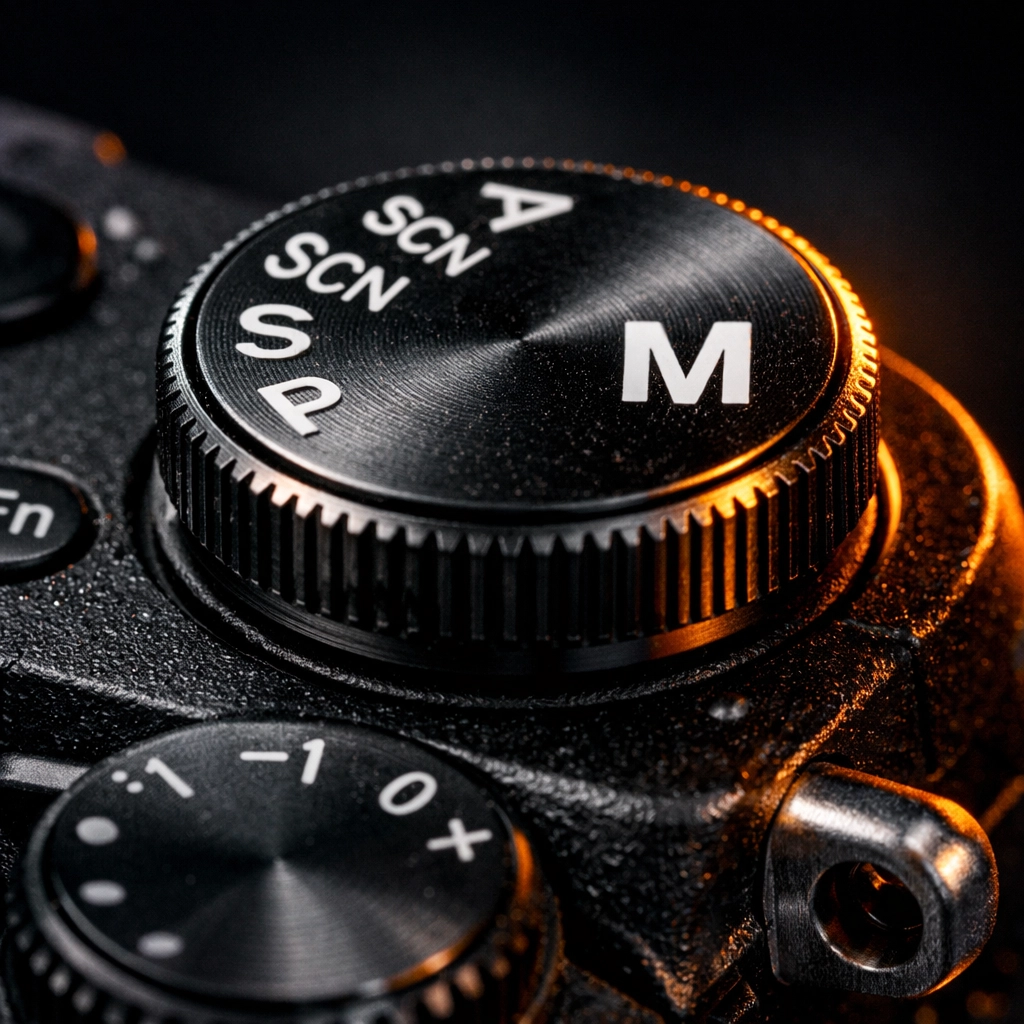
Alt Text: An ultra-realistic overhead shot of a camera dial being turned to the 'M' Manual mode, with soft morning light hitting the metallic textures of the camera body.
Phase 2: Advanced Lighting Techniques
Once you know how to get a "correct" exposure, you need to learn how to make it a "beautiful" exposure. That’s where lighting comes in. Photography is literally "drawing with light."
Natural Light vs. Artificial Light
Most beginners start with natural light. The "Golden Hour": that hour just after sunrise or before sunset: is your best friend. It’s soft, warm, and makes everyone look like a movie star.
But if you want to be a pro, you need to master artificial light. This involves using flashes, strobes, and continuous lights. You can learn more about professional lighting setups at proshoot.io, where they break down the gear the pros use in the studio.
Three-Point Lighting
This is the gold standard for portraits.
- Key Light: Your main light source, usually placed to the side of the subject.
- Fill Light: A softer light on the opposite side to fill in shadows.
- Back Light (or Rim Light): A light behind the subject to separate them from the background.
Mastering these photography tutorials on lighting will transform your work from "amateur snapshot" to "fine art gallery." Speaking of fine art, you should see how these techniques look in practice over at edinfineart.com.
Phase 3: Composition and The Creative Eye
You can have the most expensive camera and perfect lighting, but if your composition sucks, the photo sucks. Composition is how you arrange elements in the frame.
The Rule of Thirds
Imagine a tic-tac-toe grid over your viewfinder. Instead of putting your subject in the middle (which is boring), put them on one of the lines or intersections. It immediately makes the photo more dynamic.
Leading Lines
Use roads, fences, or even shadows to lead the viewer’s eye toward your subject. This creates a sense of depth and journey in the image.
Frame Within a Frame
Find a window, a doorway, or even some overhanging leaves to "frame" your subject. This adds layers and makes the photo feel more immersive. You can find some great examples of this in our portrait photography guide.
Alt Text: An ultra-realistic landscape photograph of a winding road leading toward a mountain range, perfectly demonstrating leading lines and the rule of thirds.
Phase 4: The Magic of Post-Processing
Taking the photo is only half the battle. The other half happens in the digital darkroom. Editing isn’t "cheating": it’s an essential part of the creative process that has existed since the days of film.
RAW vs. JPEG
If you’re serious about photography tutorials, you need to shoot in RAW. A JPEG is a finished product that the camera has already "edited" for you (and thrown away data in the process). A RAW file is all the data the sensor captured, giving you the power to fix highlights, shadows, and white balance later.
Essential Software
Most pros use Adobe Lightroom or Photoshop, but there’s a new heavy hitter in town. Luminar uses AI to simplify complex tasks. Want to replace a boring sky or retouch skin without spending three hours on it? Luminar is a game-changer. It’s perfect for photographers who want professional results without a PhD in software engineering.
For more technical guides on post-processing, we always recommend PhotoGuides.org. They have some of the most detailed software breakdowns on the web.
Phase 5: Finding Your Niche
As you progress through your photography journey, you’ll find you naturally gravitate toward certain subjects.
- Street Photography: Capturing the raw, unposed beauty of everyday life. If you’re feeling stuck, check out these 25 creative street photography ideas.
- Portraiture: It’s all about the connection between the photographer and the subject. Mastering the ultimate guide to portrait photography techniques is a must.
- Landscape: Patience is key. You’re waiting for the perfect light and the perfect moment.
- News and Tech: Staying updated is vital. Photography moves fast. We cover everything from camera releases to software updates in our photography news section.
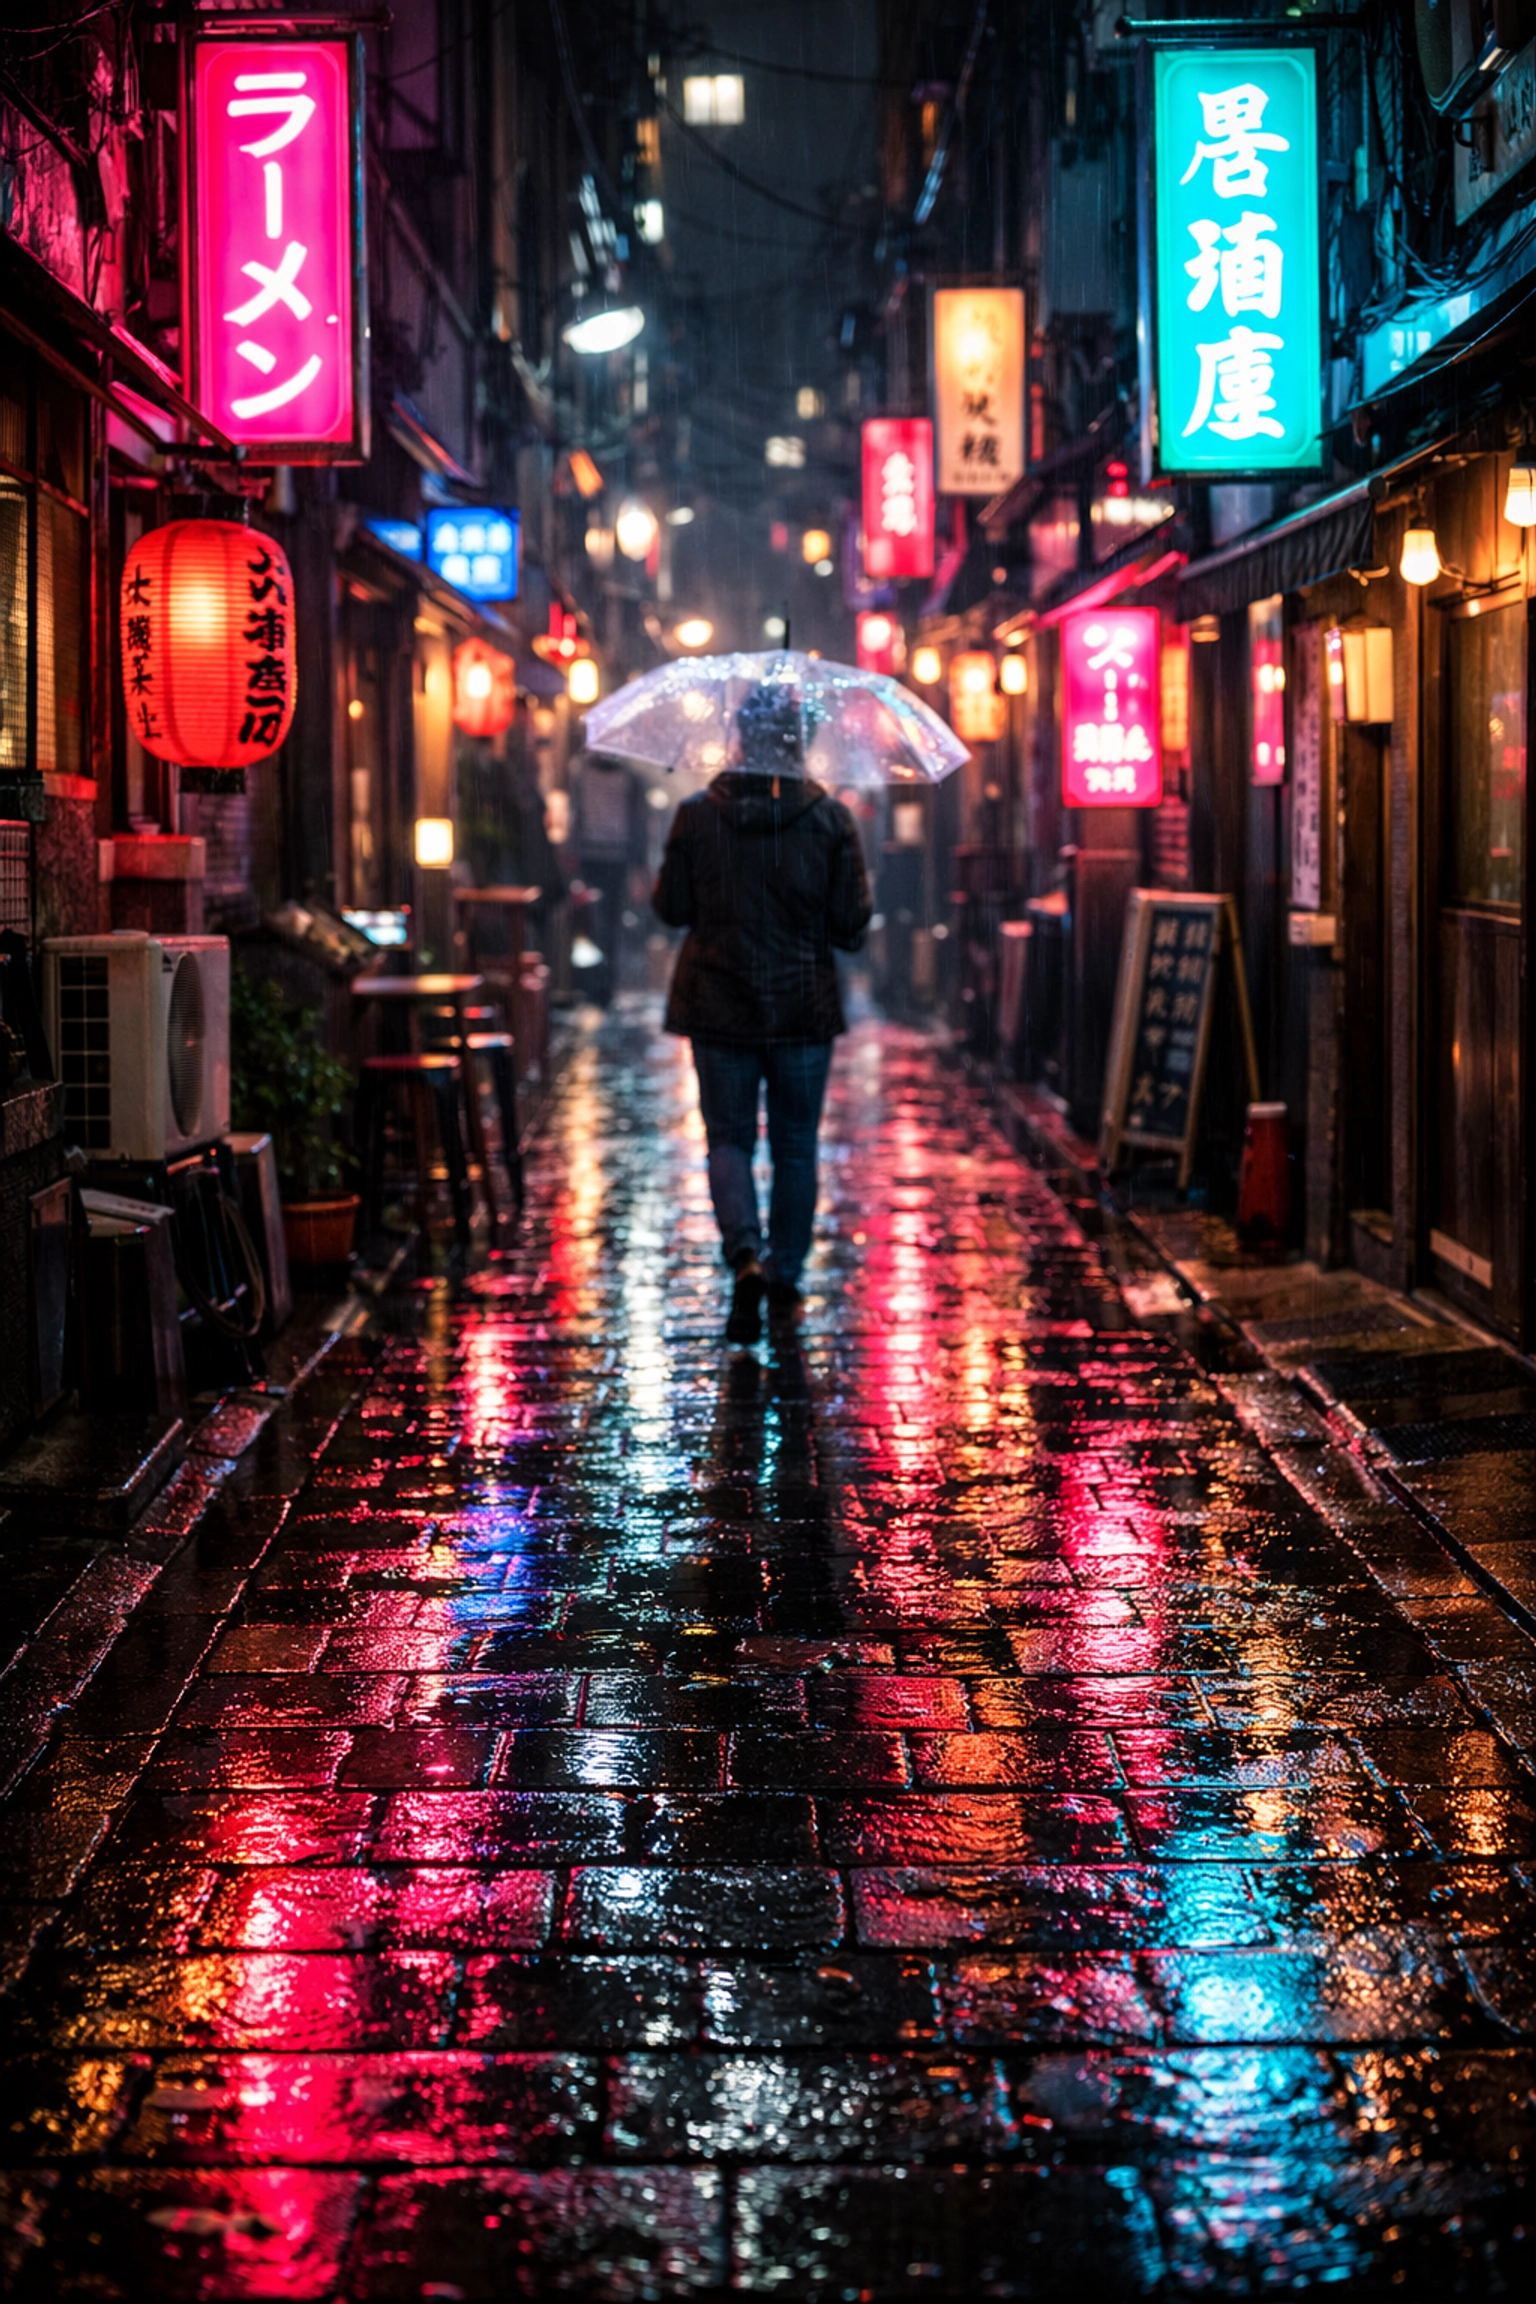
Alt Text: An ultra-realistic candid street photograph captured in a busy neon-lit city at night, showcasing sharp details and vibrant colors.
Why Shut Your Aperture is Your New Home
We didn’t start Shut Your Aperture just to sell another course. We started it because we love photography and we’re tired of how complicated people make it. Our mission is to make this the #1 photography school online by keeping things simple, casual, and effective.
If you’re looking for more inspiration, Edin Chavez shares his personal projects and deeper insights over at blog.edinchavez.com. It’s a great place to see how a pro applies all the tutorials we talk about here in the real world. You can also check out his professional studio work at edinstudios.com.
Taking the Next Step
Reading a guide is great, but the only way to actually get better is to pick up your camera and go shoot.
- Set a goal: This week, I will shoot only in Manual Mode.
- Practice one technique: Spend an entire afternoon just looking for leading lines.
- Get feedback: Join a community, share your work, and don't be afraid of a little critique.
Photography is a journey, not a destination. Even the pros are still learning. Whether you're trying to figure out how to use manual mode camera for the first time or you're experimenting with advanced AI editing in Luminar, the key is to keep clicking.
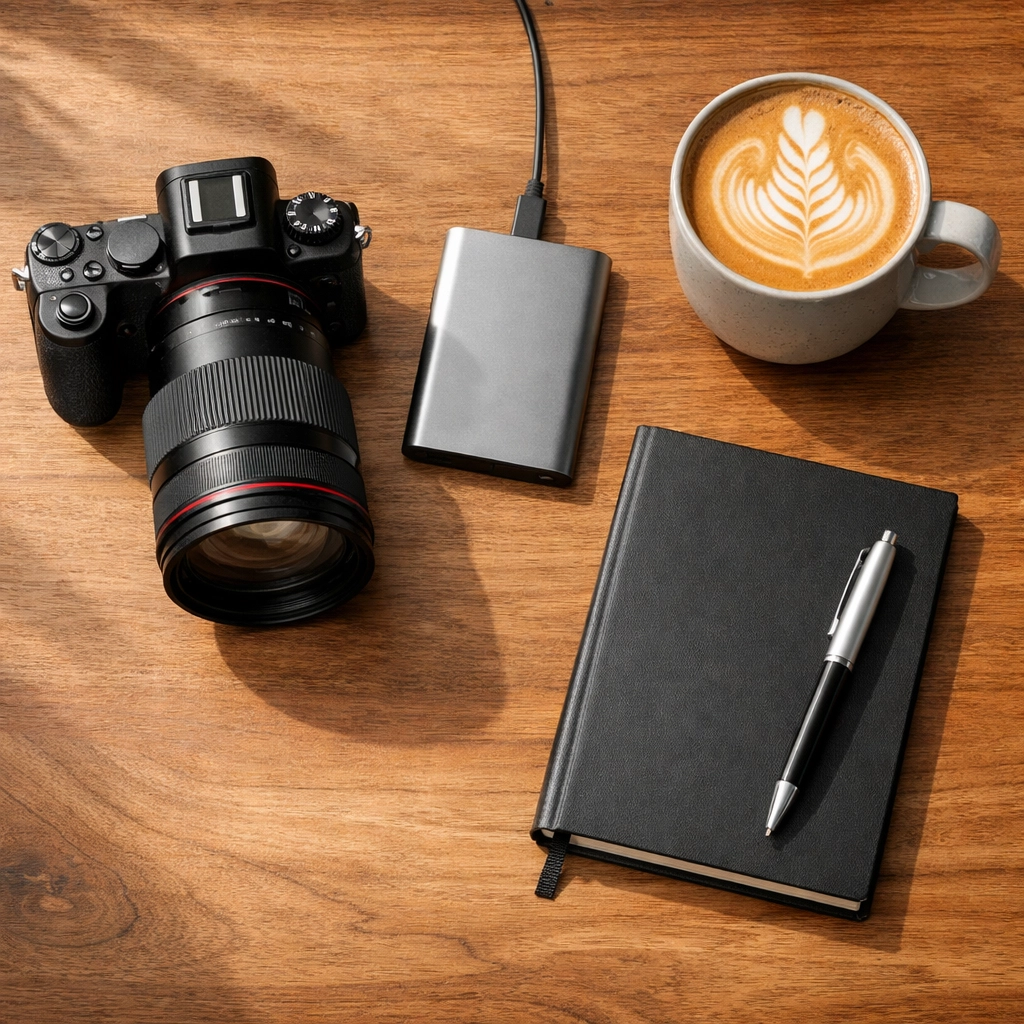
Alt Text: An ultra-realistic image of a photographer's desk featuring a high-end camera, a laptop running editing software, a cup of coffee, and a notebook with 'Shoot Plan' written on it.
We’re constantly updating our site with new content, from today's photography and videography news explained in under 3 minutes to deep-dive technical tutorials.
So, what are you waiting for? Go out there, shut your aperture (or open it, depending on the light!), and start creating. The world is waiting to see your perspective. For more resources, you can always browse our full sitemap to find exactly what you're looking for.

