
Let’s be real for a second. That little “M” on your camera dial is intimidating. It’s sitting there, tucked between “Auto” and those other confusing letters, looking like a secret club you’re not invited to yet. Most people buy a fancy camera, get overwhelmed by the buttons, and leave it on the green "Auto" mode forever.
There’s no shame in that, modern cameras are incredibly smart. But if you want to stop taking "good" photos and start taking "wow" photos, you have to learn how to use manual mode camera settings. Mastering manual mode is the difference between letting the camera guess what you want and actually telling the camera what to do.
Welcome to Manual Mode 101. We’re going to break down the science of light into something simple, fun, and totally doable. By the end of this guide, you’ll be ready to flip that dial to “M” and never look back.
Why Manual Mode is a Game Changer
When you’re in Auto mode, the camera makes a bunch of decisions for you. It looks at the scene, averages out the light, and hopes for the best. Sometimes it gets it right. Often, it gets it wrong: especially in tricky lighting like sunsets or dark rooms.
In manual mode, you take control of the "Exposure Triangle." This is the foundation of photography for beginners. By controlling your settings, you can create a blurry background in a portrait, freeze a fast-moving car in street photography, or capture the silky flow of a waterfall in a landscape. It’s about creative freedom.
If you’re looking for more general pointers before we dive deep, check out these 10 essential tips for mastering photography.
The Exposure Triangle: The Three Pillars of Light
Think of your camera like a window with shutters. To get a good photo, you need just the right amount of light to hit the sensor. Too much light and the photo is "blown out" (white); too little and it’s "underexposed" (black).
The Exposure Triangle consists of three settings that work together to balance that light:
- Aperture
- Shutter Speed
- ISO
If you change one, you usually have to change another to keep the light balanced. It’s a bit of a dance, but once you get the rhythm, it’s easy.
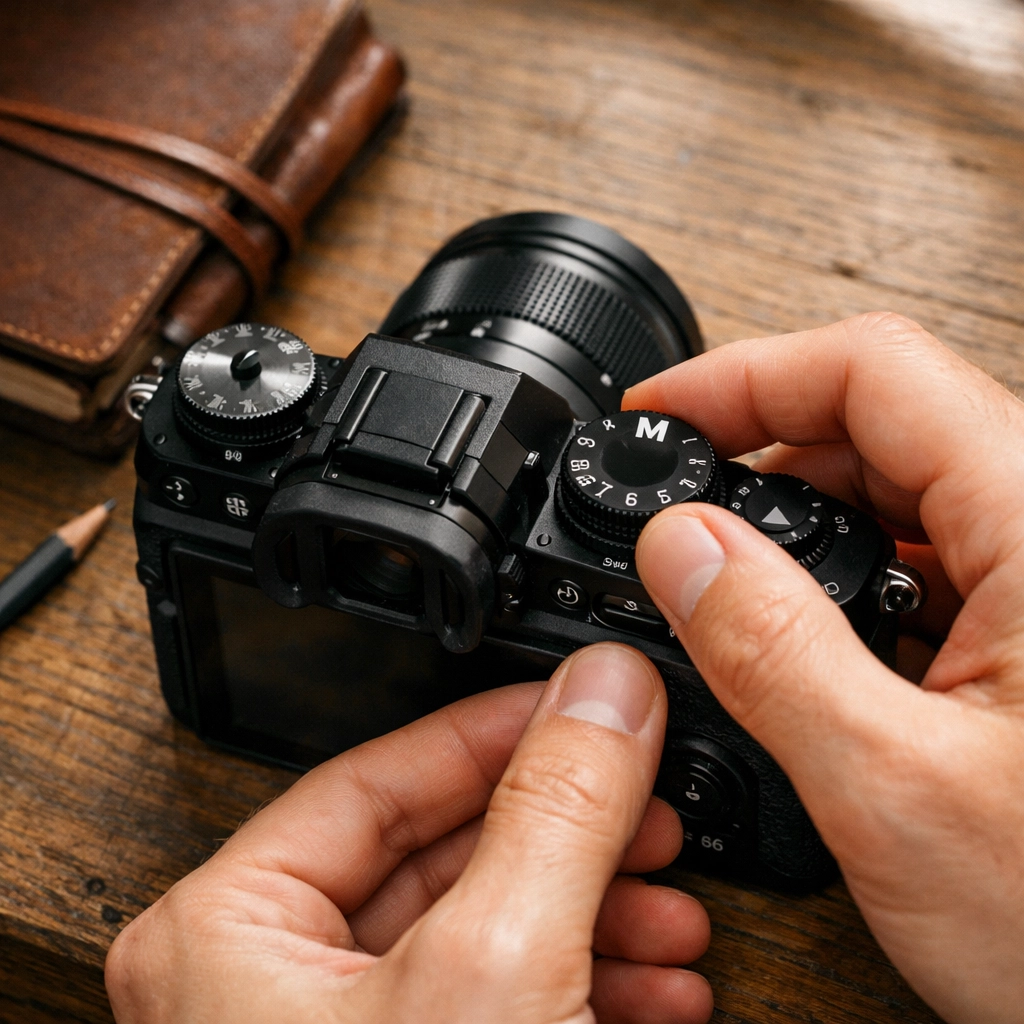
Alt Text: An ultra-realistic close-up of a modern mirrorless camera dial set to Manual mode, with soft natural light hitting the lens.
1. Aperture (The "Eye" of the Lens)
Aperture is the opening in your lens. It works exactly like the pupil in your eye. In the dark, your pupil gets bigger to let in more light. In bright sun, it gets smaller.
In photography, we measure aperture in "f-stops" (like f/2.8, f/8, or f/16). This is where it gets a little counter-intuitive:
- Small f-stop number (e.g., f/1.8): Large opening. Lots of light. Very blurry background.
- Large f-stop number (e.g., f/11): Small opening. Less light. Everything is in focus.
If you are practicing portrait photography techniques, you’ll want a low f-stop number to get that creamy, out-of-focus background (also known as bokeh). If you’re into landscape photography tips, you’ll usually use a higher f-stop like f/11 so that the mountains in the distance and the rocks in the foreground are both sharp. For more on how the pros handle landscapes, take a look at the techniques behind Peter Lik’s landscape photography.
2. Shutter Speed (The "Blink" of the Camera)
Shutter speed is how long the camera’s "eye" stays open. It’s measured in fractions of a second.
- Fast Shutter Speed (e.g., 1/1000s): Great for freezing motion. This is essential for sports or street photography ideas where you want to catch a person mid-stride without any blur.
- Slow Shutter Speed (e.g., 1/10s or longer): Lets in more light but captures movement. If you move the camera or your subject moves while the shutter is open, you get blur.
A slow shutter speed is how photographers get those cool shots of car light trails at night or "milky" water in a stream. Just remember: if you go slower than 1/60th of a second, you probably need a tripod to keep the camera steady.
3. ISO (The Sensor’s Sensitivity)
ISO is your camera’s sensitivity to light.
- Low ISO (e.g., 100 or 200): Best for bright daylight. It produces the cleanest, sharpest images.
- High ISO (e.g., 3200 or 6400): Used for low-light situations like indoor parties or night shots.
The catch? The higher the ISO, the more "noise" or grain you get in your photo. It can make your images look a bit crunchy. Always try to keep your ISO as low as possible for the best quality.
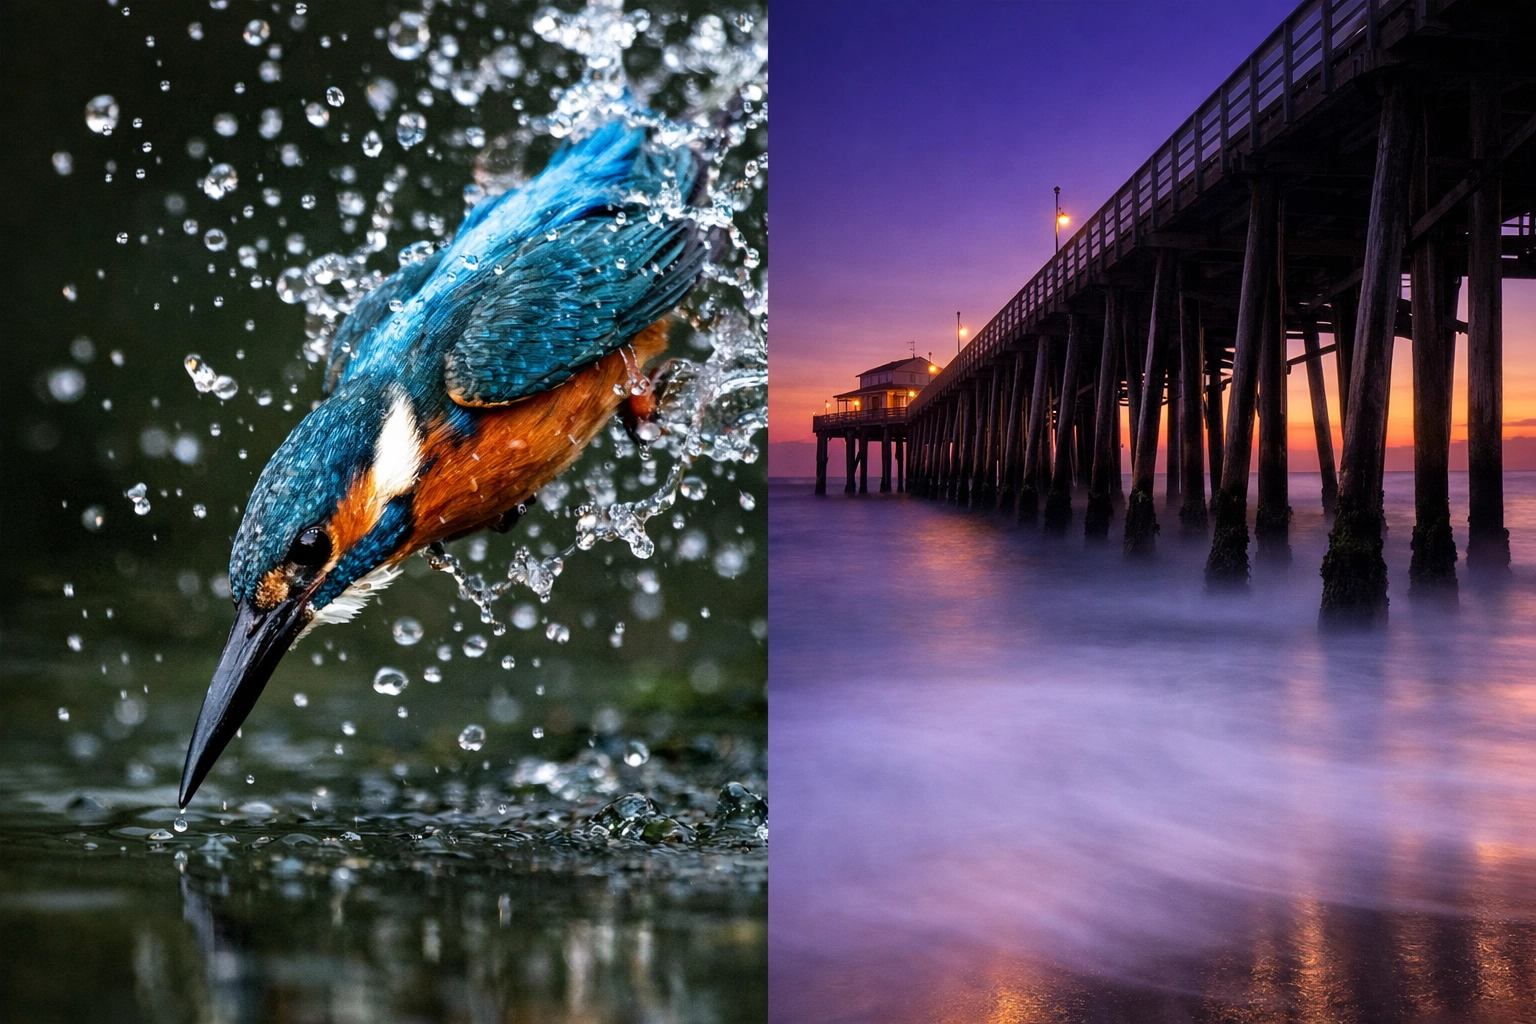
Alt Text: A split-screen comparison showing a sharp action photo frozen with a fast shutter speed versus a long exposure landscape with blurred water.
How to Read the Light Meter
Your camera has a built-in guide called the Light Meter. When you look through the viewfinder or at the screen in manual mode, you’ll see a little scale that looks like this:
-2 . . . -1 . . . 0 . . . +1 . . . +2
As you turn your dials for aperture and shutter speed, a little ticker will move along this scale.
- If it’s in the minus range, your photo will be too dark.
- If it’s in the plus range, your photo will be too bright.
- If it’s at zero, the camera thinks your exposure is perfect.
Start by trying to get that ticker to the zero mark. Once you master that, you can purposely make things darker or brighter for artistic effect.
Putting it Together: A Practical Workflow
When you’re out shooting, don’t just spin dials randomly. Follow this simple workflow to get your settings right:
- Set your ISO first. If it’s sunny, go with ISO 100. If it’s cloudy or you’re indoors, try 400 or 800.
- Decide your Aperture. Do you want a blurry background (low f-number) or a sharp landscape (high f-number)?
- Adjust your Shutter Speed. Look at your light meter. Turn the shutter speed dial until the meter hits the middle (zero).
- Take a test shot. Look at the screen. Is it too dark? Slow down the shutter speed. Too bright? Speed it up.
This is the core of most photography tutorials. It’s not about memorizing numbers; it’s about understanding how to react to the light in front of you. If you need more gear-specific advice, we often post camera gear reviews to help you choose the right tools for the job.
Specialized Techniques for Different Styles
Once you understand the basics, you can apply them to specific genres.
Landscape Photography Tips
In landscapes, you usually want maximum detail. Set your aperture to f/8 or f/11. Set your ISO to 100. Now, adjust your shutter speed until the light is right. Since your shutter speed might end up being slow, a tripod is your best friend. For inspiration on world-class vistas, read about Peter Lik’s favorite locations for adventure.
Portrait Photography Techniques
For portraits, it’s all about the eyes and the background. Use a wide aperture like f/1.8 or f/2.8. This makes the person pop off the background. Because a wide aperture lets in a ton of light, you’ll need a faster shutter speed to keep the photo from becoming a white blob of light.
Street Photography Ideas
Street photography is fast. You don’t always have time to fiddle with dials. A common "pro tip" is to use a shutter speed of at least 1/250s to freeze motion and an aperture of f/5.6 or f/8 so you have a bit of leeway with your focus. If you're looking to turn your street shots into art, check out Edin Fine Art.
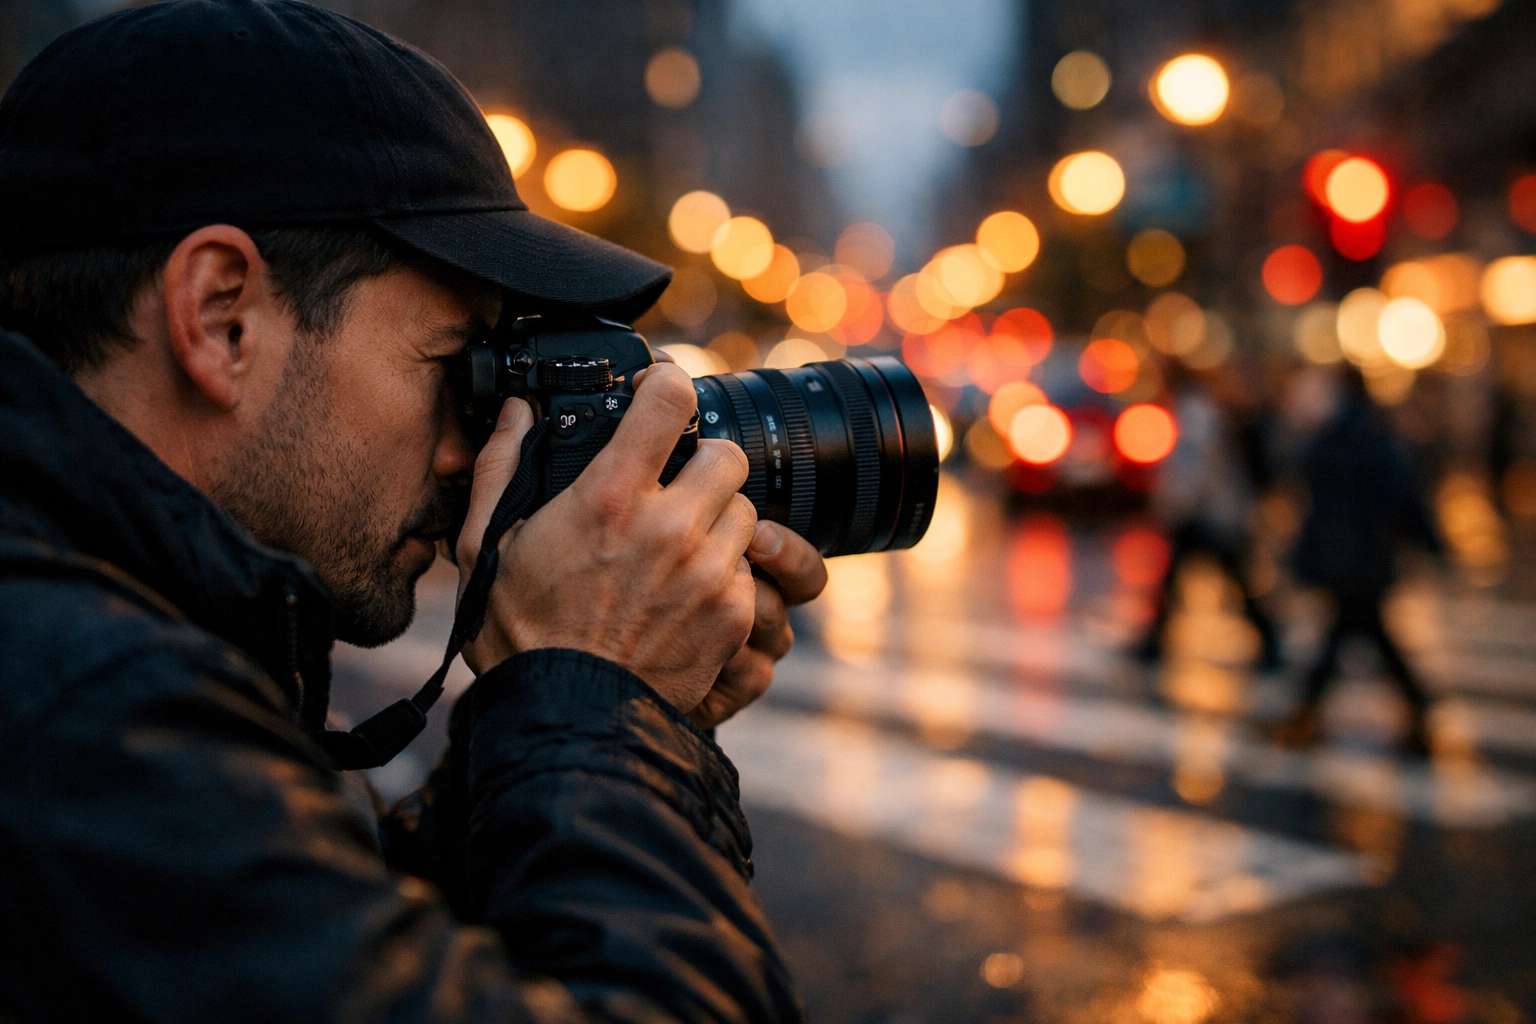
Alt Text: A photographer standing on a busy city street, holding a mirrorless camera, focusing on a subject with colorful city lights in the background.
Best Mirrorless Cameras for Beginners
If you haven't bought a camera yet or you're looking to upgrade, the market is currently dominated by mirrorless systems. They are great for learning manual mode because what you see on the screen is exactly what the photo will look like: unlike older DSLRs.
Some of the best mirrorless cameras for beginners include:
- Sony A6000 series: Compact and powerful.
- Fujifilm X-T series: They have physical dials for everything, which makes learning manual mode very tactile and fun.
- Canon EOS R series: Great autofocus and very user-friendly menus.
Before you buy, keep up with the latest photography news to see what new models are hitting the shelves. You can also see professional setups at Edin Studios.
The Secret Ingredient: Post-Processing
Here is a secret: even the best pros don't get it perfect in-camera every time. Sometimes the shadows are too dark or the sky is a little too bright. This is where photo editing tutorials come in.
I highly recommend using Luminar for your editing. It uses AI to help you fix exposure issues, enhance colors, and even swap out boring skies for epic sunsets with a single click. If you’re struggling with a photo you shot in manual mode, Luminar can often save it.
Editing is an extension of the creative process. If you want to see how high-end editing can transform a simple property photo into something luxury, read about how cinematic techniques transform property showcases.
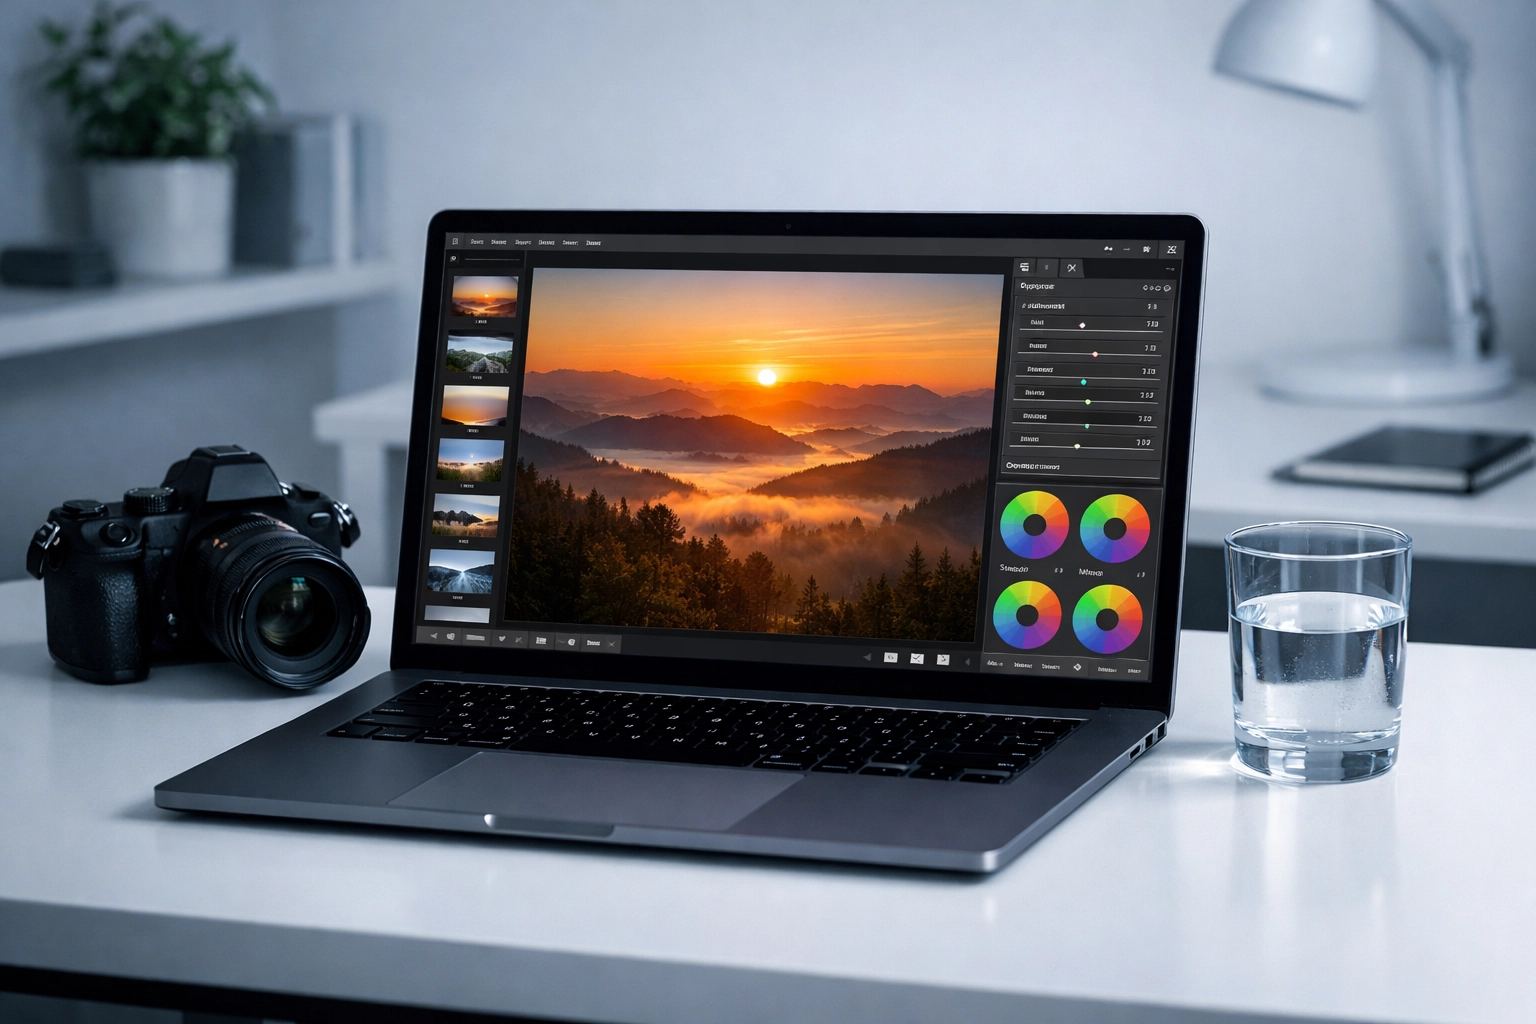
Alt Text: A laptop screen showing the Luminar photo editing software interface, with a beautiful landscape photo being enhanced.
Common Manual Mode Mistakes to Avoid
- Forgetting to change your ISO: You were shooting indoors at ISO 3200, then you went outside into the sun and forgot to change it. Your photos will be pure white. Always check your ISO when the light changes.
- Trusting the screen too much: Sometimes your camera screen is set to be very bright, making you think your photo is well-lit when it's actually dark. Use the light meter!
- Using too slow a shutter speed handheld: If your photos are blurry and it’s not a focus issue, your shutter speed is probably too slow. Try to stay above 1/100s if you are holding the camera by hand.
If you’re interested in the business side of things, like how professional photography impacts industries, check out why photography is essential for real estate marketing.
Don't Be Afraid to Fail
The best way to learn is to mess up. Take a photo that’s way too bright. Take one that’s way too dark. Look at the settings you used and figure out why it happened.
Manual mode isn't about being "perfect": it's about having the tools to be creative. Whether you are shooting for fun or looking to join a professional network like ProShoot.io, the journey starts with that "M" dial.
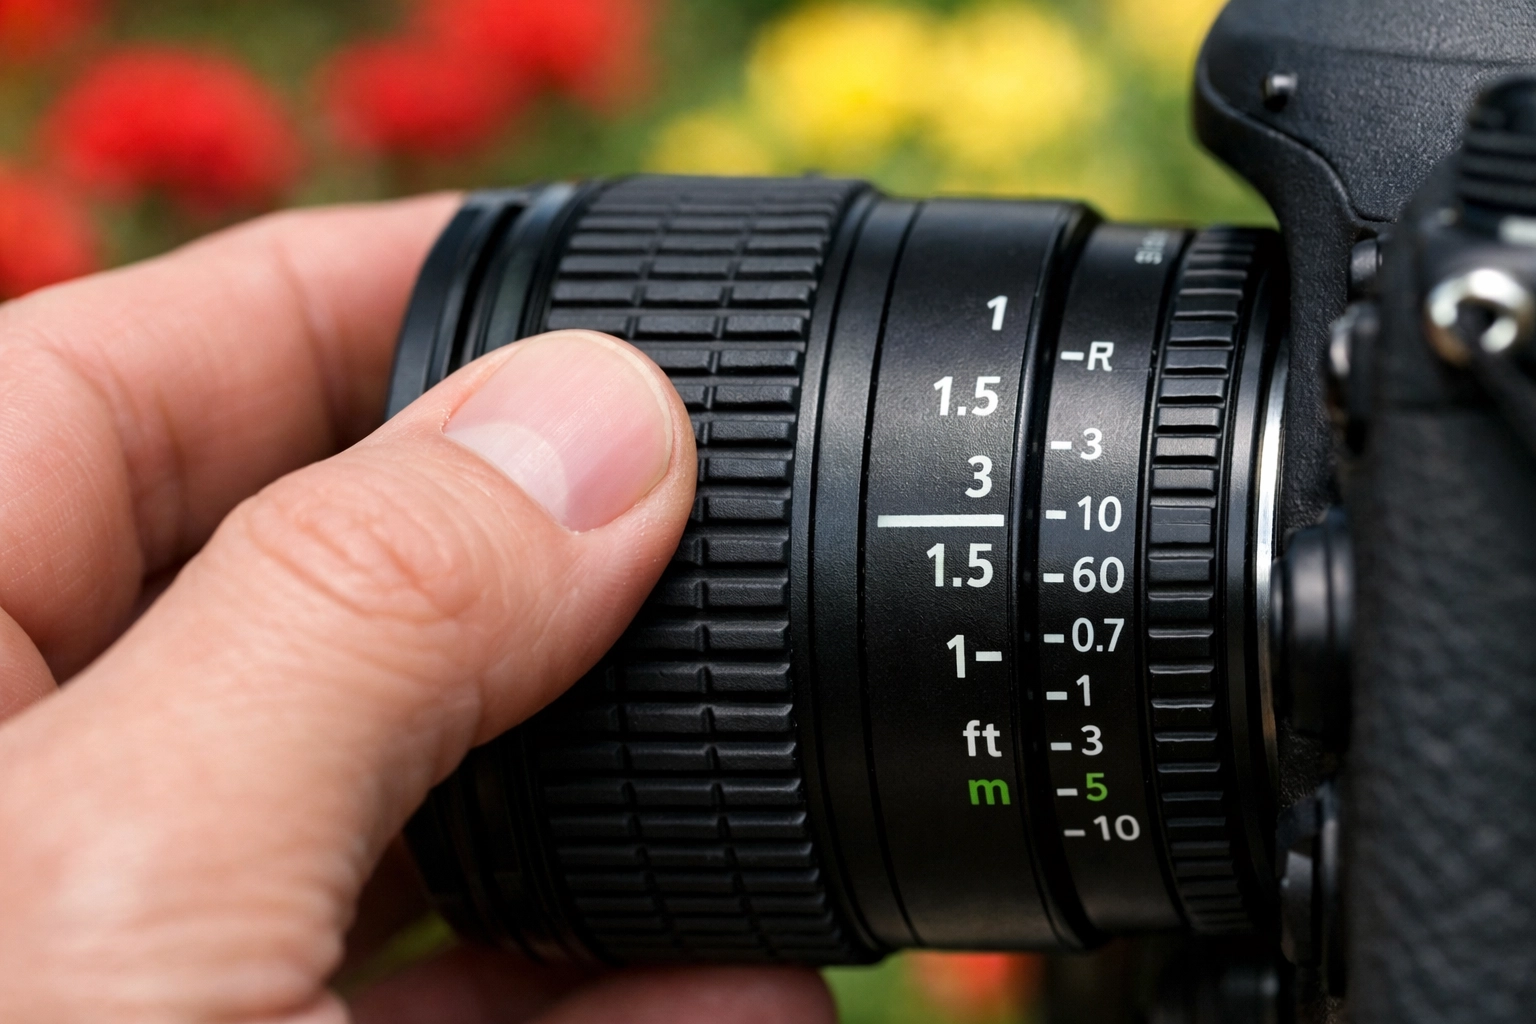
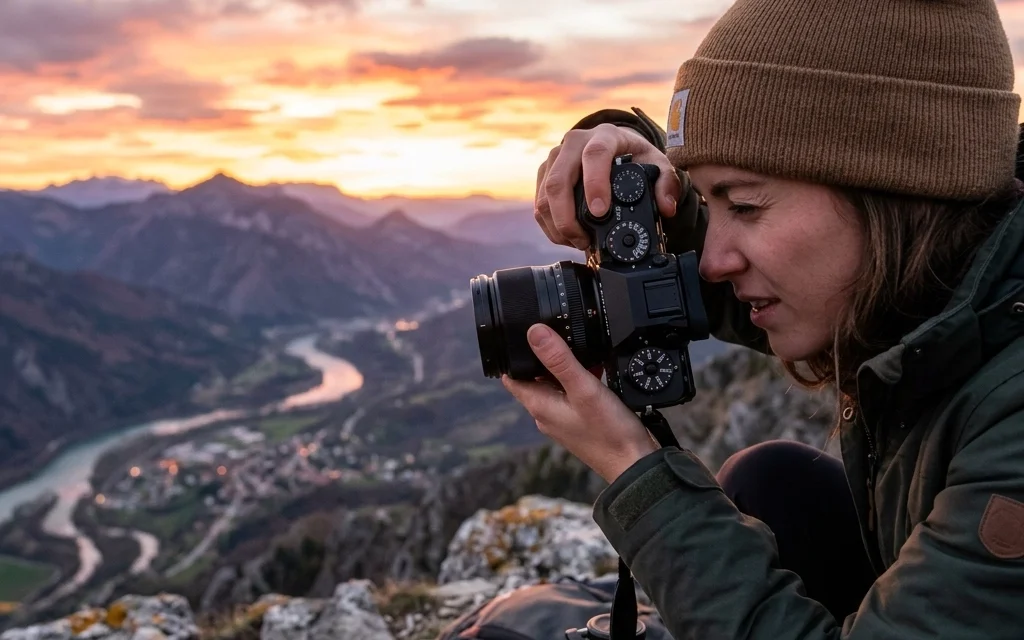
Alt Text: A close-up of a person's hands adjusting the lens ring on a camera, with a blurred natural background.
Final Thoughts for the New Photographer
Learning manual mode is a rite of passage. It takes you from a "button pusher" to a "creator." It might feel slow at first. You’ll miss shots while you're fiddling with settings. That’s okay! Eventually, your fingers will learn where the dials are, and you’ll be able to change settings without even looking.
For more deep dives into the world of photography, check out the Shut Your Aperture blog. We’re always posting new guides, gear reviews, and inspiration to keep you shooting.
I’ve also been chatting with Sonny, our Social Media Manager, and he’s going to be posting some quick-start reels on our Instagram that follow this guide, so make sure to keep an eye out for those visuals!
Go out there, flip the dial to "M," and start capturing the world exactly how you see it. Your camera is just a tool; you are the artist. Now go make something cool.


