We’ve all been there. You find a killer tutorial on YouTube or a photography blog. The "before" photo looks a lot like yours: flat, a bit dull, maybe a little underexposed. The "after" photo? It’s a masterpiece. It looks like it belongs on the cover of National Geographic or a high-end gallery wall.
So, you sit down, fire up your editing software, and follow every single step. You move the sliders to the exact same numbers. You use the same brushes. You click the same buttons. But when you’re finished, your photo doesn't look like a masterpiece. It looks… weird. Maybe the colors are crunchy, the shadows look muddy, or the skin tones look like they belong to a radioactive alien.
What went wrong? You followed the instructions, didn't you?
The truth is, photo editing tutorials are a double-edged sword. They are incredible for learning where the buttons are, but they can be a trap if you don't know how to translate those lessons to your own work. Whether you're using Lightroom, Photoshop, or Luminar, the "copy-paste" method rarely works.
At Shut Your Aperture, we see this all the time. People have the gear and the software, but they’re missing the nuance. Here are the seven biggest mistakes you’re making with photo editing tutorials and exactly how to fix them so you can actually level up your work.
1. The "Number-for-Number" Trap
This is the most common mistake beginners make. The instructor says, "I’m going to set my Exposure to +0.85 and my Contrast to +20," so you do the exact same thing.
Here is the problem: Unless you shot the exact same subject, at the exact same time of day, with the exact same camera and lens, those numbers mean absolutely nothing for your photo. Every RAW file has a different starting point. If your photo was shot at midday and the tutorial photo was shot at sunset, a +20 contrast boost might look great on theirs but turn your photo into a harsh, unviewable mess.
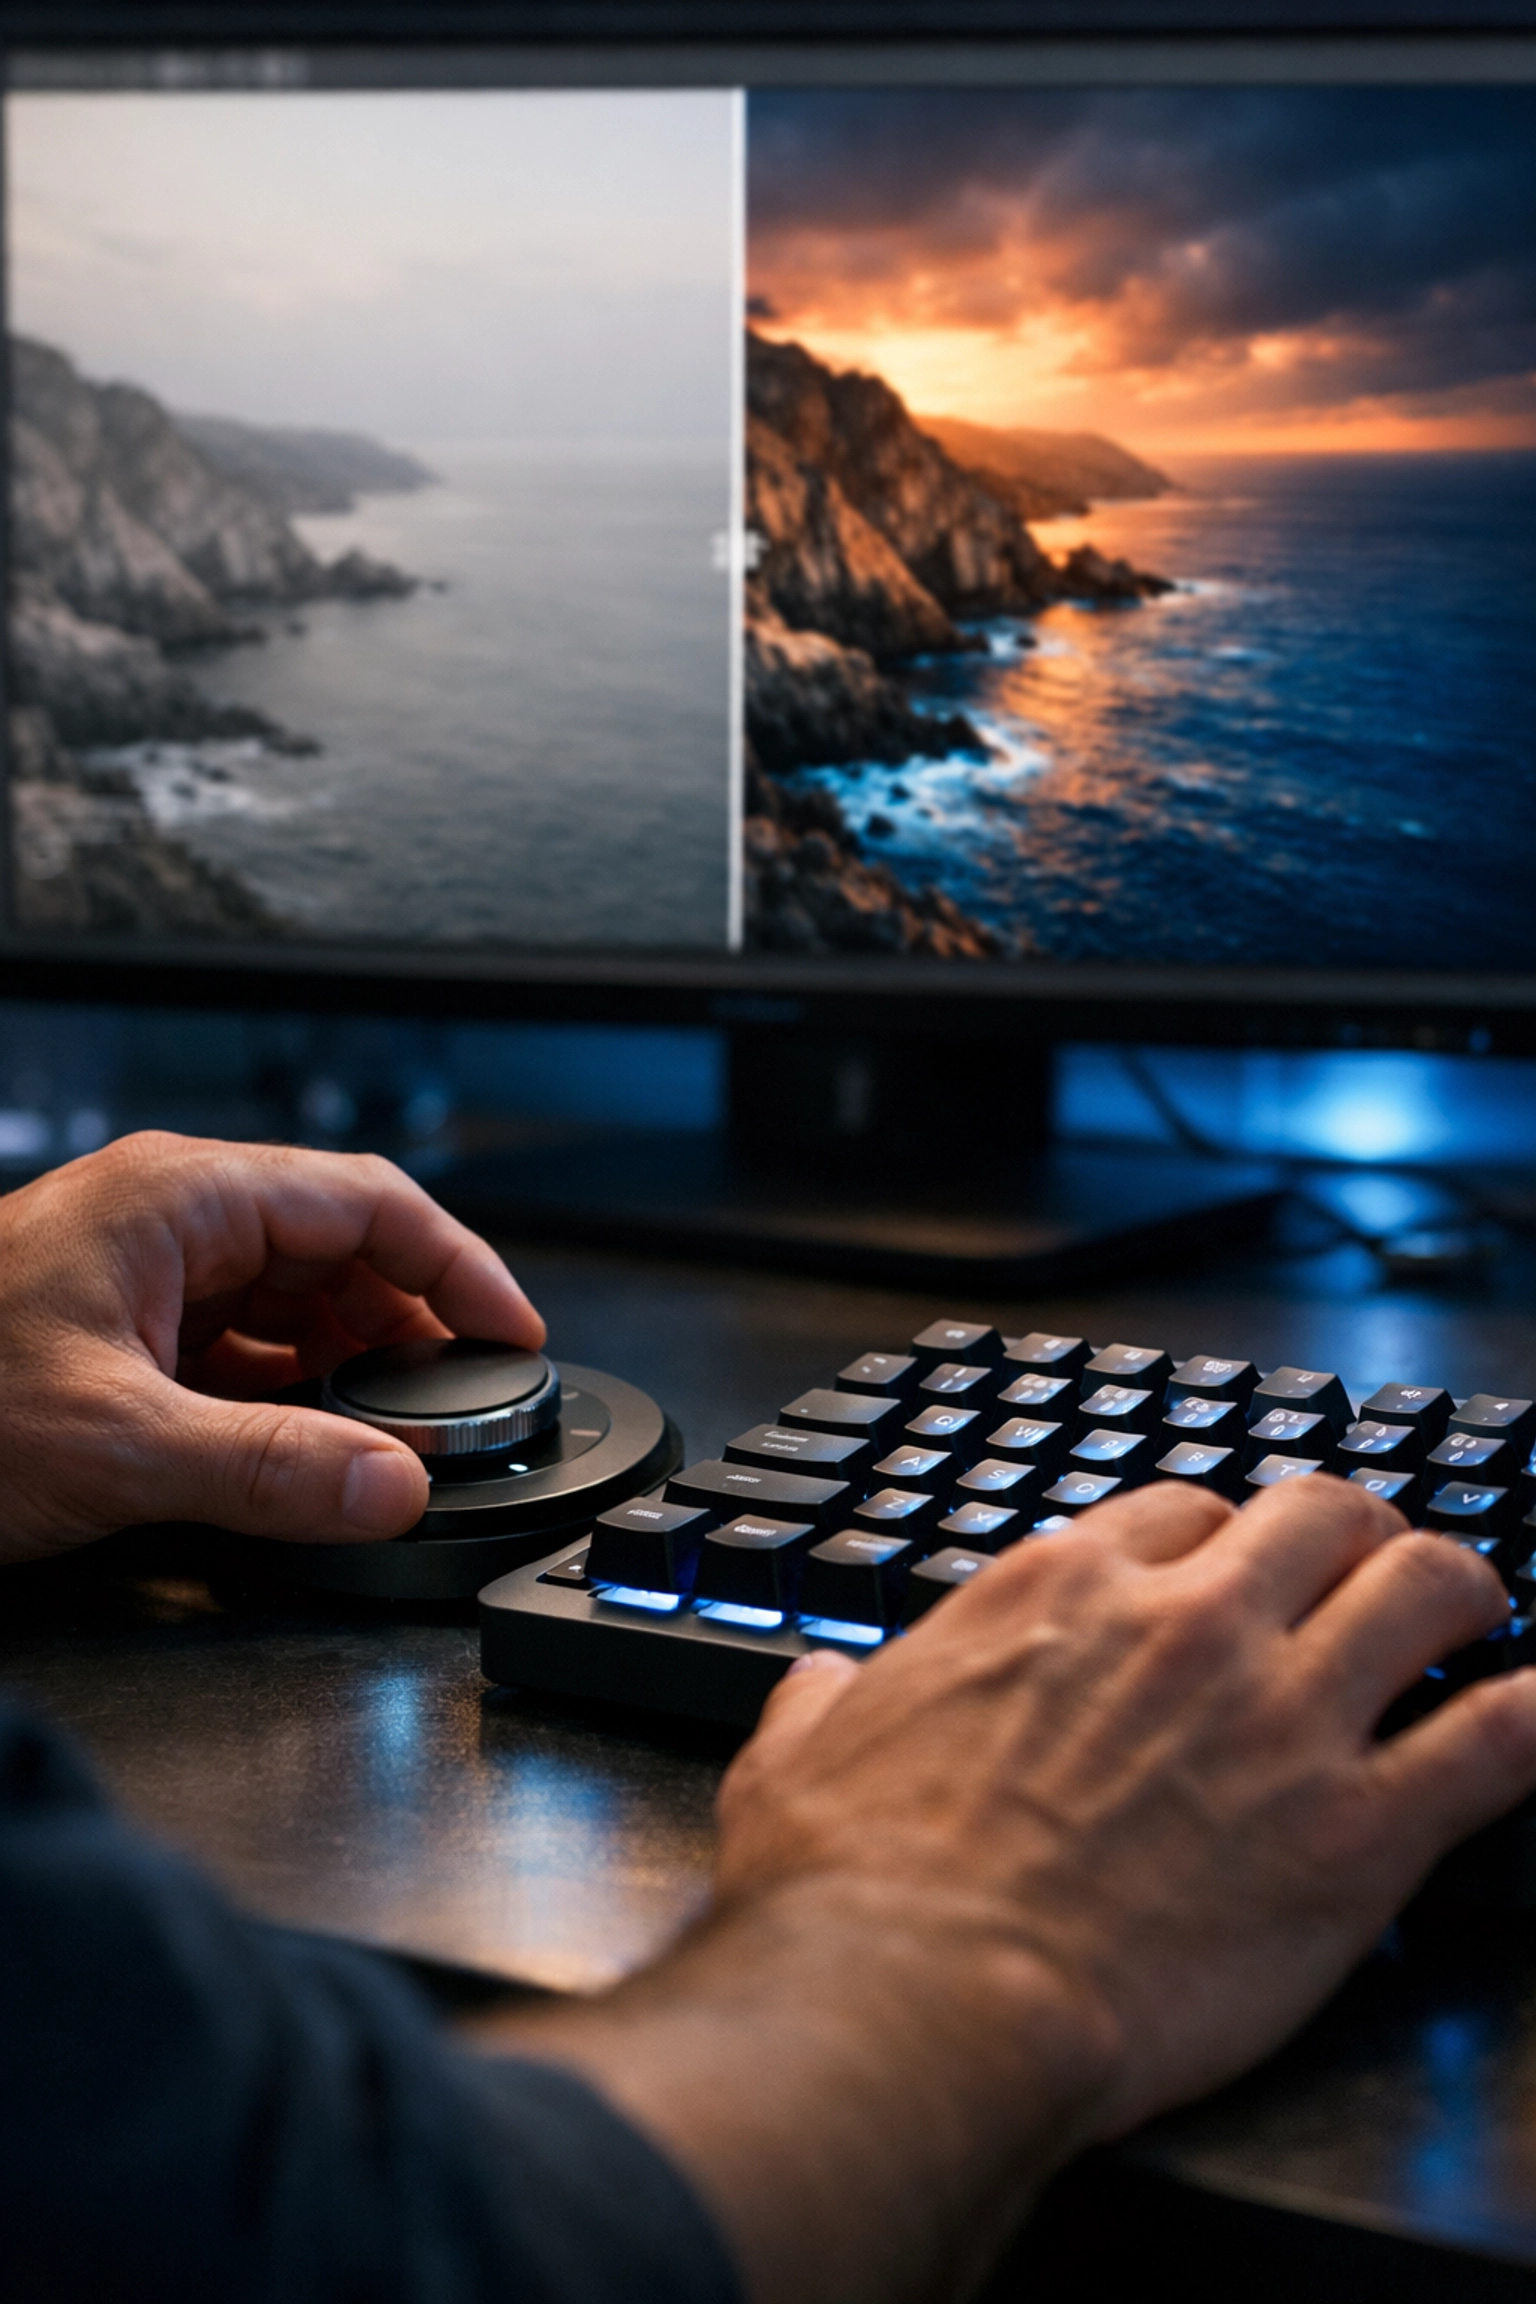
How to Fix It: Focus on the "Look," Not the Digit
Instead of looking at the numbers on the slider, look at the histogram and the image itself. If the instructor is increasing contrast, ask yourself why they are doing it. Are they trying to add punch to the blacks? Are they trying to make the subject pop? Once you understand the goal, adjust your sliders until your image achieves that same feeling, regardless of whether your number is +5 or +50.
2. Ignoring the "Why" Behind the Edit
Most tutorials are "how-to" guides, but the best ones are "why-to" guides. If you are just clicking buttons because someone told you to, you aren't learning photography; you’re just learning how to follow a recipe.
When you don't understand the "why," you can't troubleshoot when things go wrong. If you’re following a guide on portrait photography techniques revealed and they suggest a specific color grade, but you don't know why they chose those specific hues, you’ll never be able to create your own style.
How to Fix It: Question Everything
Every time a tutorial creator moves a slider, ask yourself: "What did that just do to the highlights? How did that affect the skin tones?" If the instructor doesn't explain why they are doing something, pause the video and toggle the effect on and off yourself. Seeing the before-and-after of a single adjustment is the only way to truly internalize what that tool does.
3. Over-Processing to Match the "Tutorial Aesthetic"
Tutorials often use extreme examples to show off what a tool can do. To make a video "pop" on a small smartphone screen, creators often push saturation, clarity, and sharpening to the limit. If you follow those same extremes, your photos will end up looking "overcooked."
We see this a lot in landscape and architectural photography. People see a tutorial on high-dynamic-range editing and suddenly every photo they produce looks like a surrealist painting from 2008. Over-sharpening is another big one: it creates halos around buildings and makes trees look like they’re made of wire.
How to Fix It: The "Step Back" Rule
Once you think you’re finished with an edit based on a tutorial, walk away from your computer for ten minutes. When you come back, look at the photo with fresh eyes. Is the sky too blue? Is the grass neon green? A good rule of thumb is to find the point where you think the edit looks "perfect," and then back off the intensity by about 10-20%. Subtlety is the hallmark of a pro. If you’re looking for more guidance on keeping things professional, check out some of the resources at PhotoGuides.org.
4. Using Presets and Actions as a "Magic Wand"
Many tutorials are essentially just sales pitches for presets or Photoshop actions. While there's nothing wrong with using presets: we even offer some great DJI Drone Lightroom Presets for those who want a quick starting point: the mistake is thinking the preset is the final step.
A preset is a foundation, not a finished house. If you apply a preset and just stop there, your work will look generic, and it likely won't fit the specific lighting conditions of your shot.
How to Fix It: Reverse Engineer the Preset
Apply the preset, then go through the individual panels (Basic, Tone Curve, Color Mixer) and see what it actually changed. Adjust the white balance and exposure first, as these are the two things most likely to be "off" when applying a preset. Use the preset to get you 70% of the way there, then spend the remaining 30% of your time fine-tuning the edit to suit your specific vision.
5. Skipping the Fundamentals of Hardware
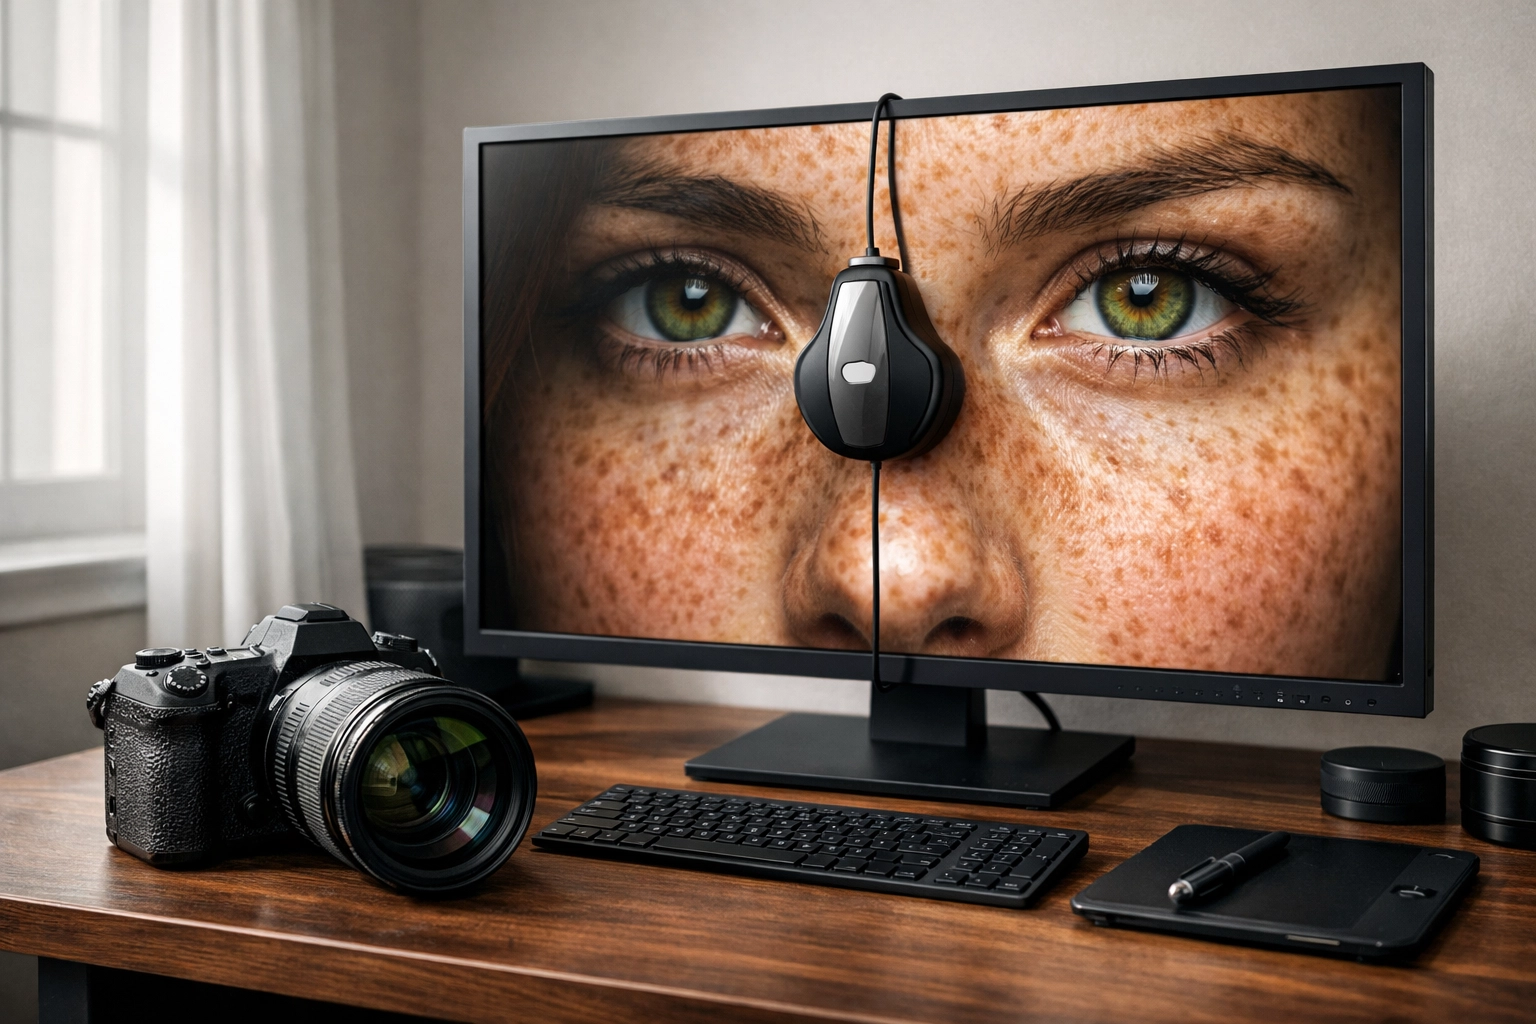
You can follow the best tutorial in the world, but if your monitor isn't calibrated, you’re editing in the dark. A common mistake is watching a tutorial on a high-end, color-accurate iMac and trying to replicate those colors on a cheap laptop screen with the brightness cranked to 100%.
If your screen is too bright, you’ll likely underexpose your images. If your screen has a blue tint, you’ll overcompensate by adding too much yellow. This is why your edits might look great on your screen but terrible when you upload them to Instagram or print them.
How to Fix It: Calibrate and Check Your Gear
Invest in a basic screen calibration tool. If that’s not in the budget, at least make sure you aren't editing with "True Tone" or "Night Shift" modes on. Also, keep in mind that the camera you use matters. Editing a file from a high-end mirrorless camera is a very different experience than editing a smartphone photo. If you're looking to upgrade, read our guide on how to choose the best mirrorless cameras in 2026.
6. Neglecting Local Adjustments
Many tutorials focus on "Global Adjustments": the sliders that affect the whole image. They show you how to change the exposure and the white balance for the entire frame. However, the secret to professional-looking photos is "Local Adjustments."
A common mistake is trying to fix a dark subject by raising the exposure of the whole photo, which then blows out the sky. Or, following a tutorial for fine art nude poses and applying a skin-smoothing filter to the entire image, which destroys the texture of the background.
How to Fix It: Master the Mask
Modern software like Luminar makes masking incredibly easy with AI-powered subject detection. Instead of moving one slider to fix the whole photo, use masks to brighten just the subject, darken just the sky, or add sharpness only to the eyes. If a tutorial doesn't mention masking, it’s probably a "beginner" guide, and you should look for more advanced techniques to truly improve your workflow. You can find more about how these workflow changes are evolving in today's photography news.
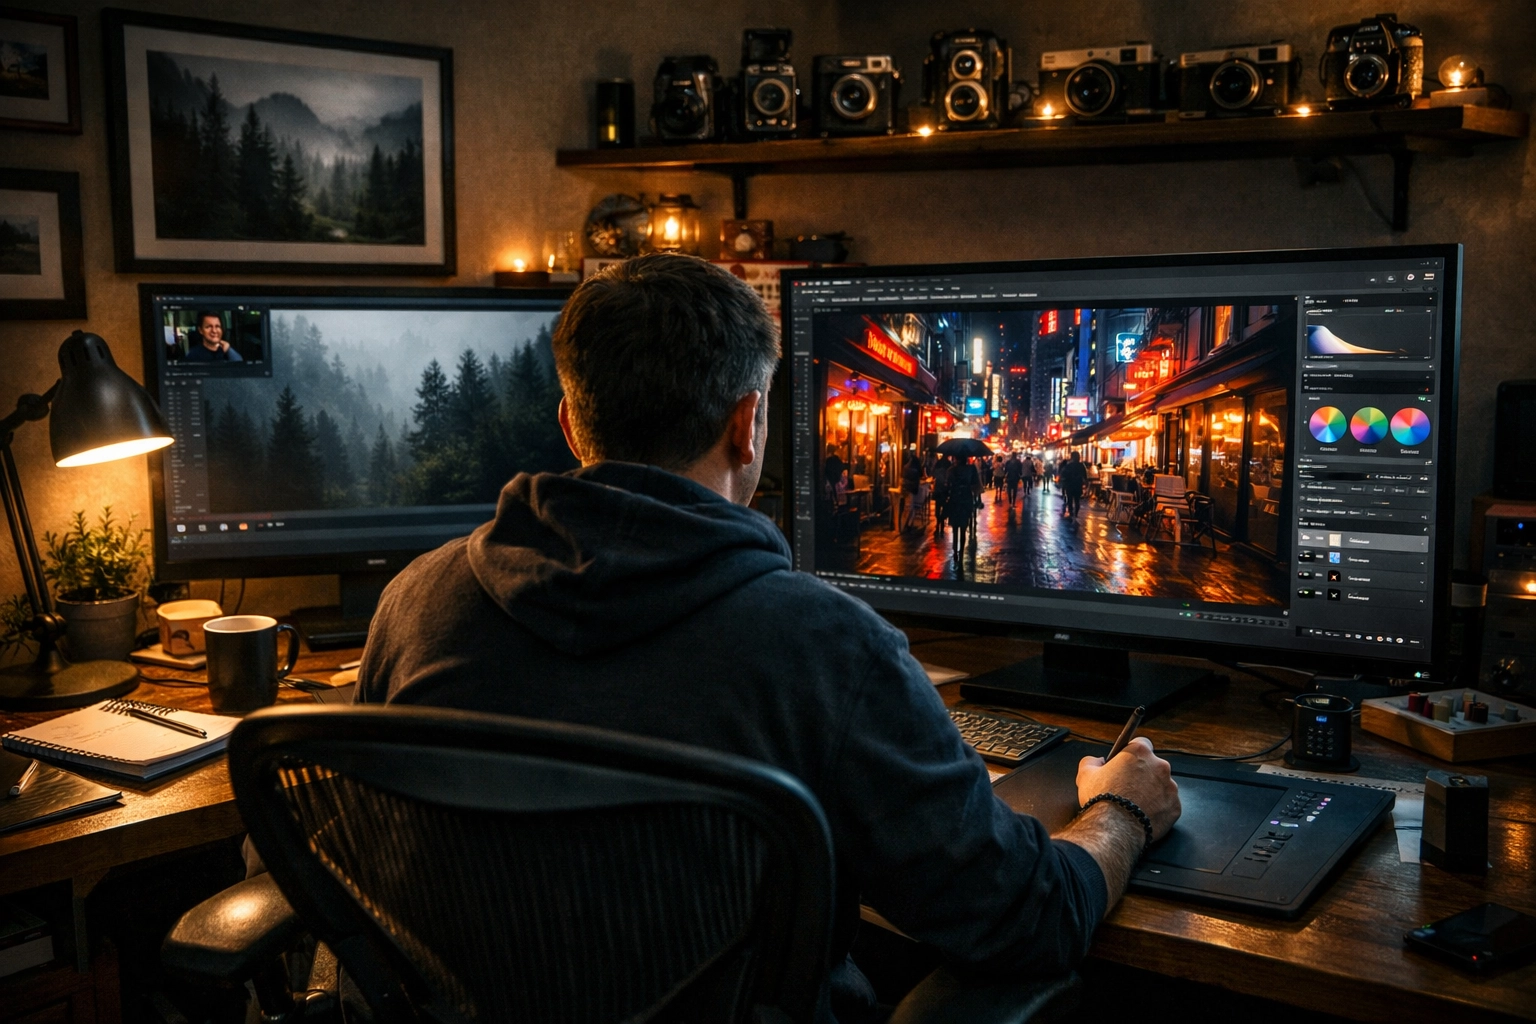
7. Passive Watching vs. Active Doing
We’ve all fallen into the YouTube rabbit hole. You watch five tutorials in a row, feel like you’ve learned a ton, and then never actually open your editing software. This is "edu-tainment." You’re getting the dopamine hit of learning without doing the actual work.
The mistake here is thinking that watching a pro edit a photo will automatically make you a better editor. It won't. Editing is a muscle; if you don't flex it, it won't grow.
How to Fix It: The "One-for-One" Rule
For every tutorial you watch, you must edit at least one of your own photos using those techniques. Even better, try to find a photo in your catalog that doesn't perfectly fit the tutorial. If you just watched a tutorial on moody forest photography, try applying those concepts to a street photography shot. This forces you to adapt the principles rather than just mimicking the steps.
Why Modern Software Changes the Game
It’s worth noting that the landscape of photo editing is changing fast. In 2026, AI is doing a lot of the heavy lifting that used to require 20-minute tutorials. Tools like Luminar can now automatically identify power lines to remove them or sky-replace a boring afternoon with a stunning sunset in one click.
But even with these "magic" tools, the mistakes listed above still apply. You can use AI to replace a sky, but if you don't match the lighting and color of the foreground (the "Why"), the photo will look fake. You can use AI to enhance a portrait, but if you push the "Structure" slider too far (The "Number Trap"), your subject will look like a wax figure.
The goal of learning from tutorials shouldn't be to make your photos look like someone else's. The goal should be to build a toolkit that allows you to make your photos look like yours.
Final Thoughts on Learning the Craft
Editing is half of the photographic process. Some people say, "I want to get it right in the camera so I don't have to edit," but even in the film days, the darkroom was where the magic happened. Dodging, burning, and color balancing have always been part of the art.
If you’re feeling frustrated that your photos don't look like the ones in the tutorials, don't give up. It takes time to develop an "eye" for editing. Stop looking at the sliders and start looking at the light. Stop following recipes and start learning the ingredients.
For more tips on refining your craft and staying up to date with the latest industry shifts, keep an eye on blog.edinchavez.com or browse our photography tutorials and news. And if you really want to see how the pros are doing it, check out some of the work over at proshoot.io.
Editing shouldn't be a chore: it should be the moment your vision finally comes to life. Avoid these seven mistakes, and you’ll find that the "masterpiece" you’ve been chasing is a lot closer than you think. Now, get off YouTube, open up your favorite editor, and start creating something awesome.