Let’s be honest: landscape photography is basically professional hiking with a lot of heavy luggage. You wake up at 4:00 AM, stumble through the dark, get bitten by bugs, and stand in a cold field just to wait for the sun to hit a rock at exactly the right angle.
But when it happens? It’s magic.
Whether you’re just starting out or you’ve been chasing sunsets for years, there’s always something new to learn. The world is a big place, and capturing it in a single frame is harder than it looks. This guide is here to help you stop taking "vacation snaps" and start creating fine-art landscapes that actually do justice to the view.
1. It All Starts with the Right Gear (But Don't Overthink It)
People love to argue about gear. "You need a full-frame sensor!" "You need a $3,000 lens!" Look, gear matters, but it’s not the most important thing. You can take a stunning landscape on a Sony Alpha a6000 mirrorless digital camera just as easily as a high-end beast like the Nikon D4s.
The key gear for landscapes usually involves:
- A Wide-Angle Lens: This helps you capture the scale of the scene. If you're looking for deals, keep an eye on a Nikon lens sale to grab a solid 14-24mm or 16-35mm.
- A Sturdy Tripod: Sharpness is everything in landscapes. If your camera shakes, your photo is a blurry mess.
- Filters: Circular polarizers to cut glare and ND filters for those silky-smooth waterfalls.
If you’re traveling light, something like the Olympus E-M10 is a great way to keep your kit small without sacrificing too much quality.
2. Master the Technical Basics
If you want to succeed, you have to get out of "Auto" mode. Seriously, turn that dial to Manual (M) or Aperture Priority (A).
Aperture and Depth of Field
For landscapes, you usually want everything from the flower in the foreground to the mountain in the back to be sharp. This means using a narrower aperture (a higher f-stop number). Most landscape photographers live between f/8 and f/11.
Going to f/22 might seem like a good idea for maximum depth, but you’ll actually hit something called "diffraction," which makes the image softer. Stick to the sweet spot of your lens.
ISO
Keep your ISO as low as possible (usually ISO 100) to avoid "noise" or grain. Since you're using a tripod, you don't need to worry about a slow shutter speed, let the camera take its time.
Focusing: The Hyperfocal Distance
This sounds like math, but it's just a trick. To get the most focus, don't focus on the horizon. Instead, focus about one-third of the way into the scene. This is a quick way to hit the "hyperfocal distance," ensuring the foreground and background stay within the acceptable range of sharpness.

3. Composition: The Secret Sauce
A great landscape isn't just about a pretty sunset; it’s about how you lead the viewer’s eye through the frame. Composition is the difference between a photo someone scrolls past and one they want to hang on their wall.
The Rule of Thirds (and When to Break It)
Imagine your frame is divided into a 3×3 grid. Place your main subjects (like a lone tree or a mountain peak) along those lines or at the intersections. It feels more balanced to the human eye. However, if you have a perfectly still lake, feel free to put the horizon right in the middle for a symmetrical reflection. Rules are meant to be broken once you understand them.
Use Leading Lines
Look for roads, rivers, or even fallen trees that point toward your main subject. This creates a "path" for the viewer’s eyes to follow. For a deeper look at how lines can be manipulated, check out the work of Erik Johansson, who takes composition to a surreal level.
The "Zee" Shape
Keep an eye out for "Z" shapes in the landscape. A winding path or a S-curve river adds a sense of flow and movement to a static image. It makes the photo feel dynamic.
Get Low
Most people take photos from eye level. That’s boring. Try getting down on the ground (the "frog’s eye view"). This emphasizes the foreground, like rocks, flowers, or ice, and makes the scene feel much more immersive.
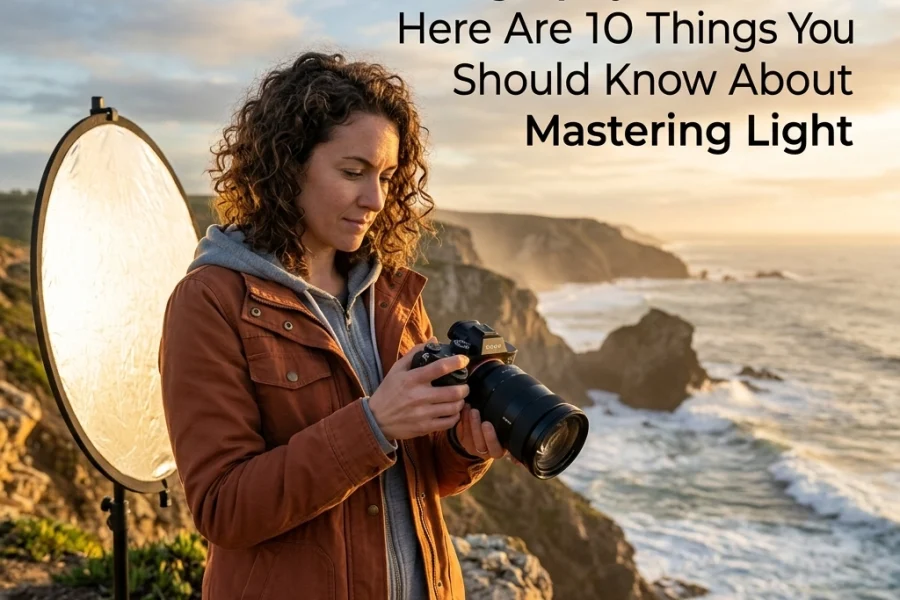
4. Chasing the Light
Light is the soul of landscape photography. You can have the best composition in the world, but if the light is flat and gray, the photo will be "meh."
- The Golden Hour: The hour after sunrise and the hour before sunset. The light is warm, soft, and creates long, beautiful shadows.
- The Blue Hour: The period just before sunrise or after sunset. The sky turns a deep, moody blue, perfect for cityscapes or moody mountain shots.
- Overcast Days: Don’t pack your bags just because it’s cloudy! Overcast light is soft and even, which is actually better for forest photography or waterfalls because it eliminates harsh shadows.
If you're looking for inspiration on how light can change a location, look at Poliana Devane's work to see how atmosphere plays a huge role in the final result.

5. Advanced Techniques for the Pro Look
Once you’ve got the basics down, it’s time to level up.
Focus Stacking
Sometimes, the distance between your foreground and background is so big that even f/11 can't keep it all sharp. Take three or four photos, focusing on different points (front, middle, back), and blend them later in software. This is how pros get those insanely sharp "macro-style" foregrounds with distant mountains.
Long Exposures
Water and clouds look incredible when they’re blurred. Use an ND filter to slow your shutter speed down to 10, 20, or even 60 seconds. This turns crashing waves into mist and moving clouds into streaks across the sky.
Drones
The "landscape" doesn't just have to be from the ground. Aerial photography has changed the game. If you’re curious about how this is evolving, read up on drones and the skies of tomorrow.
6. Post-Processing: Bringing the Vision to Life
Rarely does a photo come straight out of the camera looking like a masterpiece. Back in the day, photographers like Ansel Adams spent hours in the darkroom. Today, our darkroom is the computer.
I highly recommend using Luminar for landscape editing. It uses AI to help with things like "Sky Replacement" (if the sky was a boring white) or "Sunrays" to add that extra bit of drama. It’s simple, powerful, and saves a ton of time.
When you edit, focus on:
- Correcting the Horizon: Nothing ruins a photo faster than a tilted ocean.
- White Balance: Make sure the colors feel true to the mood you felt when you were there.
- Dodge and Burn: Manually brighten the areas you want people to look at and darken the distractions.
For more technical guides on specific gear and techniques, you can always check out Shut Your Aperture.

7. The Mindset of a Successful Landscape Photographer
Photography isn't just about the buttons on your camera; it’s about patience and observation. Sometimes you travel all the way to Varanasi, India and the weather doesn't cooperate. That's okay.
The goal is to become a storyteller. Don't just take one wide shot and leave. Take a wide shot, then zoom in for a detail shot, then find a mid-range composition. Explore the space. Photography is a way to create a photographic memory of your experiences.
Be Prepared
Landscape photography is 90% preparation and 10% execution. Check the weather, look at maps, and use apps to see where the sun will rise.
And remember, things will go wrong. Your battery will die, you'll forget your memory card, or the "worst wedding video ever" type of luck will hit you in the field. (Actually, for a laugh, check out this bride suing a videographer to see how bad things can really get in the pro world).
8. Putting It All Together
To wrap this up, here is your "Succeed at Landscapes" checklist:
- Plan ahead: Know your location and the light.
- Use a tripod: Sharpness is non-negotiable.
- Think about the foreground: Don't just look at the horizon.
- Shoot in RAW: This gives you the most data to work with in Luminar.
- Simplify: If an element doesn't add to the story, zoom it out or move your camera.

Landscape photography is a journey. It forces you to slow down, breathe the air, and actually look at the world around you. Even if you don't get the "perfect" shot, you spent the morning watching the sun come up. That’s a win in my book.
If you're looking for more inspiration, I often post deeper dives and personal galleries over at blog.edinchavez.com or you can see some of my finished gallery pieces at www.edinfineart.com.
Now, grab your gear, check your batteries, and go shoot something epic. The light is waiting.
Luminar Neo’s Sky AI, atmosphere AI and SuperSharp are designed for landscape work — replace flat skies, add depth, and recover detail in seconds. Tagged as affiliate per FTC.