Portrait photography is arguably the most intimidating and rewarding genre in the entire craft. Think about it: you aren’t just trying to get the exposure right or find a cool sunset. You are dealing with a living, breathing human being who probably feels just as awkward in front of the lens as you do behind it.
Whether you’re aiming to become a professional headshot photographer or you just want better photos of your family, mastering the portrait is about more than just clicking a button. It’s about connection, technical precision, and a little bit of psychological warfare (the good kind). In this guide, we’re going to break down everything from the gear you need to the way you talk to your subjects. This is your roadmap to success in the world of faces.
What is Portrait Photography, Anyway?
At its core, portrait photography is the art of capturing the inherent character, personality, and soul of a subject. It sounds a bit "woo-woo," but it’s true. A mugshot is a photo of a person; a portrait is a story about a person.
When you look at a great portrait, you feel like you know the person, even if you’ve never met them. You see their confidence, their vulnerability, or their humor. To get there, you need to master three distinct areas: the technical stuff (your camera), the environmental stuff (lighting and location), and the human stuff (posing and connection). If you want to dive deeper into the basics of the craft overall, check out The Ultimate Guide to Photography Tutorials.
The Gear You Actually Need (and what you don't)
You don’t need a $10,000 setup to take a killer portrait. In fact, some of the most iconic portraits in history were taken on gear that would be considered "garbage" by today’s digital standards. However, having the right tools makes the job a lot easier.
The Camera Body
Any camera that allows for manual control will work. You want to be able to dictate your aperture, shutter speed, and ISO. Full-frame cameras are the gold standard for portraits because of their ability to produce a shallow depth of field, but crop sensors and mirrorless systems are more than capable.
The Lenses: Where the Magic Happens
The lens is more important than the camera body in portraiture.
- The "Nifty Fifty" (50mm): This is the entry-level hero. It’s cheap, fast, and mimics the human eye’s field of view.
- The 85mm Prime: Often called the "King of Portrait Lenses." It offers beautiful compression, meaning it makes features look more flattering, and it creates that buttery-smooth background blur (bokeh) everyone loves.
- The 70-200mm Zoom: Great for when you need space between you and the subject. It’s a staple for wedding and event photographers.
If you’re curious about how specific lenses perform in the field, Shut Your Aperture has some great deep dives on glass.
Lighting Gear
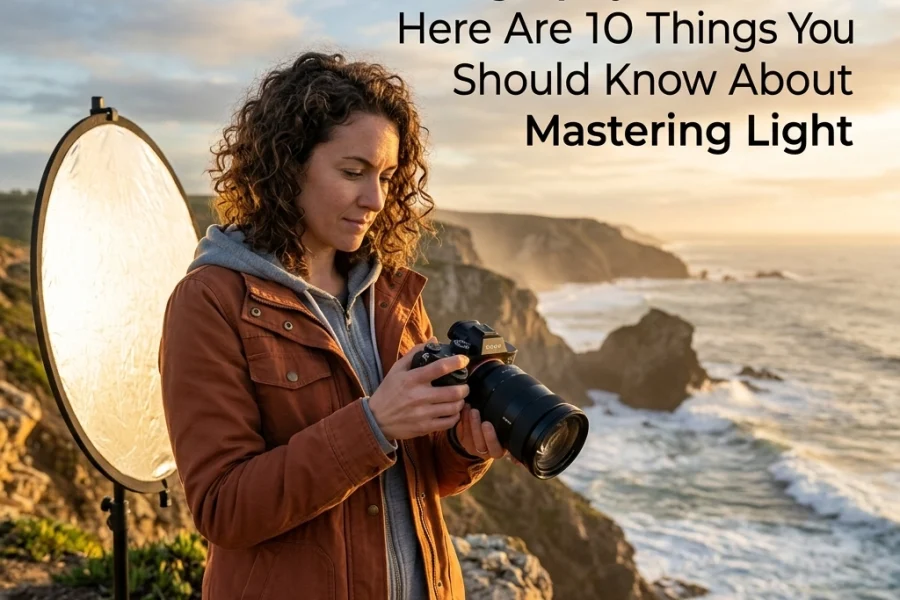
You can start with just the sun, but eventually, you’ll want a reflector. A simple 5-in-1 reflector is the best $20 you’ll ever spend. It allows you to bounce light back onto your subject’s face to fill in harsh shadows.

Master Your Camera Settings: The Technical Side of the Face
To get those professional-looking shots, you have to move away from "Auto" mode. Here’s the breakdown of how to set up your shot.
Aperture (The Bokeh Factor)
For portraits, you usually want a wide aperture (a low f-number). Shooting at f/1.8 or f/2.8 isolates the subject from the background. This makes them pop and hides any distracting elements behind them. Just be careful: if you shoot too wide (like f/1.2), you might get the tip of the nose in focus while the eyes are blurry.
Focus on the Eyes
In portraiture, the eyes are the most important part of the image. If the eyes aren't sharp, the photo is a "delete." Most modern mirrorless cameras have "Eye-AF" (Eye Auto-Focus), which is a total game-changer. If you don't have that, use a single focus point and aim it right at the eye closest to the camera.
Shutter Speed and ISO
Keep your shutter speed fast enough to avoid "camera shake." A good rule of thumb is the reciprocal rule: if you’re shooting with an 85mm lens, keep your shutter speed at least 1/100s or faster. Keep your ISO as low as possible (ISO 100 or 200) to keep the image clean and noise-free.
Lighting: Painting with Your Subject
Lighting is what separates a snapshot from a masterpiece. You can have the most beautiful model in the world, but if the lighting is flat or "muddy," the photo will fail.
Natural Light
The "Golden Hour" (the hour after sunrise and the hour before sunset) is your best friend. The light is soft, warm, and directional. If you find yourself shooting in the middle of the day, find some "Open Shade": under a tree or in the shadow of a building. This provides even, flattering light without the harsh shadows under the eyes. For more on timing your shots, see our guide on Top Spots for Majestic Sunset Photography.
Simple Lighting Patterns
If you’re using a flash or a window, try these classic setups:
- Rembrandt Lighting: Characterized by a small triangle of light on the cheek opposite the light source. It’s moody and classic.
- Butterfly Lighting: The light is placed directly in front of and above the subject, creating a small shadow under the nose that looks like a butterfly. This is the go-to for "beauty" shots.
Composition: Putting the Pieces Together
Don't just center your subject every time. It’s boring.
- The Rule of Thirds: Imagine a grid on your screen. Place the subject’s eyes on one of the top intersections. It creates a more balanced and interesting feel.
- Negative Space: Sometimes, leaving a lot of empty space around your subject can emphasize their emotion or the environment.
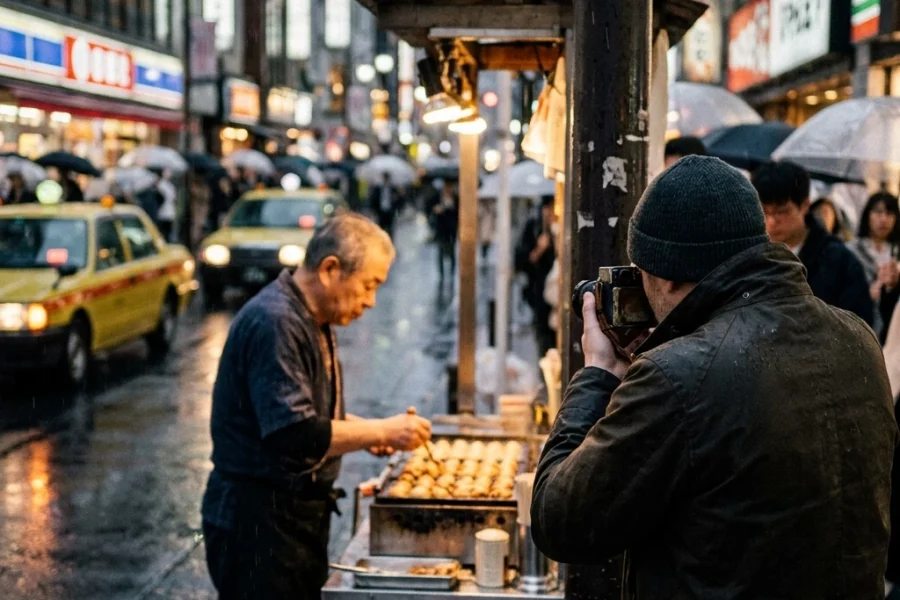
- Leading Lines: Use the environment: fences, roads, or architectural lines: to point toward your subject. This is especially effective in urban photography.

The Art of the Pose (Without Looking Like a Robot)
This is where most photographers struggle. "What do I do with my hands?" is the question you will hear most often. Your job is to have an answer.
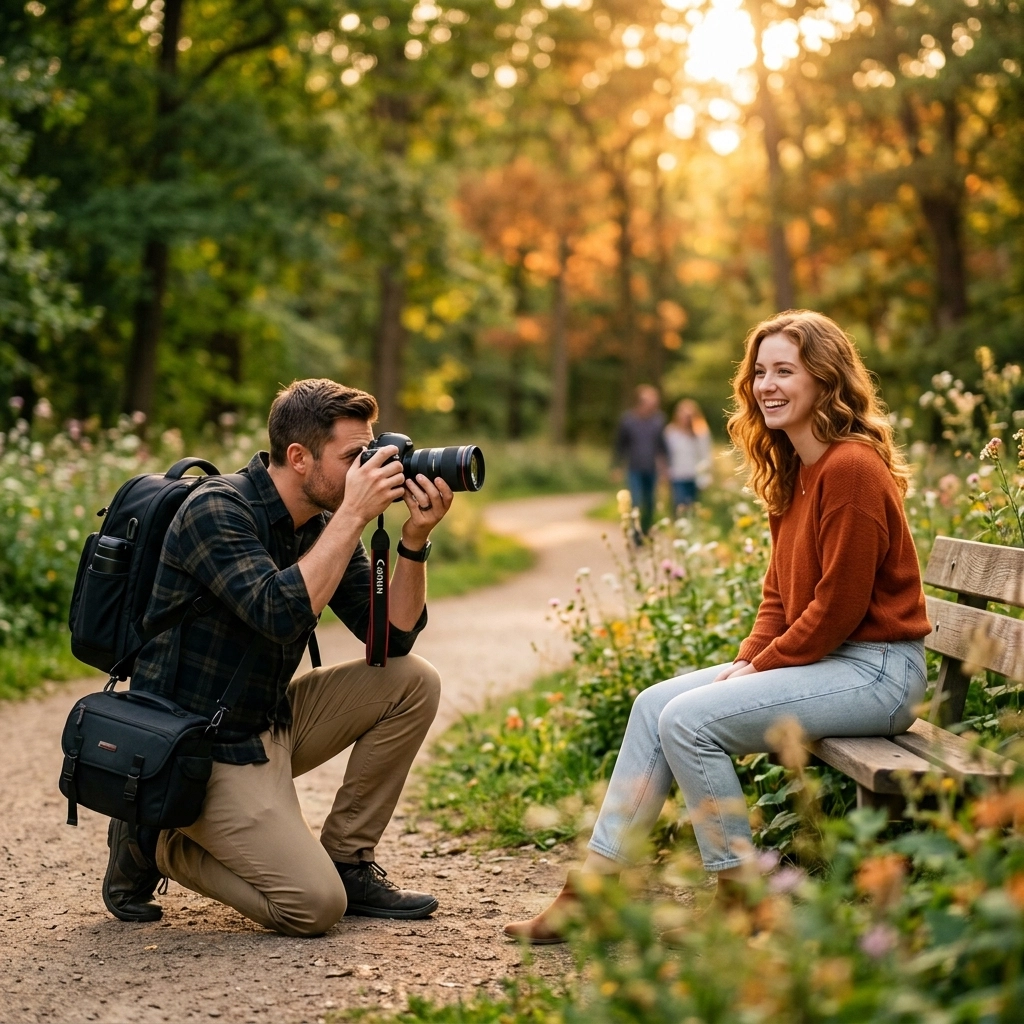
Give Them Action
Instead of saying "stand there and smile," give them something to do. "Walk toward me," "look over your shoulder," or "adjust your cufflink." Movement creates natural expressions and gets rid of that "deer in the headlights" look.
The Chin and the Shoulders
A quick tip: have your subject push their chin slightly "out and down." This defines the jawline and prevents the dreaded double chin. Also, avoid having them stand square to the camera; have them angle their shoulders slightly for a more slimming and dynamic look.
Building a Connection: The Secret Sauce
You are a director as much as you are a photographer. If you are nervous, your subject will be nervous. If you are having fun, they will have fun.
Talk to Them
Don't hide behind your camera. Talk about their day, their interests, or even how weird it feels to have a giant glass lens pointed at your face. Show them the "back of the camera" (the LCD screen) when you get a great shot. It builds their confidence and makes them want to work harder for the next one.
The "Mirror" Trick
If you want a specific pose, show them. Don't just explain it; do it yourself. It’s much easier for a subject to mirror your body language than to interpret verbal instructions like "move your left hip three inches to the right."
Locations: Finding the Perfect Backdrop
The location should complement the subject, not distract from them. A CEO might look great in a sleek office or an urban setting, while a musician might look better in a gritty alley or a field.
If you’re looking for inspiration for your next session, check out some hidden gem locations. Sometimes the best "studio" is just a street corner with great texture. You can also see how Edin uses environments to create mood at Edin Fine Art.

Post-Processing: Making Them Look Their Best
Editing is the final 20% that makes the photo 100% better. You aren't trying to change how someone looks; you’re trying to polish the image.
Skin and Color
Don't go overboard with skin smoothing. People have pores; it’s okay. Focus on removing temporary blemishes (like a pimple) rather than permanent features (like a mole) unless the client specifically asks.
For quick, professional results, I highly recommend using Luminar. It has AI-driven tools that can enhance eyes, improve skin texture, and even relight a scene with just a few sliders. You can find it here: Luminar.
Developing a Style
Consistency is key. Whether you like dark and moody tones or bright and airy ones, try to keep your "look" consistent across a session. This helps you build a brand that people can recognize. You can see more examples of consistent style over at Edin’s blog.
Common Mistakes to Avoid
- Busy Backgrounds: If there is a tree branch looking like it's growing out of your subject's head, you missed it. Always check the perimeter of your frame.
- Flat Lighting: Avoid using the "pop-up" flash on your camera. It creates harsh, flat light that makes people look two-dimensional.
- Missing the Focus: Again, focus on the eyes. If the ear is sharp but the eyes are blurry, the photo is a fail.
- Over-Editing: If your subject looks like a plastic doll, you've gone too far. Pull back on the sliders.
Final Thoughts on the Journey
Portrait photography is a marathon, not a sprint. Every person you photograph is a new puzzle to solve. Some people will be naturals, and others will require every ounce of your patience and coaching.
The best way to get better is to keep shooting. Grab your friends, your family, or even a stranger (if you're brave enough) and practice. Focus on the connection first, and the technical stuff will eventually become second nature.
Remember, you aren't just taking a picture; you’re creating a memory that someone might keep for the rest of their life. No pressure, right? Now, get out there and shut your aperture (or open it, depending on the bokeh you want).
Skylum’s Aperty is purpose-built for portrait retouching with AI skin, eye and detail enhancement. Luminar Neo’s Portrait AI complements it for full-body and editorial work. Tagged as affiliate per FTC.