You’ve done it. You’ve woken up at 4:00 AM, hiked three miles in the dark, and fought off a small army of mosquitoes just to get that "perfect" sunrise shot. You get home, load the photos onto your computer, and… they’re just okay.
Actually, they might be a little boring. Or blurry. Or the sky looks like a nuclear explosion of neon orange that definitely wasn't there in real life.
Don't sweat it. Landscape photography is hard. It’s one of those genres that looks easy from the outside: after all, the mountain isn’t moving: but it requires a mix of technical precision, insane patience, and a bit of luck with the weather.
I’m Penny, and here at Shut Your Aperture, we see these common stumbles all the time. The good news? They are all easy to fix. If you want to turn those "meh" snapshots into gallery-worthy prints, stop making these seven mistakes.
1. The Crooked Horizon: The "Leaning Tower" Effect
This is the absolute king of beginner mistakes. You’d be surprised how many incredible shots are ruined because the ocean looks like it’s about to leak out of the left side of the frame.
A crooked horizon is jarring to the human eye. We naturally expect the world to be level. When it isn’t, the viewer feels a sense of subconscious unease. Unless you are going for a very specific, intentional "Dutch angle" for a creative project, your landscape should be flat.
How to Fix It:
- Use Your Electronic Level: Most modern mirrorless cameras have a built-in electronic level (or "virtual horizon"). Turn it on in your display settings. It’ll turn green when you’re level.
- The Grid Rule: Turn on the 3×3 grid in your viewfinder. Align the horizon with one of the horizontal lines.
- Post-Processing: If you missed it in the field, you can fix it in a few clicks. If you're using Luminar, the composition tool can automatically detect the horizon and level it for you.
- Check the Tripod: Sometimes your camera is level on the head, but your tripod legs are sinking into sand or mud. Keep an eye on it.

2. The Midday Sun: Harsh Shadows and Blown Highlights
A lot of people think that a bright, sunny day is the best time for photography. In reality, it’s often the worst. When the sun is directly overhead, it creates "hard" light. This results in dark, featureless shadows and bright, "blown-out" highlights where all the detail is lost in a sea of white.
Landscape photography is all about texture and mood. Midday sun flattens everything. It’s the visual equivalent of shouting when a whisper would be much more effective.
How to Fix It:
- Chase the Golden Hour: This is the hour after sunrise and the hour before sunset. The light is soft, warm, and hits the landscape at an angle, creating long shadows that reveal the texture of rocks and trees.
- Don't Fear the "Bad" Weather: Overcast days are essentially nature’s giant softbox. Clouds provide even, diffused light that is perfect for forest photography or waterfalls.
- Blue Hour: Don't pack up as soon as the sun goes down. The 30-40 minutes after sunset provide a cool, moody light that is incredible for cityscapes and coastal scenes.
- Use Filters: If you must shoot in bright light, a Circular Polarizer (CPL) can help manage reflections and deepen the blue of the sky. Check out Shut Your Aperture for some deep dives on filter usage.
3. The Wide-Angle Trap: Including Too Much Nothing
New landscape photographers often reach for the widest lens they own (like a 14mm or 16mm) and try to cram the entire mountain range into one frame. The problem? When you include everything, you focus on nothing.
Wide-angle lenses make distant objects look much smaller than they appear to the naked eye. That massive, towering peak you’re looking at? On a 14mm lens, it might look like a tiny pimple on the horizon.
How to Fix It:
- Find a Subject: A landscape photo needs a focal point. Is it a lone tree? A specific rock? A winding path? If you can't point to the "hero" of your photo, the composition is too broad.
- Try a Telephoto: Some of the best landscapes are shot at 70mm, 200mm, or even 400mm. Telephoto lenses compress the scene, making layers of mountains or trees look like they are stacked on top of each other. It creates a much more intimate, powerful feel.
- Get Close to the Foreground: If you are using a wide lens, you must have something interesting in the foreground: like a flower or an ice chunk: just inches from the lens to lead the eye into the scene.

4. Forgetting the Foreground: The "Empty Space" Abyss
Building on the previous point, a very common mistake is having a beautiful background (like a sunset over the ocean) but nothing in the bottom third of the frame except empty water or dirt.
Without a foreground, the viewer has no "entry point" into the photo. It feels two-dimensional. Great landscape photography is about creating a sense of three-dimensional space on a flat screen or piece of paper.
How to Fix It:
- The Three-Layer Rule: Try to think of your photo in three layers: Foreground (the bottom), Middle-ground (the subject), and Background (the sky/distant mountains).
- Leading Lines: Look for rocks, logs, or tide pools that "point" toward the main subject. This guides the viewer's eye through the frame.
- Get Low: Don't just shoot from eye level. Lower your tripod. Sometimes getting six inches off the ground transforms a boring patch of grass into an epic foreground element.
5. The "Deep-Fried" Look: Over-Processing Your Files
We’ve all been there. You get a RAW file into your editor, and you start sliding that saturation bar to the right. Then you add some clarity. Then some more "dehaze." Before you know it, the grass looks like radioactive waste and the sky is a weird shade of purple-black.
Over-editing is a phase every photographer goes through, but in landscape work, it’s a quick way to lose credibility. Nature is beautiful enough; it doesn't need to look like a psychedelic dreamscape unless that's your specific fine-art style.
How to Fix It:
- Less is More: If you think you’ve added enough saturation, back it off by 10%.
- Edit with RAW: Always shoot in RAW. It gives you the dynamic range needed to recover shadows without making the photo look "crunchy."
- Use Smart AI Tools: Modern software like Luminar has tools that use AI to enhance details naturally without creating halos or artifacts. It’s a great way to maintain a realistic look while still making the image "pop."
- Walk Away: After you finish an edit, walk away from your computer for 15 minutes. When you come back with fresh eyes, you’ll usually realize you went a bit too far with the contrast.

6. Ignoring the Edges: The "Photobombing" Branch
You’re so focused on the mountain in the center of your frame that you don't notice the stray tree branch peeking into the top-left corner, or the bright white trash can sitting at the very edge of the right side.
These "edge distractions" pull the viewer's eye away from your subject. Our eyes are naturally drawn to high-contrast elements and objects that enter the frame from the side.
How to Fix It:
- The Border Patrol: Before you press the shutter, run your eye around all four edges of the frame. If there is a half-cut-off rock or a distracting leaf, move your camera slightly to exclude it.
- Crop with Intent: If you didn't catch it in the field, crop the image slightly in post.
- Clean Up: Sometimes the best "editing" happens in the field. If there’s a distracting piece of trash or a dead branch in your foreground, just pick it up and move it (as long as you aren't disturbing the local ecology!).
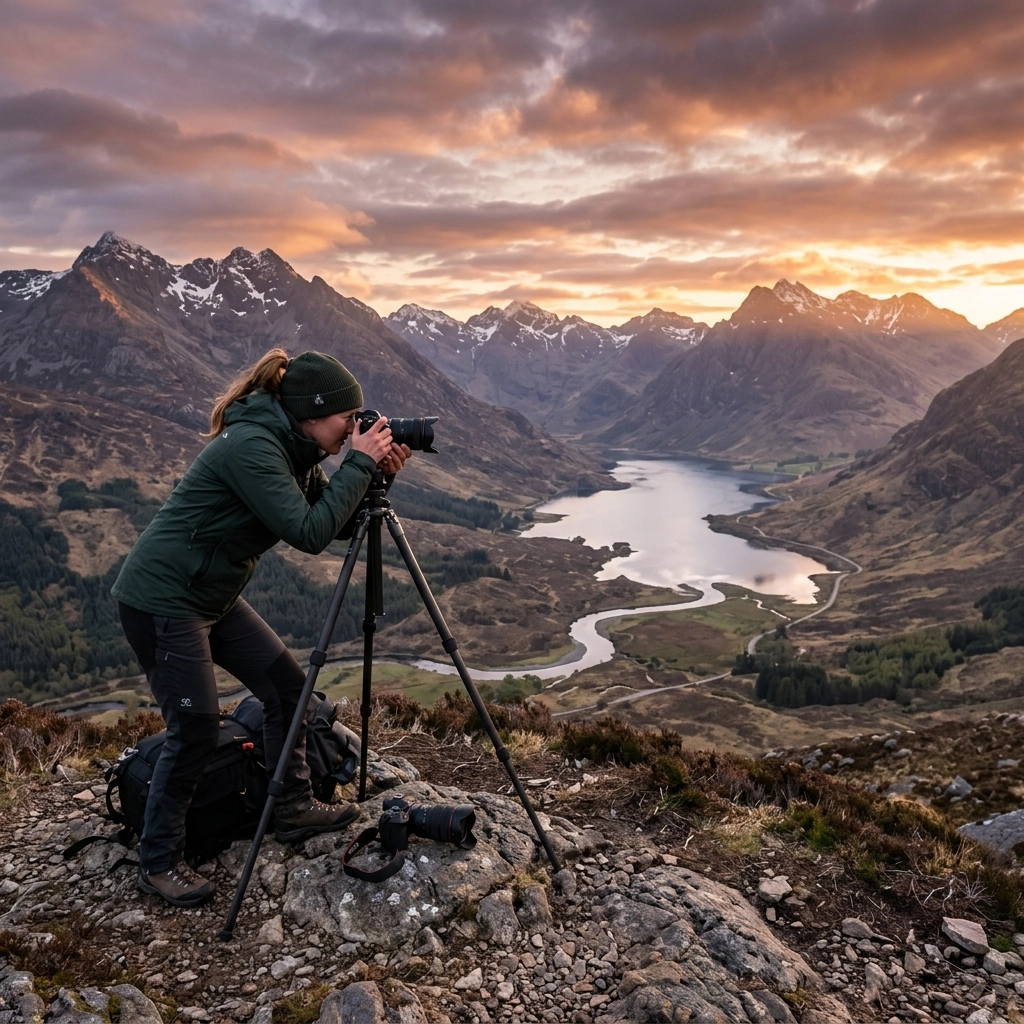
7. The Lone Ranger Syndrome: Lack of Planning
Great landscape photography isn't just about showing up and hoping for the best. If you just drive to a viewpoint at 2 PM on a Tuesday, you’re probably going to get a boring photo.
Many people fail to realize that the best shots are the result of intense planning. You need to know where the sun will rise, what the tide will be, and if a storm is rolling in. If you want to keep up with the latest tech that helps with this, check out our recent post on 5 major camera releases and software updates.
How to Fix It:
- Use Apps: Tools like PhotoPills or The Photographer’s Ephemeris are lifesavers. They tell you exactly where the sun and moon will be at any given time.
- Scout in the Daylight: If you plan to shoot a sunrise, visit the location the afternoon before. Figure out where you’re going to park and where you want to set up your tripod. Fumbling around in the dark is a great way to miss the light.
- Check the Weather: Don't just check for "sun." Look for cloud cover percentages. A 30-50% cloud cover is often the sweet spot for an epic sunset. Totally clear skies are actually quite boring for landscapes.

Bonus: Obsessing Over Gear Instead of Technique
I get it. Gear is fun. We love talking about the latest 60-megapixel sensors and carbon fiber tripods. But a $10,000 camera won't fix a boring composition or a lack of light.
I’ve seen people take world-class landscape photos on an old Canon 5D Mark II and a kit lens because they understood light and composition. Conversely, I've seen people with the newest Sony flagship take photos that look like they belong on a real estate brochure for a cheap apartment.
How to Fix It:
- Master What You Have: Before you buy a new lens, make sure you’ve exhausted the possibilities of your current one.
- Invest in a Tripod: If you’re going to spend money, spend it on a sturdy tripod. A shaky tripod is worse than no tripod at all. It gives you a false sense of security while delivering blurry photos.
- Education over Equipment: Spend your "gear budget" on a workshop or a trip to a new location. Experience will always beat out a new piece of glass. You can find some great inspiration over at blog.edinchavez.com.
Putting It All Together
Landscape photography is a journey. It’s about being present in nature and trying to capture a feeling, not just a place.
If you stop making these seven mistakes: level your horizons, find your light, choose your subjects carefully, and keep your processing natural: you’ll see an immediate jump in the quality of your work.
Don't get discouraged if your first few tries aren't perfect. Even the pros come home with empty memory cards sometimes. The fun is in the chase.
For more tips on refining your artistic eye, take a look at the stunning work on www.edinfineart.com. Seeing how high-end prints are composed can give you a better idea of what to aim for in your own frames.
Now, pack your bag, check the weather, and go shut your aperture! (But seriously, use a tripod).
Luminar Neo’s Sky AI, atmosphere AI and SuperSharp are designed for landscape work — replace flat skies, add depth, and recover detail in seconds. Tagged as affiliate per FTC.