We’ve all been there. You see that glorious, honey-thick light spilling over the horizon, hitting the peaks of the mountains or the crests of the waves. You scramble for your camera, dial in some settings, and click away. Then you get home, pull the RAW files onto your computer, and… meh. The colors look muddy, the sky is a white blob of nothingness, and the foreground is so dark it looks like a black hole.
Golden hour is often called the "cheat code" of photography, but even with the best light in the world, you can still end up with a mediocre photo. Because that light is fleeting and high-contrast, it’s actually one of the hardest times of day to master. If you want to stop taking "okay" sunset photos and start creating gallery-worthy landscapes, you need to stop sabotaging yourself.
Here are the seven most common mistakes photographers make during the golden hour and exactly how you can fix them before your next shoot.
1. The "Parking Lot" Timing Error
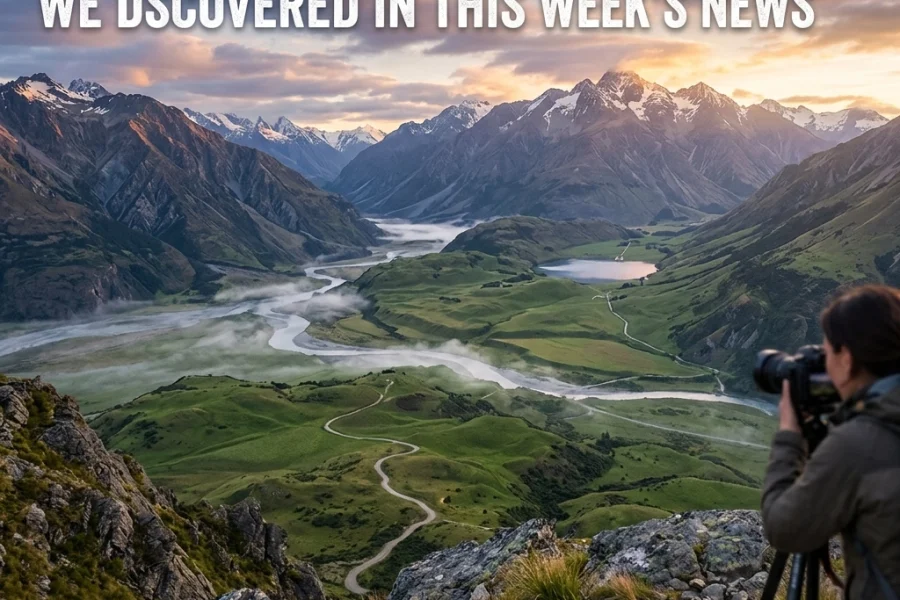
The biggest mistake happens before you even take the lens cap off. Most people show up to a location right when the sky starts turning orange. If you’re pulling into the parking lot when the sun is touching the horizon, you’ve already lost.
Landscape photography is 90% preparation and 10% actually pushing the shutter button. When you arrive late, you’re rushed. You don't have time to find a unique composition, so you end up shooting the same "postcard" shot everyone else has. Worse, you might miss the most critical part of the light because you were busy unfolding your tripod legs.
How to Fix It:
You need to arrive at least 60 to 90 minutes before the actual golden hour begins. This gives you time to scout. Walk the area. Look for leading lines, interesting foreground elements like rocks or wildflowers, and check how the shadows are falling. Use apps like PhotoPills or The Photographer’s Ephemeris to see exactly where the sun will drop. If you’re just starting out, check out our Photography 101 guide to get a handle on the basics of scouting and preparation.

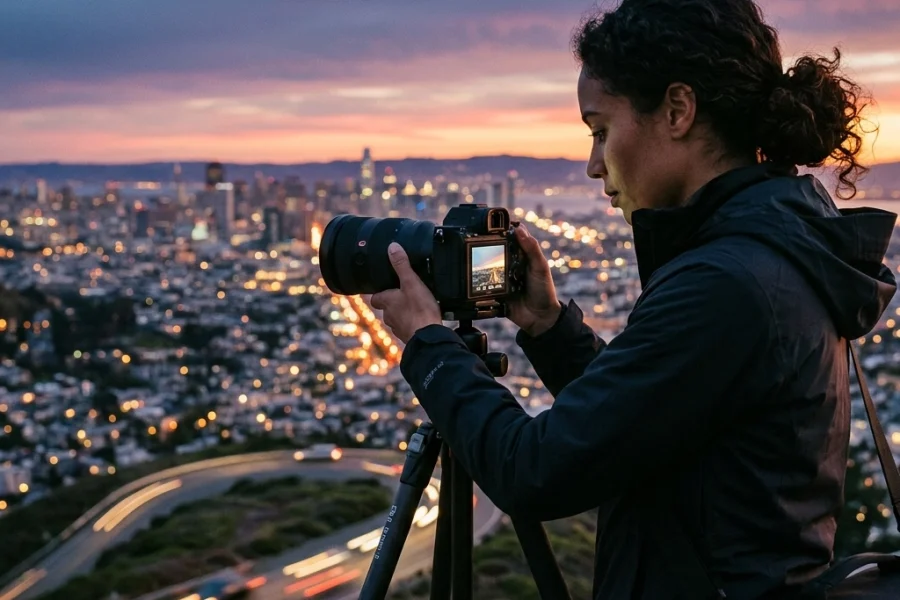
2. Trusting Your Hands When the Light Fades
As the sun goes down, the light level drops, fast. Your camera’s "Auto" mode (which you should definitely stop using, by the way) will try to compensate by slowing down the shutter speed. If you’re holding the camera in your hands, you’re going to get "micro-blur." You might not see it on the tiny 3-inch screen on the back of your camera, but once you blow that photo up on a monitor, it’ll look like it was shot through a bowl of soup.
Even if you have the steadiest hands in the world, you can’t fight physics. Once your shutter speed drops below 1/50th of a second, you’re in the danger zone.
How to Fix It:
Use a tripod. Period. No excuses. A tripod allows you to keep your ISO at its lowest native setting (usually 64 or 100), which ensures maximum image quality and minimum noise. It also allows you to use longer shutter speeds to blur water or clouds, adding a professional look to your landscapes. If you're still struggling with camera control, our guide on how to master manual mode will walk you through why that tripod is your best friend.
3. The "Clear Sky" Curse
It sounds counterintuitive, but a perfectly clear, blue sky is often the worst thing that can happen to a landscape photographer. Sure, it’s a nice day for a picnic, but for a photo? It’s boring. Without clouds, there is nothing for the sunset colors to "catch" onto. You just get a bright yellow ball falling into a hazy horizon.
Many photographers see a few clouds and think, "Oh well, the sunset is ruined." In reality, those clouds are exactly what you need for a dramatic, fiery sky.
How to Fix It:
Learn to love "bad" weather. The best golden hour shots often happen right after a storm breaks or when there is about 30-50% cloud cover. High-altitude cirrus clouds (the wispy ones) are the best for catching vibrant reds and purples. Before you head out, check the weather reports on PhotoGuides.org to see if the conditions are right for light diffusion. If it’s totally overcast, don’t stay home, look for moody, atmospheric shots instead.

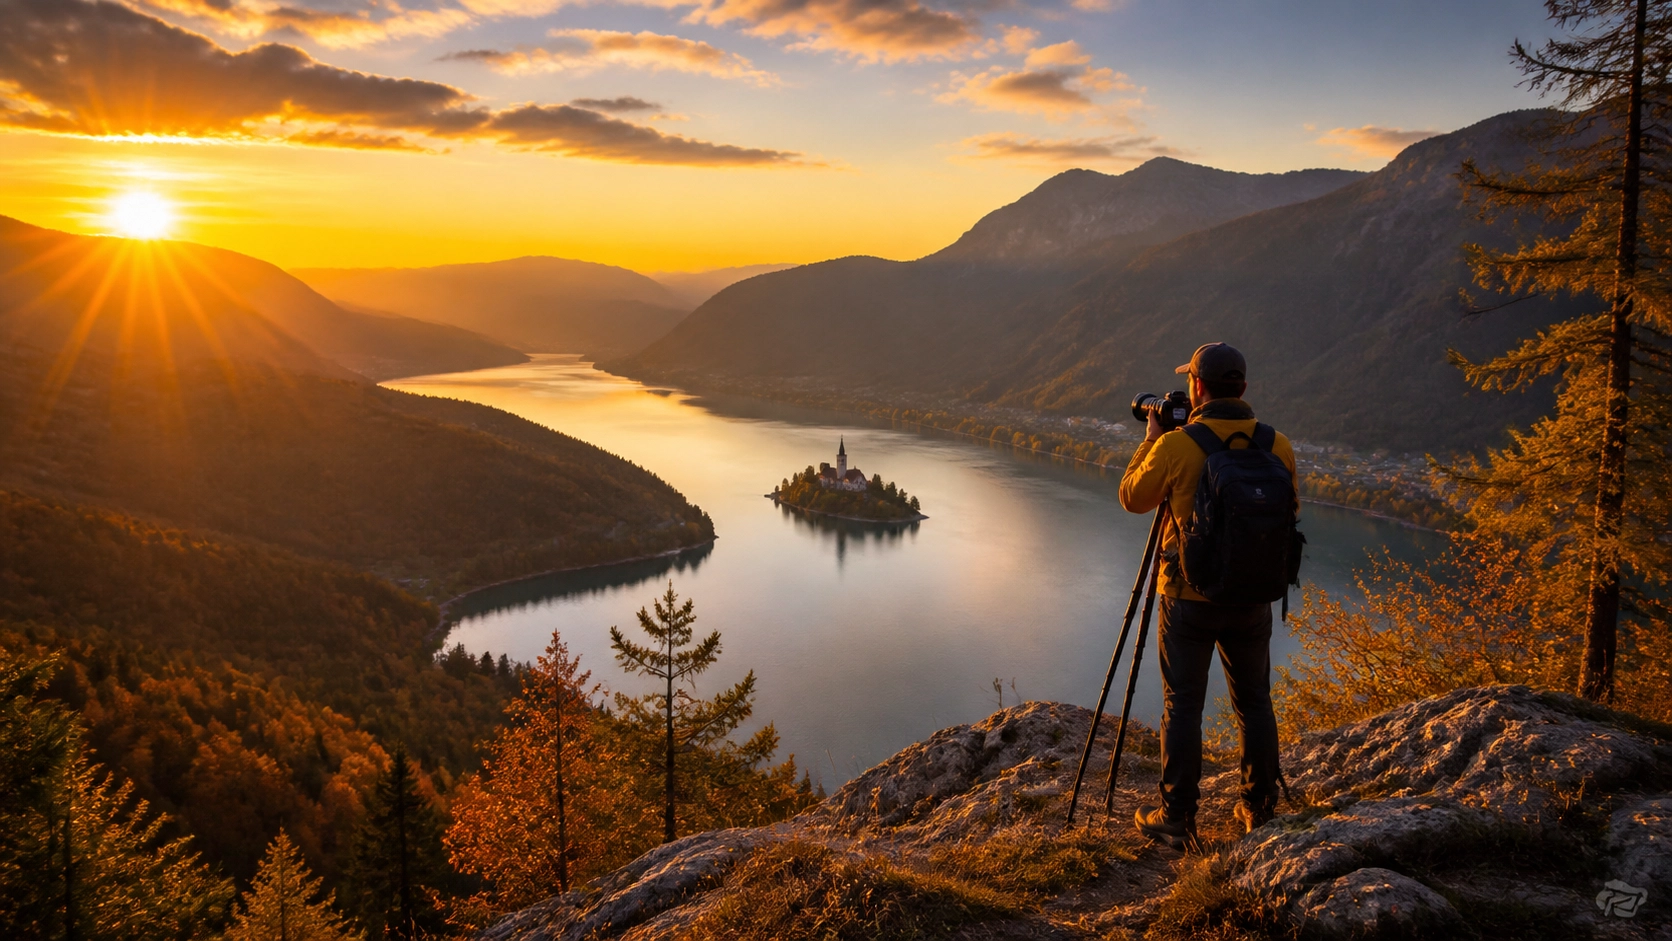
4. Getting Distracted by the "Sunball"
We have a natural instinct to point the camera directly at the sun. While "sunstars" can be cool, shooting directly into the light creates massive flare and destroys your contrast. It also makes it nearly impossible for your camera to handle the dynamic range, leaving your landscape looking like a silhouette.
Often, the best light isn't where the sun is, it’s behind you.
How to Fix It:
Turn around. Look at the "side-light" or "back-light." Side-lighting (where the sun is to your left or right) is incredible for landscapes because it creates long shadows that reveal the texture and shape of the land. It makes mountains look three-dimensional and gives grass or sand a tactile feel. If you do want to shoot toward the sun, try hiding the sun slightly behind a tree or a rock to minimize flare and create a more balanced exposure.
5. Setting Your White Balance to "Auto"
Your camera is designed to make things look "neutral." When it sees that beautiful, warm, golden light, the Auto White Balance (AWB) thinks, "Whoa, this is way too yellow!" and tries to "correct" it by adding blue. This effectively kills the very "golden" part of the golden hour.
If you’re shooting in AWB, you’re letting a computer chip decide the mood of your photo, and that chip is usually a buzzkill.
How to Fix It:
Switch your White Balance to the "Cloudy" or "Shade" preset. These presets tell the camera to warm things up, which enhances the natural golden tones of the sunset. Even better, shoot in RAW so you can fine-tune the temperature later without losing quality. If you find yourself making mistakes with manual mode, starting with a fixed white balance is a great way to take back control.

6. Packing Up the Moment the Sun Hits the Horizon
This is a classic rookie move. The sun disappears, the "golden" light fades, and everyone starts walking back to their cars. They are missing the best part: The Blue Hour.
Once the sun is below the horizon, the sky doesn't just go black. For about 20 to 30 minutes, the atmosphere acts like a giant softbox. You get these incredible deep blues, pinks, and soft purples. The light is perfectly even, meaning you don't have to worry about harsh shadows or blown-out highlights.
How to Fix It:
Stay for at least 30 minutes after sunset. This is when the "afterglow" happens. If there are clouds in the sky, they might catch the light from below the horizon and turn neon pink. Use a long exposure (thanks to that tripod you brought) to capture the serene, calm feeling of the blue hour. Some of the best fine art landscapes are actually shot during this "civil twilight" phase, not the golden hour itself.
7. Blowing Out the Highlights (Dynamic Range Disaster)
Golden hour is a high-contrast environment. The sky is very bright, and the ground is very dark. Most digital sensors: even the fancy ones in 2026: can’t capture that entire range in one shot. If you expose for the ground, the sky turns white. If you expose for the sky, the ground turns pitch black.
Trying to "fix it in post" by dragging the shadow slider to +100 usually results in a grainy, muddy mess that looks like a cheap smartphone photo.
How to Fix It:
You have two main options here. First, you can use "Bracketing." This is where you take three or five photos at different exposures: one for the sky, one for the shadows, and one for the midtones. You then merge them later.
Second, you can use high-quality editing software to balance the scene. I personally use Luminar because its AI-powered "Relight" and "Sky Enhancer" tools can recover detail that other programs struggle with. Just be careful not to overdo it; there’s a fine line between a great edit and a distorted AI disaster.

Bonus: Understanding Your Aperture "Sweet Spot"
A lot of people think that for landscapes, you have to use the smallest aperture possible (like f/22) to get everything in focus. This is a myth. Due to something called diffraction, shooting at f/22 actually makes your image less sharp.
For most golden hour landscapes, f/8 to f/11 is your sweet spot. It provides enough depth of field to keep the foreground and background sharp while maintaining the maximum clarity of your lens. If you have a rock just inches from your lens, you might need to try "focus stacking," but for 95% of shots, f/11 is all you need.
The Secret Ingredient: Persistence
You can follow all these steps and still get a "bad" sunset. That’s just nature. Sometimes the clouds don't show up, or the haze is too thick, or the color just isn't there. The difference between a professional and an amateur is that the professional keeps coming back.
Don't treat your golden hour shoots as a "one and done" mission. Go back to the same spot in different seasons, different weather, and different tides. The more you practice, the more you’ll start to "read" the light before it even happens.
If you’re serious about leveling up your landscape game and want to dive deeper into the technical side of things, head over to learn.shutyouraperture.com. We’ve got deep-dive courses that cover everything from advanced composition to the nitty-gritty of post-processing.
Landscape photography is a journey, and the golden hour is your best teacher. Stop making these seven mistakes, grab your tripod, and get out there before the sun goes down. Your portfolio will thank you.