For the noise-versus-light tradeoff that sits underneath this whole topic, read our ISO photography guide first.
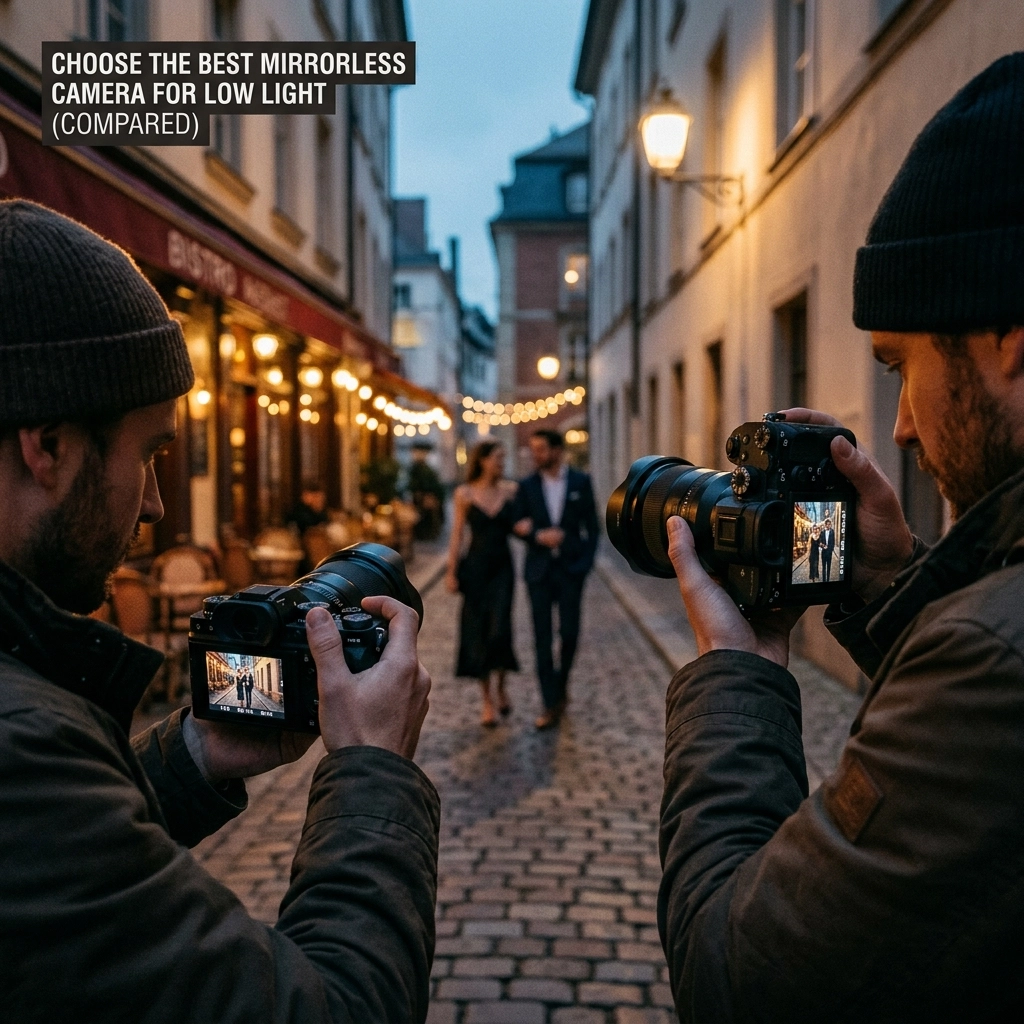
We’ve all been there. You’re at a wedding, a concert, or maybe just out on a moody street at midnight, and you see the perfect shot. You frame it up, click the shutter, and… it looks like a bowl of digital oatmeal. Grainy, blurry, and flat-out disappointing. This is the "low light wall," and it’s where most entry-level gear goes to die.
But here’s the good news: we are living in the golden age of sensor technology. Modern mirrorless cameras are basically owls with lenses. They can see in the dark better than we can. Choosing the best mirrorless cameras for low light isn't just about picking the one with the biggest price tag; it’s about understanding how sensors, processors, and glass work together to beat the shadows.
In this guide, I’m going to break down exactly what you need to look for, compare the heavy hitters on the market right now, and give you some pro-level photography tutorials on how to handle your gear when the sun goes down.
Why Mirrorless is the King of the Night
Before we dive into the specific models, let's talk about why we’re focusing on mirrorless. For a long time, DSLRs were the standard for professional work. But mirrorless cameras have changed the game for one specific reason: the Electronic Viewfinder (EVF).
When you’re shooting in low light with an old DSLR, looking through the viewfinder is like looking into a cave. With a mirrorless camera, the EVF can "gain up," showing you exactly what the sensor is seeing. This makes it infinitely easier to nail your focus and exposure in near-total darkness. Plus, without that flipping mirror, mirrorless bodies are often more stable, which helps when you're pushing your shutter speeds.
If you’re just starting out, checking out a photography tips for beginners guide can help you understand these hardware differences before you drop the big bucks.
The Secret Sauce: What Makes a Low Light Beast?
You can’t just look at the megapixel count. In fact, more megapixels can sometimes be worse for low light. Here’s the breakdown of what actually matters.
1. Sensor Size (Full-Frame is Your Best Friend)
Size matters. A full-frame sensor has more surface area to gather light than an APS-C or Micro Four Thirds sensor. It’s like the difference between trying to catch rain in a bucket versus a shot glass. If you want the cleanest images possible at high ISOs, go full-frame.
2. Pixel Pitch (The "Bigger Pixel" Theory)
This is where it gets nerdy. If you take two sensors of the same size, but one has 12 megapixels and the other has 60, the 12MP sensor will usually perform better in low light. Why? Because the individual "pixels" (photosites) are physically larger, allowing them to soak up more photons with less electrical noise. This is why the Sony A7S III is legendary: it only has 12.1 megapixels, but they are huge.
3. In-Body Image Stabilization (IBIS)
When light is low, you need to keep the shutter open longer. If you’re holding the camera in your hands, even a tiny shake will ruin the shot. IBIS moves the sensor to compensate for your shaky hands, allowing you to shoot at 1/10th of a second (or slower!) and still get a sharp image.
4. ISO Performance and Noise Floor
ISO is basically just artificial amplification of the light signal. Better cameras have a "lower noise floor," meaning you can crank that ISO to 6400 or 12800 without the image looking like it was filtered through a sandstorm.
SEO Alt Text: A high-end mirrorless camera on a professional tripod capturing a low-light urban street scene with neon lights and deep shadows.
The Top Contenders: Low Light Mirrorless Comparison
Let’s look at the current kings of the dark. Whether you're into landscape photography tips or you need to know how to use manual mode camera settings effectively, these bodies will give you the best foundation.
1. Sony A7S III: The Night Owl
If your primary goal is video or extreme low-light performance, this is the one. It’s widely considered the "low light monster." With a native ISO range that goes up to 409,600, it can practically see through walls.
- Best For: Filmmakers and those who don't need huge prints.
- Pro Tip: Pair this with a fast f/1.4 prime lens for the ultimate night setup.
2. Canon EOS R6 Mark II: The All-Rounder
Canon knocked it out of the park with this one. It has an incredible autofocus system that works down to -6.5 EV (that’s very, very dark). It handles noise beautifully up to ISO 12800.
- Best For: Wedding photographers and event shooters.
- Internal Link: Check out our corporate event photography tips to see how this gear handles high-pressure environments.
3. Nikon Z6 III: The AF King
Nikon’s latest offering is a beast. It’s rated to autofocus down to -10 EV. Think about that: it can focus in light so dim you’d struggle to find your keys. It’s a fantastic choice for street photography ideas when you’re hunting for shots in dark alleys.
- Best For: Photojournalists and street photographers.
4. Sony A7 IV: The Balanced Pro
If you need higher resolution (33MP) but still want great low-light performance, the A7 IV is the industry standard. It’s the camera I often recommend for people moving from amateur to pro.
5. Canon EOS R50: The Budget Choice
Not everyone has $3,000 to drop on a body. The R50 is an APS-C camera, but for its price, it handles low light surprisingly well. It’s a great entry point for photography for beginners.
How to Use Manual Mode Camera Settings for Low Light
Having a great camera is only half the battle. If you stay in "Auto" mode, your camera is going to freak out in the dark. It will likely fire the flash (ruining the mood) or set the ISO so high that the image becomes unusable.
To really master the dark, you need to learn how to use manual mode camera settings. Here is your quick-start guide:
- Aperture: Open it up. Set your f-stop to the lowest number your lens allows (f/1.8, f/2.8, etc.). This lets the maximum amount of light hit the sensor.
- Shutter Speed: This is a balancing act. If your subject is moving (like at a concert), you need at least 1/200s. If it's a still landscape, you can go much slower, especially with a tripod.
- ISO: Set this last. Start at 800 and move up until the exposure looks right. Don't be afraid of ISO 3200 or 6400 on modern mirrorless cameras.
For a deeper dive into these concepts, I highly recommend checking out some photography tutorials that focus specifically on the exposure triangle.
SEO Alt Text: Close up of a photographer's hands adjusting the manual dials on a mirrorless camera in a dim, moody environment.
Low Light Photography News: What’s Changing?
The latest photography news is all about AI integration. Cameras are now using deep learning to predict where a subject's eye is, even when it’s barely visible. This means that "missed focus" is becoming a thing of the past. Companies like Sony and Canon are constantly pushing firmware updates that improve low-light AF tracking. Keep your firmware updated: it’s like getting a new camera for free.
Editing the Shadows: Photo Editing Tutorials
No matter how good your camera is, low-light shots usually need a little love in post-processing. Shadow areas can look flat, and noise is inevitable when you're pushing the sensor.
My secret weapon for this is Luminar. Their "Noiseless AI" tool is incredible for cleaning up high-ISO shots without turning the details into mush. When you’re doing photo editing tutorials, focus on these three things for low-light shots:
- Noise Reduction: Use AI-based tools to strip out grain.
- White Balance: Low light usually means weird light sources (street lamps, candles). Fix your colors first.
- Contrast and Curves: Don't try to make the photo look like it was taken in daylight. Embrace the blacks. Use the curves tool to crush the deepest shadows to hide noise while keeping the highlights bright.
SEO Alt Text: A side-by-side comparison of a raw low-light photo with digital noise versus a clean, edited version using AI noise reduction software.
Practical Tips for Different Styles
Street Photography Ideas in the Dark
The city comes alive at night. Look for "pools of light" created by shop windows or street lamps. Wait for someone to walk into that light. This creates a high-contrast, cinematic look. For more on this, read up on street photography secrets.
Portrait Photography Techniques for Low Light
If you're shooting natural light portraits, position your subject so the light source hits their face at a 45-degree angle. This creates "Rembrandt lighting" which is incredibly flattering and moody. Use a wide aperture to blur out the distracting night-time background.
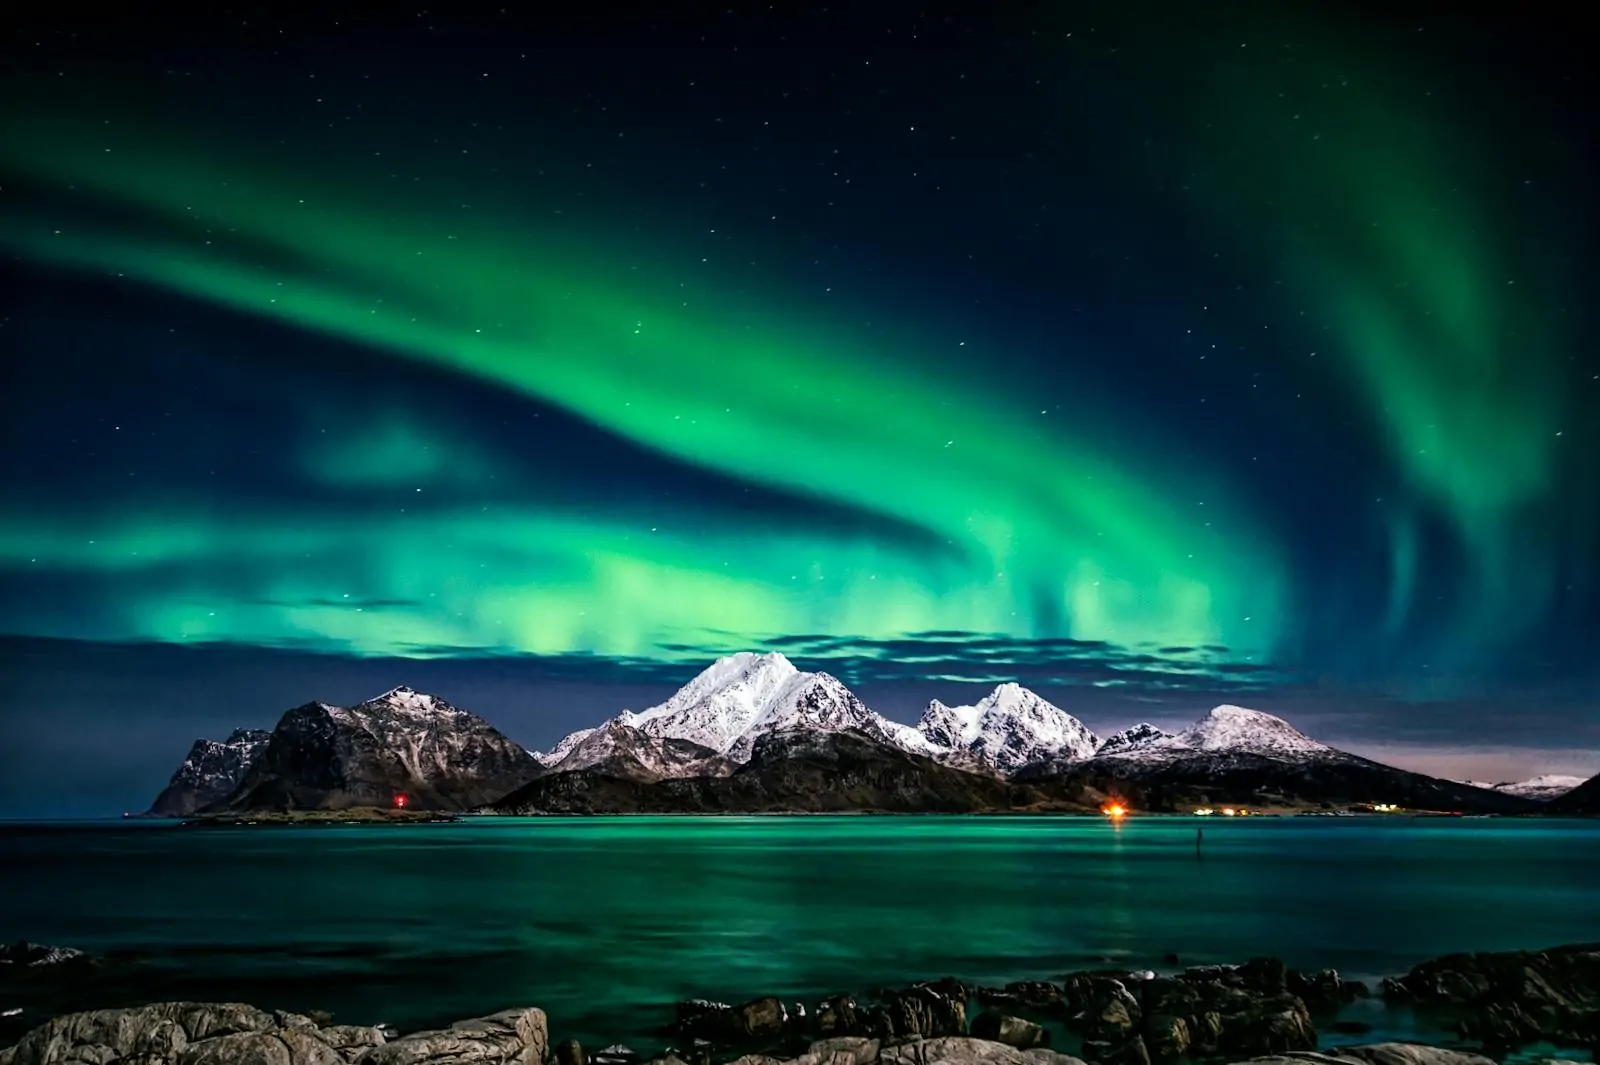
Landscape Photography Tips for the Blue Hour
The "Blue Hour" is the period just after sunset. The sky is a deep indigo, and city lights start to twinkle. Use a tripod, set your ISO to 100, and use a long exposure (10-30 seconds). This will give you a clean, noise-free image with silky smooth water or light trails from cars. For more inspiration, check out Peter Lik’s style of landscape work.
Camera Gear Reviews: Which One Should You Buy?
If you’re still torn, let’s simplify it.
- If money is no object: Sony A7S III or Nikon Z9.
- If you want the best value for pro work: Canon R6 Mark II.
- If you want a "do-it-all" hybrid: Sony A7 IV.
- If you are a beginner: Canon R50 or Sony ZV-E10 II (check out settings for landscape).
Remember, the body is only half the equation. A cheap "kit lens" (usually f/3.5-5.6) will make even the best camera struggle in the dark. If you're serious about low light, invest in a "fast" prime lens like a 35mm f/1.8 or a 50mm f/1.4. The difference is night and day, literally.
SEO Alt Text: A collection of high-end mirrorless lenses showing wide apertures, essential for low light photography gear reviews.
Mastering the Light You Have
At the end of the day, photography is the study of light. When there isn't much of it, you have to be more intentional. Whether you're capturing grandiosity in real estate or just taking photos of your kids' birthday party, understanding your gear's limits is key.
Don't be afraid of the grain. Sometimes, a little bit of noise adds character and a "film look" to your images. What matters most is the emotion and the moment. A grainy shot of a beautiful moment is always better than a perfectly clean shot of nothing.
If you want to dive deeper into the technical side, there are 10 things you should know about mastering light that will change the way you see every scene you walk into.
Final Thoughts on Choosing a Mirrorless Camera
Choosing the best mirrorless camera for low light comes down to your specific needs. Do you need high resolution for big prints, or do you need the cleanest possible video?
Most modern full-frame mirrorless cameras from Sony, Canon, and Nikon are more than capable of handling 95% of what you'll throw at them. Pick a system that feels good in your hands, learn how to use manual mode camera settings, and get out there and shoot when the sun goes down.
For more gear talk and fine art inspiration, head over to Edin Fine Art to see what's possible when you push your gear to the limit. And if you're looking for more technical guides, PhotoGuides.org has some of the best breakdowns on the web.
The dark isn't something to fear; it’s where the most interesting stories are told. Grab your camera, open up that aperture, and start shooting.
SEO Alt Text: A breathtaking night landscape photo featuring the Milky Way, demonstrating the capabilities of the best mirrorless cameras in extreme low light.


