Let’s be real for a second. You bought that shiny new camera, and for the first few weeks, you kept it locked on that little green "Auto" icon. It’s okay. We’ve all been there. It’s safe. It’s comfortable. But you eventually realized that your photos look… well, ordinary. They look like high-quality phone pictures, not the cinematic, soul-stirring art you see on Instagram or in galleries.
If you want to transition from a person who just "takes pictures" to a photographer who "creates images," you have to face the beast: Manual Mode.
Learning how to use manual mode camera settings is the single most important milestone in your journey. It’s the difference between letting a computer chip guess what you want and you telling the camera exactly how to capture the world. At Shut Your Aperture, we believe everyone has an artist inside them; you just need the right photography tutorials to unlock it.
In this comprehensive guide, we’re going to break down the Exposure Triangle, demystify light metering, and show you how to compose shots that actually tell a story. By the time you’re done reading, that "M" on your dial won’t stand for "Mystery": it’ll stand for "Mastery."
Why Manual Mode? (And Why Auto is Ruining Your Life)
When your camera is in Auto, it has one goal: to make everything look "average." It looks at the scene and tries to find a balance where nothing is too bright and nothing is too dark.
The problem? Art isn’t average.
Maybe you want a silhouette against a sunset. Auto will try to brighten the person, blowing out the sky. Maybe you want a blurry, dreamy background for a portrait. Auto might choose a narrow aperture that keeps the distracting trash can behind your subject in perfect focus.
Manual mode gives you the steering wheel. If you want to dive deeper into why this shift is happening, especially with the rise of new tech, check out our piece on the 2026 camera shift.
The Foundation: The Exposure Triangle
Every single photo you take is governed by three things: Aperture, Shutter Speed, and ISO. Think of these as a three-way tug-of-war. If you change one, you usually have to adjust one or both of the others to keep the light balanced. This is the "Exposure Triangle."
SEO Alt Text: A visual diagram of the Exposure Triangle showing the relationship between Aperture, Shutter Speed, and ISO for beginners.
1. Aperture: The Eye of the Lens
Aperture is the opening in your lens that lets light through. Think of it like the pupil of your eye. In the dark, your pupil gets big to let in more light. In bright sun, it shrinks.
In photography, aperture is measured in "f-stops" (like f/1.8, f/8, or f/16). This is where it gets a little counter-intuitive:
- Small f-number (f/1.8): Large opening. Lots of light. Shallow depth of field (blurry background).
- Large f-number (f/16): Small opening. Less light. Deep depth of field (everything is in focus).
If you’re doing portrait photography, you’ll likely want a wide aperture (low f-number) to get that creamy "bokeh" background. If you’re shooting landscapes, you’ll want a narrow aperture (high f-number) so the flowers in the front and the mountains in the back are both sharp.
2. Shutter Speed: The Gatekeeper of Time
Shutter speed is how long the camera’s sensor is exposed to light. It’s measured in fractions of a second (1/1000, 1/250, 1/30).
- Fast Shutter Speed (1/1000+): Freezes motion. Great for sports, birds, or hyper kids.
- Slow Shutter Speed (1/30 or slower): Blurs motion. Used for those "silky" waterfall shots or light trails in the city.
Pro Tip: If you’re holding the camera with your hands, try not to go slower than 1/60th of a second. Anything slower and your heartbeat or shaky hands will cause "camera shake," making the whole photo blurry. If you're interested in more advanced gear that helps with this, read about AI-powered mirrorless tech.
3. ISO: The Sensor’s Sensitivity
ISO is your camera's internal way of brightening an image. It’s the sensitivity of the sensor to the light it receives.
- Low ISO (100-400): Best for bright daylight. Produces the cleanest, highest-quality images.
- High ISO (3200+): Necessary for low light (like a dimly lit restaurant). However, high ISO introduces "noise" or grain, which can make your photo look crunchy and less professional.
Always try to keep your ISO as low as possible. It’s your "last resort" in the Exposure Triangle.
Step-by-Step: How to Dial in Your First Manual Shot
Don't panic. You don't have to be a math genius to do this. Follow this simple workflow we teach in our manual mode masterclass.
Step 1: Set Your ISO
Start by looking at your environment. Are you outside in the sun? Set ISO to 100. Are you inside a house with some window light? Try 800. Are you in a dark basement? Try 3200.
Step 2: Choose Your Aperture
What is the "vibe" of the shot? If it's a person, go for the lowest f-number your lens allows (like f/2.8). If it’s a group of people or a building, try f/5.6 or f/8.
Step 3: Adjust Shutter Speed Until the Meter is Happy
Look through your viewfinder or at your screen. You’ll see a little scale with a "0" in the middle, "minus" on the left, and "plus" on the right. This is your Light Meter.
Adjust your shutter speed dial until the little tick mark lands on the "0."
- If it’s on the minus side, your photo is too dark (under-exposed). Slow down your shutter.
- If it’s on the plus side, your photo is too bright (over-exposed). Speed up your shutter.
SEO Alt Text: A close-up of a camera viewfinder showing the exposure meter at zero for a perfectly balanced shot.
Mastering Light: The Secret Sauce
Light is the language of photography. You can have the most expensive camera in the world, but if the light is bad, the photo is bad.
When you’re practicing your photography 101 skills, look for "Golden Hour": the hour right after sunrise or right before sunset. The light is soft, warm, and hits your subjects from the side, creating beautiful shadows and depth.
Avoid shooting at noon. The sun is directly overhead, creating "raccoon eyes" (dark shadows under the eyes) and harsh highlights. If you must shoot at noon, find some shade or use a reflector. For those looking to master light in a professional setting, we have a great guide on corporate headshot tips that covers lighting in detail.
Composition: How to Lead the Eye
Settings get you a technically "correct" photo. Composition gets you a "great" photo. You could have the exposure perfect, but if the horizon is crooked or there’s a pole coming out of your subject’s head, the photo is a bust.
Here are the three rules of composition you should memorize:
- The Rule of Thirds: Imagine a tic-tac-toe grid over your image. Place your subject on one of the lines or where the lines intersect. This creates a much more balanced and interesting image than just sticking everything in the dead center.
- Leading Lines: Use roads, fences, or even shadows to lead the viewer’s eye toward your subject. It creates a "path" for the brain to follow.
- Fill the Frame: Don’t be afraid to get close. If your subject is a flower, don’t take a picture of the whole garden with a tiny flower in the middle. Get in there!
For more on this, check out PhotoGuides.org for some excellent visual examples of classic composition.
SEO Alt Text: An ultra-realistic example of the Rule of Thirds in landscape photography featuring a mountain peak on the right vertical grid line.
The Role of AI in Modern Photography
It's 2026, and we can't talk about manual mode without mentioning AI. Some people think AI is going to replace the photographer. At Shut Your Aperture, we think that’s nonsense. AI is a tool, not a replacement.
New cameras use AI to track eyes, predict movement, and even suggest exposures. But the AI doesn't know why you are taking the picture. It doesn't know the emotion you're trying to convey. You still need to understand the fundamentals so you can tell the AI when it's wrong. To stay ahead of the curve, keep an eye on our AI photography news updates.
Editing: Bringing Your Manual Shots to Life
Even the pros don't get it 100% right in-camera. Post-processing is where you polish your "RAW" files. We always recommend shooting in RAW format instead of JPEG because it stores way more data, allowing you to recover shadows and highlights that would otherwise be lost.
If you’re looking for a powerful yet simple way to edit, we highly recommend checking out Luminar. It uses AI to handle the tedious stuff: like masking and sky replacement: so you can focus on the creative color grading. It’s a game-changer for beginners who don't want to spend five years learning Photoshop.
However, be careful not to overdo it. There are common AI photo editing mistakes that can make your photos look "fake." Keep it natural, keep it clean.
SEO Alt Text: A side-by-side comparison of a RAW image before and after editing in Luminar software, showing enhanced colors and light.
Common Mistakes to Avoid
Even after reading this, you’re going to mess up. That’s okay! Here are the most common traps beginners fall into:
- Forgetting to change ISO: You were shooting in a dark room at ISO 3200, then you walked outside into the sun and forgot to dial it back down. Your photos will be completely white.
- Trusting the Screen Too Much: The screen on the back of your camera lies. It’s often brighter than the actual photo. Always check your histogram or your light meter.
- The "Nervous Shutter": Taking 500 photos of the same thing hoping one is good. Slow down. Think about your settings. Compose the shot. One great photo is better than 50 "okay" ones.
If you find yourself struggling, don't worry. We’ve compiled a list of 7 mistakes you're making with manual mode to help you troubleshoot.
Practice Makes… Better
You aren't going to become an expert overnight. Photography is a muscle. You have to flex it.
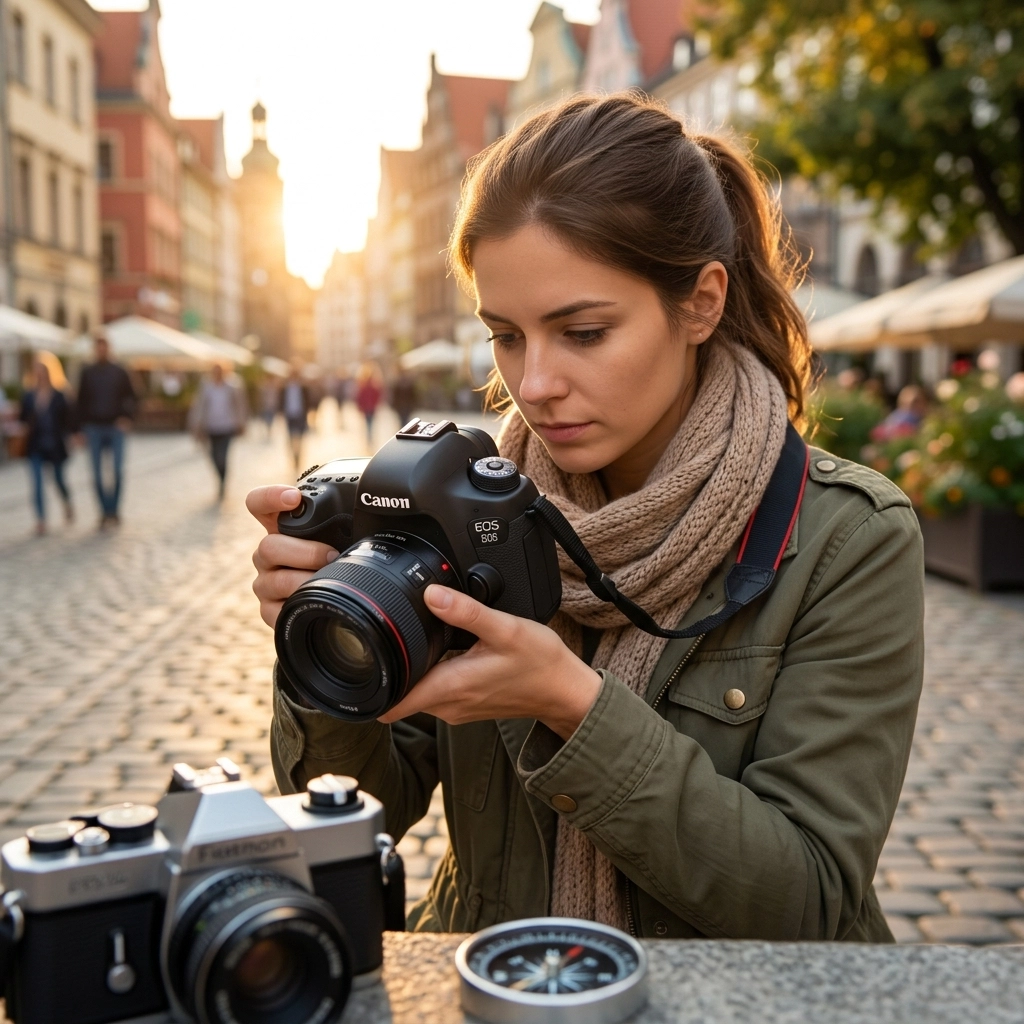
Start with a "One-Subject Session." Take an object: a coffee mug, a shoe, a plant: and take 20 different photos of it in Manual Mode.
- Change the aperture to see how the background changes.
- Change the shutter speed to see how it affects the brightness.
- Move around to find different light sources.
If you want to fast-track your progress and join a community of creators, check out the structured courses at Shut Your Aperture Academy. We have everything from "Camera Basics" to "Fine Art Printing."
SEO Alt Text: A photographer practicing manual mode settings in a garden during the golden hour.
Your Journey Starts Here
Mastering how to use manual mode camera settings is like learning to drive a manual transmission car. It’s clunky at first, you might stall a few times, but once you get the hang of it, you’ll never want to go back to automatic. You have the power to freeze time, to blur the world into a dream, and to capture the light exactly as you see it.
For more inspiration and deep dives into the world of fine art, you can also explore Edin Fine Art to see how professional manual techniques are applied to world-class gallery pieces. Or, for a more casual look at the life of a working pro, visit blog.edinchavez.com.
Stop letting your camera make the decisions for you. Turn that dial to "M," take a deep breath, and start creating. The world is waiting to be seen through your lens.
If you’re still shopping for your perfect setup for the year, don't miss our guide on how to choose the best mirrorless cameras for 2026.
Now, get out there and shut your aperture!


