Let’s be honest: traditional photo editing tutorials are a slog. You know the ones, the forty-five-minute YouTube videos where a guy with a monotone voice explains every single menu item in Photoshop before actually showing you how to fix a stray hair. By the time you get to the "how-to," you’ve already checked your phone six times and lost interest in the photo you were trying to edit in the first place.
But it’s 2026. The world has changed. If you’re still trying to master editing the old-fashioned way, you’re essentially trying to learn how to build a car when you just need to know how to drive to the grocery store. Artificial Intelligence has flipped the script. The fastest way to get better at photo editing tutorials isn't by watching more of them, it’s by using AI tools that allow you to learn through immediate, high-quality results.
We’re going to break down why you need to stop watching 47-step tutorials and start using AI to leapfrog the learning curve.
The Death of the "Slow-Motion" Tutorial
The problem with old-school tutorials is that they focus on mechanical skills rather than creative ones. You spend hours learning how to use the Pen Tool or how to manually mask a complicated skyline. While those are great skills to have, they aren't what make a photo great. What makes a photo great is the mood, the light, and the composition.
AI tools now handle the mechanical heavy lifting. This means your "tutorial" time should be spent on how to guide the AI, not how to manually click a thousand times. If you want to dive deep into this new world, our Ultimate Guide to Photography Tutorials covers exactly how to navigate this shift at our online school.
Instead of following a guide on "How to Select Hair," you’re now looking for "How to Prompt Generative Fill" or "How to use Luminar to relight a scene." The feedback loop is instant. You move a slider or type a word, and the result happens. This instant gratification isn't just fun; it’s the most effective way to learn. You see what works immediately, allowing you to iterate ten times faster than someone doing it manually.

Focus on Single-Task AI Tools
If you want to get good fast, stop trying to master Photoshop all at once. It’s too big. It’s like trying to learn the entire library of Alexandria in a weekend. Instead, focus on "laser" tools, AI software that does one thing incredibly well.
Think about the "Big 5" tasks that eat up 80% of your editing time:
- Background Removal: Forget the lasso tool. Use tools like remove.bg or the built-in AI in Canva.
- Object Erasing: Cleanup.pictures or Photoshop’s Generative Fill.
- Enhancement/Upscaling: This is huge for high-resolution printing.
- Color Grading: Using AI-based presets that adapt to the lighting in your specific shot.
- Subject Masking: Automatically selecting a person or a bird without zooming in 400%.
When you use a tool that only does one thing, you master that specific workflow in minutes. You can see more examples of how this looks in practice over at PhotoGuides.org. By specializing in these micro-tasks, you build a "toolbox" of skills that you can then combine. It’s much faster to learn five small, powerful tools than one giant, confusing one.
Why AI Sliders are the Best Teachers
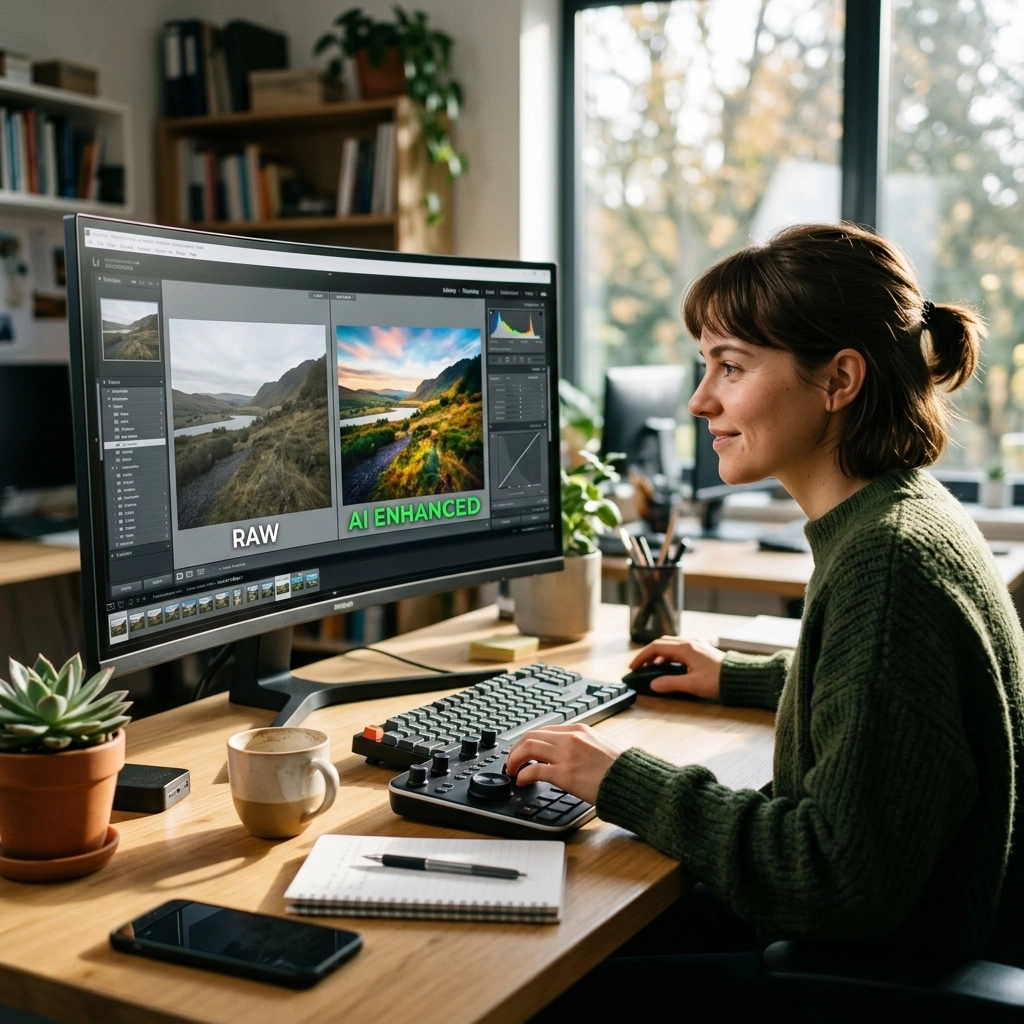
The most effective way to learn how light and color work is to see them change in real-time. This is where Luminar really shines. Their "Brilliance AI" or "Sky Replacement" tools don't just fix the image; they show you what a professional-grade edit looks like.
When you use an AI tool to automatically adjust the exposure, contrast, and highlights, don't just click "Apply" and move on. Look at what the AI did. Look at where the sliders moved. It’s like having a master editor looking over your shoulder and saying, "Hey, your shadows were a bit too dark, and the blue channel was a little flat."
Reverse-engineering AI edits is the ultimate "fast track." You get the professional result first, and then you study how the tool got there. This is a complete 180 from traditional learning, where you struggle for an hour and hope the result looks professional at the end.
If you’re just starting out and need to see how this applies to different types of photography, check out the Nikon Z8 settings for street photography. Getting the settings right in-camera makes the AI's job a lot easier later on.

Leveraging AI for Bulk Workflow
For many of us, the bottleneck isn't editing one photo: it’s editing five hundred. If you’re a wedding photographer or a street photographer coming back from a long day, the thought of sitting through tutorials on "batch processing" makes you want to sell your gear.
New AI tools like Aftershoot or Lightroom’s enhanced AI masking allow you to cull and edit thousands of photos in minutes. The "tutorial" here isn't about clicking; it's about training. Some of these tools allow you to upload 2,500 of your past edited photos to "teach" the AI your personal style.
This is the peak of the new photography era. You aren't just a user of software; you are an AI trainer. Once the AI learns your style, it applies it to your new sets. This allows you to focus on the creative decisions that actually matter. If you want to see how top-tier gear handles these massive amounts of data, take a look at the Canon EOS R5 vs Sony A7R V comparison. The way these cameras capture detail directly impacts how well AI can "read" your style.
Integrating AI Into Your Daily Practice
To truly get better, you have to stop treating AI as a "cheat code" and start treating it as your primary assistant. The fastest way to get ahead is to integrate the latest industry news into your practice. The tech is moving so fast that what worked six months ago is already outdated.
Here is a simple daily exercise to get better:
- Take a photo that you think is "okay" but not great.
- Run it through an AI tool like Luminar.
- Use a "one-click" enhancement.
- Analyze the difference. Where did the AI add light? Which colors did it saturate?
- Try to replicate 50% of that effect manually in your main editor.
By doing this, you are training your eyes. You’re learning the "why" behind an edit, which is infinitely more valuable than the "how" of a specific software button. For more structured learning that cuts through the noise, you should definitely check out our Online School. We don't do fluff; we do results.

The Hardware Factor: Don't Bottleneck Your AI
It's important to mention that AI tools are resource-hungry. If you’re trying to run the latest Generative AI on a laptop from 2018, you’re going to spend more time staring at a loading bar than learning. Getting better at editing also means having the right tools to execute your vision.
The latest mirrorless cameras are built with these workflows in mind. For instance, the way modern sensors handle dynamic range allows AI to pull details out of shadows that would have been "mud" five years ago. If you're curious about the state of the art, read our Ultimate Guide to 2026 Mirrorless Cameras.
When your hardware and software are in sync, the "learning" happens in the flow state. You aren't fighting the computer; you're creating with it. This is why keeping up with gear news is actually part of your editing education. You can find deep dives on specialized gear and fine art photography over at blog.edinchavez.com and EdinFineArt.com.
The AI Editing Stack
To get started today, here is the "Fast Track" stack I recommend. This setup will teach you more in a week than a year of watching traditional tutorials:
- For Creative Flow: Luminar. It's the most intuitive way to understand how AI can transform a landscape or a portrait.
- For Precision: Adobe Photoshop. Use it specifically for Generative Fill and Generative Expand. It’s the best way to learn composition because you can literally add or remove elements to see how the "weight" of the image shifts.
- For Bulk Work: Lightroom Classic with AI Adaptive Presets. This teaches you how to maintain a consistent look across a whole series of images.
- For Mobile: Adobe Express or Canva. These are perfect for when you’re on the go and need to see what an AI-assisted edit looks like on a smaller screen.

Stop Watching, Start Doing
The trap of the "Photo Editing Tutorial" is that it makes you feel productive while you’re actually just being a spectator. You watch a 20-minute video on frequency separation and feel like you've learned something, but until you apply it to twenty different faces, you don't actually know it.
AI removes the barrier to entry. It gives you a "finished" version of your vision instantly. Your job is then to tweak, refine, and understand that vision. This is the fastest way to get better because it keeps you in the driver's seat.
If you want to stay ahead of the curve, you need to be aware of how the industry is shifting. For example, why the latest photography news will change the way you buy camera gear forever is a crucial read. The cameras of tomorrow are being designed specifically to feed these AI editing tools. Even the debate over whether prime lenses are dead is influenced by how well AI can now simulate depth of field and sharpness.
Mastering the Prompt
In 2026, the most important "editing" skill you can have is knowing how to talk to your computer. Whether you’re using Generative Fill or a specialized AI enhancer, your ability to describe what you want is your new "brush stroke."
Tutorials that focus on prompt engineering for photographers are the new gold standard. Instead of learning where the "Levels" tool is, you're learning how to say "Add cinematic morning fog with a 50mm depth of field."
This requires a different kind of knowledge. You need to know photography terminology better than ever. You need to know what "golden hour," "rim light," and "bokeh" actually mean, because that’s how you control the AI. If you don't know the vocabulary, you can't use the tools. That’s why we focus so heavily on the fundamentals at Shut Your Aperture. We teach you the language of photography so you can master the AI tools of tomorrow.

Summary of the Fast Path
To recap, if you want to stop sucking at editing and start producing pro-level work by next Tuesday, here is your plan:
- Ditch the long-form videos. If it’s over 10 minutes and doesn't involve AI, it’s probably a waste of your time.
- Get Luminar. Use the AI sliders to see what a "perfect" edit looks like for your specific style of shooting, whether it’s landscapes on a Fujifilm X100VI or portraits.
- Reverse-engineer the AI. Look at the settings the AI chose and ask yourself why.
- Use specialized tools. Don't try to make Photoshop do everything. Use the right tool for the right task (backgrounds, upscaling, object removal).
- Join a community. Don't learn in a vacuum. Check out our photography tutorials and online school to connect with others who are using these tools to change the game.
The "fastest way" isn't a secret. It’s just a shift in mindset. Stop trying to be a technician and start being an art director. Let the AI be your technician. When you lean into these new tools, you’ll find that your "eye" for photography develops faster than you ever thought possible. You'll spend less time at your desk and more time behind the lens( which is where the magic happens anyway.)