Let’s be real for a second: the world of photography has changed faster in the last two years than it did in the previous twenty. Remember when "editing" meant sitting in front of a computer for three hours, squinting at pixels, and trying to manually mask out a stray power line with a mouse? Yeah, those days are pretty much over.
Welcome to the era of AI-powered photo editing. Whether you just picked up one of the best mirrorless cameras or you're still rocking your trusty DSLR, the tools available to you now are nothing short of magic. But with great power comes a lot of confusing sliders and buttons. That’s why I’ve put together this guide. We’re going to break down photo editing tutorials for the modern age, focusing on how you can use AI to spend less time behind the screen and more time out in the field.
Why AI is a Game-Changer for Photography for Beginners
If you are just starting out, photography for beginners can feel like a mountain of technical jargon. You have to learn how to use manual mode camera, understand the exposure triangle, and then somehow figure out how to make those RAW files look like the masterpieces you see on Edin Fine Art.
AI (Artificial Intelligence) isn’t here to "fake" your photos. It’s here to act as your digital darkroom assistant. It handles the tedious stuff: like selecting a messy sky or smoothing out skin textures: so you can focus on the creative vision. If you’ve been following the latest photography news, you know that every major software company is dumping their resources into these tools. It’s time you learned how to use them.
1. The AI Toolbelt: What Should You Use?
You don’t need every piece of software on the market. In fact, that’s a great way to go broke and get frustrated. For most people, one solid "all-in-one" editor is enough.
Adobe Lightroom & Photoshop
The gold standard. Lightroom's "Select Subject" and "Denoise AI" are literal lifesavers. Photoshop’s "Generative Fill" allows you to add or remove elements just by typing a prompt. It’s powerful, but it does have a bit of a learning curve.
Luminar
If you want something that feels more intuitive and less like a math equation, Luminar is where it’s at. It’s built from the ground up with AI. You get sliders like "Sky AI" and "Skin AI" that do exactly what they say. It’s probably the most beginner-friendly way to jump into advanced editing.
Specialized Helpers
Sometimes you need a specialist. Topaz Photo AI is incredible for sharpening blurry shots or removing heavy noise from photos taken in low light. It’s like magic glasses for your images.

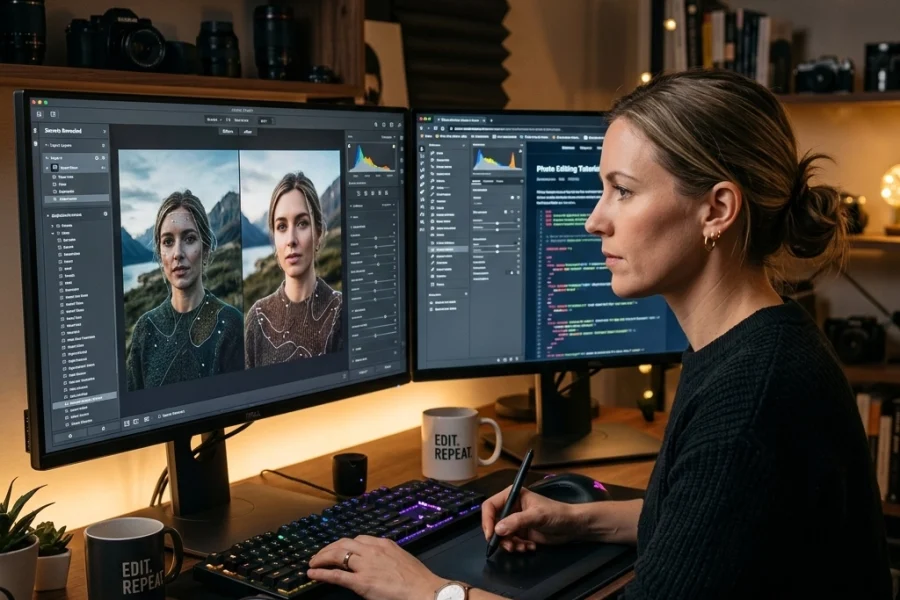
Alt text: A split-screen comparison showing a noisy, blurry original photo on the left and a sharp, clean AI-enhanced version on the right, demonstrating the power of modern photo editing tutorials.
2. Core Concepts: The "New" Basics
Before we dive into the "how-to," you need to understand three core concepts that apply to almost all AI photo editing tutorials.
Non-Destructive Editing
This is the golden rule. Modern editors don’t change your original file. They save a list of "instructions." If you turn the saturation up to 100 and realize it looks like a neon nightmare, you can always go back to zero. Your original photo is safe.
AI Masking (The "Holy Grail")
In the old days, if you wanted to brighten just the person in your photo, you had to carefully "paint" over them. Now, you click a button that says "Select Subject." The AI analyzes the pixels, finds the person, and creates a mask for you. You can then change the exposure, contrast, or color of just that person without touching the background.
Presets as a Starting Point
Presets are pre-made settings that give your photo a specific "look." Think of them as a base coat of paint. You apply a preset, then use AI tools to fine-tune the details. It’s a massive time-saver.
3. Step-by-Step AI Editing Workflow
Let’s walk through a standard workflow you can use for almost any image. Whether you’re working on landscape photography tips or street photography ideas, the steps are similar.
Step 1: The Global Foundation
Before touching the AI "magic" buttons, fix the basics.
- Crop and Straighten: Get your horizon level.
- White Balance: Fix the color temperature so whites look white.
- Exposure: Get the overall brightness in the ballpark.
Step 2: Targeted AI Enhancements
Now, let the AI do the heavy lifting. Use "Select Sky" to add some drama to a sunset or "Select Subject" to make your main focus pop. If you're using Luminar, this is where you'd use the "Enhance AI" slider, which intelligently balances highlights and shadows.
Step 3: The Cleanup
Got a trash can in your beautiful landscape? Or a stray hair across a model's face? Use AI Generative Remove or Content-Aware Fill. You just paint over the distraction, and the AI replaces it with pixels that match the surrounding area. It’s spooky how well it works.
Step 4: Detail and Finish
Apply AI Denoise if you shot at a high ISO. This is common if you’ve been reading camera gear reviews and pushing your sensor to its limits. Finally, add your creative color grade.

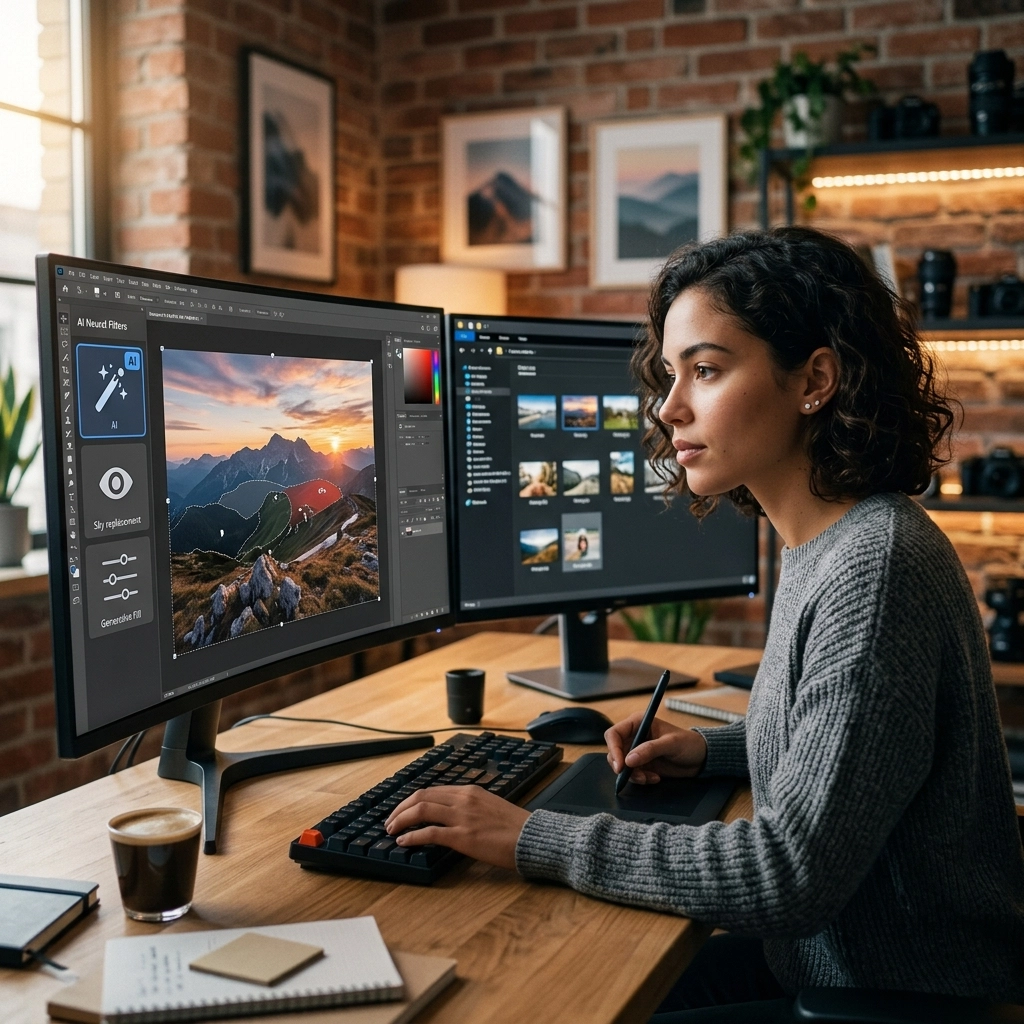
Alt text: A photographer sitting at a laptop in a cozy cafe, using a stylus to edit a vibrant landscape photo with AI software visible on the screen.
4. Special Scenarios: Portraits vs. Landscapes
Different genres require different AI approaches.
Portrait Photography Techniques
When editing people, subtlety is key. AI "Skin AI" tools can smooth out blemishes while keeping the natural texture of the pores. Overdoing it makes people look like plastic dolls: don’t be that person. Use "Face Light" to subtly brighten the eyes and face, which mimics the effect of a professional reflector. For more on this, check out our guide on portrait photography techniques.
Landscape Photography Tips
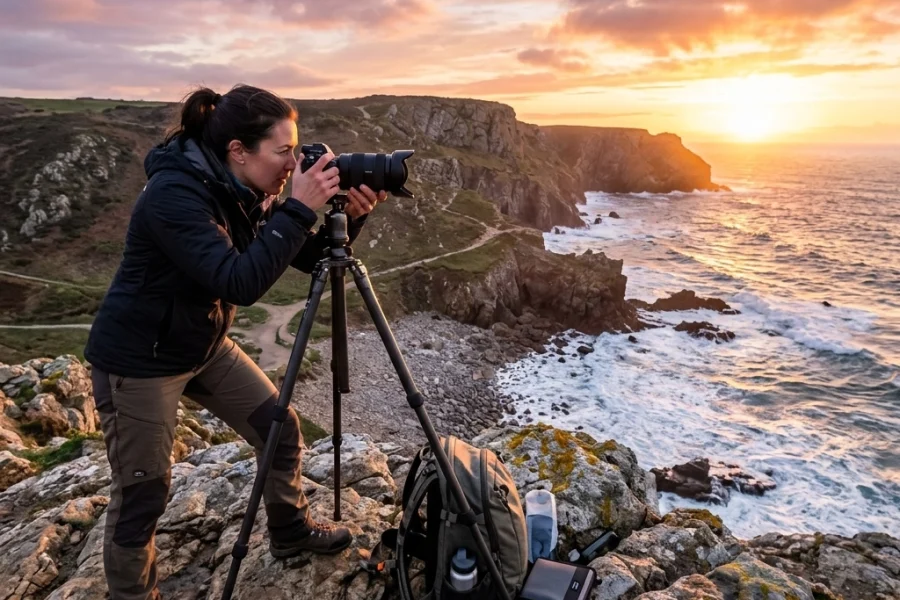
AI is a beast for landscapes. "Sky Replacement" is a controversial but powerful tool. If you spent five hours hiking only to find a bald, grey sky, AI can swap it for a dramatic sunset. Just make sure the lighting on the ground matches the new sky! You can find more inspiration for your outdoor shots at PhotoGuides.org.
5. Staying Ahead of the Curve
The world of photography tutorials is moving fast. What was impossible six months ago is now a one-click button. To stay relevant, you need to keep an eye on how these tools are integrating with your practice.
If you're feeling overwhelmed, don't worry. The goal isn't to learn every single slider in one day. Pick one tool: maybe start with Luminar or the AI features in Lightroom: and master one thing a week. First, master masking. Then, master object removal. Then, master color grading.
For more deep dives into the technical side of things, like comparing the Sony a7 IV vs. Canon EOS R6 Mark II, keep browsing our gear section. And if you want to see what's possible when you combine great gear with expert editing, take a look at the work on blog.edinchavez.com.

Alt text: A close-up of a camera lens reflecting a digital interface, symbolizing the intersection of traditional photography and modern AI technology.
Practice Makes Perfect (and AI makes it faster)
The best way to learn is to do. Grab some old photos: the ones you thought were "ruined" because they were too dark or had a distracting background: and run them through these AI tools. You'll be amazed at what you can rescue.
Photography is about capturing a feeling. AI is just another tool in your bag to help that feeling come across to the person looking at your print or your Instagram feed. Don't be afraid of the tech; embrace it.
If you're looking for more structured learning, we have a whole library of photography tutorials designed to take you from "What does this button do?" to "I just sold my first print."
Go out there, shoot something awesome, and then come back and have some fun in the edit. The only limit now is your imagination. Happy shooting!