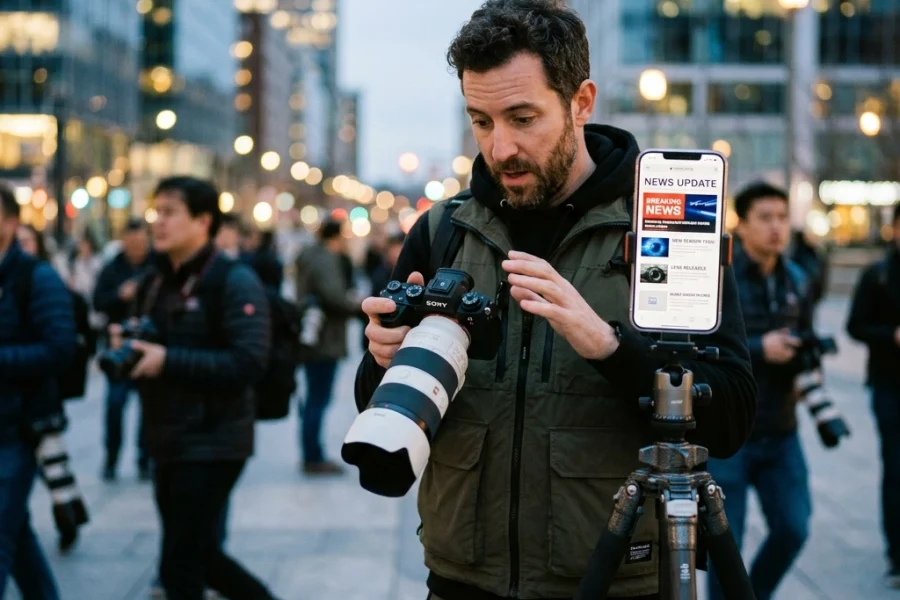
You finally did it. You clicked that dial over to the big "M" and felt like a real photographer. No more letting the camera make the decisions; you’re the boss now. But then you looked at the back of your screen. One shot is pure white, the next is a black void, and the third is so blurry it looks like a watercolor painting gone wrong.
Manual mode is the ultimate goal for most beginners, but it's also where the most frustration happens. It’s easy to get lost in the "Exposure Triangle": that mix of Aperture, Shutter Speed, and ISO: and end up missing the shot entirely because you were too busy fiddling with dials.
If you’re struggling to get consistent results, don't worry. You aren't bad at photography; you’re probably just making a few common mistakes that are easy to fix. Let’s break down the seven most frequent blunders and how you can stop making them today.
1. The "Wide Open" Obsession (Aperture Overload)
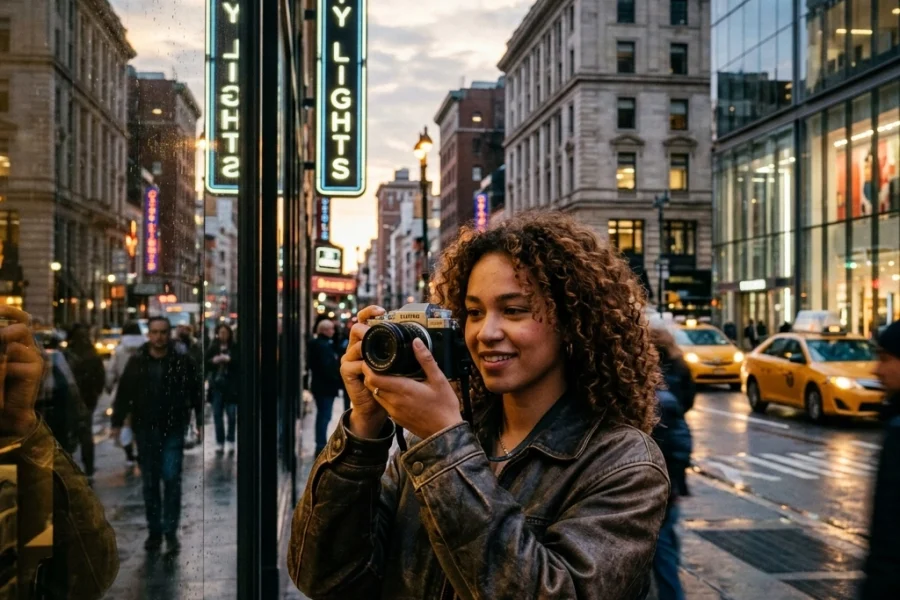
We all love bokeh. That creamy, blurry background that makes a portrait pop is the reason many of us bought a DSLR or mirrorless camera in the first place. Because of this, many photographers set their lens to its widest aperture (like f/1.4 or f/1.8) and leave it there forever.
The Mistake: Shooting "wide open" all the time, regardless of the scene or lighting.
When you shoot at f/1.8 in broad daylight, you're letting in a massive amount of light. Even with a fast shutter speed, your images might come out overexposed. More importantly, the depth of field at f/1.8 is razor-thin. If you’re shooting a portrait and the person moves just an inch, you might find their ear is sharp while their eyes are a soft mess. This is a common issue when people are learning portrait photography techniques.
The Fix: Learn to "stop down." In bright outdoor light, try f/2.8 or f/4 for portraits. It still gives you a great background blur but gives you a little more "breathing room" for focus. If you’re shooting a group of people, you definitely need to go higher: think f/5.6 or even f/8: to make sure everyone’s face is in focus. If you absolutely must shoot at f/1.4 in the sun, it’s time to invest in an ND (Neutral Density) filter, which acts like sunglasses for your lens.

2. Ignoring the "Handheld" Shutter Speed Limit
You’ve got your aperture set and your ISO looks good, but every photo you take looks just a little bit "off." It’s not quite sharp, and you can’t figure out why.
The Mistake: Using a shutter speed that is too slow for handheld shooting.
When you’re in Manual mode, it’s easy to forget that your physical movement matters. If your shutter speed is 1/30th of a second, any tiny shake of your hands will show up as a blur. This is especially frustrating when you're trying to learn how to master manual mode.
The Fix: Use the "Reciprocal Rule" as a starting point. Your shutter speed should generally be at least 1/ (focal length of your lens). If you’re using a 50mm lens, don’t go slower than 1/50s. If you’re using a 200mm zoom lens, you need at least 1/200s.
If your subject is moving: like kids running or a dog chasing a ball: you need to go much faster, usually 1/500s or higher. If your images are dark at these speeds, don’t drop the shutter speed; adjust your other settings instead. For more in-depth help on the basics, check out our Photography 101 guide.
3. The ISO Panic
In the early days of digital photography, high ISO meant "bad photo." Because of that, a lot of us have a deep-seated fear of raising the ISO above 400.
The Mistake: Cranking the ISO first because it’s the easiest way to brighten an image, or refusing to touch it at all and ending up with dark, unusable shots.
If you raise your ISO too much, you get "noise": that grainy texture that eats away at your detail. However, if you keep your ISO at 100 in a dark room, you’ll be forced to use such a slow shutter speed that the whole photo will be blurry anyway.
The Fix: Think of ISO as your last resort, but don't be afraid of it. Modern cameras (especially the latest mirrorless models) handle high ISO incredibly well. It’s much better to have a slightly grainy photo that is sharp than a "clean" photo that is blurry. If you do end up with a bit too much noise, you can easily clean it up in post-processing using tools like Luminar.
For professional work, try to find the "sweet spot" for your specific camera. Most modern sensors look great up to ISO 1600 or even 3200. You can see some examples of high-quality, high-ISO work over at Edin Fine Art.

4. Trying to Fix Bad Light with Dials Alone
This is probably the biggest mistake photographers of all levels make. We get so caught up in the settings that we forget what photography actually is: capturing light.
The Mistake: Spending 10 minutes trying to get the perfect exposure in harsh midday sun or a pitch-black corner.
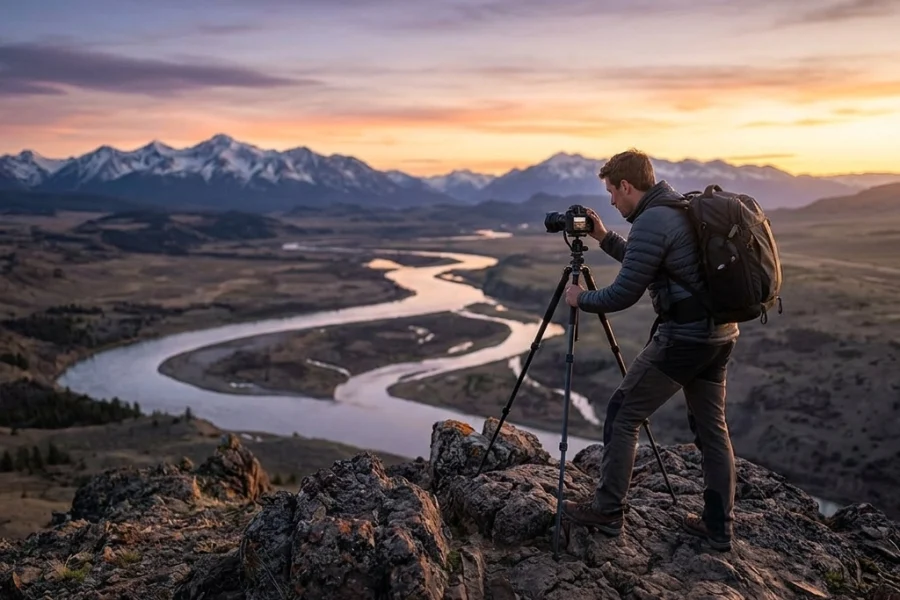
You can have the best Manual mode skills in the world, but if the light is flat, harsh, or ugly, the photo will be flat, harsh, or ugly. No amount of fiddling with your aperture will fix "raccoon eyes" caused by the sun being directly overhead. This is a common pitfall in landscape photography.
The Fix: Look at the light before you look at your camera. If you’re outdoors, move your subject into "open shade" (like under a tree or the shadow of a building). If you’re indoors, move your subject closer to a window. Get the light right first, and the Manual settings will suddenly become much easier to manage. If you want to see how pro-level lighting looks in the field, check out the tutorials at PhotoGuides.org.
5. Changing Every Setting for Every Single Shot
Manual mode doesn't mean you have to be a DJ, constantly twisting every knob on your camera.
The Mistake: Adjusting your Aperture, Shutter Speed, and ISO between every single frame, even when the light hasn't changed.
If you’re shooting a portrait in a park and the sun is consistent, your exposure should stay relatively the same. If you’re constantly changing everything, your photos will be inconsistent, making it a nightmare to edit them later. This is a huge time-waster, especially when you're working on corporate headshots.
The Fix: Find a "Base Exposure." Take a test shot, check your histogram, and once it looks good, lock it in. As long as you stay in the same light, don't touch your ISO. If you want to change the "look" (like getting more background blur), change your aperture and then adjust only your shutter speed to compensate. This keeps your workflow fast and your images consistent.

6. Chasing the "Zero" on the Meter
Your camera has a built-in light meter. In Manual mode, you usually see a little scale that goes from -3 to +3. Most people think they need to keep that little ticker right at 0 to get a "correct" exposure.
The Mistake: Trusting the meter blindly.
Your camera’s meter is smart, but it’s also kind of dumb. It’s designed to make everything look like "Middle Gray." If you’re shooting a person in a white dress against a snowy background, the camera will think it's way too bright and try to turn the snow gray. If you’re shooting a black cat in a dark room, the camera will try to turn the cat gray, resulting in a washed-out, overexposed mess.
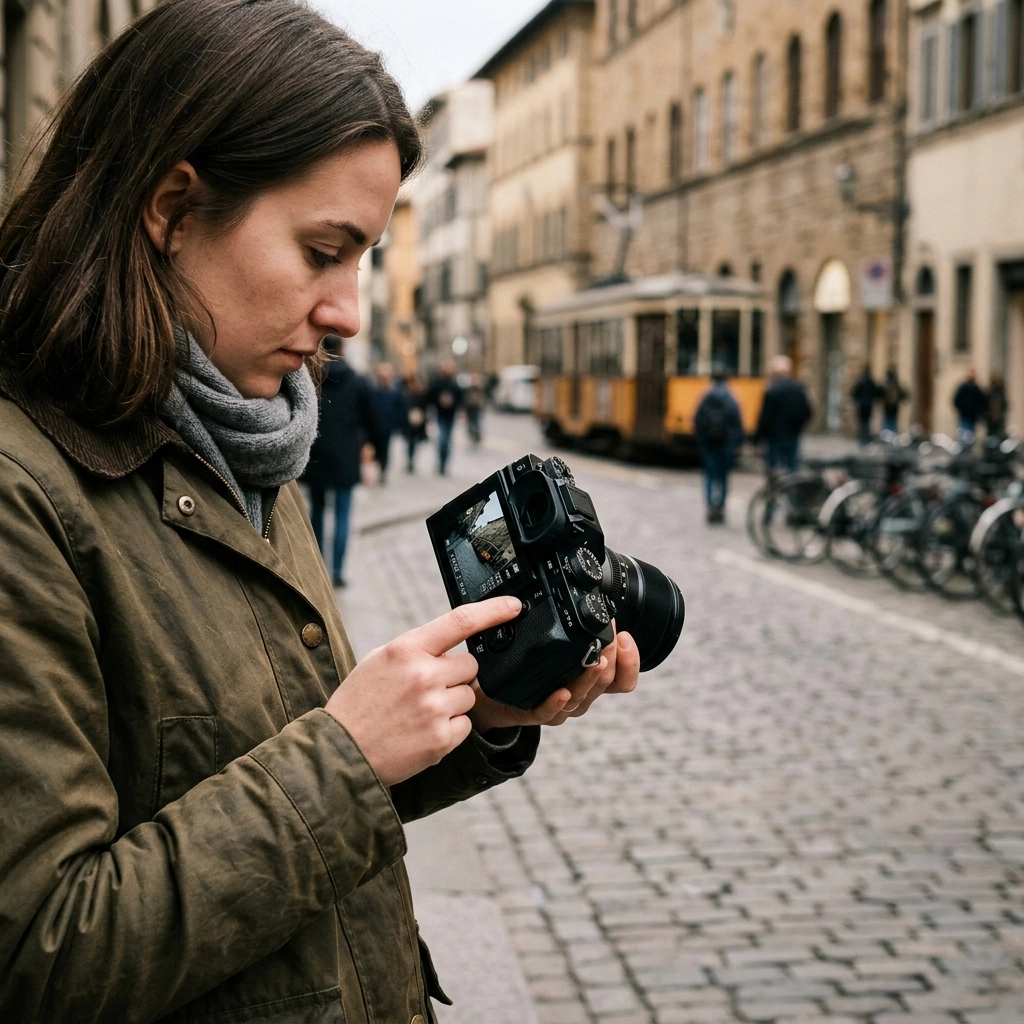
The Fix: Use the meter as a guide, not a rule. If you’re in a very bright environment (like the beach or snow), you actually need the meter to read at +1 or +2 to keep the whites looking white. If you’re in a dark environment, you might need to stay at -1. The best way to check this is to learn how to read a Histogram. If the graph is all the way to the right, you're losing detail in the highlights. If it’s all the way to the left, your shadows are "clipped" (pure black).
If you're looking for more advanced training on these concepts, I highly recommend checking out Shut Your Aperture Learn.

7. Being Too Stubborn to Use "Auto-ISO"
There’s a bit of an "ego" thing in photography where people think using any auto setting means they aren't a pro.
The Mistake: Forcing yourself to use full Manual in fast-changing light conditions.
Imagine you're shooting a wedding. You move from a brightly lit outdoor ceremony into a dimly lit reception hall. If you stay in full Manual, you’re going to miss the couple’s entrance because you’re frantically spinning your ISO dial. This is where AI-powered mirrorless tech really shines: it's designed to help you, not replace you.
The Fix: Use Manual mode with Auto-ISO. This is the "secret weapon" of many professional sports and event photographers. You choose your Aperture (for the look) and your Shutter Speed (to stop motion), and let the camera handle the ISO. You can even set a "Max ISO" limit so the camera never goes into "super grainy" territory. This allows you to focus on the composition and the moment rather than the math.
Why Manual Mode Matters (And Why It Doesn't)
Mastering Manual mode is about control. It’s about knowing that when the photo doesn't look the way you want, you have the skills to fix it. But don't let it become a barrier to your creativity. If you find yourself so stressed about settings that you aren't enjoying the process, take a step back.
Start by mastering one setting at a time. Maybe spend a whole day just focusing on how Shutter Speed affects your images. The next day, focus on Aperture. Photography is a journey, and even the pros started out making these exact same mistakes.
If you want to keep up with the latest in gear and techniques, it's worth following the daily photography news. You can also find some great behind-the-scenes stories on Edin’s blog.

Quick Checklist for Your Next Shoot:
- Check your light: Is there a better spot to stand?
- Set your Aperture: Do you want a blurry background or a sharp scene?
- Set your Shutter Speed: Are you holding the camera? Is the subject moving?
- Adjust ISO last: Only go as high as you need to.
- Check the Histogram: Don’t trust the screen; trust the data.
Manual mode is a tool, not a test. Once you stop making these seven mistakes, you’ll find that the camera stops being a confusing box of buttons and starts being an extension of your eye. Now, go grab your gear and start shooting!