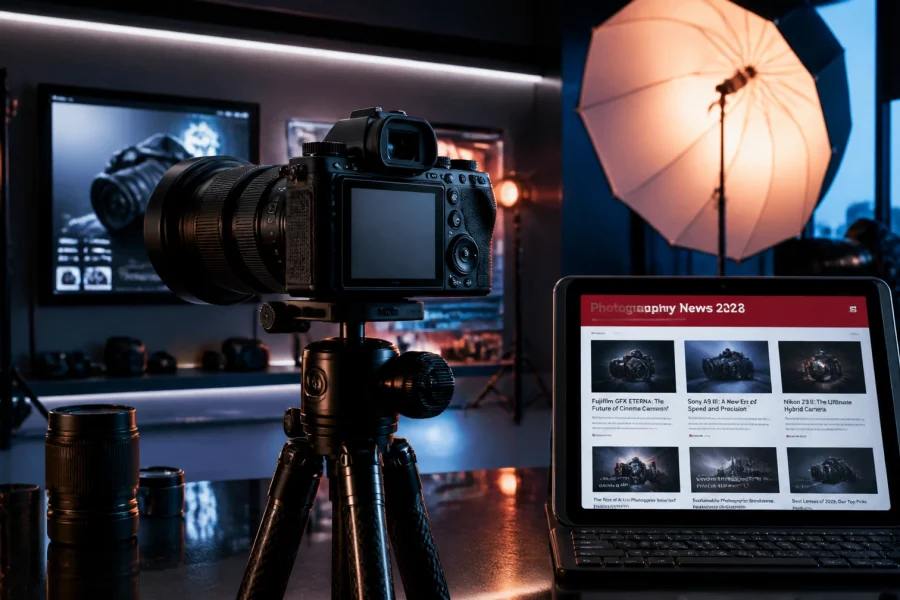
Let’s be real for a second: portrait photography can get boring fast if you stay stuck in the "stand there and smile" routine. We’ve all seen the same three-point lighting setups and the same blurry backgrounds a thousand times. If you want to stand out in 2026, you’ve got to break some rules. You’ve got to get a little weird.
Whether you are a seasoned pro or just starting your journey on PhotoGuides.org, finding that "spark" is the hardest part of the job. You want images that make people stop scrolling. You want portraits that feel like fine art, something you’d see over at Edin Fine Art.
In this guide, I’m skipping the basic stuff like "use the rule of thirds" (come on, you know that already). Instead, I’m diving into 25 creative portrait photography techniques that will actually push your boundaries and help you see light and subjects in a whole new way. Let’s get into it.
1. The "Perfectly Imperfect" Capture
We live in an era of hyper-perfection, but the trend for 2026 is shifting back to raw, authentic moments. Instead of waiting for the "perfect" pose, keep your shutter going between shots. Capture the mid-laugh, the hair flip, or the moment they look away to talk to an assistant. These "in-between" frames often hold more soul than the posed ones. Check out our guide on professional corporate headshot tips for more on handling subjects, but remember: the best shots are often the ones you didn't plan.
2. Direct On-Camera Flash (The 90s Revival)
Hard light is back with a vengeance. For a long time, we were told to bounce flash or use massive softboxes. Forget that for a minute. Try using a direct, on-camera flash for a raw, editorial, 90s-fashion vibe. It creates sharp shadows and high contrast that feels immediate and modern. It’s a gutsy move, but when paired with the right wardrobe, it’s a total winner.
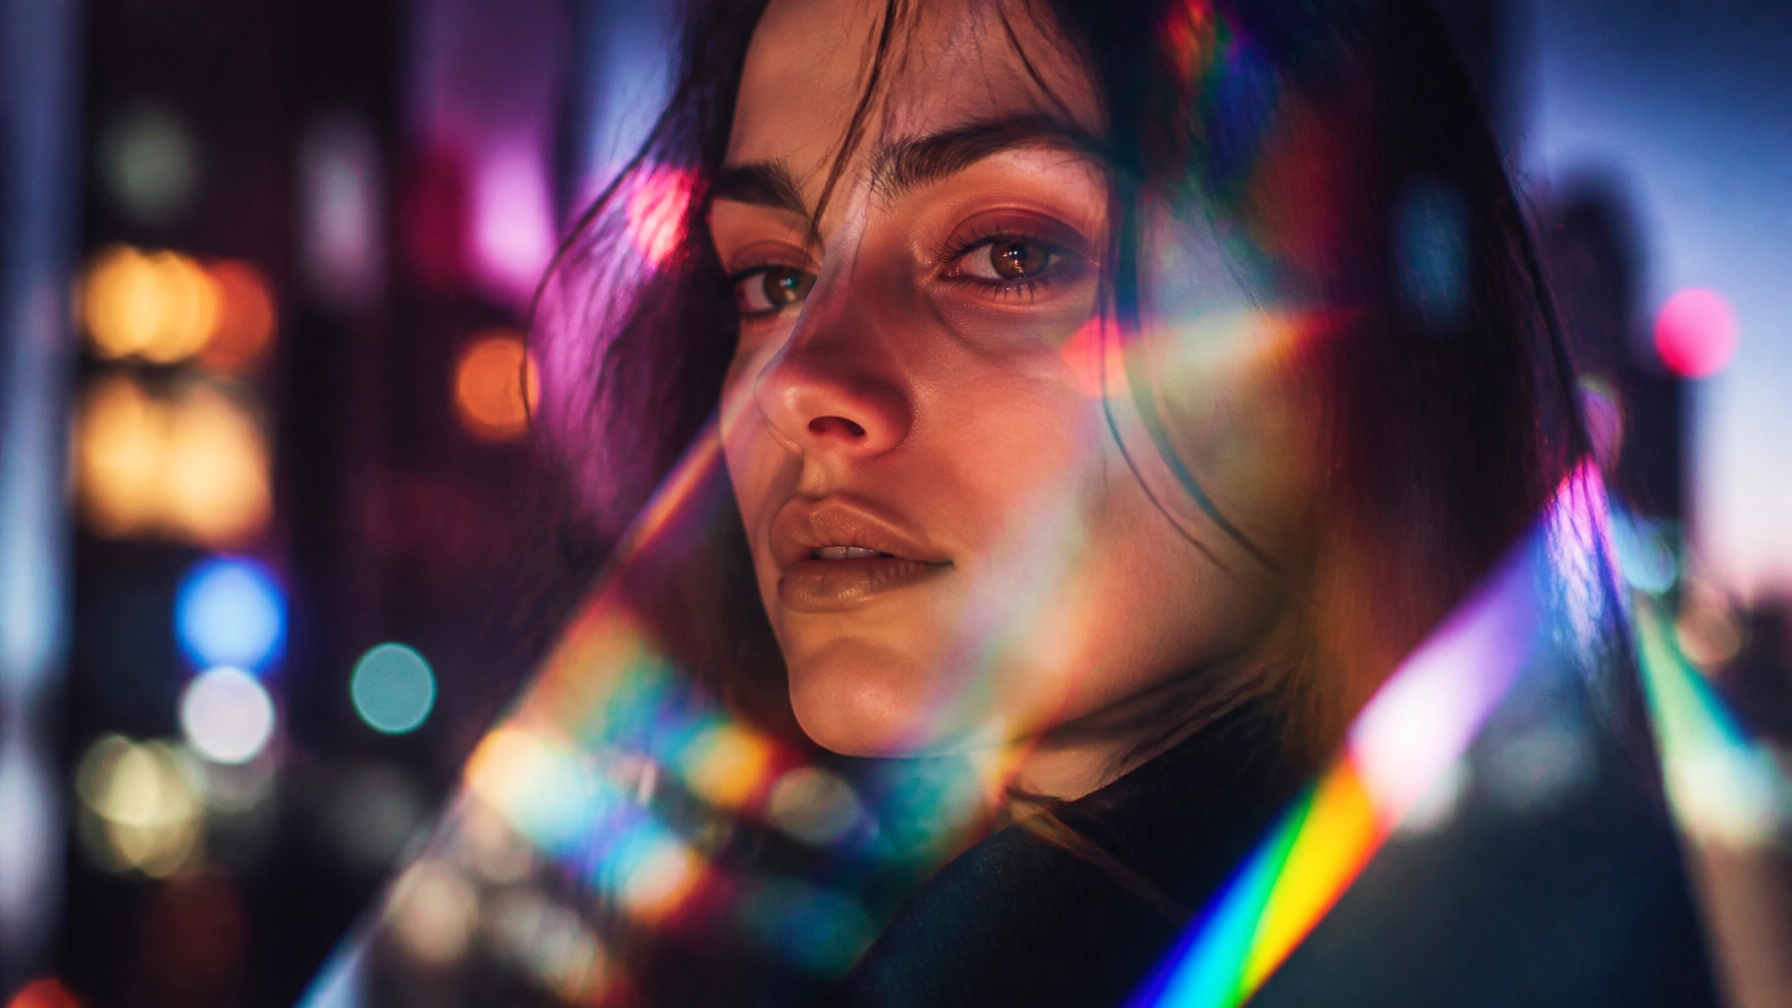
3. Prisms and Light Leaks
Grab a triangular glass prism and hold it right against your lens. As you rotate it, you’ll catch light from the environment and reflect it into your frame. This creates ethereal rainbows, "ghost" reflections, and soft light leaks that wrap around your subject. It’s one of those portrait photography techniques that looks like a complex Photoshop job but is actually done entirely in-camera.
4. Color Gels and Cross-Lighting
If your portraits are feeling a bit flat, throw some color at them. Use two lights with different colored gels: maybe a deep cyan and a bright magenta. Set them on opposite sides of your subject (cross-lighting). This creates a cinematic, "cyberpunk" look that defines the features of the face in a way that white light simply can't.

5. Master the Rembrandt Light (Low Key)
Sometimes, less is more. One of the most classic portrait photography techniques is Rembrandt lighting. You position your light source 45 degrees to the side and slightly above the subject's head. The goal is to create a small inverted triangle of light on the shadowed cheek. It’s moody, it’s dramatic, and it’s the hallmark of a photographer who knows how to control shadow.
6. Drag the Shutter with Flash
Want to show movement? Set your shutter speed to something slow, like 1/10th or 1/15th of a second, and set your flash to "Rear Curtain Sync." When you take the shot, the flash will freeze your subject, but the slow shutter will allow the ambient light to create streaks and blurs behind them as they move. It’s a fantastic way to add energy to a static portrait.
7. Shoot Through Rain-Streaked Glass
You don't need a storm to make this happen: a spray bottle and a piece of plexiglass work wonders. Shooting through water droplets adds a layer of texture and intimacy. It makes the viewer feel like they are peeking into a private moment. Plus, the way light hits the water creates beautiful, tiny bokeh spots in the foreground.
8. Macro Eye Portraits
The eyes are the windows to the soul, right? So let’s get close. Use a macro lens to focus solely on the iris. To make it really pop, use a creative light source: like a ring light or a patterned LED panel: and let that reflection (the catchlight) show up in the pupil. The level of detail you can capture in a human eye is honestly mind-blowing.

9. Double Exposures
This is where you blend two worlds. Many modern mirrorless cameras (the kind we talk about in our post on AI-powered mirrorless tech) have a built-in double exposure mode. Take a silhouette of your subject first, then overlay a texture: like tree branches, city lights, or flowers. If your camera doesn't do it, you can easily layer them in Luminar later.
10. The Silhouette
Speaking of silhouettes, don't be afraid to underexpose your subject entirely. Find a bright background: a sunset, a neon sign, or a brightly lit window: and expose for that. Your subject becomes a black shape. This technique focuses the viewer's attention on the form, the pose, and the "outline" of the person rather than their facial features.
11. Using Mirrors for Multiple Perspectives
One subject, three faces. By placing mirrors at angles around your subject, you can capture multiple "versions" of them in a single frame. It adds a layer of surrealism and complexity to the composition. It's a great way to tell a story about someone’s personality or their different "sides."
12. Projected Patterns
Go find an old digital projector or even just a flashlight and some lace. Project patterns: stripes, dots, or intricate textures: directly onto the subject’s face and body. This technique uses light as a costume. It wraps around the contours of the face and creates a 3D effect that is incredibly striking.
13. Movement Prompts
Never tell a subject to just "act natural." It never works. Instead, give them a job. "Walk toward me and look at your shoes," or "Spin around and stop on three." Movement creates natural lines in clothing and hair that you simply can't fake with a static pose. If you need more inspiration on this, we've got a ton of resources in our ultimate guide to photography tutorials.
14. Shooting Through Foliage
Foreground bokeh is just as important as background bokeh. Stick your lens right into a bush or some flowers (carefully!). The blurred leaves in the foreground will create a "frame" of color and texture around your subject. It adds depth to the image and makes it feel like the subject is immersed in their environment.
15. The Low-Angle "Hero" Shot
If you want your subject to look powerful, get low. Shooting from a low angle makes the subject tower over the lens, giving them a sense of authority and presence. It’s a favorite technique for fashion and athletic portraits. Just be careful with the chin: keep it slightly down so you aren't just shooting up their nose!
16. Hand-Held Light Painting
During a long exposure, take a small LED light or even your phone screen and "paint" light onto specific parts of your subject while they hold perfectly still. You can highlight just the eyes, or create a glowing halo around their head. It’s a slow process, but the results are unique every single time.
17. Extreme Tight Crops
Who says you need the whole head? Sometimes a crop that cuts off the top of the head or focuses only on the mouth and chin can be way more provocative. It forces the viewer to fill in the blanks and look at the textures of the skin and the emotion of the partial expression.

18. Use Practical Lights in the Frame
Don't hide your lights. Use them as props. A subject holding a glowing orb, sitting next to a vintage lamp, or standing under a neon sign creates a "source" for the light that the viewer can see. It makes the lighting feel more purposeful and integrated into the scene.
19. Negative Fill for Drama
We usually think about adding light, but taking it away is just as important. Use a "black flag" or just a large piece of black foam core on the side of the subject opposite your light source. This "negative fill" deepens the shadows and prevents light from bouncing back onto the face, creating a much more dramatic, sculpted look.
20. Motion Blur with Intent
Sometimes, you want the whole thing to be a blur. A portrait doesn't always have to be tack-sharp to be good. A blurred face can convey confusion, speed, or a dream-like state. It moves the image away from "documentation" and into "expressionism." If you're struggling to get the colors right in these blurry shots, Luminar has some incredible AI tools to help balance the tones.

21. High-Key Minimalism
The opposite of the Rembrandt look is High-Key. Blow out the background until it's pure white and overexpose the subject slightly. This removes distractions and focuses entirely on the lines and colors of the subject. It’s clean, professional, and very "Apple-esque."
22. Freelensing (Lens Whacking)
This one is for the brave. Take your lens off the mount and hold it just in front of the camera sensor. By tilting the lens manually, you change the plane of focus (similar to a tilt-shift lens) and allow light to leak in through the sides. It creates a dreamy, lo-fi look that is impossible to replicate perfectly with filters.
23. Monochromatic Styling
Pick one color and stick to it. If your subject has blue eyes, give them a blue sweater and put them against a blue wall. Monochromatic portraits are incredibly pleasing to the eye because they simplify the visual information, allowing the viewer to focus on the person's expression and the textures of the materials.
24. Narrative Environmental Portraits
Don't just take a photo of a person; take a photo of their life. If they are a painter, shoot them in their messy studio. If they are a chef, shoot them in a hot kitchen. The environment tells half the story, and it helps the subject feel more comfortable because they are in their "element." For more deep dives into the gear you need for this, check out blog.edinchavez.com.
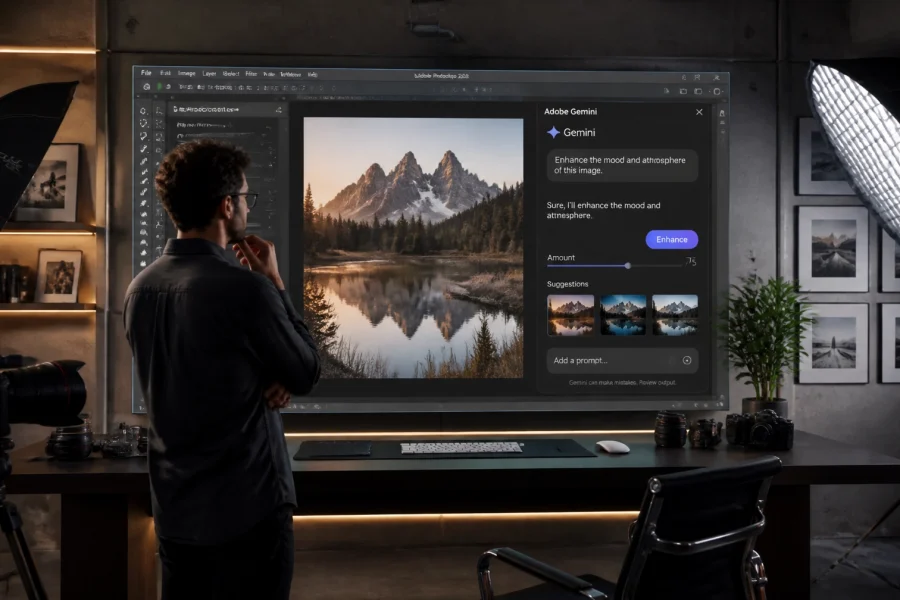
25. Post-Processing as a Creative Tool
Finally, your job isn't done when you click the shutter. The way you "develop" your digital files is where your style really comes forward. Whether you are doing subtle skin retouching or wild color grading, you need the right tools. I personally use Luminar for almost all my creative edits because its AI-driven features: like Sky Replacement and Skin AI: save me hours of tedious masking.

Level Up Your Portrait Game
Look, these portrait photography techniques are just the beginning. The real magic happens when you start combining them. Imagine a double-exposure, low-angle hero shot with color gels. Now we're talking.
The world of photography is moving fast, and staying relevant means constantly learning. If you want to dive deeper into the technical side of things, go sign up for our courses over at https://learn.shutyouraperture.com/. We break down everything from lighting setups to business strategies for photographers.
Stop playing it safe. Grab your camera, find a willing (or unwilling) subject, and try something on this list that scares you a little. That’s where the growth is.