Let’s be real for a second: the word "AI" is being thrown around photography circles like it’s either the second coming of the digital sensor or the end of the world as we know it. If you’ve spent any time looking at photography news lately, you’ve probably seen the debates. One side says AI is cheating, and the other side is busy finishing a wedding gallery in twenty minutes while the first group is still trying to figure out how to use the healing brush on a single pimple.
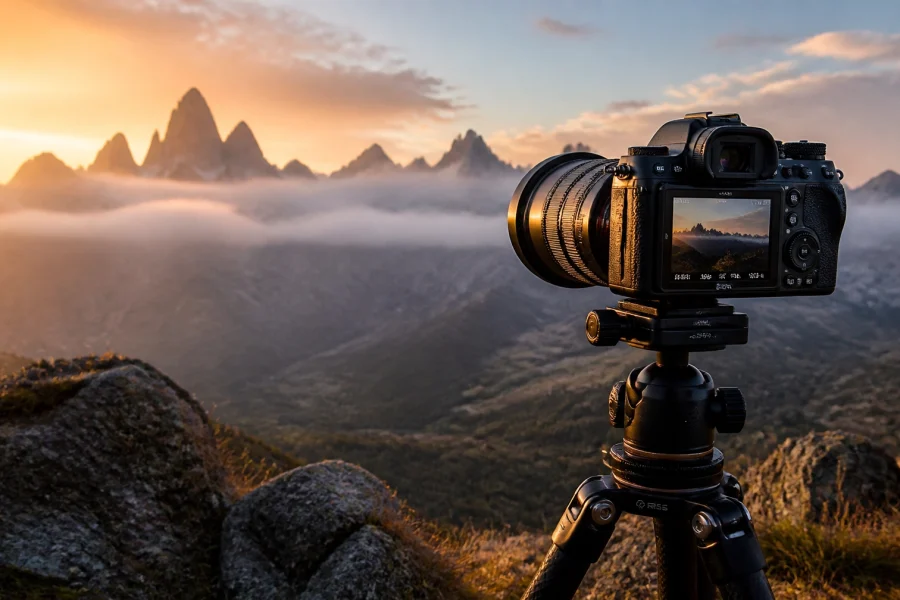
I’m here to tell you that integrating AI into your workflow isn’t about letting a computer take the photo for you. It’s about getting your life back. It’s about spending less time staring at a screen until your eyes bleed and more time out in the field with your camera. Whether you are looking for landscape photography tips or trying to master street photography ideas, AI is the best assistant you never had to pay.
In this deep dive, we’re going to walk through how to blend these futuristic tools into your existing process without losing your soul or your "artistic vision." We’ll cover everything from culling to final retouching, and trust me, by the end of this, you’ll be wondering why you did it the old way for so long.
The Mental Shift: AI is a Tool, Not a Replacement
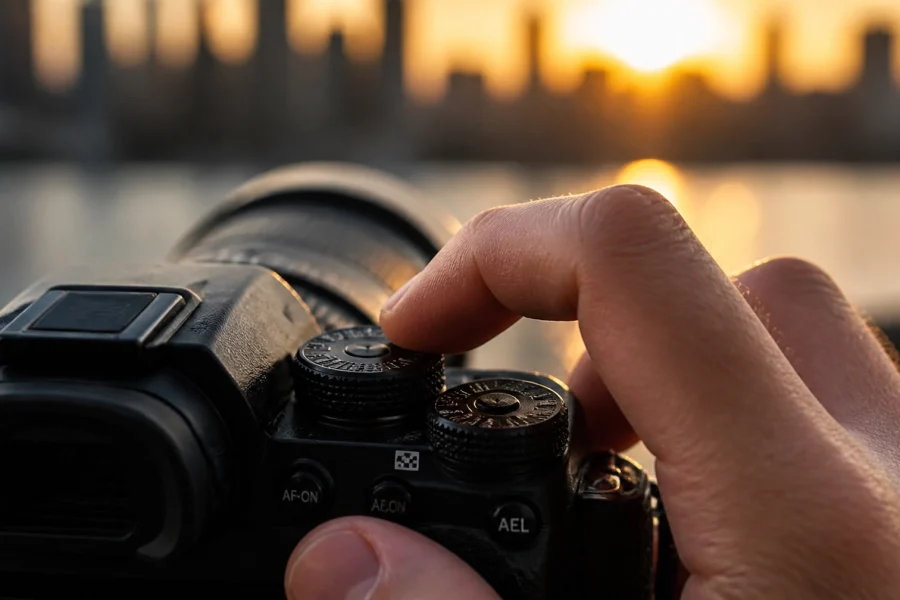
Before we get into the "how-to," let’s talk about the "why." If you’re into photography for beginners, you might feel like you need to learn everything "the hard way" first. There’s some merit to that, knowing how to use manual mode camera settings is a non-negotiable skill. But once you’ve captured that RAW file, why should the editing process be a slog?
Think of AI as an evolution of the tools we already use. Remember when "Content-Aware Fill" first dropped? We all lost our minds. AI is just that, but with a brain. Tools like Luminar have revolutionized how we handle complex tasks like sky replacements or skin retouching, making them accessible to everyone, not just Photoshop wizards.
Step 1: Pre-Production and Concepting
Wait, AI before you even click the shutter? Absolutely. One of the best street photography ideas or portrait concepts often starts with a moodboard. Instead of scrolling through Pinterest for three hours, you can use generative AI to create a visual reference for your lighting and composition.
If you’re planning a complex portrait shoot, use an AI image generator to visualize how a 50mm lens might look compared to an 85mm in a specific environment. This helps you communicate with your models or clients more effectively. You aren't "using" the AI image as your own; you're using it as a blueprint. This saves you from the "I'll figure it out when I get there" stress, which, let's be honest, usually leads to mediocre results.
Step 2: The Boring Part, AI Culling
If you shoot weddings, events, or sports, you know the "Culling Hangover." You come home with 3,000 photos, and the thought of looking at every single one makes you want to sell all your gear. This is where AI culling tools like Aftershoot or FilterPixel come in.
These programs don’t just pick the "best" photo; they filter out the junk. They can detect:
- Closed eyes.
- Out-of-focus shots (the bane of any mirrorless camera user's existence).
- Duplicate shots where the composition is identical.
You set the parameters, let the AI run for 15 minutes, and it presents you with a "selection" of the best shots. You still have the final say, but the AI has already done the heavy lifting of deleting the shots where the groom sneezed. This is a game-changer for your photography tutorials and professional workflow alike.

Step 3: Establishing the Base Edit with Luminar
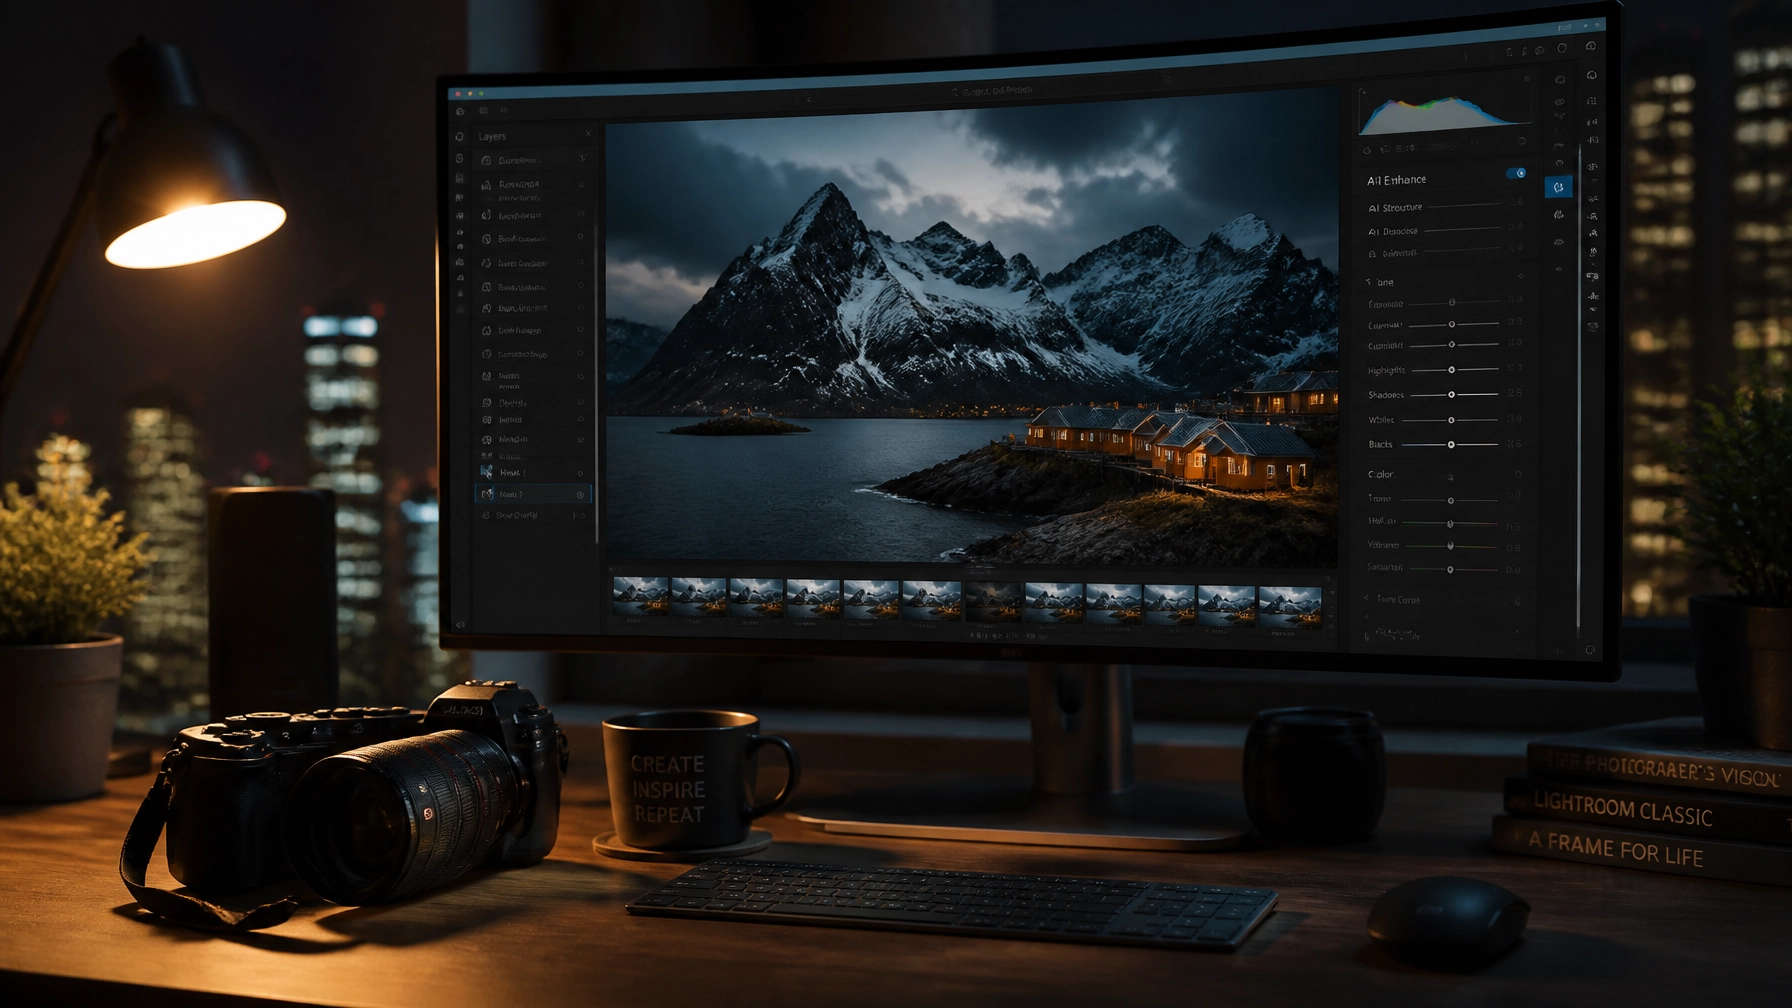
Once you’ve got your keepers, it’s time to move into the actual editing. For many of us, this starts in Lightroom or Capture One, but the real magic happens when you bring Luminar into the mix.
In traditional photo editing tutorials, you’d be told to adjust your shadows, highlights, and white balance manually. While that’s fine, Luminar offers an "Accent AI" slider that analyzes the image and makes dozens of adjustments simultaneously. It’s like having a professional editor look at your photo and say, "Yeah, let’s pop the colors here and bring back the detail in those clouds."
For landscape photography tips, this is invaluable. You can take a flat RAW file and, within seconds, have a balanced image that serves as a perfect starting point. The goal isn't to be "done" with one slider, but to get to the 80% mark instantly so you can focus on the creative 20%.
Step 4: AI Masking: The Death of the Adjustment Brush
Remember the days of carefully painting a mask over a subject’s face to brighten them up? Or trying to select the sky without getting "halos" around the trees? Those days are officially dead.
Modern AI masking in Lightroom and Luminar is scary good. With one click, you can "Select Subject," "Select Sky," or even "Select Teeth." If you’re working on portrait photography techniques, this is a massive time-saver. You can apply specific edits to the skin to smooth it out without affecting the texture of the hair or clothes.
Check out some more in-depth photography tutorials to see this in action. The precision of AI masking allows for a level of local adjustment that used to take hours in Photoshop. You can now dodge and burn with a level of accuracy that was previously reserved for the elite retouchers.
Step 5: Advanced Retouching: Portraiture and Skin
Let’s talk about skin. Every photographer has their own "secret sauce" for retouching, but AI has democratized high-end skin work. Tools within Luminar allow you to remove blemishes and adjust skin tone while keeping the pores intact. This is the difference between a professional-looking portrait and something that looks like a plastic doll.
When you’re learning portrait photography techniques, focus on "subtlety." The AI can go overboard if you let it. My advice? Dial the AI retouching to where you think it looks good, then back it off by 20%. You want your subjects to look like the best version of themselves, not a CGI character.

Step 6: Handling Difficult Conditions (Denoise and Sharpen)
We’ve all been there: you’re out shooting street photography at night, and your ISO is pushed to 6400. The photo looks like a bowl of grainy oatmeal. In the past, noise reduction meant turning your photo into a blurry mess.
Now, AI-powered noise reduction (like Adobe’s Denoise AI or Topaz Photo AI) actually "reconstructs" the lost detail. It looks at the grain, figures out what’s supposed to be there, and cleans it up with surgical precision. This allows you to use your best mirrorless cameras in lighting conditions you would have previously avoided. It’s essentially like getting a sensor upgrade for free.
Step 7: Generative Fill: The Street Photographer's Secret Weapon
Street photography ideas often involve "the decisive moment," but sometimes that moment is ruined by a giant orange traffic cone or a distracting neon sign. Generative Fill, now integrated into Photoshop, allows you to remove these distractions and have the AI fill in the background seamlessly.
Is this ethical? That’s a debate for another day. But if you’re creating art for yourself or a client, and that trash can is ruining a beautiful shot of a Parisian alleyway, just get rid of it. The AI doesn’t just "clone" pixels; it understands the perspective and lighting of the scene to create a realistic replacement.
Step 8: Sky Replacement and Atmosphere
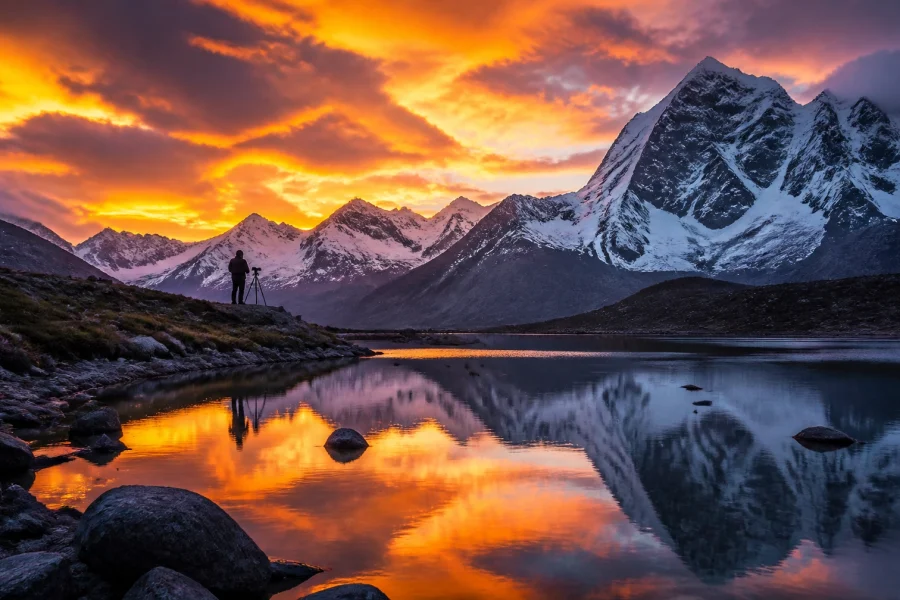
For my landscape shooters, Luminar became famous for its Sky Replacement tool. If you’ve spent three days hiking to a spot only for the sky to be a boring, featureless grey, you have two choices: go home empty-handed or use AI.
AI sky replacement isn't just about sticking a sunset in a midday photo. A good AI tool will also "re-light" the entire scene to match the new sky. If you put a warm sunset in, the shadows on the ground should turn warmer too. This level of integration is what makes the final result look believable. For more tips on making your landscapes look epic, check out Edin Fine Art for some serious inspiration.

Step 9: Upscaling for Big Prints
Maybe you took a great shot a few years ago on an old 12-megapixel camera, and now you want to print it 40×60 for your wall. Standard resizing will make it look pixelated. AI upscaling (like Gigapixel AI) can increase the resolution of your image by 400% or more while actually adding detail that wasn't there before.
It analyzes the edges and textures and "hallucinates" (in a good way) the missing pixels. This is perfect for those who want to sell their work or showcase it in a gallery setting. It breathes new life into your old gear and allows you to keep your favorite memories in high definition.
Step 10: Final Color Grading and Style
The final step in any of my photo editing tutorials is the color grade. This is where you give the image its "mood." AI-powered color matching tools can look at a movie frame or another photographer's work and apply those same color profiles to your image.
Again, use this as a starting point. Luminar has some incredible presets (called "Looks") that are powered by AI to adapt to each specific photo. Instead of a "one-size-fits-all" filter, the AI looks at the colors already present in your shot and enhances them.
Integrating AI Without Losing the "Human" Touch
The biggest fear people have with AI is that every photo will start looking the same. If everyone uses the same "Accent AI" slider, won't we all have identical portfolios?
Not if you use it correctly. AI should be used to handle the technical aspects of editing: the masking, the noise reduction, the lens corrections. The creative aspects: the composition, the choice of subject, the specific color palette: should still be 100% you.
Think of it like this: a carpenter doesn't lose his "vision" because he switched from a hand saw to a power saw. He just gets the job done faster and more accurately. AI is your power saw.
Building Your New AI Workflow: A Summary
If you're ready to jump in, here is how I recommend structuring your new, faster workflow:
- Cull with AI: Use a tool like Aftershoot to narrow down your thousands of shots to a few hundred keepers.
- Import to Lightroom/Luminar: Apply your basic lens corrections and metadata.
- Global AI Adjustments: Use Luminar's Accent AI to get a balanced base exposure.
- AI Masking for Local Edits: Use "Select Subject" to make your main point of interest pop.
- Technical Fixes: Run any high-ISO shots through AI Denoise.
- Retouching: Use AI-driven skin and portrait tools for your subjects.
- Final Tweak: Add your personal color grade and "Human" touch.
- Export: Use AI upscaling if you're printing large.
If you want to dive deeper into these steps and see them in action with video walk-throughs, our photography tutorials are the perfect place to start. We break down the complicated stuff into simple, actionable steps.
Keeping Up with Photography News
The world of AI is moving fast. Every month, there’s a new plugin or a new update to our favorite software. Staying informed is half the battle. I highly recommend following sites like PhotoGuides.org and Edin Chavez’s blog to stay on top of the latest trends and tool reviews.
The best mirrorless cameras of today are already incorporating AI into their autofocus systems (detecting birds, cars, and even insect eyes). It’s only natural that our editing software follows suit. Don't be the photographer who gets left behind because they were too proud to use a tool that makes their work better.
Conclusion: Embrace the Future
At the end of the day, photography is about the image. It’s about the feeling you get when you look at a print or a screen and see exactly what you imagined in your head when you pressed the shutter. If AI helps you bridge the gap between "what I saw" and "what the camera captured," then it’s a win.
Don't let the technical jargon scare you off. Start slow. Maybe just try the AI masking in your next edit. Or see what Luminar can do for your landscape shots. You'll quickly find that you're spending less time clicking and more time creating.
Now, grab your gear, go find some new street photography ideas, and stop worrying about the robots taking over. They aren't here to take your job; they're here to help you do it better.
Happy shooting!