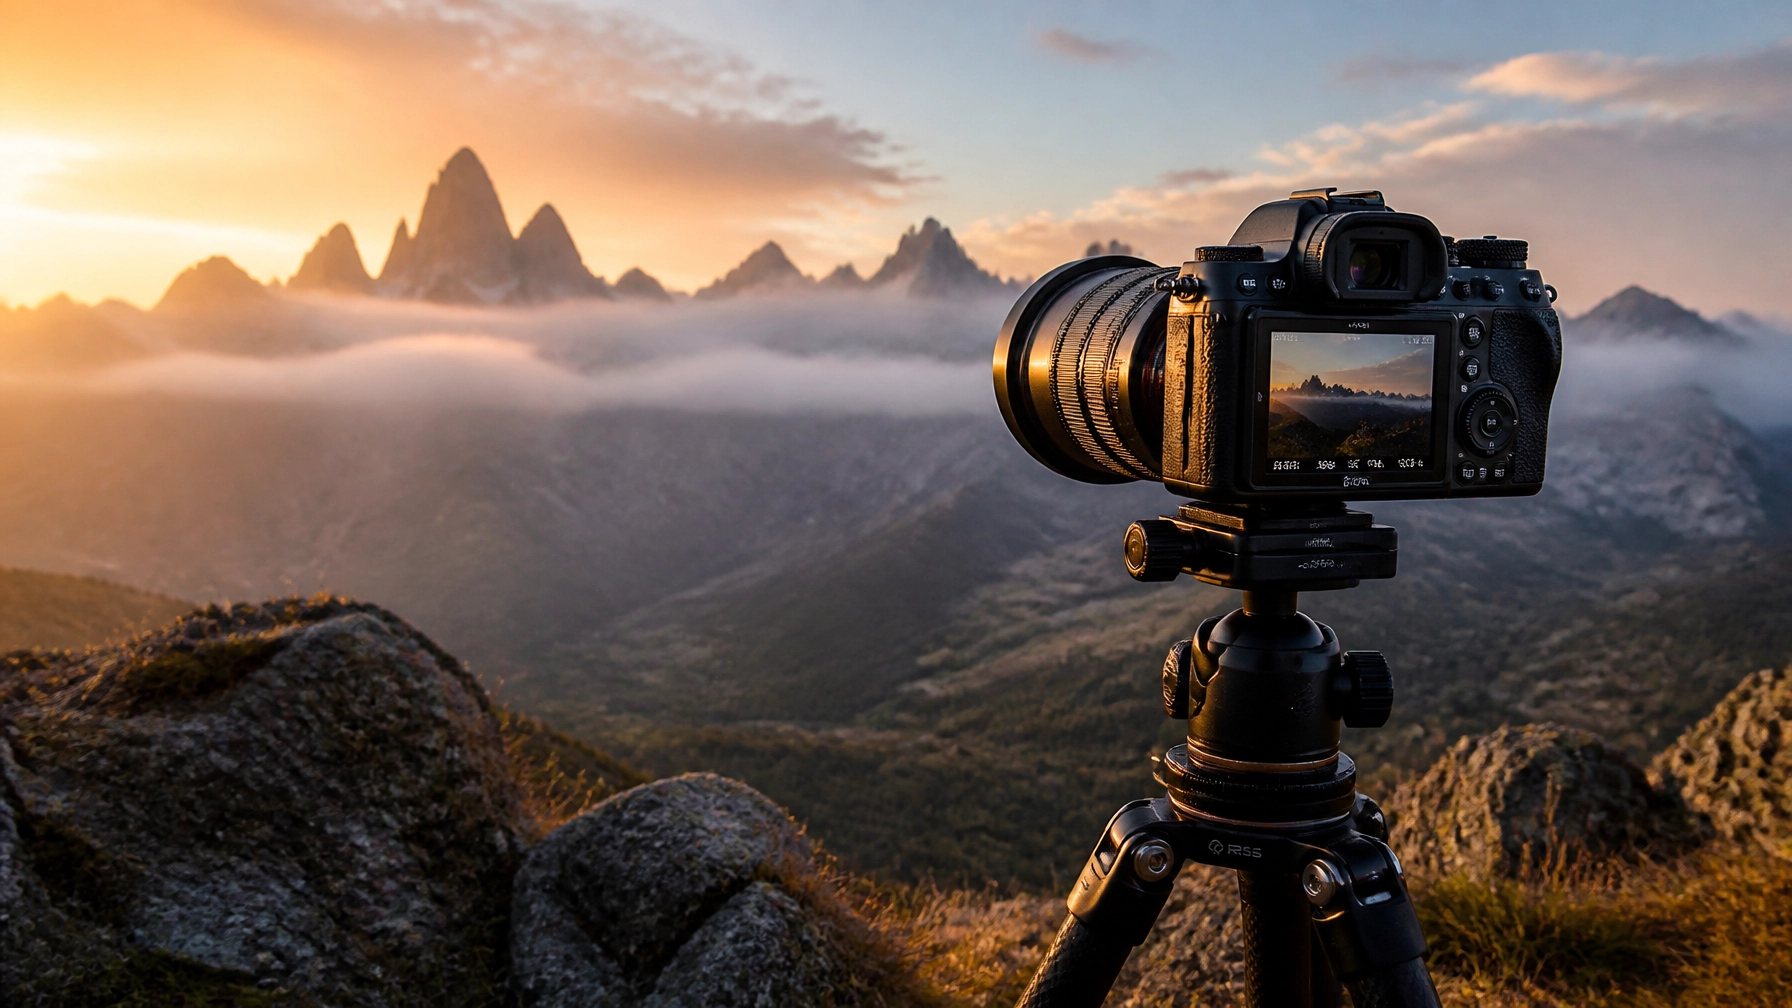
Let’s be real: we’ve all been there. You’re standing in front of the most breathtaking sunset you’ve ever seen. The sky is a riot of purples and oranges, the light is hitting the peaks just right, and you pull out your camera, press the shutter, and… the photo looks like a muddy, blurry mess. It’s frustrating. It’s discouraging. And honestly, it’s exactly why most people leave their expensive DSLRs in the closet and stick to their iPhones.
But you aren't most people. You’re here because you want to take control of your craft. You want to stop "taking" photos and start "making" them. At Shut Your Aperture, we believe that photography shouldn’t be a mystery reserved for the elite. It should be an accessible, daily adventure. That’s why we’ve dedicated ourselves to becoming the number one photography school online, providing you with daily photography tutorials that cut through the fluff and get straight to the heart of what makes an image move people.
In this guide, we’re going to dive deep. We aren't just skimming the surface. We’re going to master the technical side of things, specifically how to use manual mode camera settings, and then we’re going to apply those skills to the majestic world of landscapes. Whether you are a total beginner or a seasoned pro looking for a refresh, there is something here for you.
Why Manual Mode is Your Secret Weapon
If you’ve been shooting on "Auto" (that little green rectangle), you’re letting a computer make the creative decisions for you. The camera is smart, sure, but it doesn’t have a soul. It doesn’t know if you want that waterfall to look like silky white ribbons or if you want to freeze every individual droplet of water in mid-air.
Learning how to use manual mode camera settings is like learning to drive a stick shift. It gives you total authority over the engine of your creativity. When you switch to "M," you are in charge of the "Exposure Triangle": Aperture, Shutter Speed, and ISO.
1. Aperture: The Eye of the Lens
Aperture is the opening in your lens that lets light in. Think of it like the pupil of your eye. A wide opening (a small number like f/2.8) lets in a lot of light and creates a shallow depth of field: that beautiful, blurry background we all love for portraits. For landscape photography tips, however, we usually move the other way. We want everything from the pebbles at our feet to the mountains in the distance to be tack sharp. This means using a narrower aperture, typically between f/8 and f/11.
2. Shutter Speed: Capturing Time
Shutter speed is how long your sensor is exposed to light. A fast shutter speed (like 1/1000th of a second) freezes action. A slow shutter speed (like 2 seconds) blurs anything that moves. In landscapes, shutter speed is your best friend for creating drama. If you’ve ever wondered how photographers get those ethereal, misty-looking oceans, the secret is a slow shutter speed and a sturdy tripod.
3. ISO: The Sensor’s Sensitivity
ISO is your camera’s sensitivity to light. In the old days of film, you had to buy specific rolls of film for different light conditions. Now, you just turn a dial. For the highest quality images, you want to keep your ISO as low as possible (usually ISO 100). Higher ISOs allow you to shoot in darker conditions, but they introduce "noise" or graininess into your photo.
Mastering these three elements is the foundation of all our photography tutorials. Once you understand how they interact, the world becomes your playground.
Essential Landscape Photography Tips for Breathtaking Results
Now that you’ve got a handle on manual mode, let’s talk about the Great Outdoors. Landscapes are one of the most popular subjects, but they are also incredibly challenging. You can't control the sun, the wind, or the rain. You have to work with what Mother Nature gives you.
Composition: The Architecture of an Image
The best gear in the world won’t save a poorly composed photo. One of the most important landscape photography tips we teach at Shut Your Aperture is the "Rule of Thirds." Imagine your frame is divided into a 3×3 grid. Instead of putting the horizon or your subject right in the middle, try placing them along those lines or at the intersections. It creates a much more balanced and engaging image.
Don’t forget about "Leading Lines." Use a path, a fence, or a river to lead the viewer’s eye through the frame. And always, always look for "Foreground Interest." A cool rock, a patch of wildflowers, or even some patterns in the sand can add depth and make the viewer feel like they are standing right there with you.
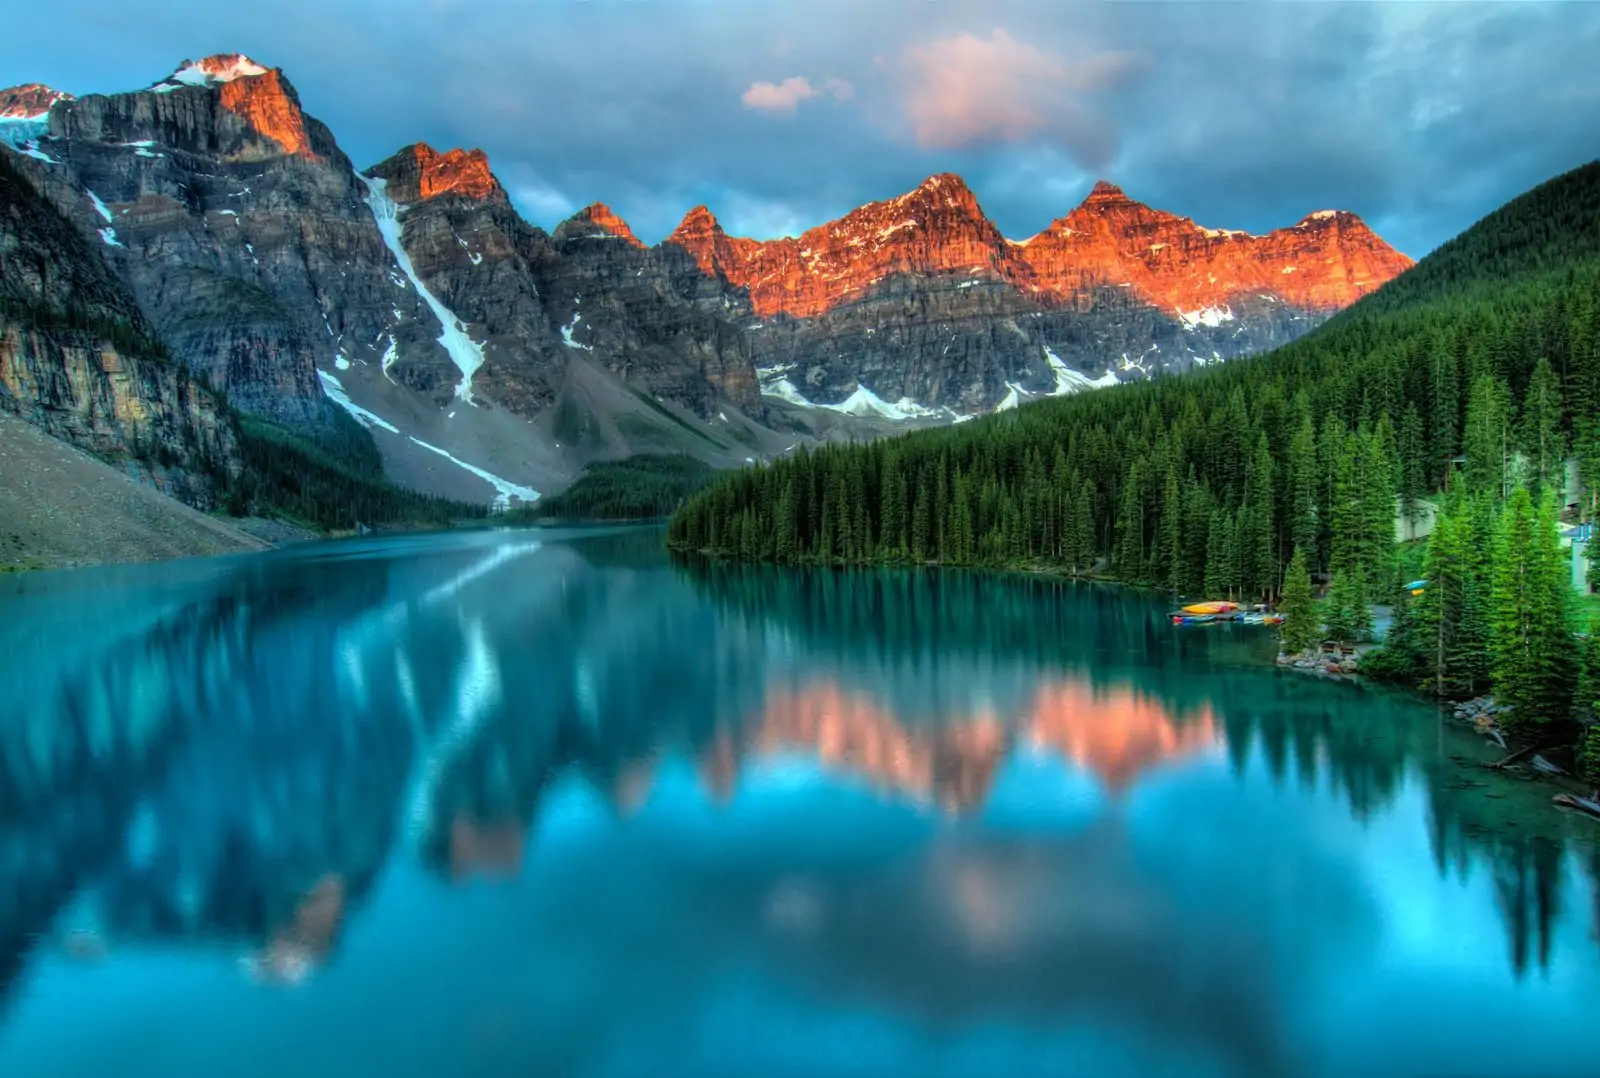
The Power of Light
You’ve probably heard of the "Golden Hour." This is the hour after sunrise and the hour before sunset when the light is soft, warm, and directional. It’s the "cheat code" for beautiful photos. But don’t pack up once the sun goes down! The "Blue Hour" (just after sunset) offers a cool, moody light that is perfect for cityscapes and coastlines.
If you want to see some world-class examples of how light transforms a scene, check out the fine art collections at Edin Fine Art. It’s a great way to train your eye to see the nuances of light and shadow.
Advanced Photography Tutorials: Pushing the Boundaries
Once you’ve mastered the basics, it’s time to level up. At Shut Your Aperture, we don't just stop at the exposure triangle. We want to show you the techniques that separate the hobbyists from the professionals.
Long Exposure and Filters
When you start playing with shutter speeds that last seconds or even minutes, you open up a whole new world. You can make clouds look like they are streaking across the sky or turn a crowded city square into a ghostly, empty space. To do this during the day, you’ll need a Neutral Density (ND) filter: essentially sunglasses for your lens. These are the kinds of specific tools we cover in our daily tutorials to help you refine your kit.
Focus Stacking
Sometimes, even at f/11, you can't get everything in focus if your foreground is very close to the lens. This is where "Focus Stacking" comes in. You take multiple photos at different focus points and blend them together in post-processing. It sounds complicated, but it’s a game-changer for those ultra-sharp, professional-looking landscapes. For more technical deep dives, PhotoGuides.org is another fantastic resource to supplement your learning.
The Magic of Post-Processing: Bringing Your Vision to Life
Let’s clear something up: editing is not cheating. Every great photographer in history, from Ansel Adams to the modern greats, spent significant time in the "darkroom." Today, our darkroom is digital.
When you shoot in RAW (which you absolutely should be doing), the image file contains a massive amount of data that isn't visible at first glance. Post-processing allows you to bring out the details in the shadows, recover the highlights in the sky, and guide the viewer’s eye with selective adjustments.
One of our favorite tools for this is Luminar. Its AI-powered features are incredible for landscape photographers. You can enhance the sky, add sun rays, or use the "Accent AI" to instantly improve the color and tone of your image without spending hours messing with complicated layers. It’s about working smarter, not harder, so you can spend more time behind the lens and less time behind a screen.
Shut Your Aperture: Your Home for Growth
We didn’t build Shut Your Aperture just to be another blog. We built it to be a community. We want this to be the number one photography school online, a place where you can find daily inspiration and concrete advice. Whether you are struggling with how to use manual mode camera settings or you're trying to figure out which mirrorless camera is right for you, we've got you covered.
Our daily photography tutorials are designed to be bite-sized and actionable. We know you’re busy. We know you want to see results. That’s why we focus on simple, direct instructions that you can go out and test immediately.
Why You Should Keep a Daily Shooting Habit
The best way to get better at photography isn't by reading about it: it's by doing it. We advocate for a "Daily Aperture" habit. Even if it’s just 15 minutes in your backyard or during your commute, pick up your camera. Try to find a new angle, a new light, or a new way to use a setting you’ve been ignoring.
Consistency is the secret sauce. If you want more personal insights and stories from the field, the Edin Chavez Blog is packed with real-world experiences that show you what it’s actually like to work as a professional photographer.
Mastering the "Mood" of Your Photos
Photography is more than just technical perfection; it's about storytelling. When you are out in the field, ask yourself: "What do I want the viewer to feel?" Is it the peace of a still lake? The power of a storm? The loneliness of a desert?
Your choice of lens, your exposure, and even your color palette in post-processing all contribute to this mood. For example, a wide-angle lens (like a 16mm) can make a space feel expansive and grand, while a telephoto lens (like a 200mm) can "compress" a scene, making distant mountains look like they are right on top of your foreground.
These are the nuances we explore in our advanced landscape photography tips. Understanding the psychology behind an image is what takes you from a technician to an artist.
Don't Fear the Gear
It’s easy to get "Gear Acquisition Syndrome" (GAS). You think that if you just had that new f/1.2 lens or that 60-megapixel body, your photos would suddenly be amazing. Here’s a little secret: a great photographer can take a stunning photo with a potato, and a bad photographer can take a boring photo with a $10,000 setup.
Focus on learning the fundamentals. Master the manual mode on whatever camera you have right now. Whether it’s an old DSLR or a brand-new mirrorless system, the physics of light remain the same. Once you hit the limits of your current gear, then: and only then: should you look at upgrading. When that time comes, our camera comparison guides will be here to help you make an informed decision.
Join the Shut Your Aperture Community
At the end of the day, photography is a journey, and every journey is better with friends. We invite you to dive into our archives, watch our videos, and most importantly, share your work. Shut Your Aperture is far less mechanical than a site; it's a gallery for aspiring photographers like you.
Stop waiting for the "perfect" moment to start learning. The perfect moment is right now, with the light you have and the camera in your hand. Check out our full suite of online courses and let's start making some art together.
From the technicalities of manual mode to the artistic heights of landscape composition, we are here to support every step of your creative growth. Keep shooting, keep exploring, and never stop shutting your aperture!
Related Reading
- 7 Mistakes You're Making with AI Photo Editing
- Why Everyone is Talking About AI-Powered Mirrorless Tech
- Professional Corporate Headshot Tips


