So, you finally did it. You took the training wheels off. You clicked that dial from "Auto" to "M," and suddenly, the world feels a lot more complicated. Your photos are coming out black, or they’re looking like the surface of the sun, or they’re so blurry it looks like you’re photographing ghosts. Welcome to the world of manual mode.
Don't panic. Every pro you follow on Instagram or see in galleries went through this exact same phase. Shooting in manual mode is the ultimate gatekeeper in photography. Once you master it, you stop taking pictures and start making them. But getting there requires navigating a minefield of common mistakes that can ruin a perfectly good shoot.
If you’re struggling to get that professional look despite having the best gear, you’re likely falling into one of these seven traps. Let’s break them down and get you shooting like a pro.
1. The "Wide Open" Obsession (Aperture Trap)
We get it. You bought that f/1.8 or f/1.4 lens because you wanted that creamy, delicious background blur (bokeh). So, naturally, you set your aperture to the lowest number and never touch it again. This is one of the biggest manual mode camera mistakes.
The Problem:
When you shoot "wide open" all the time, your depth of field becomes razor-thin. If you’re shooting a portrait and the subject moves just an inch, their eyes are out of focus while their ears are sharp. Or worse, you’re shooting a group of three friends, and only the person in the middle is clear. Additionally, most lenses aren't at their sharpest at their maximum aperture; they usually perform better "stopped down" a bit.
The Fix:
Stop being afraid of f/4 or f/5.6. If you have multiple people in the frame, you need a higher f-stop to ensure everyone is in focus. A good rule of thumb is to use an aperture number that is at least equal to the number of people in the shot. For landscapes, you almost never want to be at f/1.8; you should be looking at f/8 to f/11 to keep everything from the foreground to the horizon sharp.
If you really want that blur but need sharpness, learn how to manage your distance. Move your subject further from the background rather than just relying on a wide aperture. If you're looking for more technical deep dives on lens selection, check out PhotoGuides.org for some excellent breakdowns.

2. The Shutter Speed Slump (The Blur Factor)
You’re in manual mode, you’ve got your aperture set, and you’re trying to keep your ISO low to avoid noise. To compensate for the light, you let your shutter speed drop… and drop… and drop.
The Problem:
"Camera shake" is the silent killer of great photos. Even if you think you have hands as steady as a surgeon, you don’t. At slow shutter speeds, the tiny vibrations of your heartbeat and muscles are enough to turn a sharp image into a muddy mess. Beyond that, if your subject is moving, even just breathing, a slow shutter speed will capture that motion as a blur.
The Fix:
Follow the reciprocal rule: Your shutter speed should be at least 1/ (focal length). If you’re using a 50mm lens, don't shoot slower than 1/50th of a second. If you’re using a 200mm zoom lens, you need at least 1/200th.
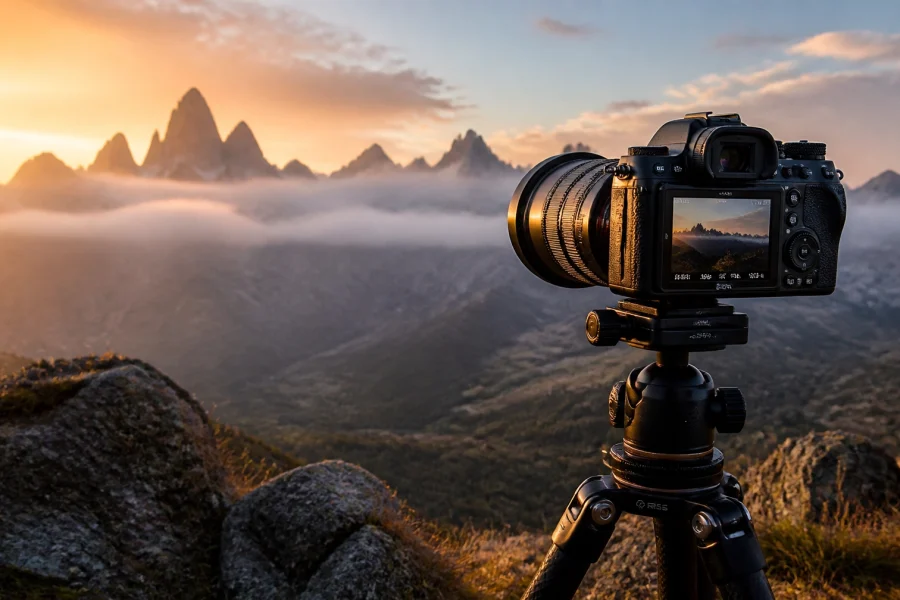
If you're shooting moving subjects, like kids or pets, you need to be much faster, think 1/500th or 1/1000th. If the light is too low to maintain those speeds, that’s when you need to bring in a tripod. We’ve got a solid camera tripods guide that explains why a stable base is non-negotiable for certain manual shots.
3. ISO Paranoia (The Fear of Grain)
There is a weird myth in the beginner photography world that ISO 1600 is "poison." Many photographers will do anything, including shooting at dangerously slow shutter speeds, just to keep their ISO at 100.
The Problem:
A sharp photo with a little bit of grain is a usable photo. A blurry photo with zero grain is garbage. Modern mirrorless cameras are incredible at handling high ISO. If you’re shooting with a best mirrorless camera under 2000, you can likely push your ISO to 3200 or even 6400 without losing significant detail.
The Fix:
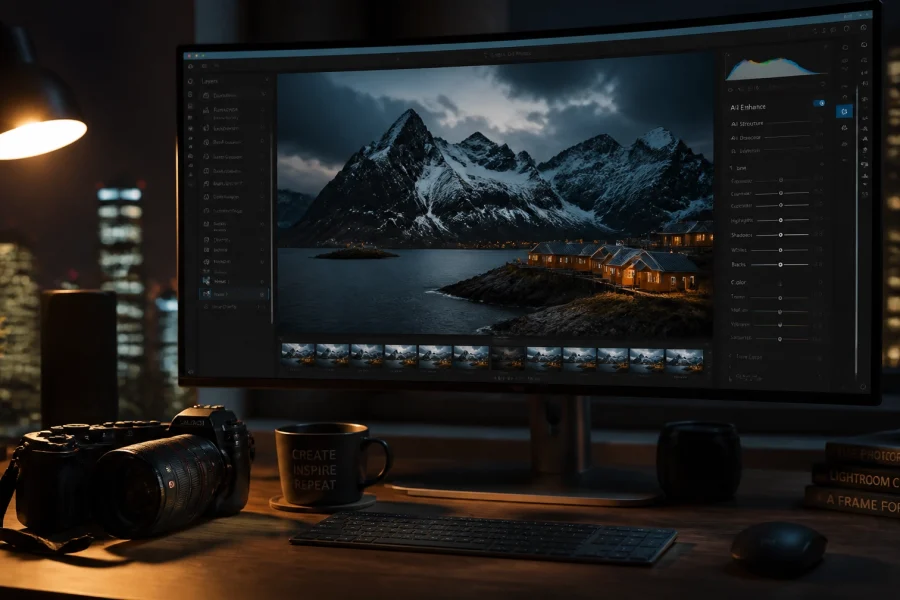
Embrace the ISO. If you’re indoors or in low light, bump it up. It’s better to have a fast enough shutter speed to freeze the action. Plus, if the grain really bothers you, software like Luminar has incredible AI denoise tools that can clean up your images in seconds. You can always fix noise in post-processing, but you can never fix a motion-blurred face.

4. Trusting the LCD Screen (The Exposure Illusion)
You take a photo, look at the back of your camera, and it looks perfect. You get home, put it on your computer, and it’s either way too dark or totally blown out. What happened?
The Problem:
The LCD screen on the back of your camera is a liar. Its appearance depends entirely on its own brightness settings. If you’re shooting outside in bright sun, you probably have the screen brightness turned all the way up, which makes your photos look brighter than they actually are. In a dark room, a dim photo might look bright because your eyes have adjusted to the dark.
The Fix:
Stop looking at the picture and start looking at the Histogram. The histogram is a mathematical graph of the light in your shot. If the graph is all scrunched up against the left side, your photo is underexposed (too dark). If it’s hitting the right side, you’re overexposing (too bright) and losing detail in the highlights.
Learning to read the histogram is the single most important "pro" skill you can develop for manual mode. For a deeper look at how to master these tools, check out our ultimate guide to photography tutorials.

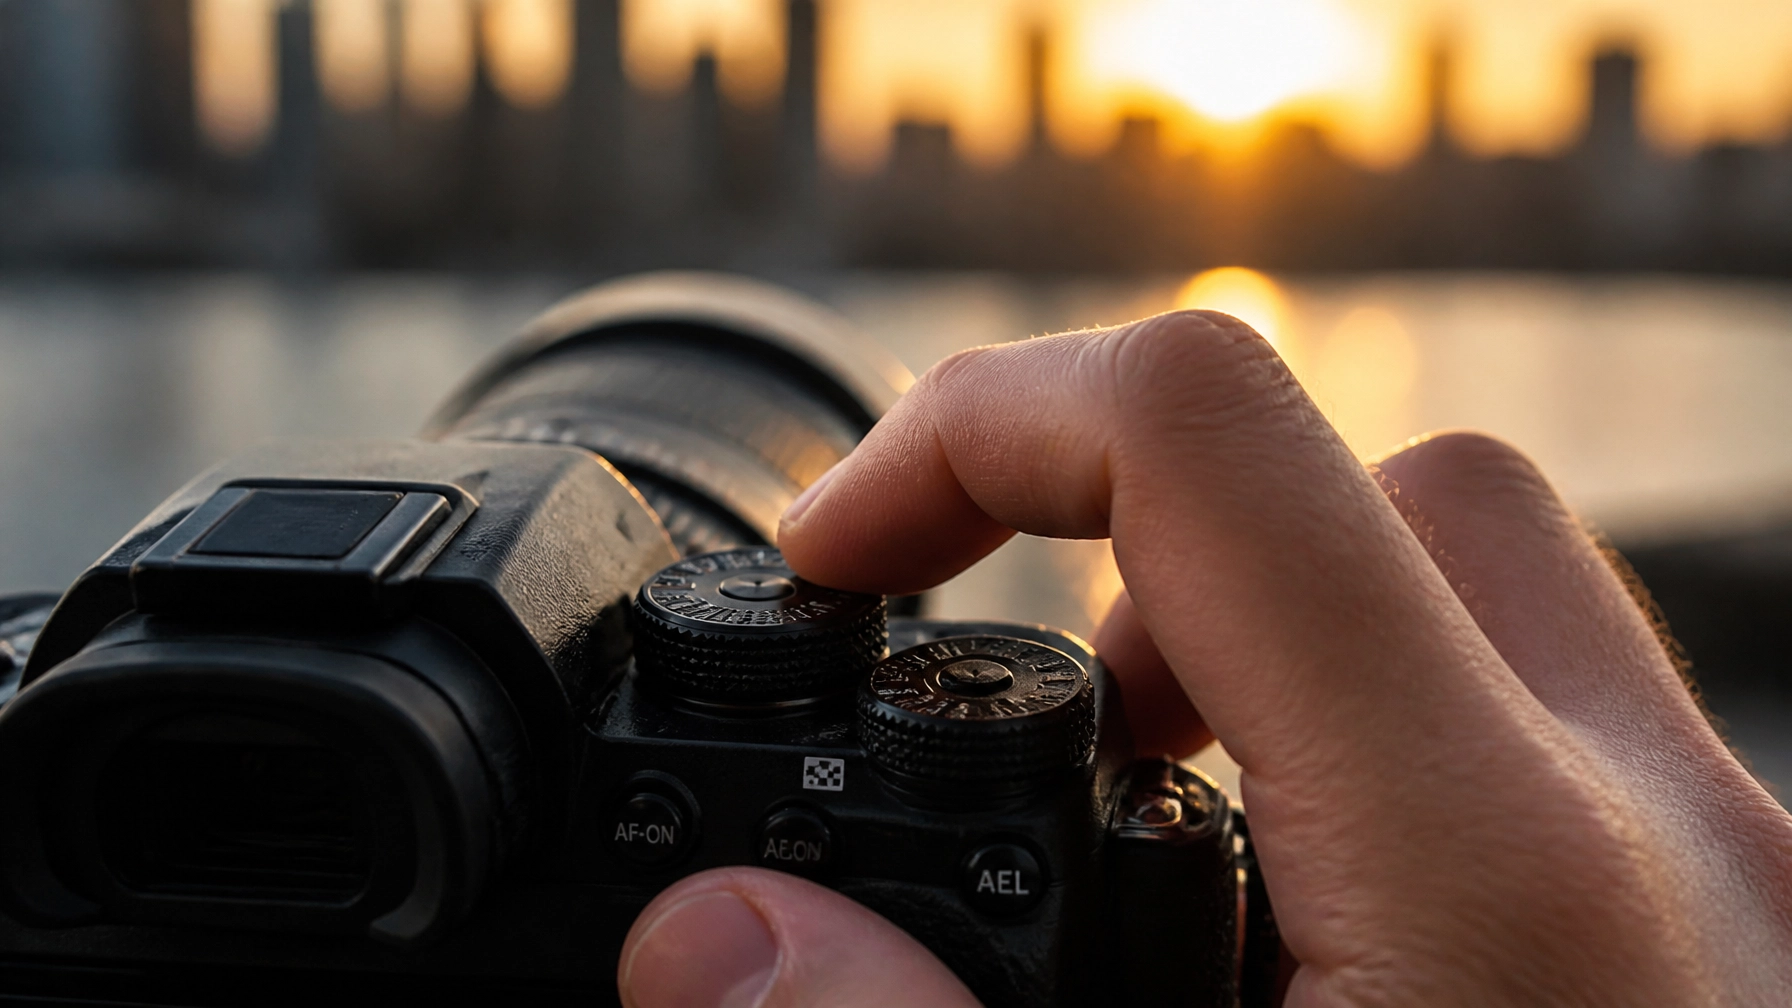
5. The "Dial-Spinning" Panic
When someone is first learning manual mode, they often try to change all three settings (Aperture, Shutter Speed, and ISO) at the same time for every single shot.
The Problem:
This is the fastest way to miss a moment. By the time you’ve adjusted your aperture, dialed in your shutter speed, and checked your ISO, the bride has already kissed the groom, or the bird has flown away. You’re overcomplicating the process.
The Fix:
Pick a priority. Before you even lift the camera, ask yourself: "What is the most important thing for this shot?"
- If you want a blurry background for a portrait, set your Aperture first.
- If you’re shooting sports, set your Shutter Speed first.
- If you’re in a dark church, set your ISO to a manageable high limit first.
Once you set your "priority" setting, leave it alone. Only adjust the other two to balance the light. This reduces the number of decisions you have to make for every click. If you're struggling with the basics of how these three work together, learn.shutyouraperture.com has some great walkthroughs on the exposure triangle.
6. Shooting JPEG instead of RAW
Manual mode is all about control. If you’re shooting in JPEG, you’re handing half of that control back to the camera’s internal computer.
The Problem:
JPEGs are compressed files. The camera takes the data, decides what looks "good," and throws away the rest of the information. If you mess up your exposure in manual mode (which you will), a JPEG doesn't have enough data to let you fix it in post-processing. Your shadows will stay black and your highlights will stay white.
The Fix:
Switch to RAW. A RAW file contains every bit of data your sensor captured. If you accidentally underexpose a shot by two stops, you can easily "save" it in a program like Luminar without losing quality. It gives you a safety net while you're still learning the ropes of manual exposure. For more tips on editing and fine art, Edin Chavez shares some great insights over at blog.edinchavez.com.
7. Ignoring White Balance
Many people think manual mode only refers to exposure (the light). They leave their White Balance on "Auto."
The Problem:
Auto White Balance (AWB) is generally pretty good, but it can be tricked. If you’re shooting under orange streetlights or green fluorescent office lights, AWB can shift between shots, making your skin tones look sickly in one frame and orange in the next. This creates a nightmare during the editing phase when you're trying to make a series of photos look consistent.
The Fix:
Take control of your color. If you're outdoors in the sun, set it to "Daylight." If you're in the shade, set it to "Shade." By locking in your white balance, you ensure that every photo in that sequence has the same color profile. It’s one less thing for the camera to get wrong. If you really want to dive into high-end color work, take a look at the stunning prints on www.edinfineart.com to see how consistent color temperature impacts a final piece.

Putting It All Together: Your Manual Mode Workflow
Mastering manual mode isn't about memorizing numbers; it's about developing a rhythm. When you arrive at a location, don't just start clicking. Take a second to "meter" the scene.
- Check the light: Is it bright sun? Overcast? Low light?
- Choose your intent: Do you want everything sharp (landscape) or a blurry background (portrait)? Set your Aperture accordingly.
- Set your safety net: If you're handheld, set a Shutter Speed that won't result in blur.
- Balance with ISO: Use your ISO to fill in the gaps until your histogram looks healthy.
- Take a test shot: Don't look at the screen for beauty; look at it for data (the histogram).
If you find yourself getting overwhelmed, remember that manual mode is a tool, not a religion. It’s okay to use Aperture Priority or Shutter Priority modes when things are moving fast. But knowing how to use manual means that when the lighting gets tricky, like a backlit sunset or a dark stage, you won’t be at the mercy of your camera’s guesses.
Practice Makes Professional
The transition to manual mode is the moment you stop being a hobbyist and start being a photographer. You will mess up. You will lose some shots. But the shots you do get will be exactly what you envisioned, not what the camera decided for you.
If you’re ready to take the next step and really master your gear, head over to learn.shutyouraperture.com for our structured courses. We cover everything from the basics of the exposure triangle to advanced lighting techniques that will make your work stand out in any gallery.
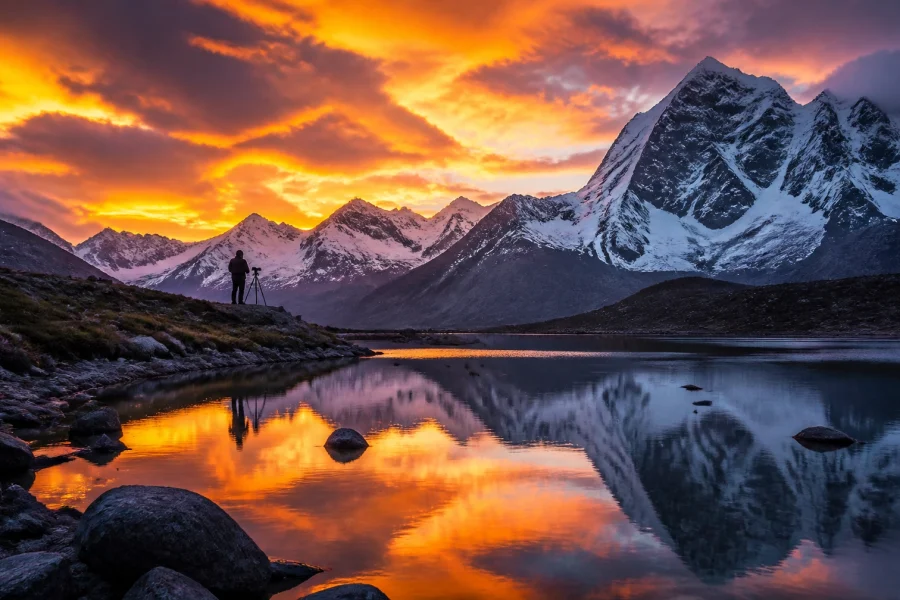
Don't forget to experiment with different lighting scenarios. Try shooting during the golden hour, or head out into the city at night to see how high you can push your ISO. The more you play with the settings, the more they will become second nature. Before you know it, you’ll be spinning those dials without even thinking about it.
Keep shooting, keep failing, and keep learning. That's the only way to get those pro shots instantly (well, maybe not instantly, but a whole lot faster than if you stayed on Auto).