Manual mode is the process of taking full, creative control over your camera by manually adjusting aperture, shutter speed, and ISO to achieve a specific exposure and artistic look. Instead of letting the camera's computer make guesses, you decide exactly how much light hits the sensor and how that light is rendered. To succeed, you must balance the three pillars of the exposure triangle: aperture (controlling depth of field), shutter speed (controlling motion), and ISO (controlling light sensitivity). By understanding your camera's light meter and practicing a consistent workflow, you can move away from "Auto" and start creating images that reflect your unique vision.
Ditch the Auto and Take the Wheel
You bought a nice camera because you wanted better photos, right? But then you saw that little "M" on the dial and it looked about as welcoming as a tax audit. So, you stayed in Auto. It’s okay; we’ve all been there. But here’s the cold, hard truth: Auto mode is like letting a robot paint your house. It might get the job done, but it doesn’t know you wanted that specific shade of teal or that you wanted the trim to pop.
When you shoot in Manual mode, you aren’t just taking a picture; you are making a photograph. You are telling the camera exactly what to do. You want that creamy, blurred-out background in a portrait? You have to tell the camera. You want to freeze a hummingbird’s wings or create a silky-smooth waterfall? That’s all you, baby.
In this guide, we are going to break down the "scary" stuff into bite-sized pieces. We’ll talk about the exposure triangle, how to read your camera’s mind (the light meter), and how to set up a workflow that becomes second nature. By the end, you’ll be twisting those dials like a pro.
The Holy Trinity: Understanding the Exposure Triangle
Photography is, at its core, the science of capturing light. The Exposure Triangle is the fundamental concept that explains how three different settings work together to determine how bright or dark your image is. If you change one, you usually have to change another to keep things balanced.
1. Aperture: The Eye of the Lens
Think of aperture as the pupil of your camera's eye. Just like your pupil dilates in the dark and shrinks in the sun, the aperture is a hole in your lens that opens and closes to let in more or less light.
Aperture is measured in "f-stops" (like f/1.8, f/8, or f/16). This is where it gets a little counter-intuitive for beginners: The smaller the number, the larger the hole.
- Large Aperture (f/1.8, f/2.8): Lets in a ton of light. It also creates a "shallow depth of field," meaning your subject is sharp but the background is a beautiful, blurry mess. This is the secret sauce for professional-looking portraits.
- Small Aperture (f/11, f/16): Lets in very little light. It creates a "deep depth of field," where everything from the blade of grass at your feet to the mountain in the distance is sharp. This is what you want for landscape photography.

2. Shutter Speed: The Gatekeeper of Time
Shutter speed is how long the "gate" stays open to let light hit the sensor. It’s measured in fractions of a second (like 1/1000 or 1/60) or full seconds.
- Fast Shutter Speed (1/1000, 1/4000): The gate opens and shuts in the blink of an eye. This freezes motion. If you’re shooting sports, wildlife, or hyperactive kids, you need speed.
- Slow Shutter Speed (1/30, 1 second, 30 seconds): The gate stays open longer. This lets in more light, but any movement will result in blur. If you use a tripod, you can use slow shutter speeds to make water look like silk or capture light trails from cars.

3. ISO: The Sensor’s Sensitivity
ISO is a legacy term from the film days, but in the digital world, it represents how sensitive your sensor is to light.
- Low ISO (100, 200): Best for bright, sunny days. It produces the cleanest, highest-quality images with no "noise" (grain).
- High ISO (3200, 6400): Best for low-light situations like indoor parties or concerts. It helps you get a bright image when there isn't much light, but the trade-off is "noise": those tiny, colorful dots that can make a photo look muddy.

How to Read the Exposure Meter
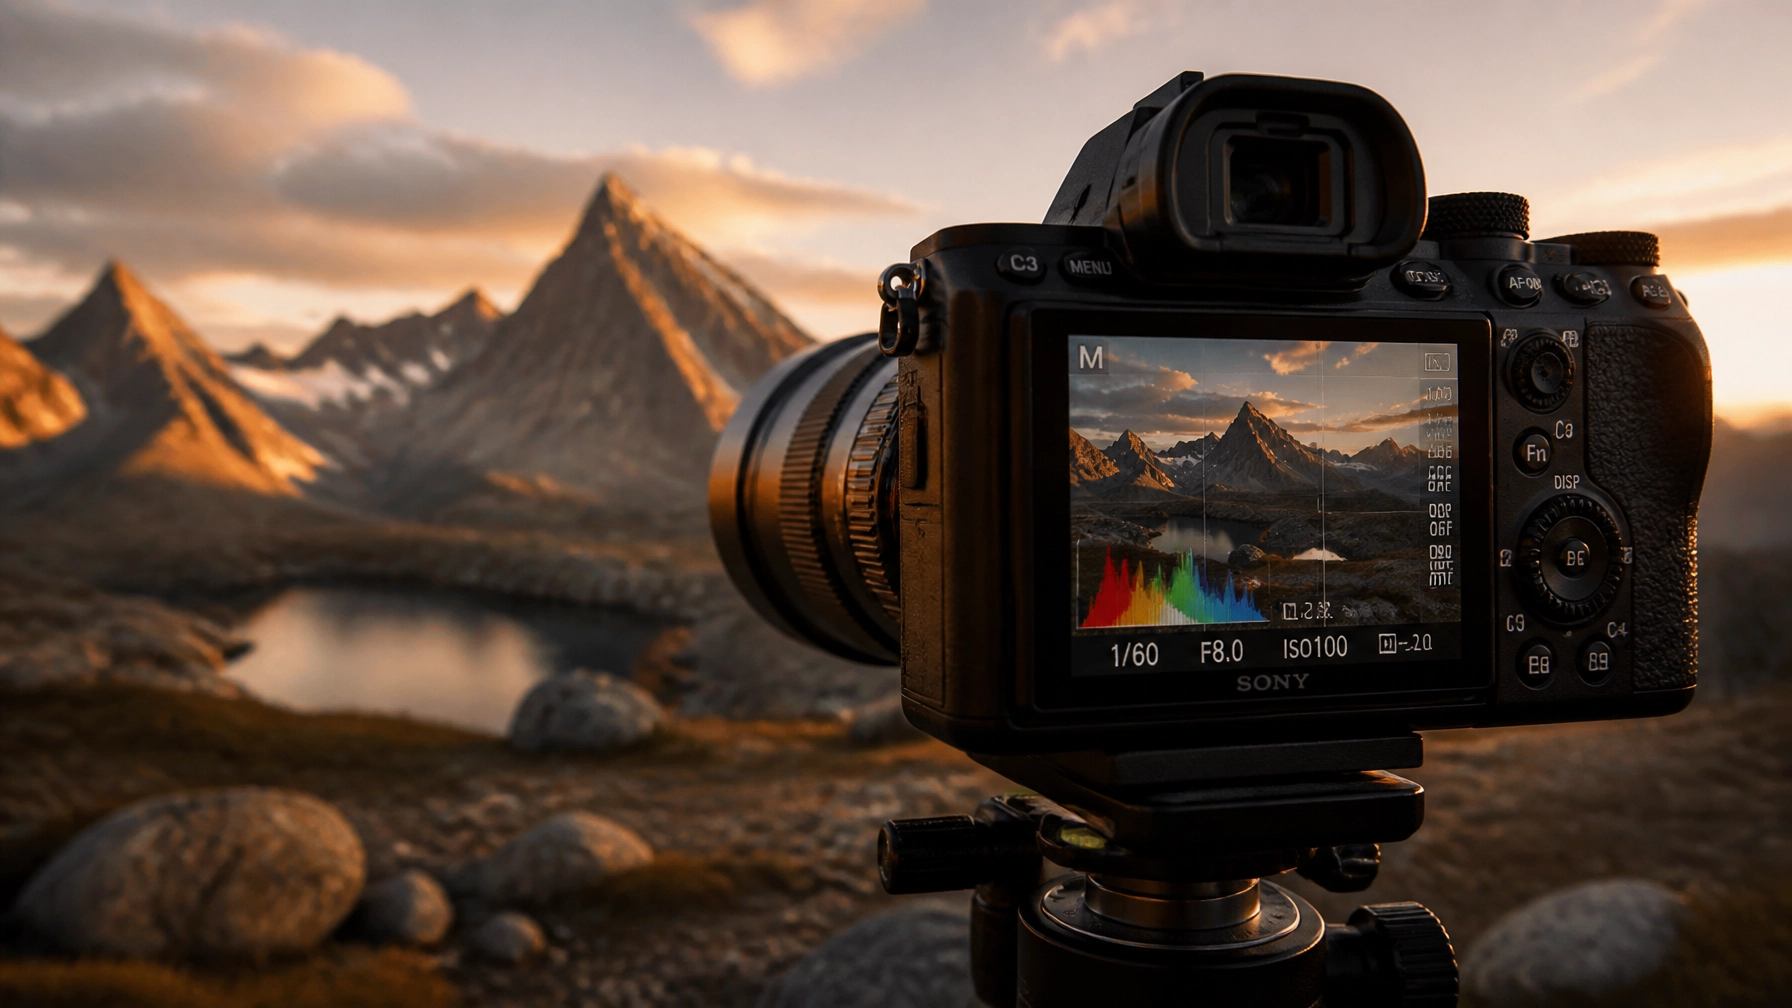
Every DSLR and mirrorless camera has a built-in light meter. When you look through your viewfinder or at your LCD screen in Manual mode, you’ll see a little scale with a "0" in the middle, "−" on the left, and "+" on the right.
- At 0: The camera thinks the exposure is perfect.
- In the − range: The camera thinks the image is underexposed (too dark).
- In the + range: The camera thinks the image is overexposed (too bright).
Your job in Manual mode is to adjust your aperture, shutter speed, and ISO until that little ticker lands on or near the zero. However, remember that the camera is just a computer; it doesn't know you want a moody, dark silhouette. You use the meter as a guide, but you make the final call.
The Manual Mode Workflow: A Step-by-Step Guide
Don't just start spinning dials randomly. Have a plan. Here is a simple workflow I recommend for every beginner:
- Set your ISO first. If you are outside in the sun, set it to 100. If you are inside, start at 800. Try to keep this as low as possible for the best image quality.
- Choose your Aperture based on your "look." Do you want a blurry background? Go to your lowest f-number (like f/2.8). Want a sharp landscape? Go to f/11.
- Set your Shutter Speed based on the subject. If the subject is moving, keep it fast (above 1/250). If you are hand-holding the camera, don't go below 1/60 unless you have a very steady hand or stabilization.
- Look at the Meter. Is the ticker on the negative side? You need more light. Either slow down your shutter, open your aperture wider (lower f-number), or: as a last resort: bump up your ISO.
- Take the shot and check the screen. Don't just trust the meter. Look at the photo. Is it what you envisioned?

Mastering Light: Metering Modes
Your camera doesn't just "see" light; it calculates it based on the mode you choose. Understanding these modes is crucial for Manual mode success.
- Evaluative/Matrix Metering: The camera looks at the entire scene and tries to find a middle ground. This is great for general scenes.
- Spot Metering: The camera only measures light in one tiny spot (usually where your focus point is). This is perfect for backlit subjects or high-contrast scenes where you want to make sure your subject's face is perfectly exposed, even if the background goes completely white or black.
- Center-Weighted Metering: The camera prioritizes the middle of the frame but considers the rest of the scene.
If you find your manual shots are consistently too dark or too bright despite what the meter says, you might need to change your metering mode. For more deep dives into technical gear, check out PhotoGuides.org.
The Importance of the Histogram
If there is one thing that will take you from a "guess-worker" to a professional, it’s the histogram. The histogram is a little graph that shows the distribution of tones in your image.
- Left side: Blacks and shadows.
- Middle: Midtones.
- Right side: Highlights and whites.
If the graph is all "bunched up" against the left edge, your image is underexposed and you're losing detail in the shadows. If it's bunched up against the right, you've "blown out" your highlights (the dreaded white sky), and that detail is gone forever. Aim for a nice "mountain" in the middle, or at least ensure the edges aren't getting cut off.
Why Manual Mode and RAW Go Together
If you are going to go through the effort of shooting in Manual, you should be shooting in RAW format, not JPEG.
A JPEG is a finished product. The camera takes the data, applies some contrast and sharpening, throws away what it thinks you don't need, and zips it up. A RAW file, however, is all the data the sensor captured. It looks flat and boring straight out of the camera, but it holds a massive amount of "dynamic range."
In post-processing, you can recover shadows that looked pitch black or pull back highlights that looked too bright in a RAW file. This gives you a safety net. When you're ready to edit those RAW files, I highly recommend using Luminar. It uses AI to simplify complex editing tasks, making your manual shots look like they belong in a gallery. You can find more tips on fine art photography over at Edin Fine Art.
Common Mistakes Beginners Make
Even with a guide, you're going to mess up. It’s part of the charm. Here are the big ones to watch out for:
- Forgetting to change settings: You were shooting outside in the sun (ISO 100), then you walked into a dark building. You start shooting and wonder why everything is black. Always "reset" your brain when the light changes.
- Too slow of a shutter speed: You want that low ISO quality, so you set your shutter to 1/10 to compensate for the dark room. Unless you are a statue, that photo will be blurry. Remember the reciprocal rule: your shutter speed should generally be faster than 1 divided by your focal length (e.g., 1/50s for a 50mm lens).
- Chasing the "Zero": The meter is a guide, not a god. If you're shooting a black cat in a coal mine, the camera will try to turn the black into grey, making the photo too bright. Trust your eyes.
- Ignoring the edges of the lens: Most lenses aren't at their sharpest at their widest aperture (like f/1.8). If you want maximum sharpness, "stop down" a bit to f/5.6 or f/8.
Practice Exercises to Build Muscle Memory
You can't learn to ride a bike by reading a book. You have to get out there. Try these three exercises this weekend:
The Depth of Field Challenge
Find a stationary object (a coffee mug, a flower, a sleeping cat). Set your camera to Manual. Start at your widest aperture (lowest f-number). Adjust your shutter speed to get a good exposure. Take the shot. Now, move your aperture to f/8. Adjust your shutter speed (it will need to be slower!) to get the same exposure. Take the shot. Compare the two. See how the background changes?
The Motion Freeze
Go to a busy street or a park where people are running. Try to freeze a car or a runner perfectly using a fast shutter speed (1/1000). You'll likely need to raise your ISO or open your aperture to get enough light. Then, try to intentionally blur them by using a slower shutter speed (1/30) while keeping the background sharp.
The Low Light Balance
Go into a dimly lit room. Try to get a sharp, well-exposed photo without using a flash. You’ll have to balance the "noise" of a high ISO against the "blur" of a slow shutter speed. This is where you learn the limits of your specific camera sensor.

Essential Gear for Manual Success
While you can shoot manual with just a camera and a lens, a few tools make it much easier:
- A Solid Tripod: If you want to master slow shutter speeds, a tripod is non-negotiable. Check out our camera tripods guide for recommendations.
- Prime Lenses: Lenses with a fixed focal length often have wider apertures (like f/1.8), making it easier to see the effects of Manual mode.
- ND Filters: These are like sunglasses for your lens. They let you use wide apertures or slow shutter speeds even in bright daylight.
For more gear advice and to see what the pros use, head over to blog.edinchavez.com.
Continuing Your Photography Journey
Manual mode is the gateway to professional photography. It’s frustrating at first, then it’s mechanical, and finally, it’s invisible. You’ll reach a point where your fingers move the dials before your brain even processes the light change.
If you want to speed up this process and get structured learning, check out the courses at Shut Your Aperture Learn. We have everything from basic camera setup to advanced composition.
Don't be afraid of the "M." Turn that dial, make some mistakes, and start capturing the world exactly how you see it.
Photography isn't about the gear; it's about the vision. But Manual mode is the language you use to communicate that vision to the world. Now, get out there and shoot!