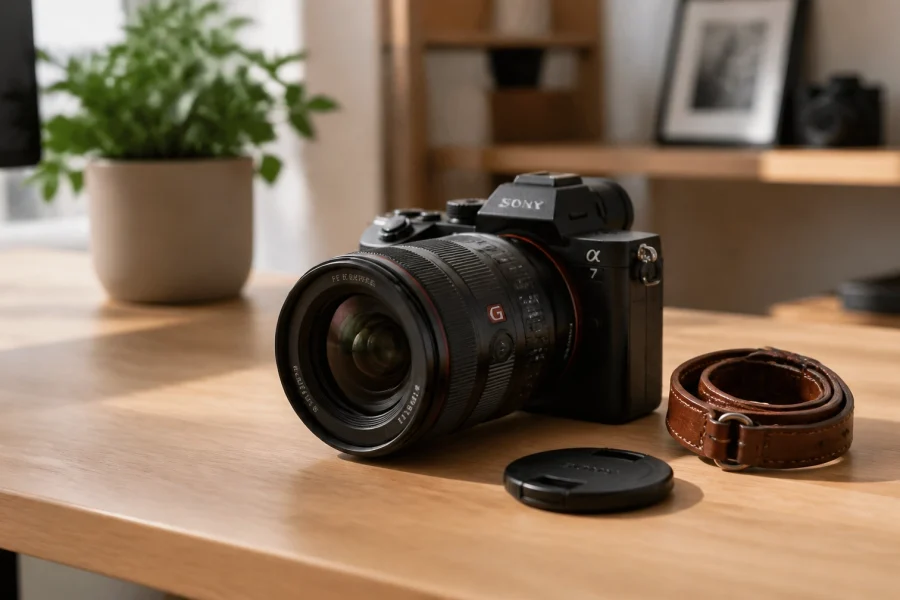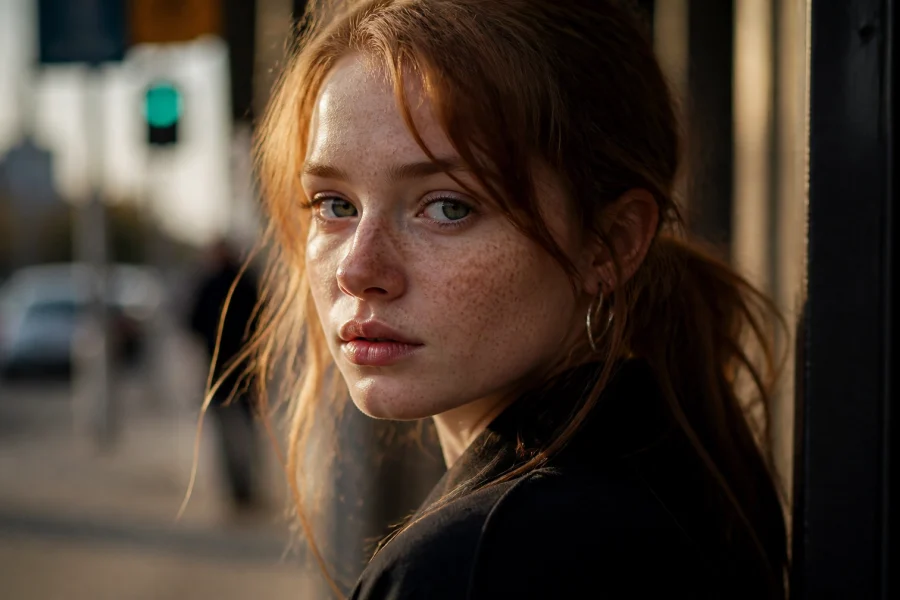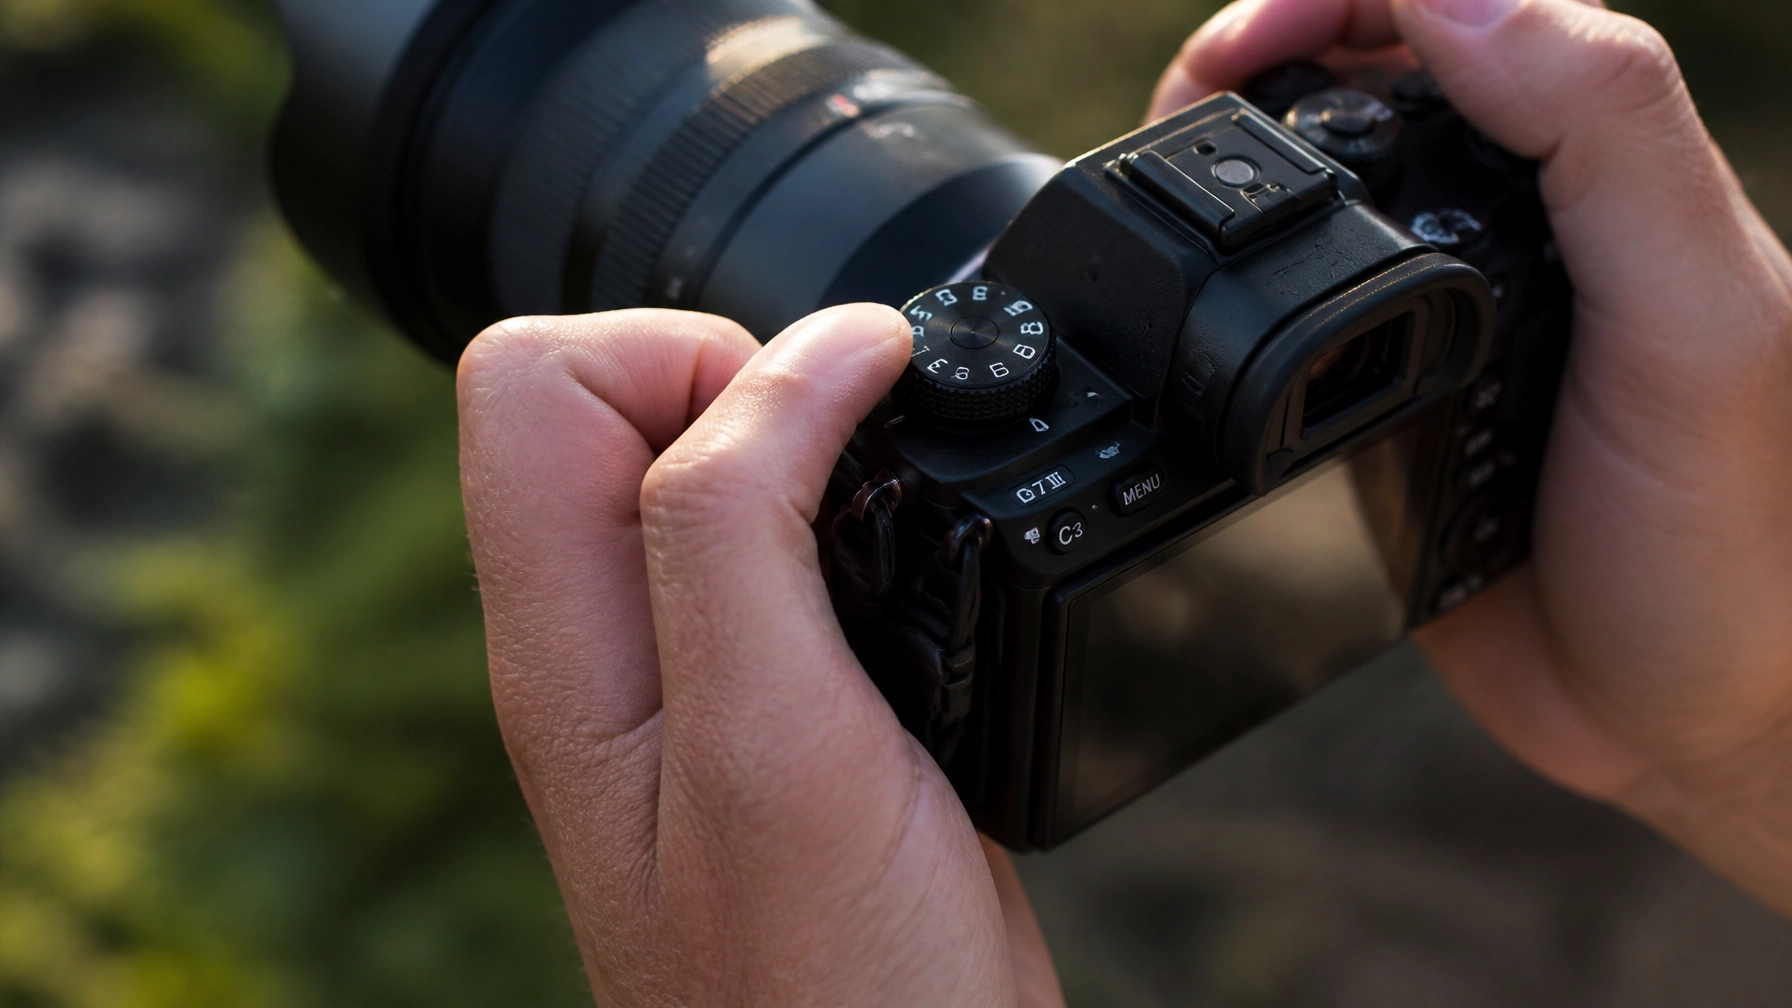
To master manual mode, you need to balance the three pillars of the exposure triangle: aperture, shutter speed, and ISO. By choosing your aperture for depth of field, setting your shutter speed to control motion, and adjusting ISO to reach the correct exposure, you take total creative control away from the camera's computer and put it back into your hands. This five-step process involves setting your camera to "M," picking your creative settings first, using the internal light meter as a guide, taking a test shot, and then fine-tuning based on the histogram.
We’ve all been there. You buy a fancy new camera, unbox it with trembling hands, and immediately set that dial to the green "Auto" box. For a while, it feels like magic. The camera focuses, clicks, and gives you a decent image. But then, you try to shoot a sunset, or a fast-moving puppy, or a moody portrait, and suddenly, the magic dies. The sunset is washed out, the puppy is a blurry smudge, and the portrait looks like it was lit by a hospital hallway.
This happens because the camera is a calculator, not an artist. It’s trying to make everything a neutral middle-gray. If you want to stop taking "decent" photos and start creating breathtaking art, you have to learn how to drive stick. Manual mode is the key.
It’s intimidating at first, sure. There are buttons, dials, and numbers that look like high school algebra. But once you understand the logic, it’s actually quite simple. In this guide, we’re going to strip away the jargon and give you a repeatable, five-step workflow to master manual mode and nail your shots every single time. If you really want to deep dive into the technicalities, check out our full course at Shut Your Aperture Academy.
Step 1: Get Your Bearings and Lock the Basics
Before you even look through the viewfinder, you need to prepare your camera for the manual workflow. Don't just flip the dial to "M" and pray. You need a consistent starting point.
First, flip that dial to M. This gives you full control over the shutter speed, aperture, and ISO. Next, look at your White Balance. Most beginners leave this on "Auto," which is fine most of the time, but if you’re shooting under consistent lighting (like a sunny day), set it to "Daylight." This prevents the camera from shifting colors between shots, making your post-processing in Luminar a whole lot easier later.
Then, check your Metering Mode. For most general photography, "Evaluative" or "Matrix" metering is your best friend. This tells the camera to look at the entire scene to guess the exposure. It’s the most forgiving setting while you’re learning.
Finally, make sure you are shooting in RAW. If you shoot in JPEG, the camera throws away a massive amount of data to save space. RAW files are huge, but they allow you to recover shadows and highlights that would otherwise be lost. Think of it like buying the ingredients for a meal versus buying a pre-packaged frozen dinner. You want the ingredients so you can cook it exactly how you like.
Step 2: Set Your Aperture for the "Look"
Aperture is usually the first thing I set because it dictates the "vibe" of the photo. Aperture is the hole inside your lens that lets light in. It’s measured in f-stops (like f/1.8, f/8, or f/16).
The trick to remembering aperture is this: Smaller numbers = bigger holes.
A big hole (f/1.8) lets in a ton of light and creates that beautiful, blurry background called bokeh. This is perfect for portraits or shots where you want your subject to "pop" away from the clutter behind them. If you’re looking for inspiration on how this looks in practice, browsing the galleries at Edin Fine Art will show you how narrow depth of field can transform a simple subject into a masterpiece.

A small hole (f/11 or f/16) lets in very little light but keeps everything from the foreground to the horizon in sharp focus. This is the go-to setting for landscapes. If you're out in the wild trying to capture a mountain range, you’ll want to stop down your aperture. We actually have a great guide on mastering landscape photography that dives deeper into this specific niche.
Action Item: Decide on your depth of field. Do you want a blurry background? Go low (f/1.8 – f/2.8). Do you want everything sharp? Go high (f/8 – f/11).
Step 3: Set Your Shutter Speed for the Action
Once your aperture is set, it’s time to move to Shutter Speed. This is how long the "curtain" stays open to let light hit the sensor.
Shutter speed does two things: it controls brightness and it controls motion.
If you are shooting a stationary subject and you’re holding the camera with your hands, you generally don't want to go slower than 1/125th of a second. Anything slower than that, and the tiny tremors in your hands will cause "camera shake," making the whole photo look blurry. If you're using a long lens, you need to go even faster. A good rule of thumb is the reciprocal rule: if you’re using a 200mm lens, keep your shutter speed at 1/200th or faster.
If you are shooting something moving, like a car, a bird, or your hyperactive toddler, you need a fast shutter speed to "freeze" the action. Think 1/500th, 1/1000th, or even faster.

On the flip side, if you want to intentionally blur motion (like making a waterfall look like silk), you’ll need a very slow shutter speed (like 1 second or longer) and a tripod. For more technical breakdowns on shutter mechanics, PhotoGuides.org is an incredible resource for the nitty-gritty details.
Action Item: Is your subject moving? Set a fast speed (1/500+). Is it still? Stick around 1/125th to 1/250th.
Step 4: Use ISO to Balance the Scales
Now that you’ve chosen your Aperture (for focus) and your Shutter Speed (for motion), you might notice your exposure meter is screaming at you. It’s likely telling you the image is too dark or too bright.
This is where ISO comes in. ISO is the sensitivity of your camera’s sensor to light.
- Low ISO (100-200): The sensor is less sensitive. This gives you the cleanest, highest-quality image with no "noise" (grain). Always try to stay here if you have enough light.
- High ISO (800-6400+): The sensor becomes more sensitive, allowing you to shoot in the dark. The trade-off? You’ll get "digital noise," which looks like grain or sand over your photo.
Think of ISO as your "emergency light." If you’ve set your Aperture and Shutter Speed where you want them but the photo is still too dark, start bumping up your ISO until the little needle in your exposure meter hits the center (0). Modern cameras are incredibly good at handling high ISO, so don't be afraid of it if you’re shooting indoors. It’s better to have a grainy photo that is sharp than a clean photo that is blurry because your shutter speed was too slow.
Step 5: The Test-Shot-Tweak (and the Histogram)
You’ve set the "Big Three." You think you’re ready. You press the shutter button. Click.
Now, look at the screen. Does it look right? Don't just trust the tiny screen on the back of your camera, it’s often way brighter than the actual file. This is a common trap that even pros fall into. To truly master manual mode, you need to learn to read the Histogram.
The histogram is a little graph that shows you the distribution of light in your image.
- If the "mountain" of the graph is all the way to the left, your photo is underexposed (too dark).
- If the "mountain" is all the way to the right, your photo is overexposed (blown out).
- Ideally, you want a nice hump in the middle, or at least nothing touching the extreme edges.
If your test shot is too dark, you have three choices:
- Open the aperture (smaller f-number).
- Slow down the shutter speed (bigger number under the 1/).
- Increase the ISO.
If your shot is too bright, do the opposite. I usually check Edin Chavez’s blog for real-world examples of how he balances these settings in tough lighting conditions, it’s a great way to see the theory in practice.
Why Bother with Manual?
You might be thinking, "Penny, this sounds like a lot of work when my phone does it for me."
Here’s the thing: Manual mode isn't about making the process harder; it's about making the result better. When you use Auto, the camera makes a guess. If you’re shooting a person in front of a bright window, the camera will see all that light and think, "Whoa! Too bright!" It will then darken the whole image, leaving your subject as a black silhouette. In Manual mode, you tell the camera, "Ignore the window. Expose for the person."
It’s about intention. Every choice you make: the blur in the background, the freeze of the action: tells a story. When you master these five steps, you stop "taking" photos and start "making" them.
Editing: The Final Step in the Workflow
Even a perfect manual exposure can benefit from some digital darkroom love. Once you’ve nailed the shot, bringing it into a powerful editor like Luminar allows you to enhance the colors, fix the contrast, and really bring your vision to life. Because you shot in RAW (remember Step 1?), you have all the data you need to push and pull those pixels without ruining the image quality.

Practice Exercise: The Moving Subject
If you want to practice this today, go outside and find something moving: a car, a dog, a bird.
- Set your camera to Manual (M).
- Set your Aperture to f/4.
- Set your Shutter Speed to 1/1000th (to freeze the motion).
- Adjust your ISO until the exposure meter is at 0.
- Take the shot.
Now, try to do the opposite. Try to make the car look like a blur of speed by slowing your shutter speed to 1/30th. You’ll have to drop your ISO or narrow your aperture to compensate for the extra light. This "balancing act" is the essence of manual mode.
Common Mistakes to Avoid
- Forgetting to check ISO: Many photographers shoot outside at ISO 3200 because they forgot to change it from the night before. Always check your settings before you start a new session.
- Chasing the "0" too hard: Sometimes the camera's meter is wrong. If you're shooting a dark cat on a black rug, the meter will try to make the rug gray. In that case, you want the meter to be on the negative side. Trust your eyes (and the histogram) more than the needle.
- Not using a tripod for slow shutter speeds: If you’re shooting below 1/60th, you’re playing a dangerous game with blur. Use a tripod or find a stable surface to rest your camera on.
Mastering manual mode is a rite of passage for every photographer. It takes you from being a spectator to being a creator. Don't get discouraged if your first few shots are black or pure white. It’s part of the process. Keep practicing, keep checking that histogram, and soon, it will become second nature.
For more tips on gear and the latest industry updates, don't miss our latest camera gear comparisons to see which tools help you get the most out of your manual shooting.