

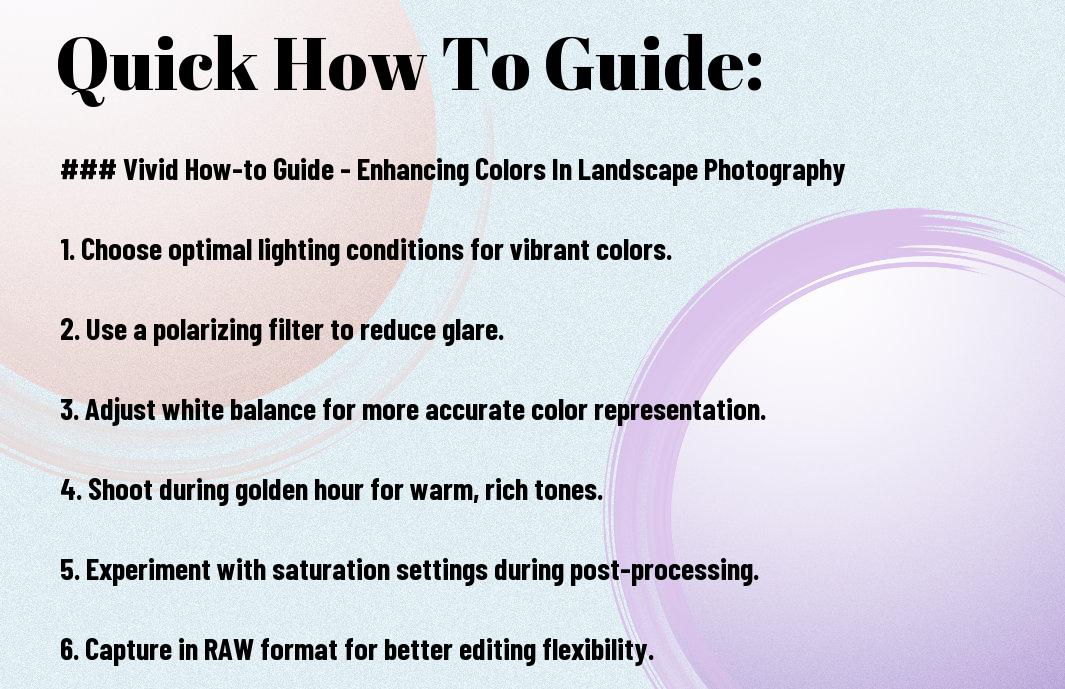
Over time, landscape photography has become an art form that captures the beauty of our natural world. In this guide, you will discover proven techniques to enhance colors in your landscape photos, allowing you to create vibrant images that stand out. From understanding lighting conditions to utilizing post-processing tools, you will learn how to bring the colors of the scenery to life. Get ready to elevate your photography skills and make your landscapes pop with stunning hues!
Understanding Color Theory
As a landscape photographer, grasping the fundamentals of color theory enhances your ability to create striking images. By understanding how colors interact, you can elevate your photographs, making them more visually appealing. This knowledge allows you to evoke specific moods and emotions, guiding the viewer’s eye to your intended focal points.
Basics of Color Theory
One of the foundational aspects of color theory is recognizing the primary colors: red, blue, and yellow. These colors combine to create secondary colors (green, orange, and purple) and, further, a range of hues. Understanding these relationships helps you to make informed decisions about color choices in your compositions, ensuring harmony and balance.
Using the Color Wheel
Color is organized on the color wheel, which visually represents relationships between colors. Utilizing this tool can guide your choices regarding complementary, analogous, and triadic color schemes. By selecting colors strategically, you can create depth and interest in your landscape photographs.
It’s imperative to understand how to leverage the color wheel in your photography. For instance, complementary colors (those opposite each other on the wheel) create vibrant contrasts that can make specific elements pop, while analogous colors (those next to each other) result in a harmonious look. By experimenting with these combinations, you can enhance the emotional quality and overall aesthetics of your landscape shots, keeping your audience captivated.
Camera Settings for Vibrant Colors
Even the best-laid plans for capturing stunning landscapes can fall flat without the right camera settings. To bring out the vibrant colors in your photographs, you need to adjust your camera settings to optimize exposure and enhance the overall color palette. By fine-tuning your settings, you ensure that the hues and saturation of the scene are beautifully rendered in your images, creating a truly captivating photographic experience.
Exposure Settings
One of the key components to achieving vibrant colors is proper exposure. Start by adjusting your aperture, shutter speed, and ISO to capture the scene without overexposing or underexposing your image. A well-balanced exposure allows colors to appear rich and saturated, so experiment with these settings in various combinations to get the best results for your landscape photography.
White Balance Adjustments
For genuine vibrancy, fine-tuning your white balance is imperative in landscape photography. This setting ensures that the colors in your image reflect the actual scene as you see it, preventing unwanted color casts. Different lighting conditions, like sunrise and sunset, can have significant effects on colors, so consider adjusting your white balance to cooler or warmer tones, depending on the mood you want to convey.
Settings for white balance can vary depending on your camera, but most allow you to select presets like Daylight, Shade, Cloudy, or Custom. Utilize these options to match the lighting conditions and enhance the vibrancy of your scene. Experimenting with manual adjustments can yield even more vivid results, ensuring that your colors pop and draw viewers into the beauty of your landscape photographs.

Choosing the Right Time of Day
Unlike other genres of photography, landscape photography greatly benefits from timing. The quality of natural light changes throughout the day, influencing the mood and vibrancy of your images. Early mornings and late afternoons provide soft, diffused light, allowing you to capture rich colors and intricate details. By planning your shoots around these optimal times, you can elevate the overall impact of your landscape photos.
Golden Hour Benefits
Assuming you capture your landscapes during the golden hour, the results can be breathtaking. This magical time right after sunrise and just before sunset casts a warm, golden hue over the landscape, enhancing the colors and textures in your compositions. The low angle of the sun also creates long shadows, adding depth and dimension to your images, making them stand out with vibrant detail.
Impact of Weather Conditions
For those looking to enhance their landscape photography, weather conditions play a vital role in visual impact. Cloud cover can soften harsh sunlight, providing an even light that helps to emphasize colors and contrast. Additionally, post-rain scenes with fresh greenery and dramatic skies can evoke a sense of drama and beauty in your photographs.
Another way weather affects your photos is by influencing the mood and atmosphere present in your images. Misty mornings can add an ethereal quality, while stormy skies can introduce intensity and tension to your landscapes. Experimenting with different weather conditions can help you discover unique perspectives and bring a fresh vibrancy to your work that captivates viewers.

Utilizing Natural Light
For stunning landscape photography, harnessing natural light can dramatically enhance your images. The quality, direction, and intensity of light can transform your shots, emphasizing colors and textures. Early morning and late afternoon, known as the golden hours, offer soft, warm light that flatters landscapes beautifully. To fully exploit this phenomenon, keep an eye on weather patterns and plan your shoots accordingly, ensuring optimum lighting conditions for your adventure.
Direct vs. Diffused Light
If you’re aiming for vibrant colors, understanding the difference between direct and diffused light is important. Direct light casts strong shadows and can create high contrast in scenes, accentuating colors and textures. On the other hand, diffused light softens shadows and reduces contrast, giving a more gentle appearance that can be ideal for capturing delicate hues.
Creating Depth with Shadows
Depth is vital in enriching your landscape photographs, and shadows can play a key role in achieving this. By positioning yourself strategically to utilize shadows, you can create layers within your images, guiding the viewer’s eye through the scene. Shadows help separate foreground elements from the background, adding dimensionality to your photographs.
Utilizing shadows not only enhances depth but also accentuates the textures and forms present in your landscape. Experiment with various angles and light sources to unveil hidden details. Shadows can lead the eye towards focal points, introduce contrast, and create mood or drama in your framing, ultimately transforming a flat image into a compelling visual narrative.

Post-Processing Techniques
All landscape photographers can elevate their images significantly through post-processing techniques. Utilizing editing software enhances not only the vibrancy of colors but also the overall composition of your photographs. A few well-placed adjustments can transform the mood and impact of your landscape shots. Whether you’re enhancing your skies, making the greens of foliage pop, or adjusting for better light balance, mastering these techniques will give your images a professional edge.
Enhancing Colors in Editing Software
Colors are at the heart of landscape photography, and editing software provides you with the tools to make them shine. You can adjust saturation, vibrancy, and even hue to achieve the look you desire. Experimenting with sliders and masks will help you draw attention to specific areas of your photo, bringing out the beauty of your scene while maintaining a natural appearance.
Filters and LUTs for Landscape Photography
Colors can be significantly manipulated with filters and LUTs (Look-Up Tables) in your editing software. These tools can quickly apply a cohesive color palette across your images, allowing for more efficient editing while ensuring continuity in your body of work. Filters can introduce creative effects, and LUTs can create striking color shifts that give your landscapes an artistic flair.
A good understanding of filters and LUTs will elevate your landscape photography to new heights. You can experiment with various presets that cater to specific times of day or certain scenic elements, enabling you to achieve breathtaking results in a fraction of the time. By incorporating these tools into your workflow, you will not only save time but also expand your creative possibilities, ultimately making your landscape images stand out more vibrantly.
Tips for Composition
Your composition plays a vital role in enhancing colors in landscape photography. By carefully arranging the elements within your frame, you can create stunning images that captivate viewers. Here are some tips to improve your compositions:
- Use the rule of thirds for balanced framing.
- Incorporate leading lines to draw the eye.
- Consider symmetry for a pleasing aesthetic.
- Pay attention to color contrast for visual impact.
Knowing these basics will help you create more dynamic photographs.
Leading Lines and Color Balance
There’s something inherently engaging about leading lines in your images. They guide the viewer’s eye through the landscape, creating depth and inviting exploration. Pairing these lines with an effective color balance can heighten the emotional impact of your photographs, drawing attention to your main subject while also enhancing the overall harmony of the scene.
Foreground Interest and Background Harmony
The addition of foreground elements can substantially elevate your landscape images. They not only add depth but also encourage viewers to engage with the photograph. Harmonizing these foreground features with the background can create a seamless and beautiful flow within your image.
To achieve this balance, consider using rocks, flowers, or other natural elements in the foreground that complement the colors and shapes of your background. This connection helps to unify the image and provides context, allowing viewers to perceive the depth of the scene. Experimenting with various angles and compositions can also enhance this harmony, ensuring that every element contributes to the overall aesthetic of your photograph.
Conclusion
With these considerations in mind, you can significantly enhance the colors in your landscape photography. By understanding the interplay of light, utilizing the right equipment, and refining your editing techniques, you can create vivid images that capture the essence of your surroundings. Experiment with various settings and approaches to find what resonates best with your style, and watch as your landscape photographs come to life with vibrant colors that draw viewers in.


