
Let’s be real for a second. That "M" on your camera dial is terrifying. It’s sitting there, staring at you, judging you while you keep the dial safely tucked on "Auto." You’ve probably heard that real photographers only use Manual mode, and you’ve probably tried it once, ended up with a pitch-black photo or a white blob, and went right back to your comfort zone.
I get it. But here is the secret: Manual mode isn't a dark art reserved for people who enjoy reading 400-page manuals. It’s actually just a simple balancing act of three settings. If you can balance a checkbook (or at least check your bank app), you can learn how to use manual mode camera settings.
In this guide, we are going to break down the "Exposure Triangle" and give you a 5-minute framework to master your camera. Whether you are looking for photography for beginners tips or you want to level up your street photography ideas, this is where your journey truly starts.
The Big Secret: The Exposure Triangle
Before we dive into the 5-minute masterclass, we need to talk about the "Big Three." Everything in photography, from the most expensive camera gear reviews to the simplest photography tutorials, revolves around Aperture, Shutter Speed, and ISO.
Think of your camera like a window with shutters.
- Aperture is how wide the window is open.
- Shutter Speed is how long the shutters stay open.
- ISO is how sensitive the person standing behind the window is to the light coming in.
If you change one, you have to change the others to keep the light the same. That’s it. That’s the "scary" Manual mode in a nutshell.
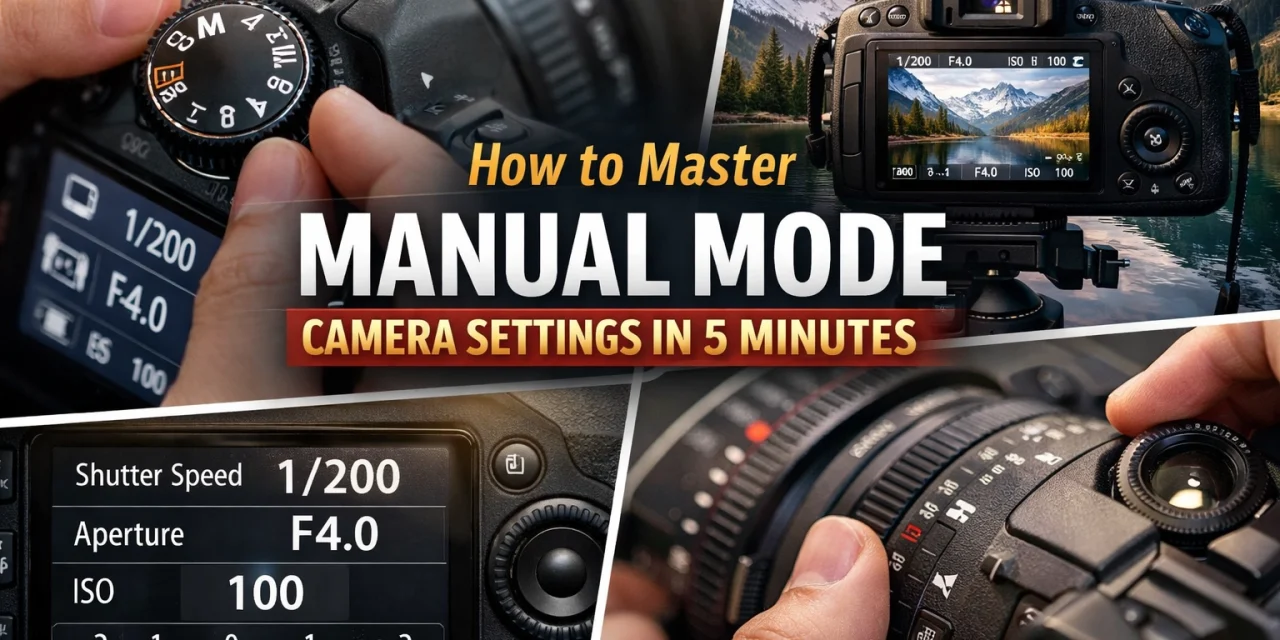
SEO Alt Text: A close-up of a minimalistic, retro-inspired digital camera held in hand, showing the essential controls needed to master manual mode camera settings.
The 5-Minute Manual Mode Framework
Set your timer. We’re going to master this right now.
Minute 1: Set Your Aperture (The Look)
Aperture is usually the first thing you should set because it determines the "look" of your photo. It’s measured in f-stops (like f/1.8 or f/11).
- Low Number (f/1.8, f/2.8): This creates that blurry background (bokeh) we all love. It’s perfect for portrait photography techniques.
- High Number (f/8, f/11, f/16): This keeps everything in focus, from the grass at your feet to the mountains in the distance. This is the bread and butter of landscape photography tips.
If you want to dive deeper into how aperture affects specific shots, check out our guide on best camera settings for stunning water landscapes.
Minute 2: Set Your Shutter Speed (The Action)
Now that you’ve decided how much of the scene should be in focus, you need to decide how you want to handle movement.
- Fast Shutter Speed (1/500s or faster): This freezes time. Use this for sports, birds, or kids running around.
- Slow Shutter Speed (1/30s or slower): This creates motion blur. You’ll need a tripod for this, but it’s how you get those silky-smooth waterfalls.
For more on capturing motion, see our article on water photography: capturing beauty in motion. If you're shooting handheld, a good rule of thumb is to keep your shutter speed above 1/125s to avoid blurry photos from your own shaky hands.
Minute 3: Set Your ISO (The Sensitivity)
ISO is your "last resort" setting. In a perfect world, you’d always keep your ISO at 100 for the cleanest, crispest images. However, if your photo is still too dark after setting your Aperture and Shutter Speed, you need to "bump" the ISO.
- ISO 100-400: Use this for bright daylight.
- ISO 800-1600: Use this for overcast days or indoor shots.
- ISO 3200+: Use this for low-light or nighttime photography.
Be careful, though, high ISO adds "noise" (grain) to your photos. While modern best mirrorless cameras handle high ISO like a champ, you still want to keep it as low as possible.
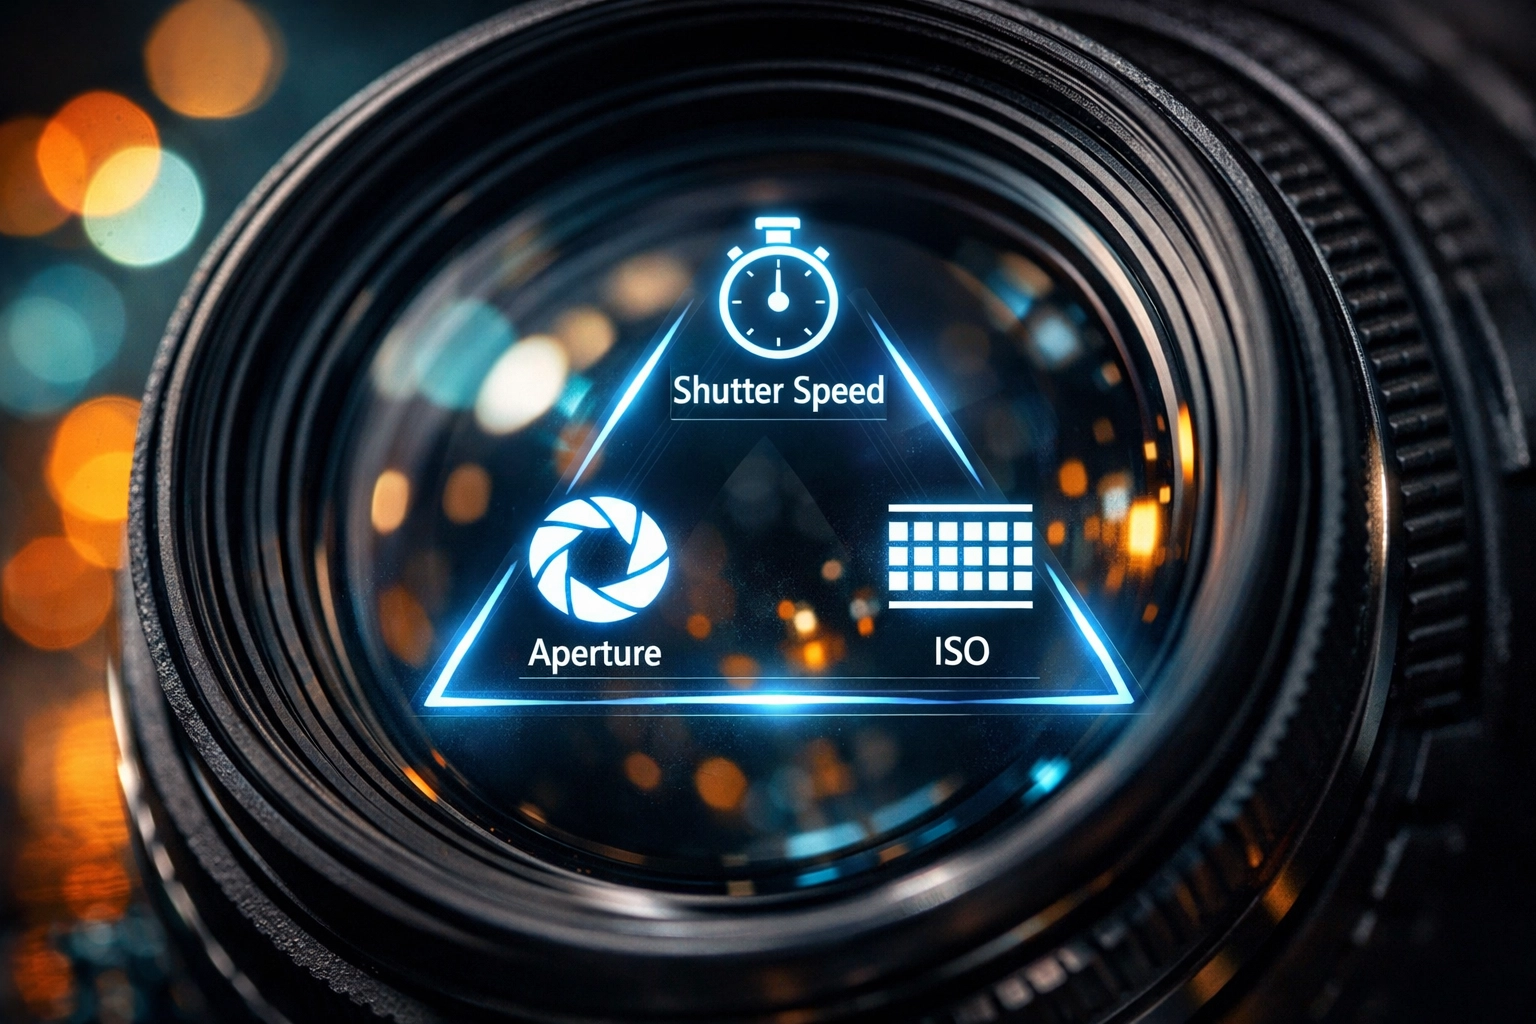
SEO Alt Text: A diagram showing the exposure triangle relationship between aperture, shutter speed, and ISO for photography for beginners.
Minute 4: The Light Meter (Your Guiding Star)
You don’t have to guess if your settings are right. Your camera has a built-in cheat sheet called the Exposure Meter. When you look through the viewfinder, you’ll see a little scale with a "0" in the middle, a "+" on the right, and a "-" on the left.
Your goal is to get that little ticker to land on the "0."
- If it’s on the minus side, your photo will be too dark (underexposed). Open your aperture, slow your shutter, or raise your ISO.
- If it’s on the plus side, your photo will be too bright (overexposed). Close your aperture, speed up your shutter, or lower your ISO.
Minute 5: The Test Shot & Fine-Tuning
Take the photo! Now, look at your screen. Is it what you envisioned?
- Too much blur in the background? Turn up your f-stop.
- Moving subject looks blurry? Increase your shutter speed.
- The photo looks grainy? Lower your ISO and compensate by slowing your shutter.
This cycle of "Check Meter -> Shoot -> Adjust" is how every pro works. You can find more photography tutorials that explain this iterative process in detail.
Why Manual Mode Matters in 2026
You might be wondering, "My phone takes great photos, why do I need this?" Well, AI in cameras has come a long way, just look at the latest photography news, but it still can't read your mind.
Auto mode wants to make everything "average." It wants to make the whole scene bright and sharp. But what if you want a dark, moody silhouette? What if you want to capture the storytelling in photography through intentional motion blur? Manual mode gives you the creative keys.
Whether you're exploring hidden gem locations for travel photography or shooting commercial work via ProShoot.io, knowing your settings allows you to adapt to any environment.
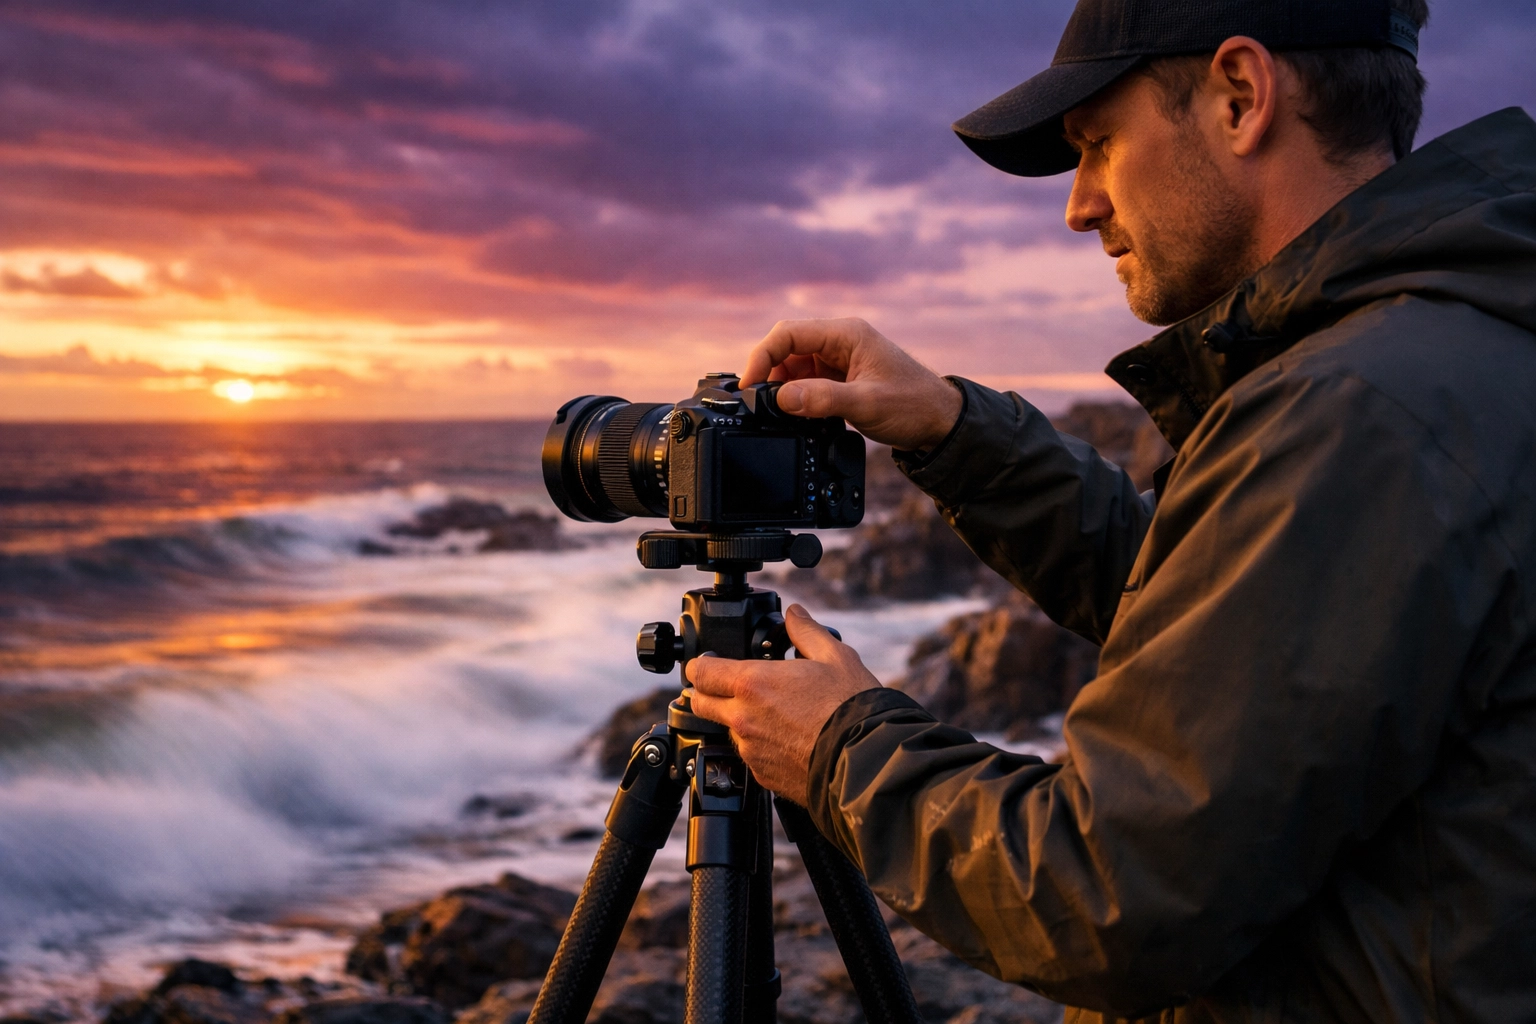
SEO Alt Text: A professional photographer adjusting manual mode settings on a mirrorless camera while shooting a sunset at a picturesque coastal escape.
Applying Manual Mode to Different Genres
Now that you have the basics, let’s see how they apply to the styles you actually want to shoot.
1. Landscape Photography Tips
When you’re shooting landscapes, you usually want everything from the foreground to the horizon to be tack sharp.
- Aperture: f/8 to f/11.
- ISO: 100 (use a tripod if it’s getting dark).
- Shutter Speed: Whatever the light meter says is necessary.
If you're struggling with flat-looking vistas, check out these 7 mistakes you’re making with landscape photography. You can also see some incredible examples of high-end landscape work at Edin Fine Art.
2. Street Photography Ideas
Street photography is all about speed. You don't have time to fiddle with dials for ten minutes while a cool moment passes you by.
- Aperture: f/5.6 (a good middle ground).
- Shutter Speed: 1/250s or 1/500s (to freeze people walking).
- ISO: Auto ISO (Yes, even in Manual mode, you can let the camera handle ISO to save time!).
For more urban inspiration, unlock the secrets to enchanting urban photography.
3. Portrait Photography Techniques
Portraits are about the person, not the background.
- Aperture: The widest your lens allows (f/1.8, f/2.8).
- Shutter Speed: At least 1/200s to avoid subject blur.
- ISO: As low as possible for clean skin tones.
If you’re doing professional portraits at a place like Edin Studios, you’ll often be using studio lights, which is a whole different ball game, but the manual principles remain the same.
The Gear Factor: Does Your Camera Help or Hinder?
Not all cameras are created equal when it comes to Manual mode. Some make you dig through digital menus (annoying), while others have dedicated dials for everything (awesome).
If you are looking for camera gear reviews to find your next upgrade, I highly recommend looking at mirrorless systems. They show you exactly what the photo will look like in the viewfinder before you click the shutter. This "Live View" makes learning manual mode 10x faster.
For a breakdown of the top tech this year, read our guide on how to choose the best mirrorless camera for 2026.
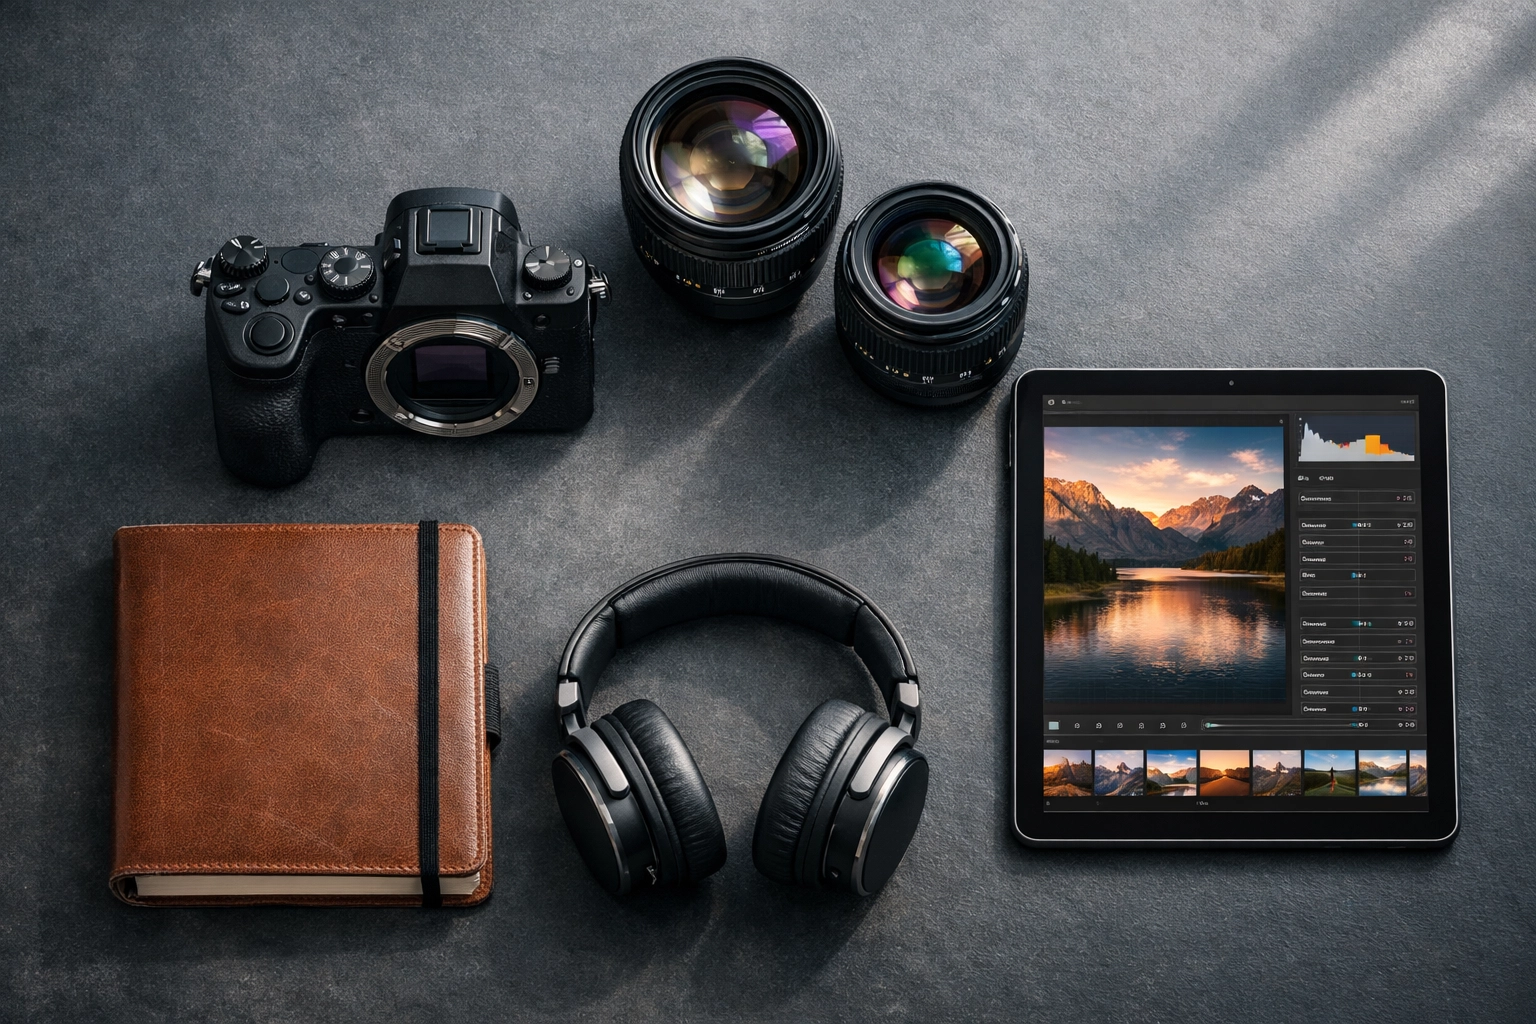
SEO Alt Text: A flat lay of modern mirrorless camera gear including various lenses and accessories, used for professional photography tutorials.
Don't Forget the Post-Processing
Even the best photographers don't get the exposure perfect every single time. Sometimes you need to "save" a photo that was a little too dark or adjust the colors to match the mood you were going for.
This is where photo editing tutorials come in. I’m a huge fan of using Luminar for quick and powerful edits. It uses AI to help with things like sky replacement or skin retouching, allowing you to focus on the creative side of the work rather than the technical slog.
You can find more advanced editing tips and tricks over at blog.edinchavez.com, where we dive into the nitty-gritty of digital workflow.
Common Manual Mode Mistakes (And How to Fix Them)
- Leaving ISO on High from the Night Before: We’ve all done it. You shoot a concert at ISO 6400, then go out the next morning in bright sun and wonder why your photos are pure white. Fix: Make "Reset ISO to 100" your first step every time you pull the camera out.
- Not Watching the Meter: You get so focused on the subject that you forget to check if the light has changed. Fix: If the sun goes behind a cloud, you must adjust your settings.
- Trusting the Screen Too Much: The little screen on the back of your camera lies. It’s often much brighter than the actual photo. Fix: Learn to read the "Histogram": that little mountain graph that shows you the light distribution.
Your Path to Pro Photos
Mastering Manual mode isn't about being a gear snob. It’s about taking control of your art. When you stop letting the camera make decisions for you, you start making images that actually feel like yours.
Go grab your camera right now. Set it to "M." Choose a subject: maybe it's your cat, a coffee cup, or the view out your window: and try the 5-minute framework.
- Choose your aperture.
- Adjust shutter speed.
- Balance with ISO.
- Check the meter.
- Shoot.
If you find yourself stuck, don't sweat it. Photography is a journey of a thousand bad photos before the good ones start showing up. For more inspiration on where to take your newly mastered skills, check out these secluded paradises to enhance your photography portfolio.
Keep shooting, keep failing, and eventually, that "M" dial won't be scary anymore: it’ll be your best friend. For more tips, tricks, and the latest gear news, stay tuned to Shut Your Aperture.


