
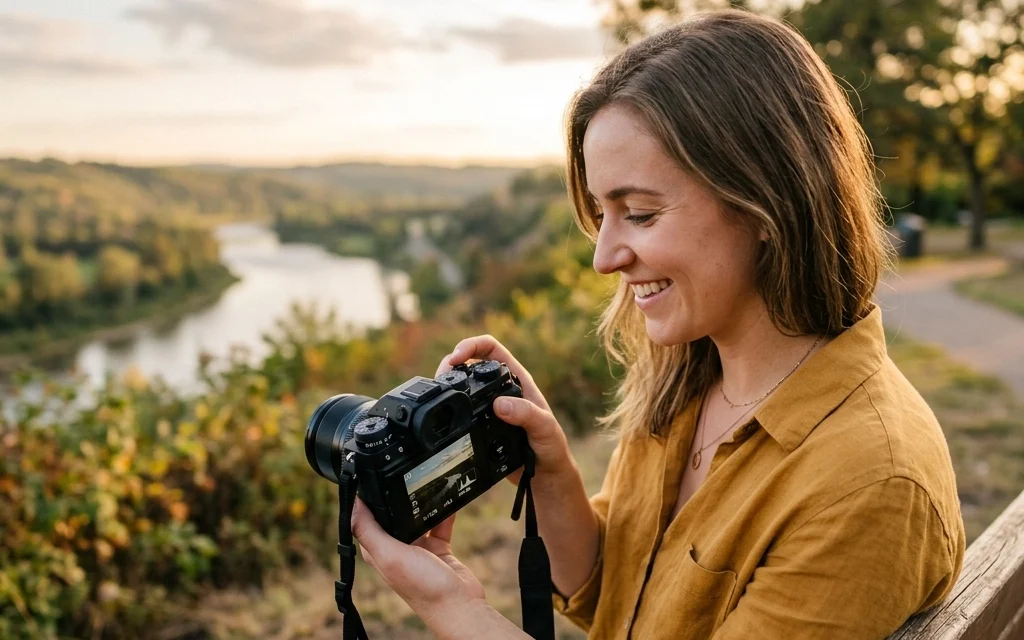
Let’s be honest: taking your camera out of "Auto" mode feels a lot like jumping out of a plane for the first time. You’re pretty sure you have a parachute, but there’s that nagging fear that everything is about to go sideways. You’ve probably spent a decent chunk of change on a nice DSLR or mirrorless camera, only to let the computer inside the body make all the creative decisions for you.
It’s time to stop that.
Manual mode (the big "M" on your dial) is where the magic happens. It’s the difference between taking a "snapshot" and creating a "photograph." When you control the settings, you control the mood, the focus, and the story. At Shut Your Aperture, we believe everyone can master this. It’s not rocket science; it’s just a bit of light management.
In this guide, we’re going to break down the Exposure Triangle, show you how to read your camera like a pro, and give you the confidence to never flip back to Auto again.
Why Manual Mode Matters
When your camera is in Auto, it’s basically guessing what you want. If you’re standing in front of a bright sunset, the camera might see all that light and think, "Whoa, way too bright!" and underexpose your subject, leaving them as a dark silhouette. Maybe that’s what you wanted, but usually, it’s not.
Manual mode gives you the driver's seat. You decide how much light enters the lens, how sensitive the sensor is, and how long that light hits the sensor. Whether you are exploring hidden gem locations for travel photography or trying to capture the perfect street scene, Manual mode is your best friend.
The Exposure Triangle: The Holy Trinity of Photography
To master Manual mode, you have to understand the Exposure Triangle. This is the relationship between three elements: Aperture, Shutter Speed, and ISO.
Think of exposure like a bucket of water. To fill the bucket perfectly (a perfect exposure), you can use a wide hose for a short time, or a tiny straw for a long time. If the water is "ISO," you’re basically deciding how thirsty the bucket is.
Let’s break these down individually.
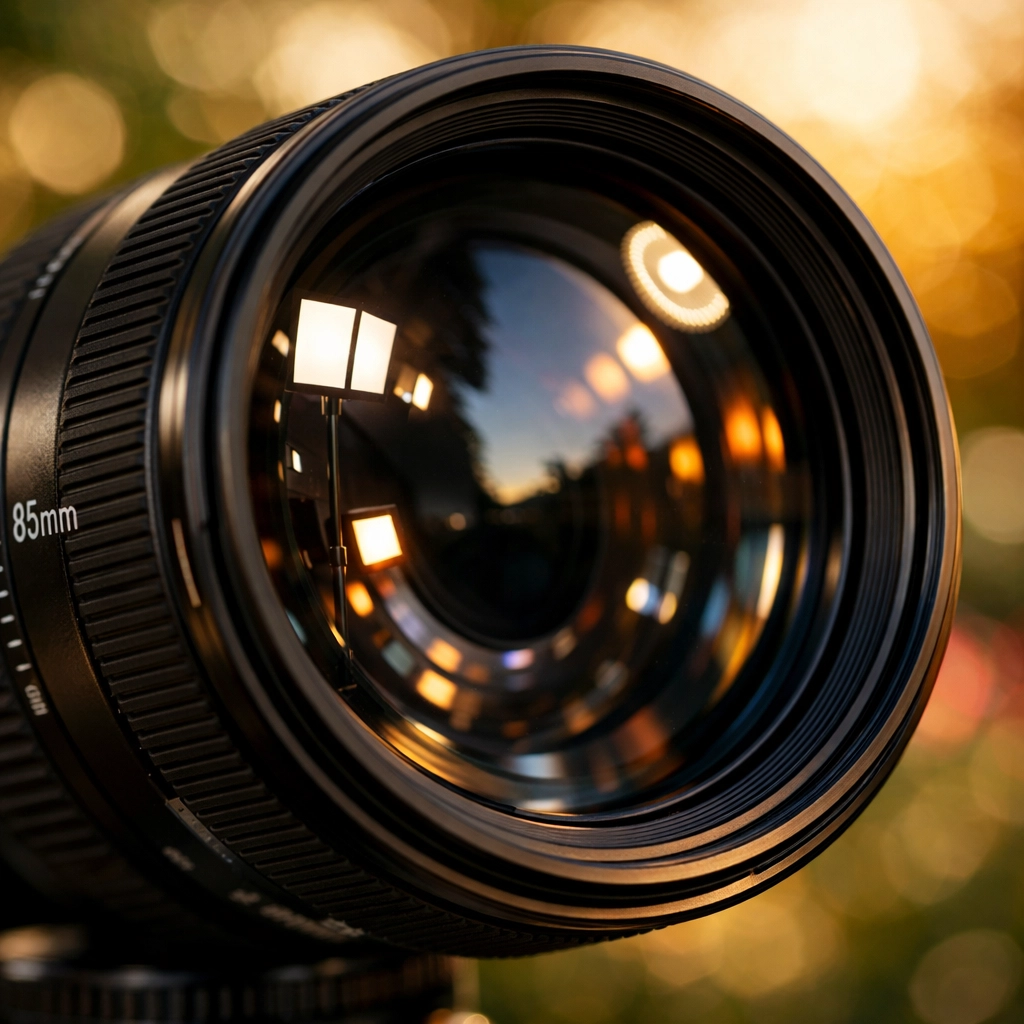
1. Aperture (The "F-Stop")
Aperture is the opening in your lens. It’s like the pupil of your eye. In bright light, your pupil gets small; in the dark, it opens wide to let more light in.
- Large Aperture (Small f-number like f/1.8 or f/2.8): The hole is wide open. This lets in a ton of light. It also creates a "shallow depth of field," which is that creamy, blurred background everyone loves in portraits.
- Small Aperture (Large f-number like f/11 or f/22): The hole is tiny. This lets in very little light, but it keeps almost everything in the frame sharp and in focus. This is what you want when shooting top-spots-for-stunning-nature-imagery.
If you’re looking for more gear advice on which lenses give you that sweet f/1.8 look, check out some resources at PhotoGuides.org.
2. Shutter Speed
Shutter speed is how long the camera’s "curtain" stays open. It’s measured in fractions of a second (like 1/500) or full seconds (like 2").
- Fast Shutter Speed (1/1000 and up): This freezes motion. If you’re shooting a bird in flight or a car racing by, you need a fast shutter speed.
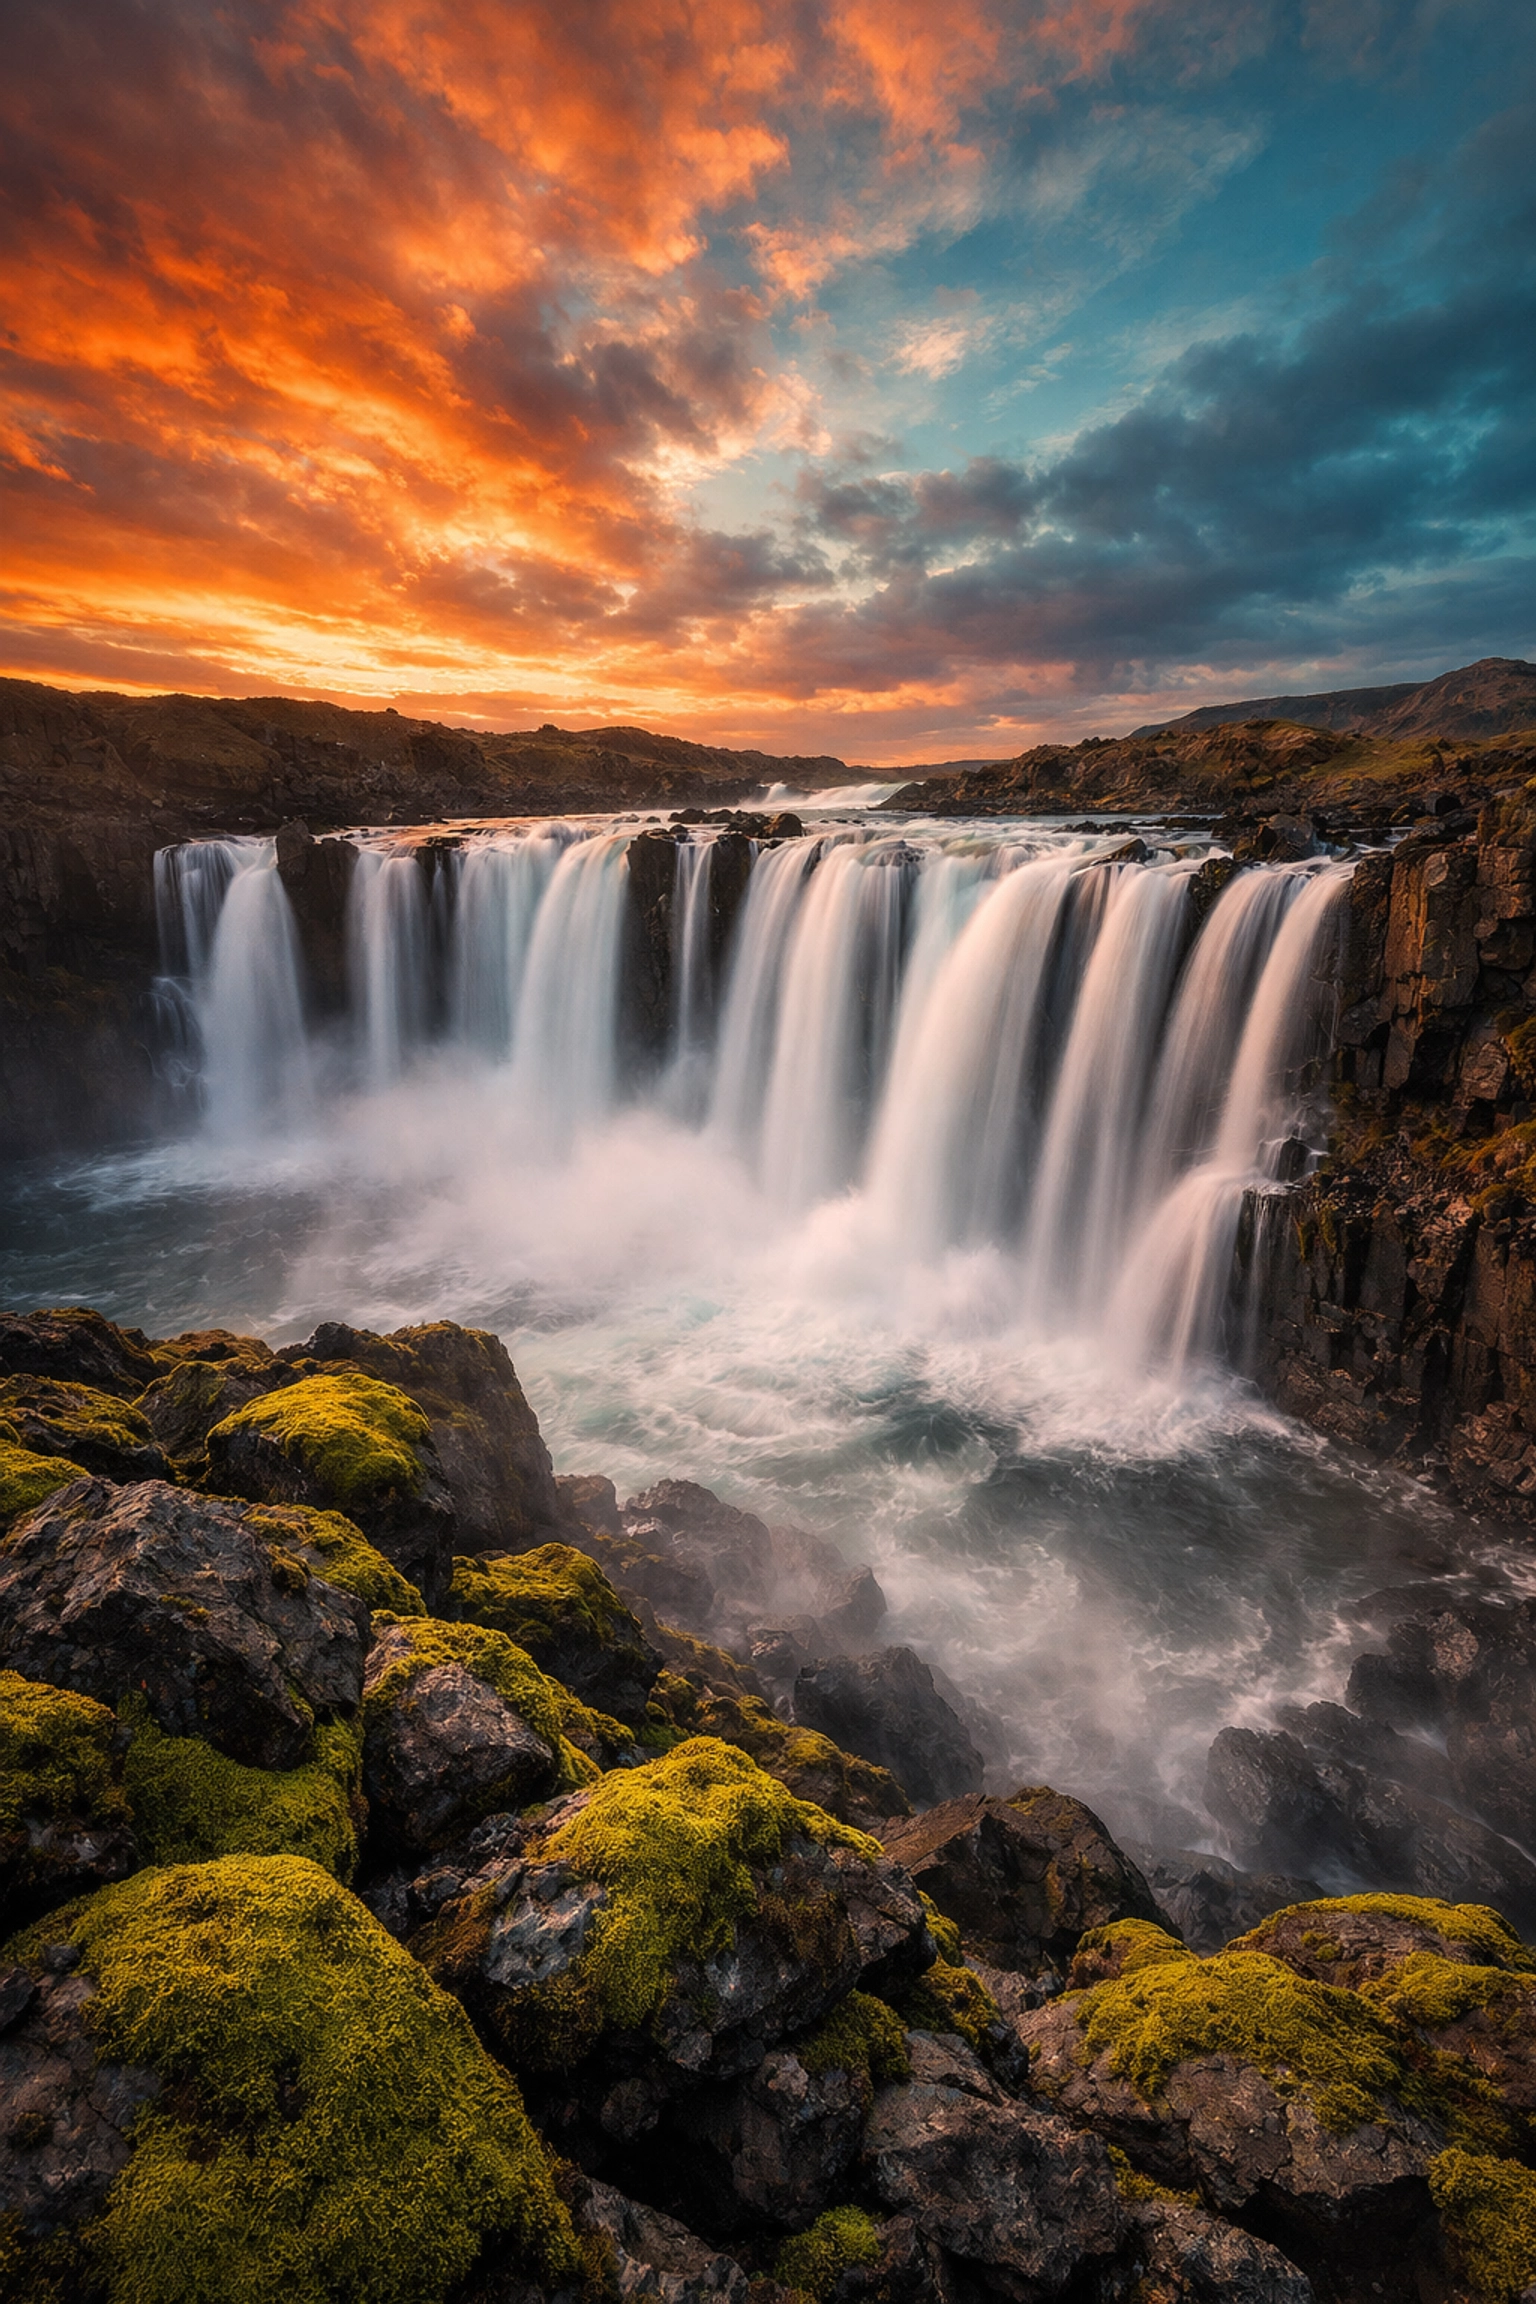
- Slow Shutter Speed (1/60 and below): This allows motion to blur. This is essential for long exposure techniques in water photography. If you want those waterfalls to look like silk, you need to leave the shutter open for a few seconds. Just remember: if your shutter speed is slow, you probably need a tripod to keep the rest of the image sharp.
3. ISO
ISO is your camera’s sensitivity to light.
- Low ISO (100-400): Use this when you have plenty of light (like a sunny day). This produces the cleanest, crispest images.
- High ISO (800-6400+): Use this in low-light situations, like an indoor party or a dark alleyway while you unlock secrets to enchanting urban photography.
- The Catch: The higher the ISO, the more "noise" or grain you’ll see in your photo. Modern cameras are getting better at handling this, but it’s always best to keep your ISO as low as possible for the best quality.
How to Actually Use Manual Mode: A Step-by-Step Process
Don't just stare at the buttons. Follow this workflow to get your first manual shot.
Step 1: Set Your ISO Based on the Light
Look around. Are you outside at noon? Set your ISO to 100. Are you in a dimly lit coffee shop? Start at ISO 1600. It’s easier to set this first and adjust it later only if you absolutely have to.
Step 2: Choose Your Aperture Based on Your Creative Goal
Ask yourself: Do I want a blurry background or a sharp landscape?
- Blurry background (Portraits/Macro): f/1.8 – f/4.
- Middle ground (Street photography): f/5.6 – f/8.
- Everything sharp (Landscapes): f/11 – f/16.
For those looking to shoot picturesque coastal escapes, sticking around f/11 is usually a safe bet.
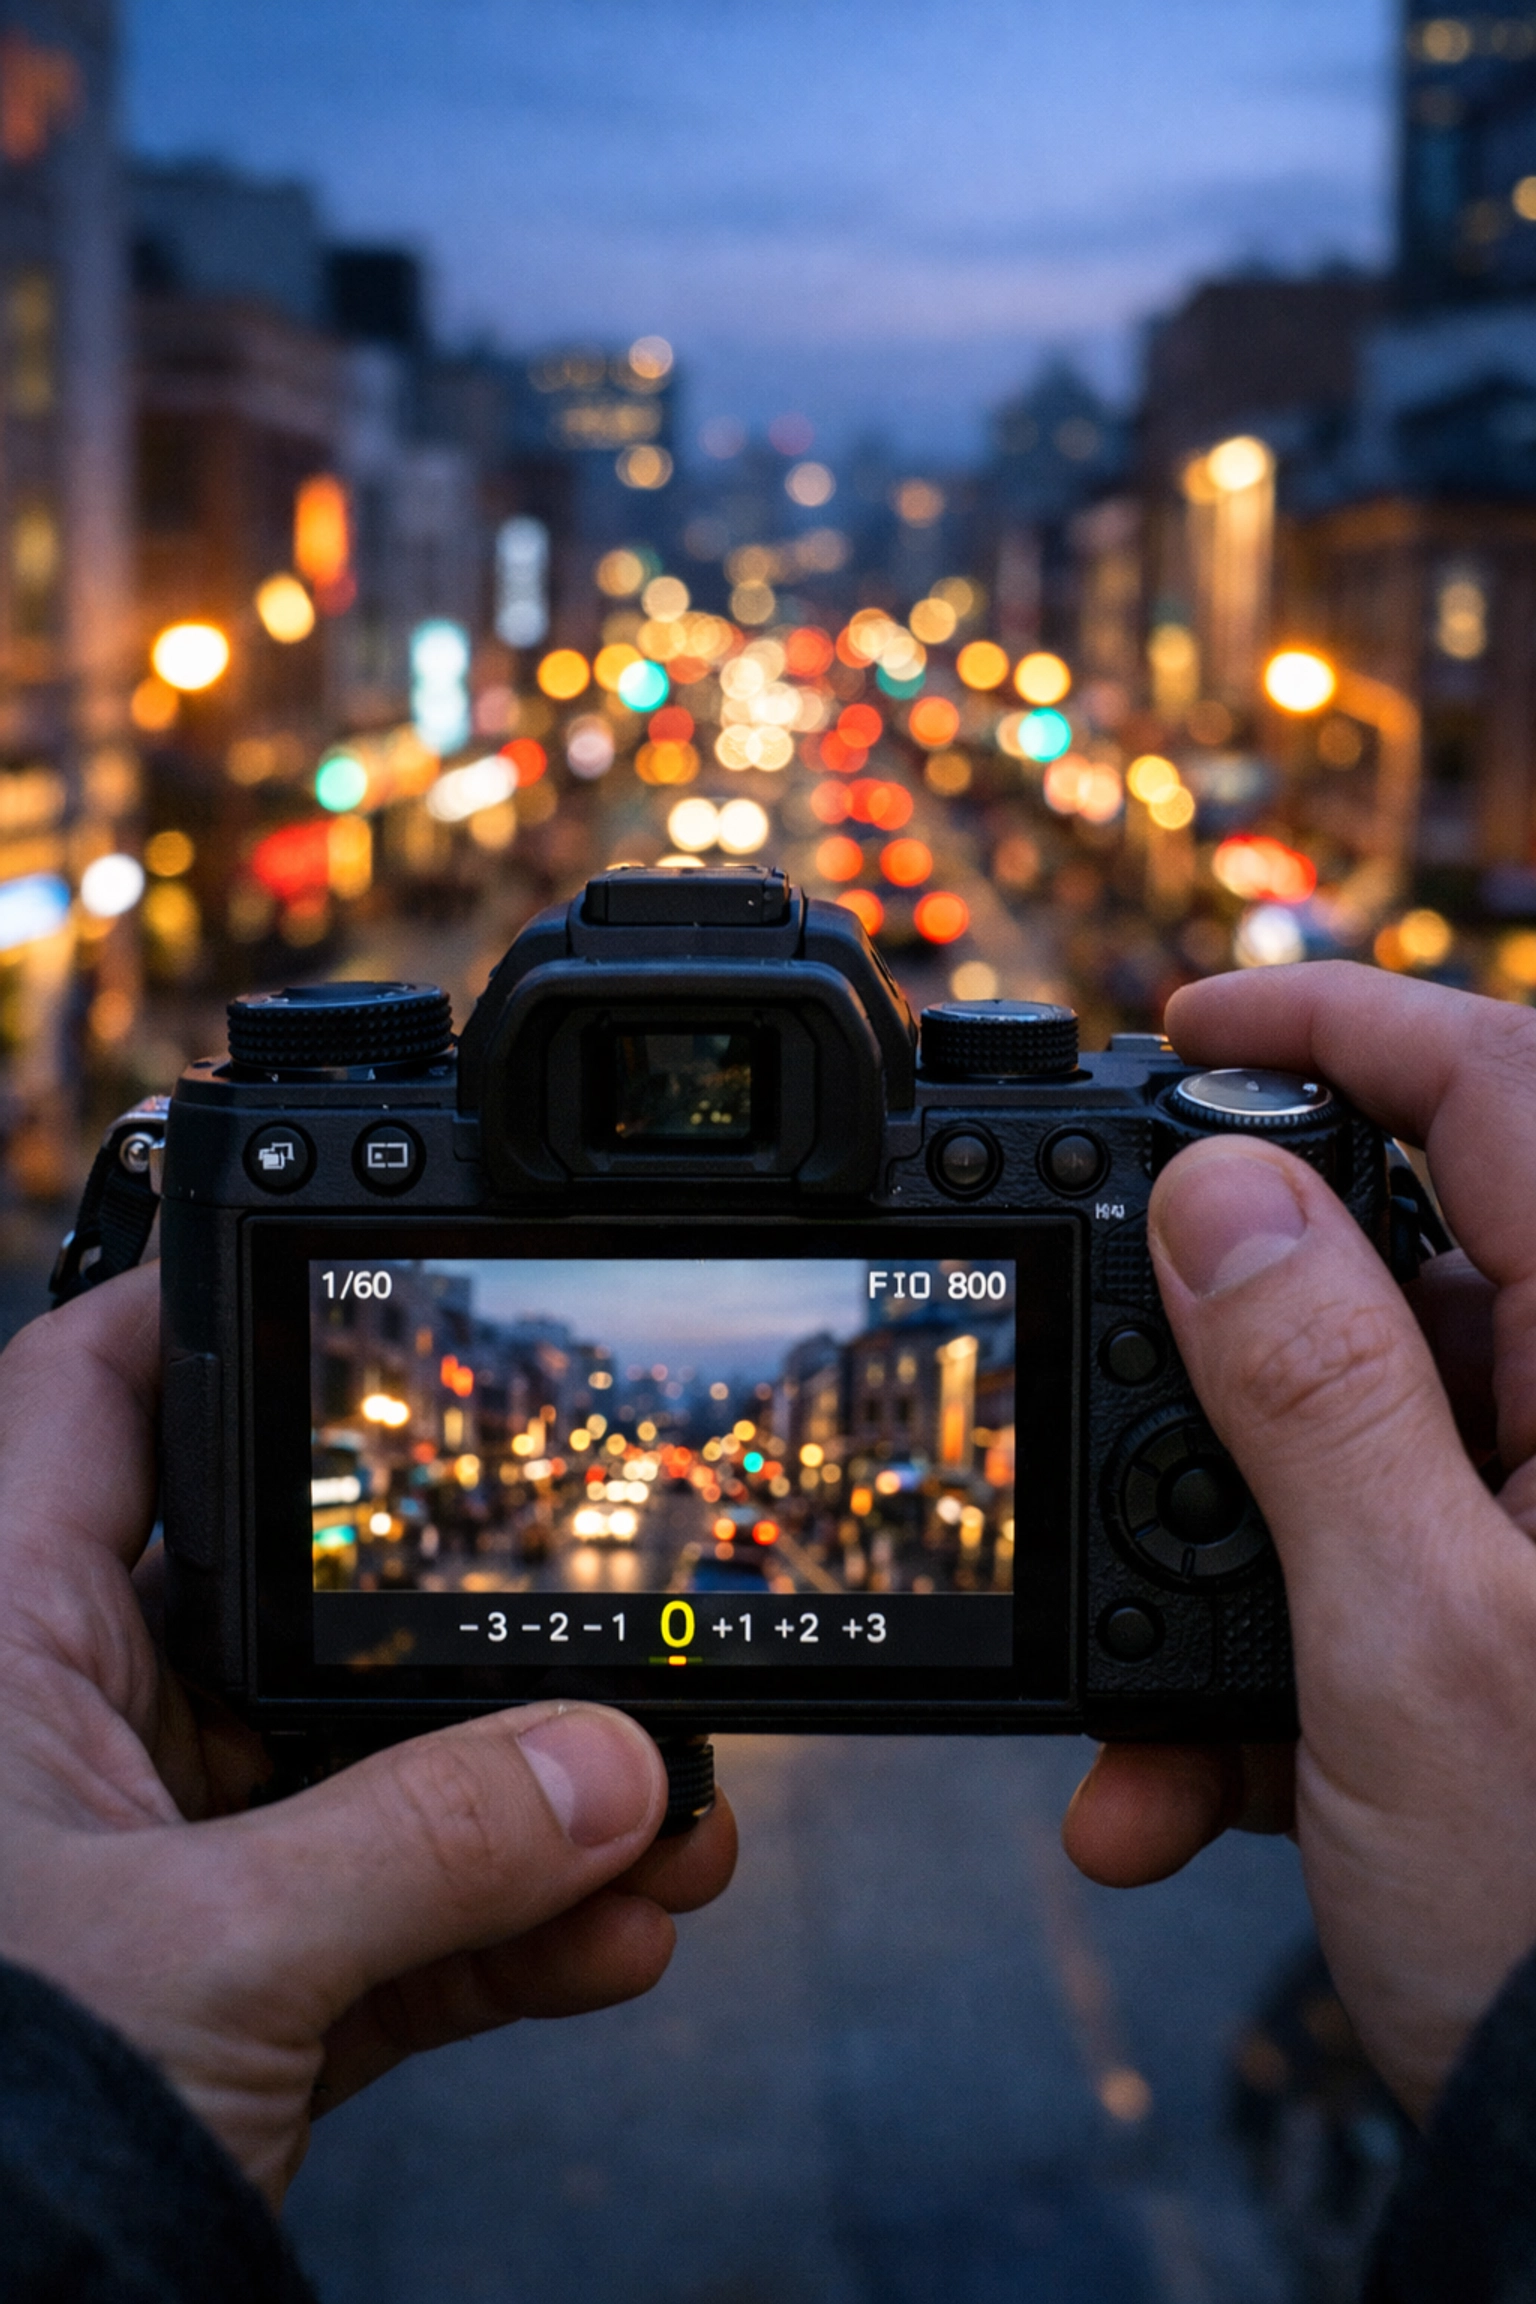
Step 3: Adjust Shutter Speed Until the Meter Hits Zero
Now, look through your viewfinder. You’ll see a little scale with a "0" in the middle, and marks for -2, -1, +1, and +2. This is your Light Meter.
While looking through the viewfinder, turn your shutter speed dial until the little marker sits right on the "0." This means the camera thinks the exposure is balanced.
Step 4: Take the Shot and Review
Take the photo. Look at the screen. Is it too dark? Slow down your shutter speed. Is it too bright? Speed it up. The meter is a guide, but your eyes are the judge.
Balancing the Triangle: Real-World Scenarios
The tricky part of Manual mode is that when you change one setting, you often have to change another to keep the light balanced.
Scenario A: The Silky Waterfall
You want to capture a waterfall with that smooth, misty look. You set a slow shutter speed (maybe 1 second). Because the shutter is open so long, way too much light comes in. To fix this, you have to use a very small aperture (like f/22) and the lowest ISO (100). If it’s still too bright, you might need a Neutral Density (ND) filter. For more tips on this, read our techniques for stunning water photography guide.
Scenario B: The Indoor Portrait
You’re at a friend’s house and want a nice shot of them. It’s dark. You set your aperture to f/1.8 to let in as much light as possible. But the photo is still dark. You can’t make the shutter speed too slow or the photo will be blurry from your hands shaking. So, you "pay" for the light by raising your ISO to 3200. Now the shot is bright enough.
Mastering the Light Meter
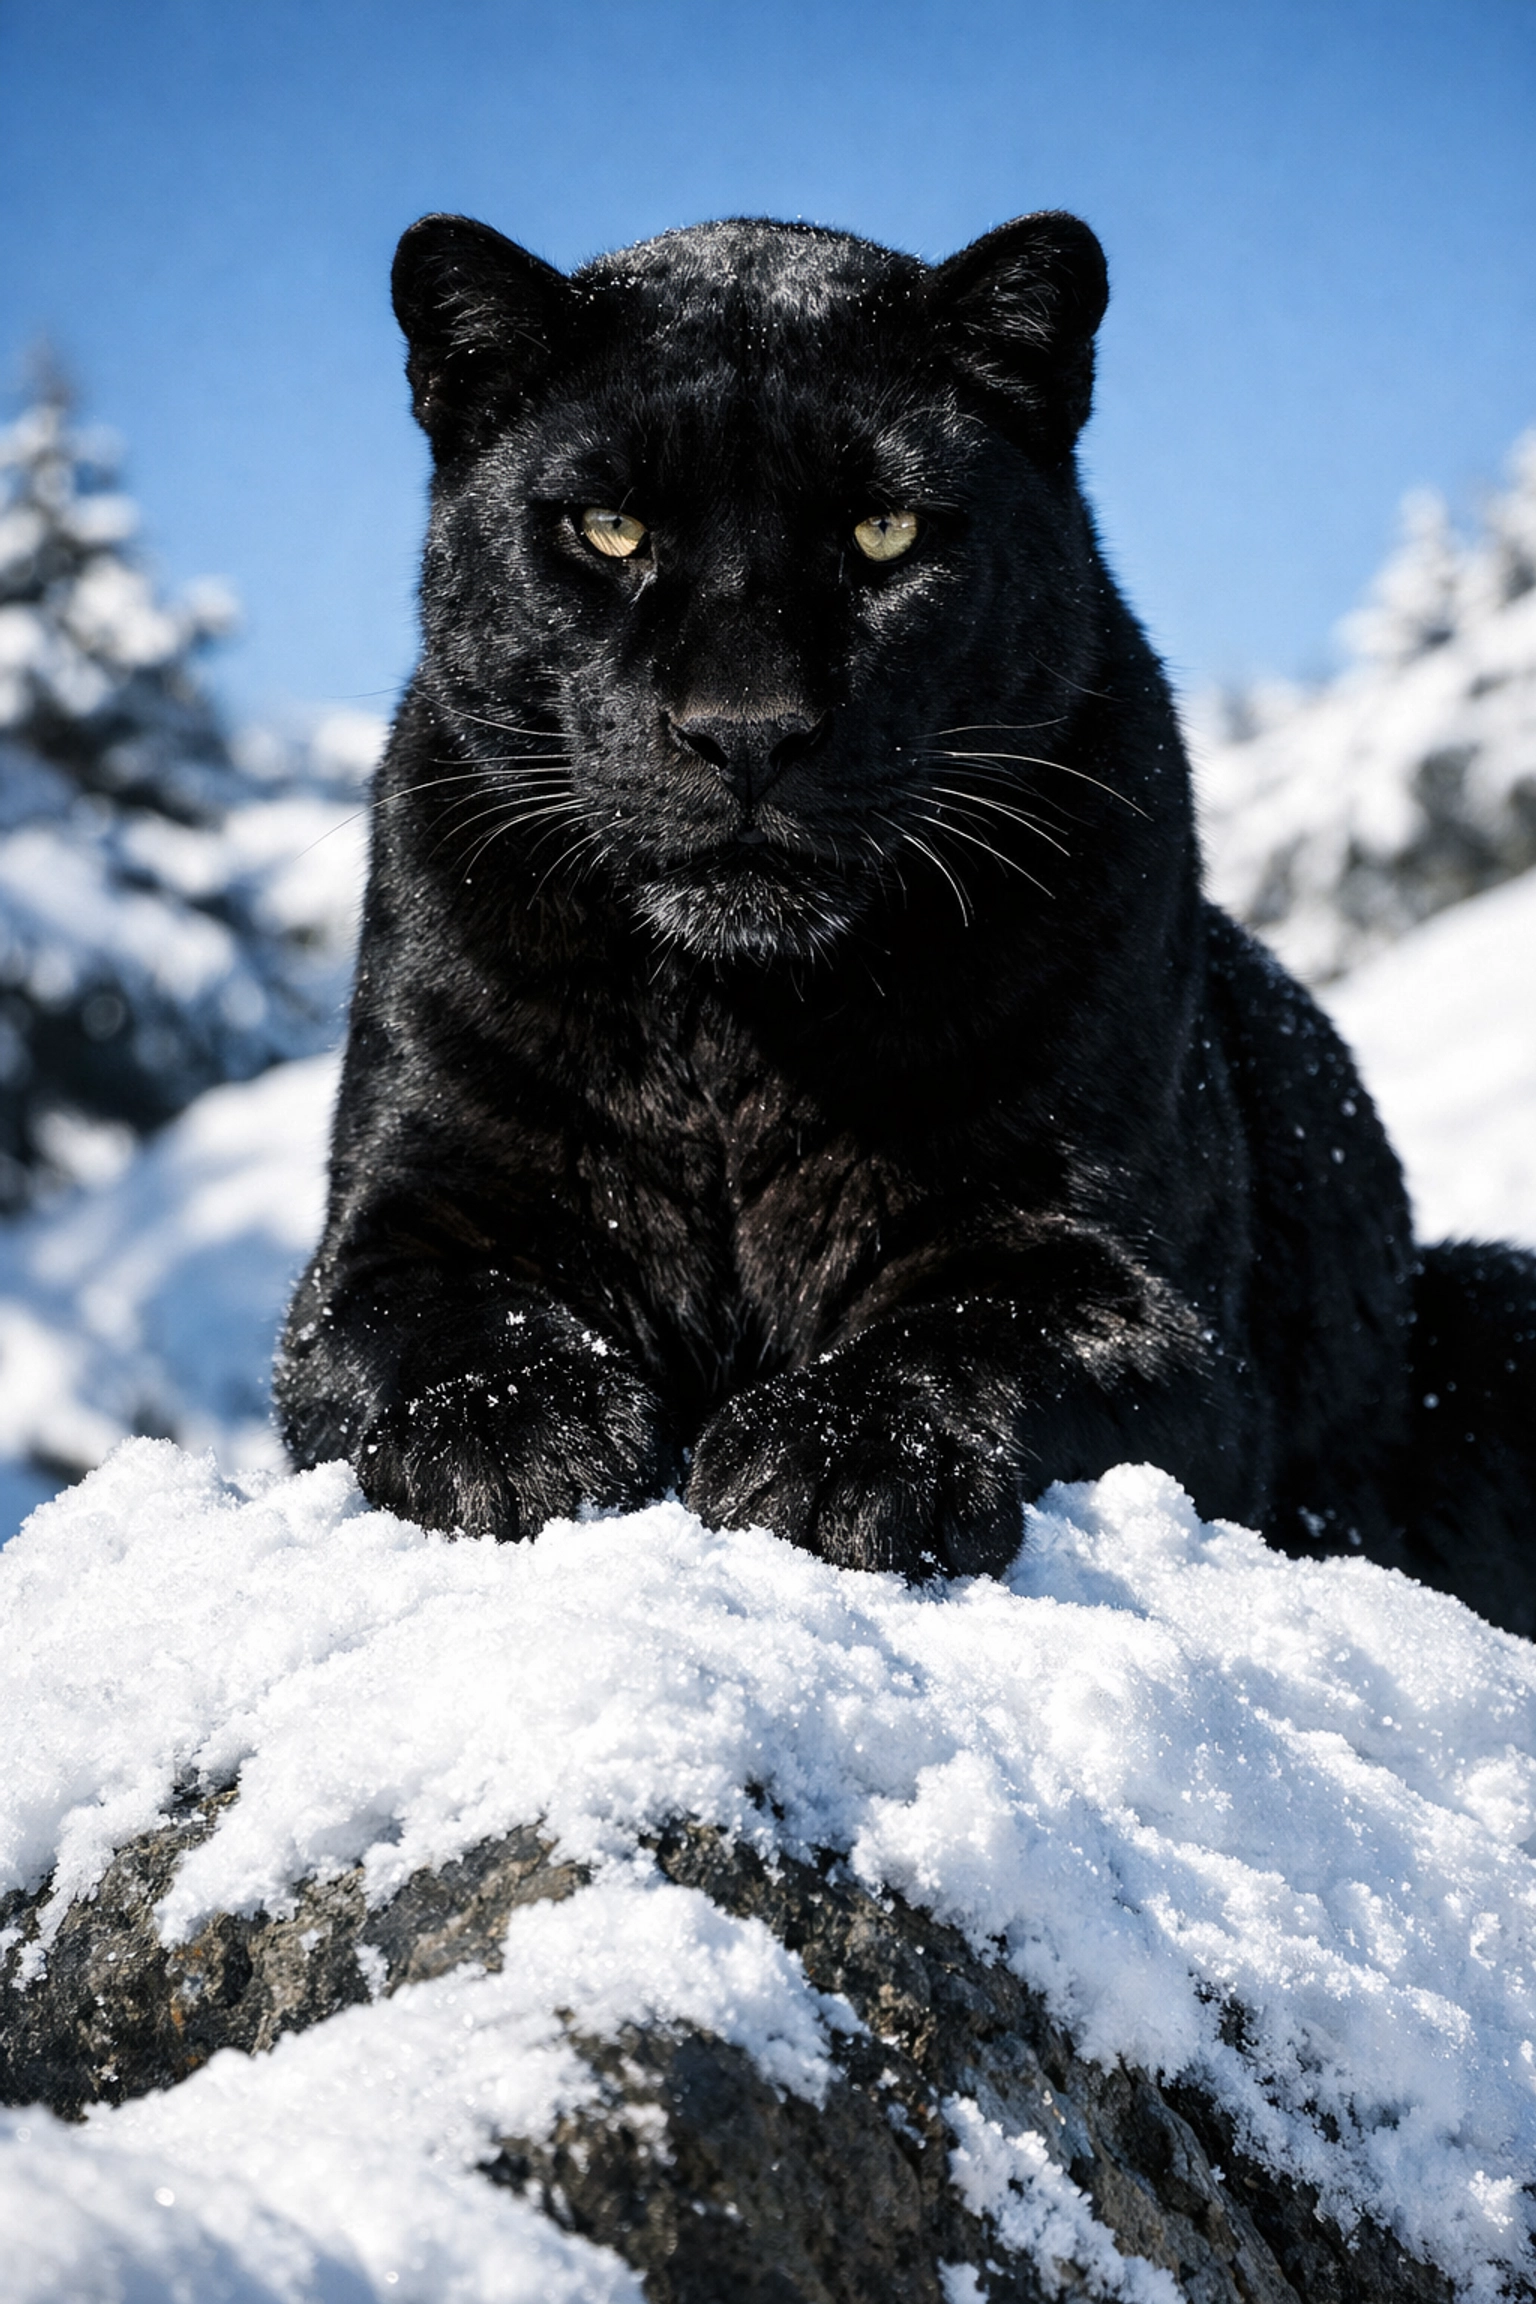
Your light meter is your best friend, but it can be tricked. Cameras want to turn everything into "middle gray." If you point your camera at a pile of white snow, the meter will think, "Whoa, too bright!" and try to make it gray. You’ll actually need to "overexpose" (go toward the +1) to make snow look white.
The same goes for deep blacks. If you’re shooting a black cat in a dark room, the camera might try to make it gray. You might need to "underexpose" (go toward the -1) to keep the blacks deep and rich. This is the kind of nuance that separates pros from hobbyists. If you want to dive deeper into professional-grade shooting techniques, check out ProShoot.io.
Shooting in RAW vs. JPEG
If you’re going to go through the effort of shooting in Manual mode, you must shoot in RAW format.
A JPEG is a finished file where the camera has already decided on the colors and contrast, throwing away the "extra" data. A RAW file keeps everything the sensor captured. This is crucial when you get into post-processing. If you accidentally underexposed a shot of some ethereal landscapes, a RAW file allows you to bring back the details in the shadows without ruining the image.
When it comes time to edit those RAW files, I highly recommend using Luminar. It’s incredibly intuitive for beginners and powerful enough for pros. It makes the "development" phase of photography a lot less intimidating.
Common Beginner Mistakes (and How to Fix Them)
- Forgetting to Check ISO: You spend all day shooting outside at ISO 100. You walk inside, change your aperture and shutter speed, but the photos look like garbage. Why? Because you forgot your ISO was still at 100. Always check your ISO when the light environment changes.
- Too Much "Noise": If you’re shooting at ISO 12800 on an entry-level camera, your photos will look like they were taken with a toaster. If you’re at your ISO limit, see if you can open your aperture more or use a flash.
- Blurry Photos at Slow Shutter Speeds: A general rule of thumb: don't hand-hold your camera at a shutter speed slower than your focal length. If you’re using a 50mm lens, try to stay above 1/50th of a second. Anything slower and your heartbeat will cause "camera shake."
Practice Makes Perfect
Manual mode isn't something you learn once and "have." It’s a muscle. Start by practicing in your backyard. Pick a flower. Try to take one shot with a blurry background and one where everything is sharp. See how you have to adjust the shutter speed to compensate.
If you’re looking for inspiration on what to shoot next, take a look at Edin Chavez's personal work at EdinFineArt.com or check out the latest updates on his personal blog. Seeing how professionals balance light in the real world can help those technical concepts click into place.
Final Thoughts on Manual Mode
Don’t get discouraged if your first few shots are completely black or totally white. That’s just part of the process. Every mistake you make in Manual mode teaches you something about how light works.
Once you get the hang of it, you’ll find that you don't even think about the numbers anymore. You’ll feel the light, adjust your dials instinctively, and focus on what really matters: the composition and the emotion of the shot.
Whether you are capturing majestic sunset photography or exploring secluded paradises, Manual mode is the key that unlocks your creative potential.
Now, grab your camera, find that "M" on the dial, and go get creative. And if you need more help with the business side or high-end production, you can always see what we’re up to at EdinStudios.com.
Happy shooting!


