
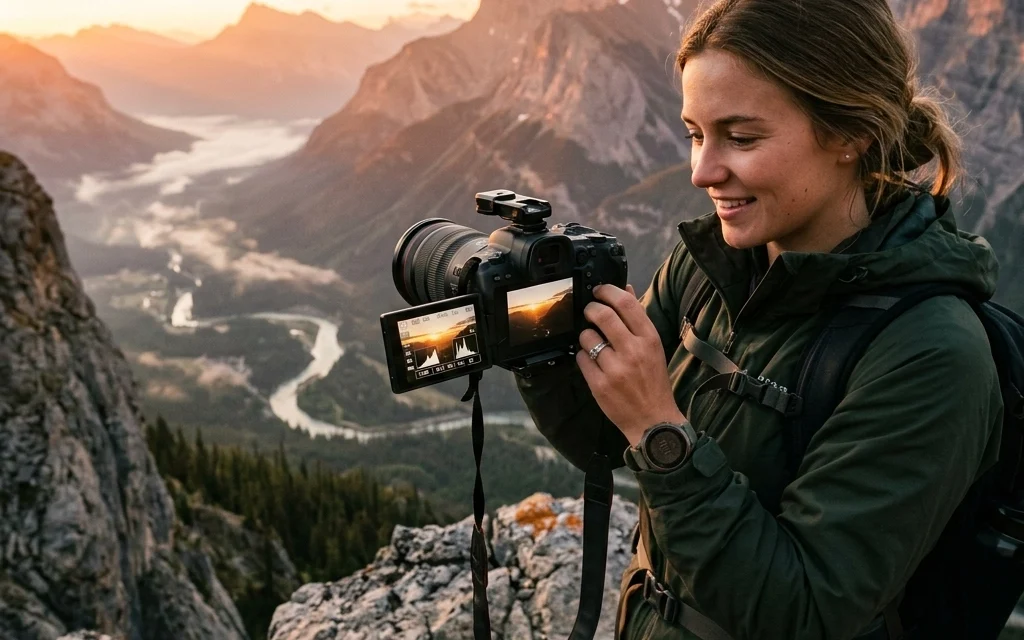
Let’s be real for a second. You bought that fancy DSLR or mirrorless camera because you wanted those blurry backgrounds and crisp, professional-looking shots you see on Instagram. But then you looked at all the buttons, got overwhelmed, and clicked that dial straight over to "Auto."
Don't worry; we’ve all been there. Shooting in Auto is like eating a microwave dinner. It gets the job done, and it’s fast, but it’s never going to taste like a five-star meal. If you want to create art, real, soul-stirring photography, you have to take the training wheels off. You have to switch to Manual Mode.
Manual Mode is where the magic happens. It’s where you stop letting a computer chip decide how your memories look and start making those decisions yourself. In this guide, I’m going to break down the "scary" stuff into simple, bite-sized pieces so you can finally quit Auto and start shooting like a pro.
The Exposure Triangle: Your New Best Friend
Think of Manual Mode as a three-legged stool. These three legs are Aperture, Shutter Speed, and ISO. Together, they form the Exposure Triangle. If you move one, the whole thing tilts, so you have to adjust the others to keep it balanced.
Your camera's job is to let in just enough light to create an image. Too much light? Your photo is a white mess (overexposed). Too little? It’s a black hole (underexposed). Manual mode gives you the keys to the light factory.
1. Aperture: The "Eye" of the Lens
Aperture is basically the pupil of your camera lens. Just like your eyes, the lens has an opening that can grow or shrink.
- Large Opening (Low f-number like f/1.8): Lets in a ton of light. This is how you get that beautiful "bokeh" (the blurry background) that makes portraits pop.
- Small Opening (High f-number like f/16): Lets in very little light. This keeps everything from the foreground to the horizon in sharp focus.
If you’re diving into the ultimate guide to landscape photography tips, you’ll learn that landscape shooters love high f-numbers. But if you’re shooting a single person, you’ll want to drop that f-number down.
2. Shutter Speed: The "Blink"
Shutter speed is how long the camera's "eye" stays open. It’s measured in fractions of a second.
- Fast Shutter Speed (1/1000s): Freezes time. Perfect for sports, kids running around, or birds in flight.
- Slow Shutter Speed (1/2s or longer): Creates motion blur. This is how photographers make waterfalls look like silk or create light trails from cars at night.
Using a slow shutter speed requires a steady hand, or better yet, a tripod. If you’re looking to get into professional work, check out proshoot.io for tips on gear that keeps your shots steady.
3. ISO: The Sensitivity
ISO is your camera’s sensitivity to light. Back in the day, we had to buy different rolls of film for different ISOs. Now, we just turn a dial.
- Low ISO (100-200): Use this when it’s bright outside. It gives you the cleanest, highest-quality image.
- High ISO (3200+): Use this when it’s dark. It artificially brightens the image, but the trade-off is "noise" or graininess.
Think of ISO as a volume knob. When you turn the volume up too high on a cheap speaker, you get static. High ISO is the static of photography.
Why You Should Care About Manual Mode
Why bother with all these settings when "Auto" does it for you? Because the camera is a tool, not a creator.
When you’re in Auto, the camera looks at a scene and tries to make everything "average." It doesn't know you want the background blurry. It doesn't know you want to freeze the motion of a splashing wave. It just wants to make sure the photo isn't too dark or too light.
By taking control, you can create ethereal imagery that a computer would never think to capture. You can play with the role of luminosity to highlight specific parts of a room or a landscape, creating depth and drama that sets your work apart from the millions of "average" photos uploaded every day.
Step-by-Step: Taking Your First Manual Photo
Alright, let's put the theory into practice. Grab your camera, flip that dial to M, and follow these steps.
Step 1: Set Your Aperture Based on Your Subject
What are you shooting?
- If it’s a person, set your aperture to the lowest number your lens allows (like f/2.8 or f/4).
- If it’s a wide mountain range, go for f/8 or f/11.
Step 2: Set Your Shutter Speed
If you’re holding the camera in your hands, you don’t want your shutter speed to be too slow, or the photo will be blurry from your hands shaking. A good rule of thumb is to keep it at least 1/125th of a second for still subjects. If things are moving, go faster (1/500th or more).
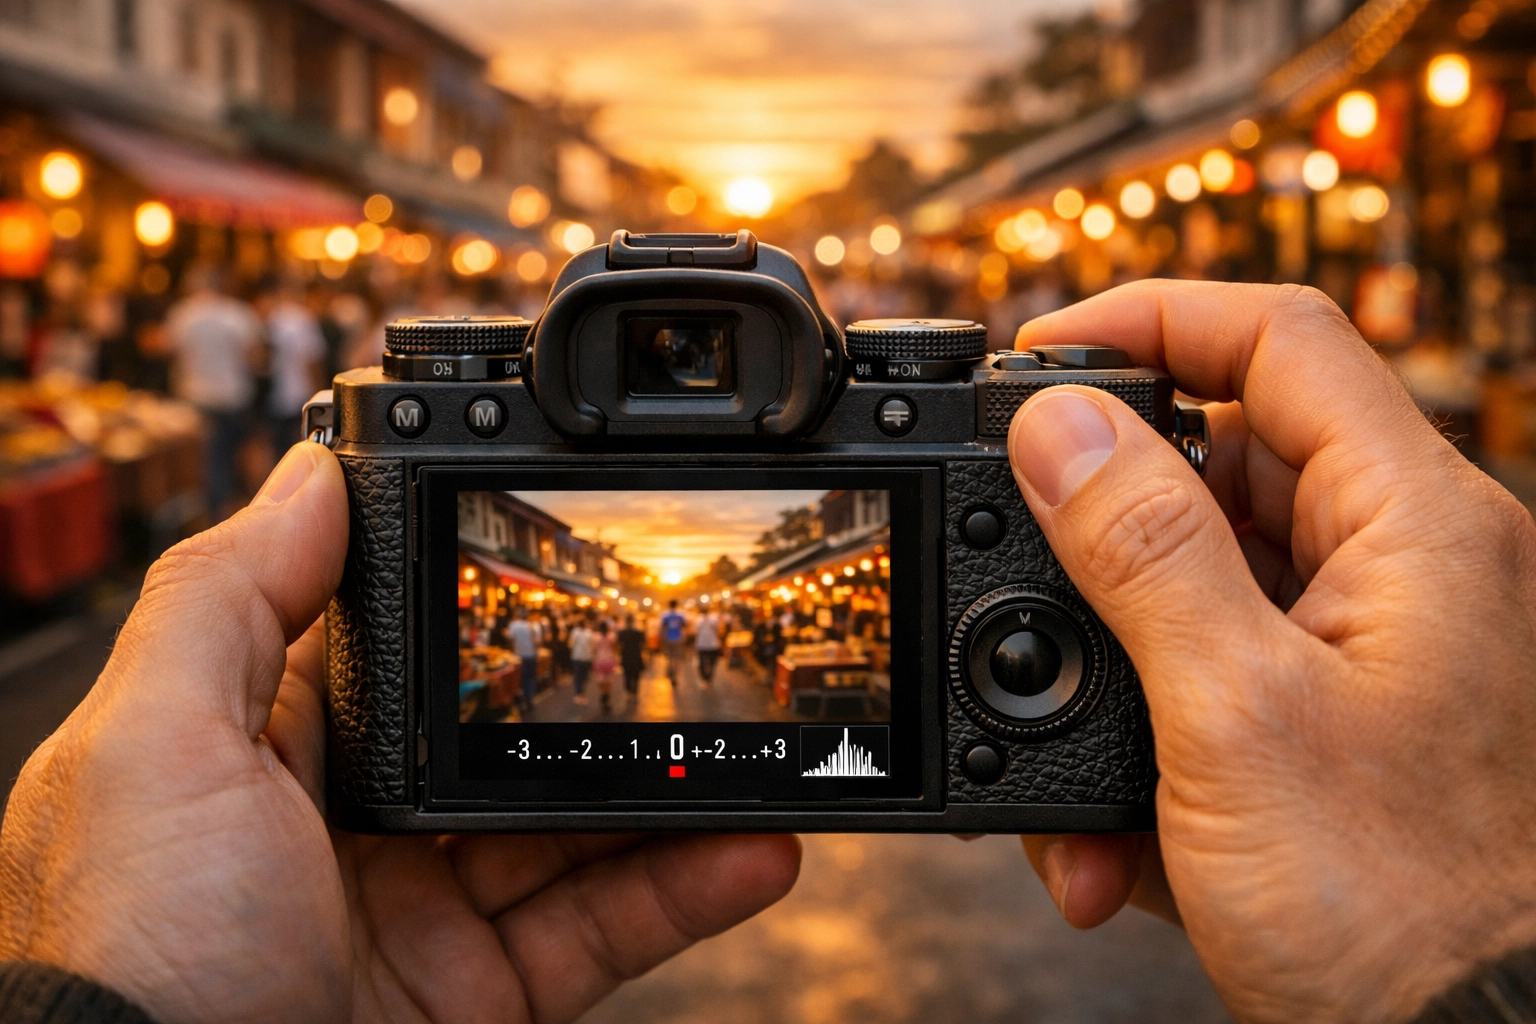
Step 3: Check Your Light Meter
Look through your viewfinder. See that little scale with a "0" in the middle? That’s your light meter.
- If the little bars are moving toward the "+" side, your photo is too bright.
- If they are toward the "-" side, it’s too dark.
Step 4: Use ISO to Balance
If your light meter says you’re too dark and you don’t want to change your aperture or shutter speed, start bumping up your ISO. Stop once the meter hits "0."
Step 5: Take the Shot and Review
Look at the screen. Is it what you envisioned? If it’s too dark, you can either slow down the shutter, open the aperture (lower f-stop), or increase the ISO.
Mastering the Creative Side
Once you understand the technicals, you can start looking at photography as an art form. Study the greats. Look at Peter Lik’s photographs and see how he uses light and composition. You can learn a lot from lessons in landscape photography from Peter Lik regarding how to wait for the perfect moment when the light hits just right.
Manual mode allows you to stay consistent. If you find a lighting setup you love, Manual mode keeps those settings locked in, unlike Auto, which might change things every time you move the camera an inch. This is crucial if you are aiming for high-end results, like those seen on edinfineart.com.
Post-Processing: The Final Touch
Even the best manual shot often needs a little love in post-production. Don't think of editing as "fixing" a bad photo; think of it as developing your film.
I highly recommend using Luminar for your editing. It’s incredibly intuitive and uses AI to help you enhance the light and colors you captured in Manual Mode. Whether you're trying to make a sky pop or smoothing out shadows, it’s a game-changer for beginners and pros alike.
Common Mistakes to Avoid
As you’re learning, you’re going to mess up. That’s part of the process. Here are a few things to keep an eye on:
- The "Shaky Hands" Blur: You set your shutter speed to 1/10th of a second to get more light, but you didn't use a tripod. The result? A blurry mess. If you’re handheld, stay fast.
- Noise Overload: You’re shooting in a dark room and cranked your ISO to 12800. The photo is bright, but it looks like it’s covered in sand. Try to find more light or use a wider aperture before maxing out your ISO.
- Missing Focus: When you use a very wide aperture (like f/1.8), your "plane of focus" is very thin. If you’re shooting a portrait and the person moves an inch, their nose might be in focus while their eyes are blurry.
For more in-depth troubleshooting, PhotoGuides.org is a fantastic resource for technical deep dives.

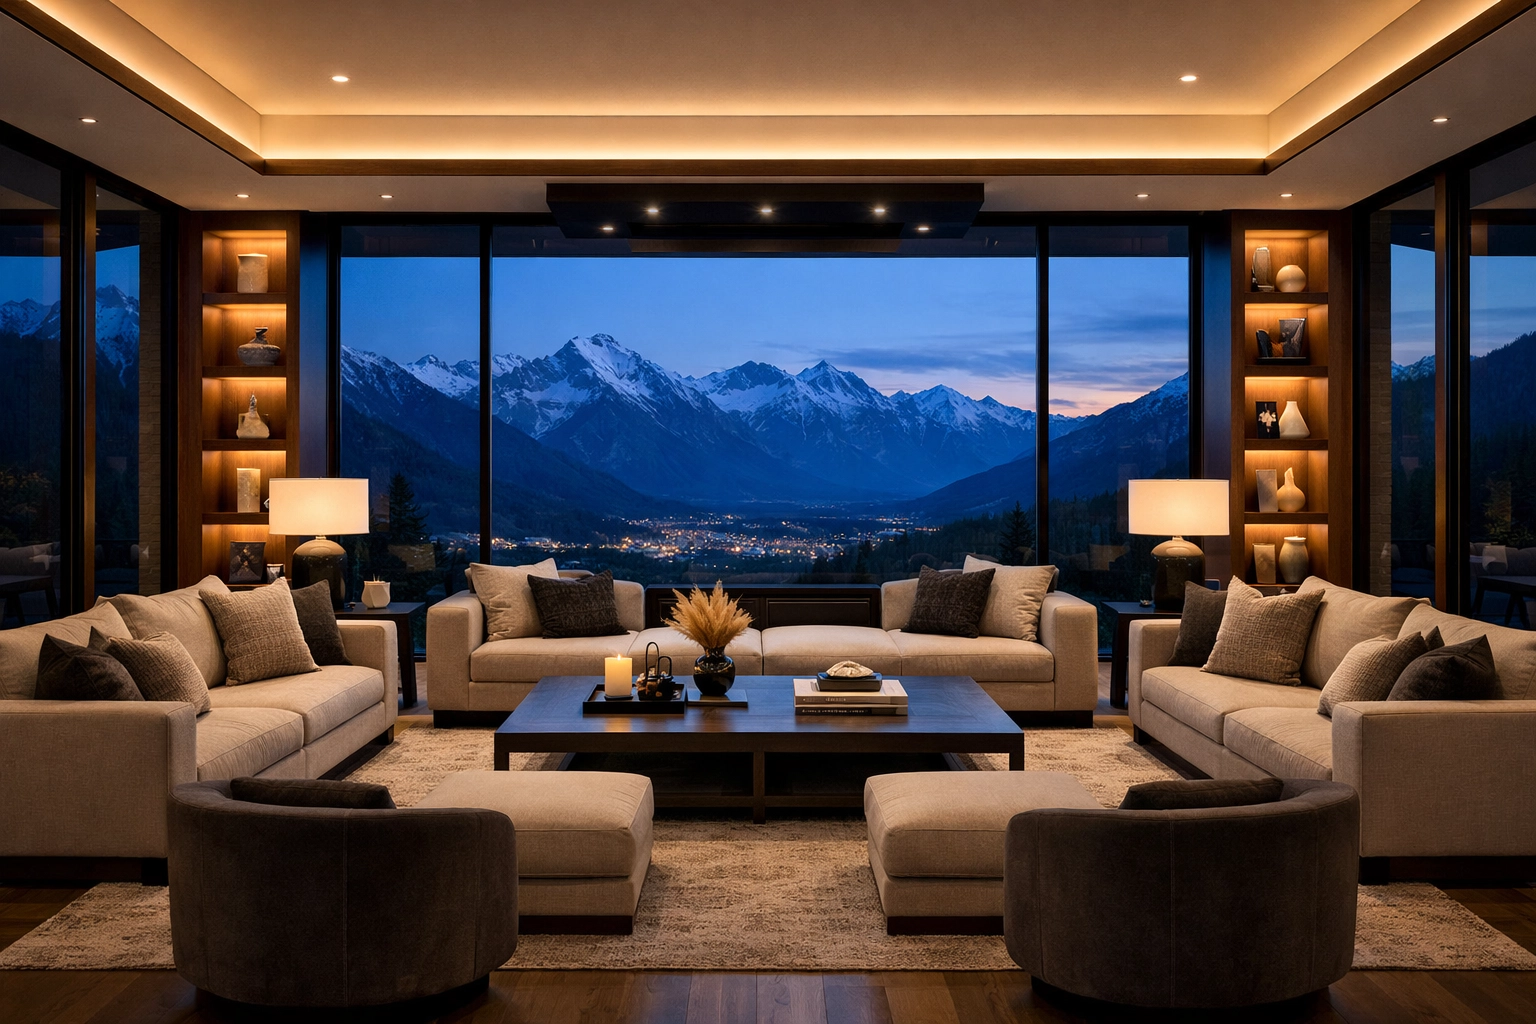
Real-World Application: Real Estate and Interiors
If you’re interested in using your skills for business, real estate photography is a great place to start. It requires a mastery of Manual Mode because you’re often dealing with bright windows and dark corners in the same room.
Could cinematic techniques transform your property showcases? Absolutely. By controlling your exposure manually, you can "bracket" your shots (taking one dark, one medium, and one bright photo) and blend them together to see detail both inside the room and out the window. This is the hallmark of luxury real estate photography.
The Journey to Mastery
Mastering Manual Mode doesn’t happen overnight. It takes a week or two of consistent practice before the buttons start feeling natural. My advice? Go out for a walk and tell yourself you aren't allowed to touch the Auto button.
Photograph a flower. Photograph a passing car. Photograph a building. Adjust your settings for each one. Eventually, you’ll stop thinking about the numbers and start thinking about the "vibe." You’ll know exactly what to do when you see a sunset or a dimly lit luxury dining scene.
Photography is about more than just "taking pictures." It’s about capturing a feeling. When you understand Manual Mode, you gain the power to translate what you see in your head into a digital file.
So, turn the dial. Experiment. Make mistakes. And most importantly, keep shooting. The world looks a lot more interesting when you’re the one in control of the lens. Check out more tips and gear insights at blog.edinchavez.com or explore edinstudios.com to see how professional techniques are applied in the field.
You’ve got the gear; now you’ve got the knowledge. Go out there and shut your aperture (or open it( it's up to you now!).)


