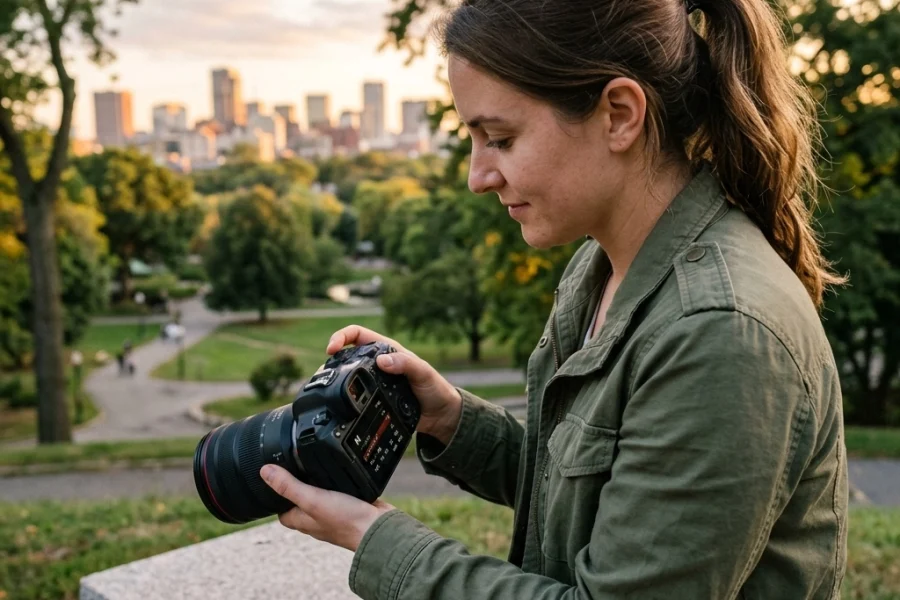
Let’s be real for a second. Most photography "gurus" want you to believe that stunning portraiture is a result of owning a $5,000 strobe and a lens that costs as much as a used car. They talk in riddles about "spectral highlights" and "micro-contrast" to make themselves sound like wizards.
But here is the truth they won’t tell you: Great lighting isn't about how much money you spend. It’s about how you manipulate the physics of light to tell a story. Pros aren't gatekeeping a secret piece of gear; they’re gatekeeping a way of seeing.
If you’ve ever looked at a professional portrait and wondered why your photos look flat, muddy, or just "off," you’re in the right place. We’re going to peel back the curtain on the lighting secrets that actually matter. No fluff, no gatekeeping: just the techniques that will make your portraits pop.
It’s Not the Gear, It’s the Direction
The biggest mistake beginners make is pointing the light directly at the subject’s face. Front lighting is the enemy of depth. When you blast light directly from the camera’s position, you fill in all the shadows that define the human face. The result? A flat, two-dimensional "driver's license" look.
Pros almost always move the light off-axis. By moving your light source to the side, you create shadows. In portraiture, shadows are your best friend. They create form, define the jawline, and add a sense of three-dimensional reality to a flat image.
If you are just starting out and feeling overwhelmed by gear, check out PhotoGuides.org for some solid foundational advice on basic setups. But before you buy anything, remember that the most powerful light source in the world is the sun, and it’s completely free.
The "Big Four" Lighting Patterns
Professional portraiture isn't a guessing game. It’s based on four classic lighting patterns that have been used by master painters for centuries. If you can master these four, you can shoot anything.
1. Rembrandt Lighting
Named after the Dutch master himself, this is the "moody" look. You recognize it by the small triangle of light on the cheek opposite the light source. It’s dramatic, it’s masculine, and it screams "professional." To get this, place your light at a 45-degree angle to the side and slightly above the subject’s head.
2. Butterfly Lighting
This is the "glamour" setup. The light is placed directly in front of and above the subject’s face, creating a small, butterfly-shaped shadow under the nose. It’s incredibly flattering because it emphasizes cheekbones and hides skin imperfections. It’s a staple for fashion and beauty work.
3. Loop Lighting
This is the "safe" bet. It’s similar to Rembrandt but the shadow from the nose doesn't quite touch the shadow on the cheek. It creates a small "loop" of shadow. It works on almost every face shape and is the go-to for corporate headshots.
4. Split Lighting
This is as dramatic as it gets. You put the light at a 90-degree angle to the subject, lighting exactly half the face and leaving the other half in total darkness. Use this when you want to convey mystery, intensity, or a "Jekyll and Hyde" vibe.

The Secret of the Inverse Square Law (Simplified)
I know, "Inverse Square Law" sounds like a math test you failed in high school. But in photography, it’s a superpower.
Here’s the simple version: If you move your light closer to your subject, the light "falls off" (gets dark) much faster behind them. If you want a black background but you’re shooting in a white room, move the light closer to the person and turn the power down. The background will go dark because the light loses its intensity so rapidly.
Conversely, if you want everything: the subject and the background: to be evenly lit, move the light further away and crank up the power. Understanding this distance relationship allows you to control the "mood" of the environment without ever touching a dimmer switch.
Natural Light Isn't "Easier"
A lot of photographers call themselves "Natural Light Photographers" because they’re afraid of flashes. Let’s call it what it is: gear-shyness. But here’s the pro secret: Natural light is actually harder to control because you can’t move the sun.
Pros don't just find a sunny spot and start clicking. They look for "subtractive" lighting. They might use a black foam board (a V-flat) to block light from one side to create shadows, or they use a silk diffuser to soften harsh midday sun.
If you’re struggling with the sun, you might be making some of the same mistakes landscape photographers make. Take a look at these 7 mistakes you’re making with golden hour landscapes to see how light behaves during the best times of day.
The Catchlight: The Window to the Soul
If you look at a pro portrait, you’ll see a tiny sparkle in the subject’s eyes. That’s a catchlight. Without it, the eyes look "dead" or "shark-like."
Pros are obsessed with catchlights. They will often position a small reflector or a low-power light just to ensure there is a reflection in the eyes. It adds life, focus, and a sense of connection. If you’re shooting and the eyes look dark, lower your light source or have the subject look slightly toward the light. It’s a small detail that makes a massive difference.
Reading the Face (The Real Secret)
Pro photographers don't just set up a light and tell the model to stand there. They "read" the face.
- Got a subject with a prominent nose? Avoid split lighting; it’ll make the nose look twice as big.
- Deep-set eyes? Lower the light so it fills the eye sockets, or you’ll end up with "raccoon eyes."
- Round face? Use short lighting (lighting the side of the face turned away from the camera) to make it look slimmer.
This level of customization is what separates a $50 portrait from a $5,000 one. It’s about using light to solve problems, not just to illuminate a person. If you want to dive deeper into these specific technical adjustments, I highly recommend checking out the courses at learn.shutyouraperture.com.

Background Separation: The Rim Light
Ever wonder how a subject with dark hair doesn't just disappear into a dark background? It’s the "Rim Light" (or hair light).
This is a light placed behind the subject, pointing back toward the camera (but hidden behind the subject's head). It creates a thin "rim" of light around the edges of the hair and shoulders. It pulls the subject out of the background and adds a layer of depth that makes the photo look high-end.
You don't need a fancy strobe for this. Even a cheap desk lamp or a flashlight can work as a rim light in a pinch. The goal is separation, not exposure.
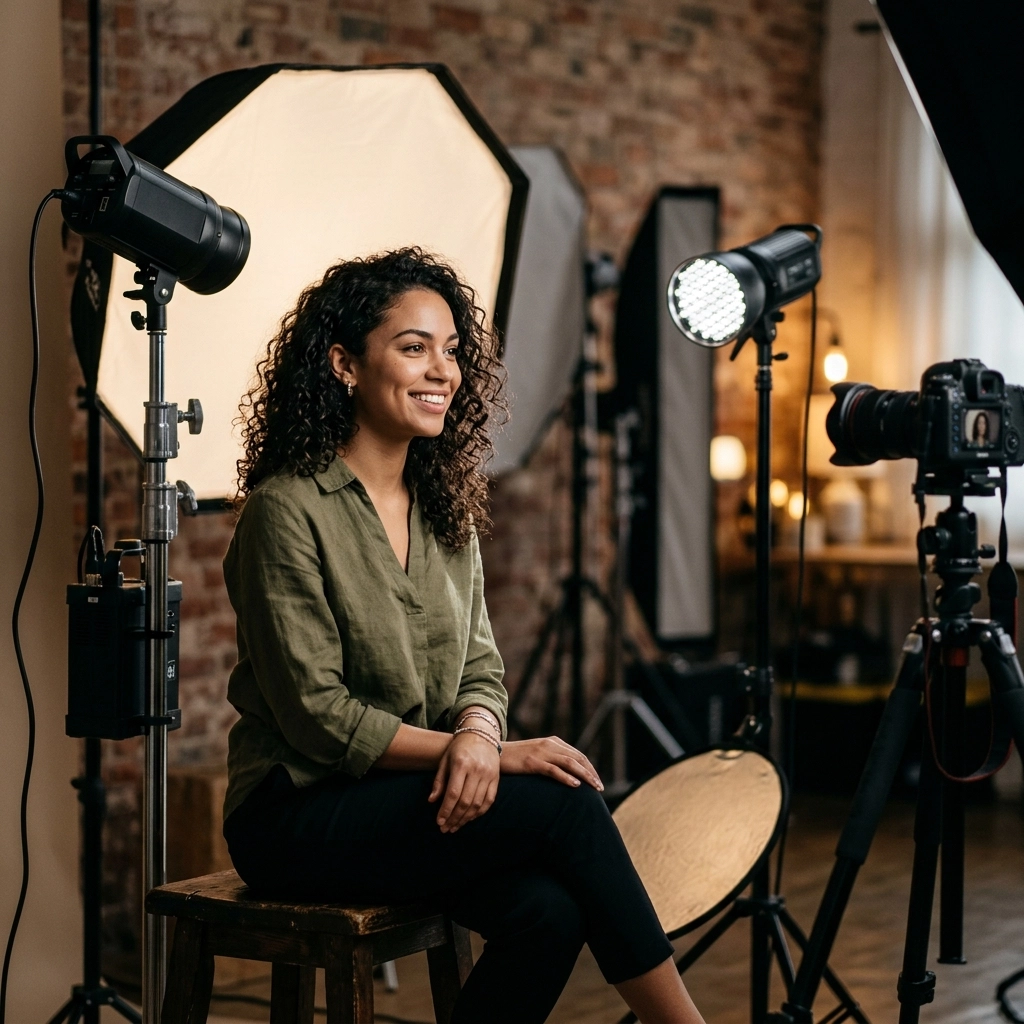
Light Modification: Size Matters
If there is one "secret" that pros live by, it’s this: The larger the light source relative to the subject, the softer the light.
This is why we use giant softboxes. A tiny flash bulb is a "small" light source; it creates harsh, jagged shadows. If you put that same flash inside a 60-inch octabox, the light source becomes "large," and the shadows become soft and creamy.
But here’s the trick: You don't need an expensive softbox. A white bedsheet hung over a window makes a massive softbox. Bouncing your flash off a white ceiling makes the entire ceiling your light source.
If you want to see how this translates into fine art, take a peek at the lighting in some of the pieces over at Edin Fine Art. You’ll see how soft, directional light creates that painterly feel.
Post-Processing: Polishing the Light
Even with perfect lighting, the pro "look" usually involves some digital polishing. We aren't talking about fake-looking filters; we’re talking about enhancing the light you’ve already captured.
Tools like Luminar have revolutionized this. With AI-driven features, you can subtly adjust the "re-lighting" of a scene, add a soft glow to skin, or accentuate the catchlights you worked so hard to get.
In the modern era, editing is the second half of the lighting process. If you want to stay ahead of the curve, keep an eye on AI photo editing tools and techniques for 2026. It’s not about cheating; it’s about having a digital darkroom that works as hard as you do.

Common Lighting Mistakes to Stop Making Right Now
Before you go out and start your next shoot, let’s kill these bad habits:
- Mixing Color Temperatures: Don't use a warm household lamp and cool daylight from a window at the same time. Your subject’s skin will look like a muddy mess, and no amount of editing can truly fix that color imbalance.
- Over-Lighting: Sometimes, one light is better than five. Beginners often think more lights equal more "pro." Usually, it just leads to multiple weird shadows and a loss of focus.
- Ignoring the Background: You can have perfect light on your subject, but if there’s a bright, distracting exit sign or a messy bookshelf behind them, the photo is ruined.
- Static Lights: Don't be afraid to move your lights mid-shoot. Every face is different. If the light isn't hitting the eyes right, move it. If the shadows are too deep, move it.
For more on how to level up your specific skill sets, compare different learning paths in this guide on how to choose the best photo editing tutorials.
The Mindset Shift
The "pro" secret isn't a setting on a camera. It’s the realization that you are not taking a picture of a person; you are taking a picture of light bouncing off a person.
When you stop looking at the person and start looking at the highlights on their forehead, the shadows in their eye sockets, and the glow on their neck, your photography will change overnight.
Practice in your living room with a single lamp. Move the lamp around. See how it changes the shape of a friend's face. Watch how the light interacts with their skin texture. This "seeing" is the only thing that separates you from the pros you admire.

Final Thoughts
Lighting is a language. Once you learn the grammar: the patterns, the fall-off, the modification: you can say whatever you want with your images. You can make a CEO look powerful, a child look innocent, or a model look ethereal.
Don't let the technical jargon scare you. At the end of the day, it's just you, your subject, and a few photons. Keep it simple, keep experimenting, and most importantly, keep shooting.
For more inspiration and a look at how light is used in high-end travel and commercial work, check out the latest updates at blog.edinchavez.com. There’s always something new to learn in this game, and the "secrets" are yours for the taking if you’re willing to put in the work.
Remember, the gear is just a tool. Your eyes are the real equipment. Now go out there and shut your aperture (or open it wide( the light will tell you what to do).)