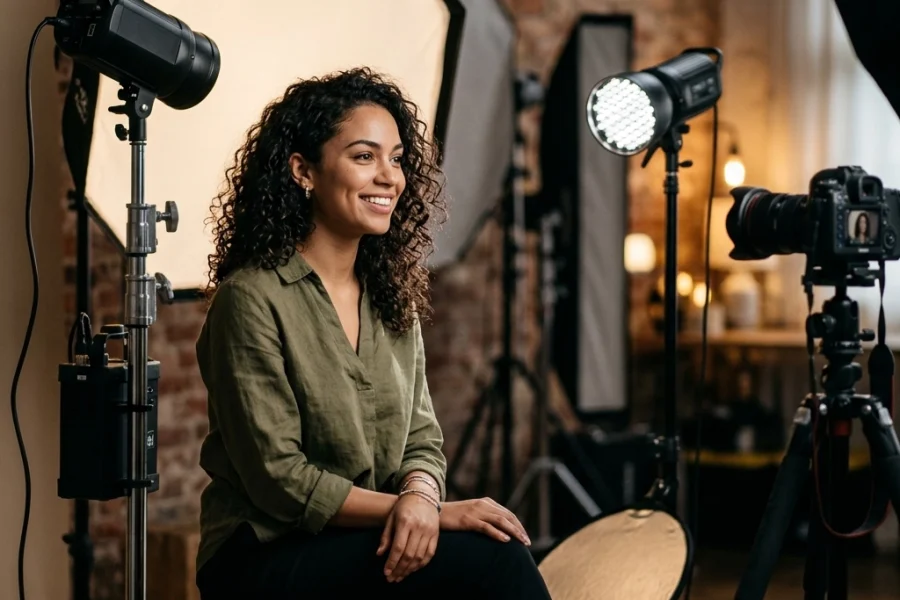
Let’s be real for a second: that little "M" on your camera dial is terrifying. For most beginners, it’s the forbidden fruit. You’ve probably spent months, maybe even years, clinging to the "Auto" mode like a safety blanket. And hey, I get it. Modern cameras are smart. They can guess what a scene needs and get it "good enough" most of the time.
But "good enough" isn't why you bought a nice camera, is it? You bought it to create images that stop people in their tracks. You want that creamy, blurred-out background in portraits and those silky-smooth waterfalls in your landscapes. To get those, you have to stop letting the camera make the decisions. You need to take the wheel.
Welcome to Manual Mode 101. We’re going to strip away the jargon and break down the "Exposure Triangle" so you can finally stop guessing and start creating. If you’re looking to dive even deeper into specific techniques after this, check out our comprehensive photography courses to fast-track your progress.
The Secret Sauce: The Exposure Triangle
In photography, everything comes down to light. Exposure is simply the amount of light that hits your camera sensor. If too much light hits it, your photo is blown out (overexposed). If not enough light hits it, your photo is a dark mess (underexposed).
To control this light, you have three tools at your disposal: Aperture, Shutter Speed, and ISO. Think of these as a three-legged stool. If you move one, you have to adjust one or both of the others to keep the stool level.
1. Aperture: The Eye of the Lens
Aperture is the opening inside your lens. Think of it like the pupil of your eye. When it’s dark, your pupil gets bigger to let in more light. When it’s bright, it shrinks.
In photography, we measure this in "f-stops" (like f/2.8, f/8, or f/16). This is where it gets a little counter-intuitive for beginners:
- Small f-number (e.g., f/1.8): Large opening = Tons of light = Shallow depth of field (blurry background).
- Large f-number (e.g., f/11): Small opening = Less light = Deep depth of field (everything is sharp).
If you’re struggling with how to frame these shots, you might want to read up on common landscape composition mistakes to ensure your focus is on point.

2. Shutter Speed: The Time Keeper
Shutter speed is exactly what it sounds like: the amount of time the camera shutter stays open to let light hit the sensor. It’s measured in fractions of a second.
- Fast Shutter Speed (e.g., 1/1000s): Great for freezing motion. Think of a bird in flight or a car racing by. Because the shutter is only open for a tiny fraction of time, it lets in very little light.
- Slow Shutter Speed (e.g., 1/2s or 30s): Great for showing movement. This is how you get those "streaky" car headlights or fluffy water. Since the shutter is open longer, it lets in a lot of light.
Warning: If your shutter speed is too slow and you’re holding the camera with your hands, you’ll get "camera shake," which just looks like a blurry mistake. A good rule of thumb is to stay above 1/60s if you aren't using a tripod.
3. ISO: The Sensitivity Dial
ISO is your camera sensor’s sensitivity to light. Back in the day, this was determined by the film you bought. Now, it’s just a setting.
- Low ISO (e.g., 100 or 200): Use this when there is plenty of light (like a sunny day). It produces the cleanest, highest-quality images.
- High ISO (e.g., 3200 or 6400): Use this when it’s dark. It makes the sensor more sensitive, but the trade-off is "noise" or graininess.
Ideally, you want to keep your ISO as low as possible to maintain image quality. For more on handling difficult lighting, especially during those tricky sunrises, take a look at our guide on golden hour landscape mistakes.

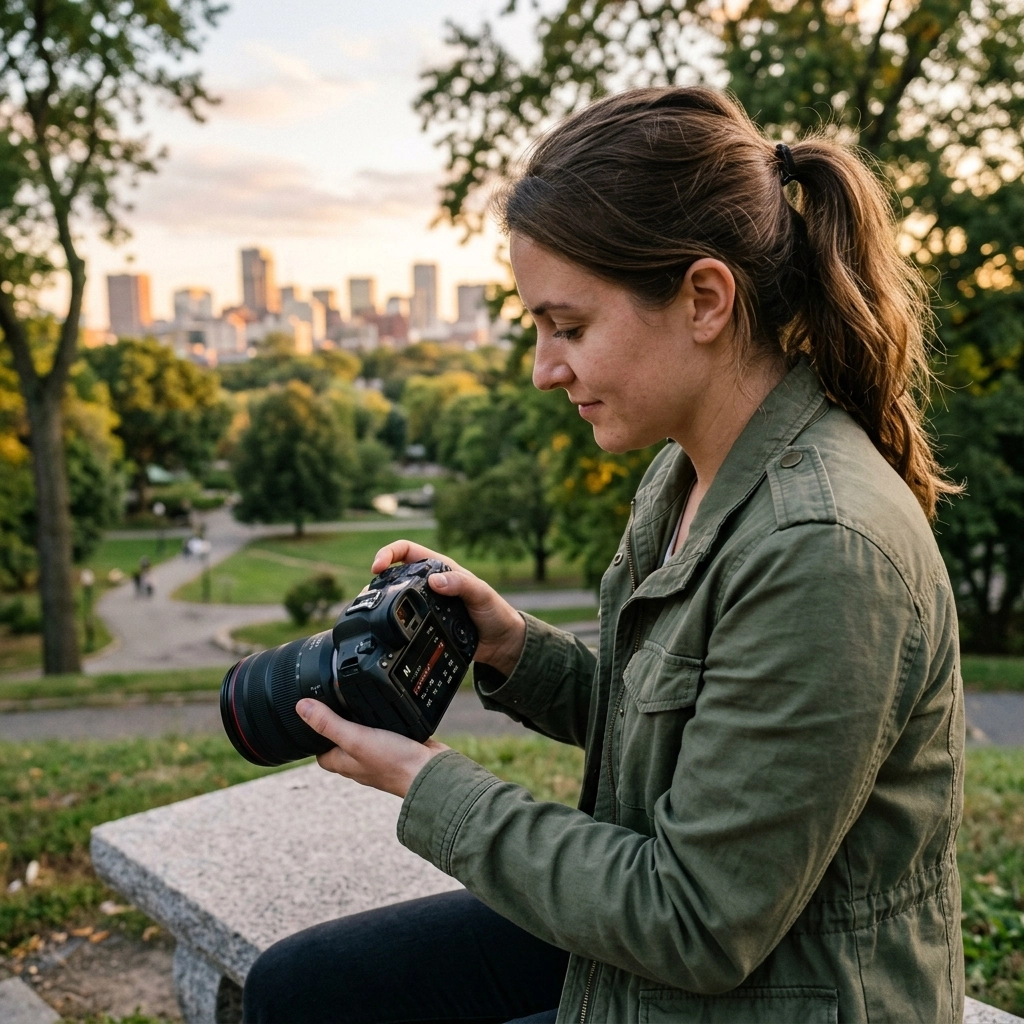
How to Actually Use Manual Mode (The Step-by-Step)
Reading about it is one thing, but standing in a field with your camera is another. Here is the workflow I recommend for every beginner starting out in manual.
Step 1: Set Your ISO Based on the Light
Look around. Are you outside in the blazing sun? Set your ISO to 100. Are you in a dimly lit living room? Start at ISO 800 or 1600. Think of ISO as your foundation. You set it based on the environment and try not to touch it unless the lighting changes.
Step 2: Choose Your Aperture Based on Your Goal
What kind of shot are you taking?
- Portrait with a blurry background? Crank that aperture down to the lowest number your lens allows (f/1.8 or f/2.8).
- Epic landscape where everything is sharp? Set it to f/8 or f/11. This is a staple for mastering landscape photography.
Step 3: Use Your Shutter Speed to Balance the Meter
Now, look through your viewfinder. You’ll see a little line with a "0" in the middle and a "+" and "-" on either side. This is your Light Meter.
While keeping your eye on that meter, turn your shutter speed dial. Your goal is to get that little ticker to land on the "0."
- If the ticker is moving toward the "+", your image is too bright. Increase your shutter speed (make it faster).
- If the ticker is moving toward the "-", your image is too dark. Decrease your shutter speed (make it slower).

The "Bonus" Settings: Metering and White Balance
Once you’ve got a handle on the exposure triangle, there are two other settings that can make or break your shot.
Metering Modes
Your camera doesn't see "subjects"; it sees light and dark values. Metering modes tell the camera which part of the frame to prioritize when calculating exposure.
- Evaluative/Matrix Metering: The camera looks at the whole scene. Good for most situations.
- Spot Metering: The camera only cares about a tiny dot in the center. Great for backlit subjects where you want the person's face exposed correctly even if the background blows out.
White Balance
Ever take a photo indoors and everyone looks like an Oompa Loompa? That’s a White Balance issue. Different light sources have different "colors." Daylight is blueish; tungsten light bulbs are orange. Setting your White Balance tells the camera what "white" should actually look like.
While you can fix this later if you shoot in RAW, getting it right in-camera saves a ton of time. For more advanced tips on color correction and post-processing, you can check out the latest AI photo editing tools or visit resources like PhotoGuides.org.
Why Bother? The Benefits of Going Manual
You might be thinking, "This sounds like a lot of work just to take a picture of my dog." And you're right: it is more work. But the benefits are massive:
- Consistency: In Auto mode, the camera might change settings between two shots of the same thing because a cloud moved or you tilted the camera slightly. In Manual, your settings stay exactly where you put them.
- Creative Freedom: Auto mode will never give you a long-exposure shot of a waterfall. It will see the movement and try to freeze it because it thinks blur is a mistake. In Manual, you decide what’s a mistake and what’s art.
- Better Low Light Performance: Cameras are notorious for "freaking out" in the dark. They often raise the ISO way too high, making your photos look like a grainy mess. In Manual, you can choose to use a slower shutter speed on a tripod instead, keeping your image clean.

Post-Processing: The Final Polish
Even a perfectly exposed manual shot usually needs a little love in post-processing. Modern sensors capture so much data that the "raw" file can look a bit flat. This is where tools like Luminar come in handy.
By using AI-powered sliders, you can enhance the colors you worked so hard to capture in manual mode without spending hours in front of a computer. If you're feeling overwhelmed by software choices, I’ve written a guide on choosing the best photo editing tutorials for your specific skill level.
Practice Makes Perfect (The Manual Mode Drills)
You won't master this by reading a blog post. You have to go out and fail a few times. Here are three drills to help you get comfortable:
The Depth of Field Drill
Find an object (a flower, a coffee cup, whatever). Set your camera to its lowest f-number. Take a shot. Now, increase the f-number to f/8 and take the same shot. Observe how the background changes.
The Motion Drill
Go to a busy street or a fountain. Set your shutter speed to 1/1000s and take a photo. Then, put your camera on a ledge or a tripod and set the shutter speed to 1/2 second (you’ll need to adjust your aperture or ISO to keep the exposure correct!). See the difference in how the motion is captured.
The Low Light Drill
Wait until the sun starts to go down. Try to take a sharp photo without using a flash. You’ll quickly learn the limits of your ISO and how slow you can push your shutter speed before everything gets blurry. For more inspiration on evening shoots, check out some of the fine art work by Edin Chavez to see how pros handle low-light environments.
Final Thoughts
Manual mode isn't about being a "purist." It's about being a creator. There are still times when I use Aperture Priority or even Program mode when things are moving fast, but knowing how to use Manual gives you a foundation that makes every other mode easier to understand.
Stop being afraid of the "M." Turn the dial, look at your meter, and start taking photos that look like they belong on a gallery wall rather than just a smartphone screen. If you want to keep up with the latest in the industry while you're learning, you can always catch the daily photography news to see what’s changing in the world of gear and tech.
Go out there and shoot. You’ll mess up: a lot. But every blown-out photo is just a lesson in how light works. For more deep dives, head over to blog.edinchavez.com or check out our full library of tutorials.