You just bought a fancy new camera. It’s sleek, it’s heavy, and it cost more than your first car. You’ve got the kit lens, the strap, and maybe even a tripod you don't know how to unfold yet. But there’s a problem. Every time you point that lens at something beautiful, you flip the dial to the little green “A” and let the camera do the thinking.
Stop. Just stop.
Shooting in Auto is like buying a Ferrari and never shifting out of first gear. You’re leaving about 90% of your camera's potential on the table. If you want to take photos that actually make people stop scrolling, you need to learn how to use manual mode camera settings.
At Shut Your Aperture, we believe anyone can become a pro with the right guidance. That’s why we’ve put together the most comprehensive photography tutorials to help you graduate from a button-pusher to a visual storyteller. It’s time to take control.
Why Auto Mode is Killing Your Creativity
Auto mode is designed for one thing: getting a "safe" exposure. The camera looks at the scene, averages out the light, and tries to make sure nothing is too dark or too bright. It doesn't know if you’re trying to blur the background of a portrait or freeze the splash of a waterfall. It doesn't know if you want that moody, dark vibe or a bright, high-key look.
When you use manual mode, you are the boss. You decide what stays in focus and what disappears into a creamy blur. You decide if motion is frozen in time or stretched into a silky ribbon. Mastering your camera isn't just about technical settings; it's about creative freedom.
To really dive deep into these concepts, you should check out our full curriculum at https://learn.shutyouraperture.com/. This is where we turn hobbyists into masters.
The Foundation: Understanding the Exposure Triangle
Before we get into the daily exercises, we have to talk about the "Big Three." Every single photo you take is governed by three settings: Aperture, Shutter Speed, and ISO. They work together like a three-way seesaw. If you change one, you usually have to adjust another to keep the light balanced.
1. Aperture (The "F-Stop")
Think of aperture as the pupil of your eye. It’s the opening in your lens that lets light in.
- Low F-number (like f/1.8): Wide opening, tons of light, and a "shallow" depth of field (blurry background).
- High F-number (like f/11): Small opening, less light, and everything from the foreground to the background is sharp.
If you’re struggling with your shots looking flat, you might be making some 7 mistakes you’re making with landscape composition and how to fix them. Aperture is your best friend for fixing that.
2. Shutter Speed
This is how long your camera's sensor is exposed to light.
- Fast Shutter (1/1000s): Freezes action. Great for sports or birds.
- Slow Shutter (1/10s or longer): Blurs motion. Essential for those "dreamy" water shots.
3. ISO
This is your sensor's sensitivity to light.
- Low ISO (100): Clean, crisp images. Use this when you have plenty of sun.
- High ISO (3200+): Allows you to shoot in the dark, but it adds "grain" or "noise" to your photo.
SEO Alt Text: A close-up shot of a professional camera dial showing the manual mode 'M' setting with a blurred photography background.
Day 1: The Aperture Challenge
Don't try to learn everything at once. Today, we’re focusing only on Aperture. Switch your camera to Aperture Priority (A or Av on your dial). In this mode, you choose the aperture, and the camera handles the shutter speed for you.
Find an object, a coffee cup, a flower, your dog, and take three photos:
- One at the lowest f-number your lens allows (e.g., f/1.8 or f/3.5).
- One at f/8.
- One at f/16.
Notice how the background changes. The f/1.8 shot should have a beautiful, blurry background that makes the subject "pop." This is what the pros call "bokeh." If you want to master this for larger scenes, read our ultimate guide to landscape photography.
Day 2: The Shutter Speed Sprint
Today, switch to Shutter Priority (S or Tv). This is where you control the speed, and the camera handles the aperture.
Head to a busy street or a nearby park with a fountain.
- Try to freeze a moving car or a person running by setting your shutter speed to 1/1000.
- Then, try to make the movement look like a blur by setting it to 1/30. (Warning: You’ll need a steady hand or a tripod for the slow one!)
Understanding motion is the key to dynamic photography. For more gear tips on how to keep those shots steady, check out PhotoGuides.org.
Day 3: Total Control – Going Full Manual
Now, flip that dial to M. It’s time to put it all together. Using what you learned in the first two days, try to get a "perfect" exposure by watching the little bar inside your viewfinder. If it’s leaning toward the minus (-), your photo is too dark. If it’s toward the plus (+), it’s too bright.
Start in a room with consistent light. Choose your Aperture first based on how much blur you want. Then set your ISO (keep it as low as possible). Finally, adjust your Shutter Speed until the meter hits zero. Congratulations, you are officially a photographer.
 Save
Save
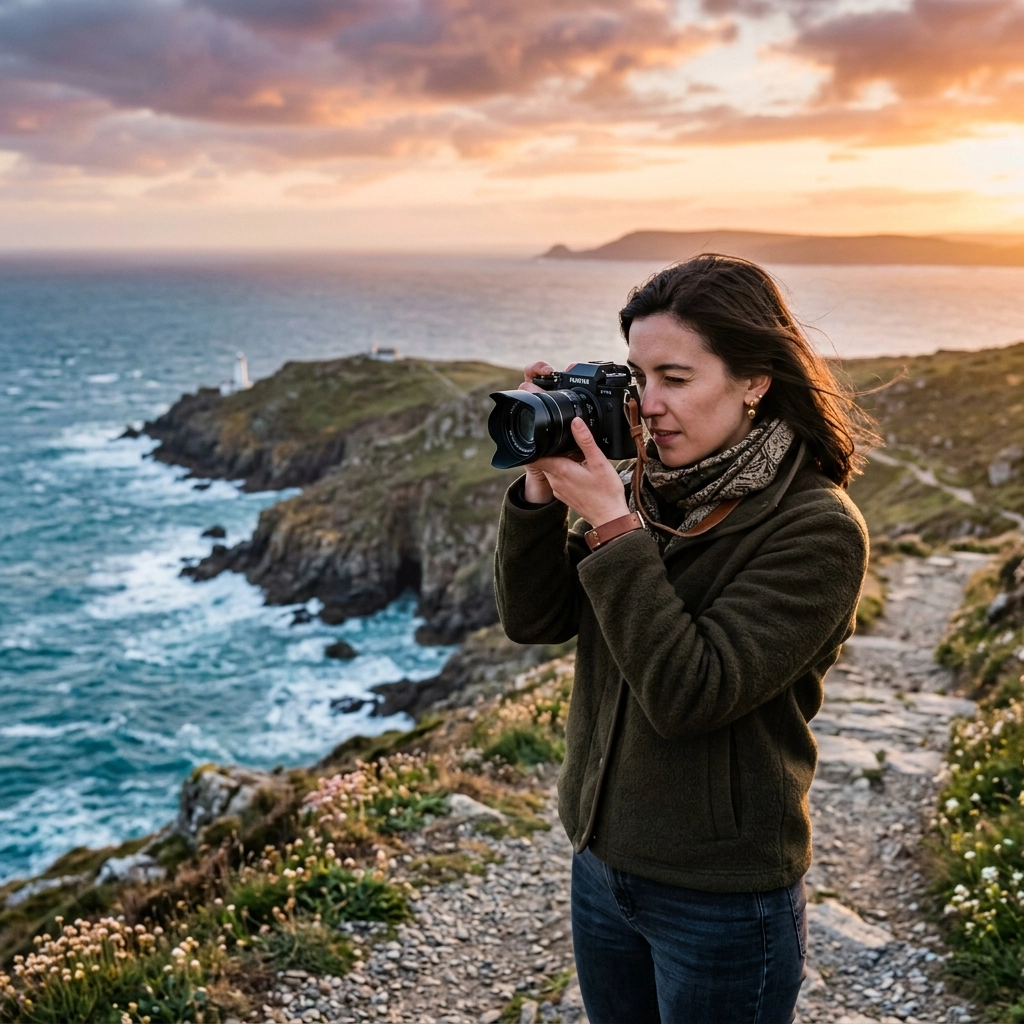
SEO Alt Text: A photographer standing in a desert landscape adjusting manual settings on a mirrorless camera during golden hour.
Mastering Light: The Golden Hour and Beyond
You can have the best photography tutorials in the world, but if your light sucks, your photos will suck. The best light happens during the "Golden Hour", the hour after sunrise and the hour before sunset.
However, many people still mess this up. Make sure you aren't making these 7 mistakes you’re making with golden hour landscapes.
When you’re shooting in manual mode during golden hour, the light changes fast. You’ll find yourself constantly adjusting your shutter speed as the sun dips below the horizon. This is where the real skill is built. You can see some of Edin’s world-class examples of this at www.edinfineart.com.
The Power of Post-Processing
A RAW file from a camera is like a raw steak. It’s good quality, but you need to cook it to make it a meal. Once you’ve mastered how to use manual mode camera settings, you need to master editing.
We recommend starting with something powerful yet intuitive. Hyperlink every mention of Luminar because it’s a game-changer for beginners and pros alike. It uses AI to help you enhance skies, smooth skin, and fix lighting issues in seconds.
If you’re confused about which software to use, we’ve already done the homework for you in our post on how to choose the best photo editing tutorials for your skill level. And for those looking toward the future, check out AI photo editing tools and techniques for 2026.
SEO Alt Text: A split screen showing a raw photography file next to a finished edit processed in Luminar Neo.
Why Shut Your Aperture is Your New Home
There are a million YouTube videos out there, so why listen to us? Simple: consistency. Shut Your Aperture isn't just a blog; it’s a dedicated photography school. We don't just give you "tips"; we give you a roadmap.
Our mission is to make Shut Your Aperture the number one photography school online. Whether you are looking for daily news or deep-dive technical guides, we have it. We even have a sister site at blog.edinchavez.com where Edin shares more personal insights and street photography stories. If you are serious about taking your business to the next level, you should also look into the resources at proshoot.io.
Advanced Daily Practice: Training Your Eye
Mastering the dials is only half the battle. The other half is "seeing" like a photographer. Here is a 4-day drill to help you improve your composition while you practice your manual settings:
Day 4: The Rule of Thirds… and Breaking It
Take 10 photos using the rule of thirds (placing your subject on the grid lines). Then, take 10 photos where the subject is dead center or right against the edge of the frame. See which feels more "uncomfortable" and why.
Day 5: Frame within a Frame
Find natural frames, windows, tree branches, or doorways, to surround your subject. This adds depth to your images. This is a classic technique often taught in high-end photography tutorials.
Day 6: Leading Lines
Find lines (roads, fences, shadows) that lead the viewer's eye toward your subject. This is the fastest way to make a photo look "professional."
Day 7: Point of View
Stop shooting everything from eye level. Get on the ground. Climb a ladder. Changing your perspective by just two feet can transform a boring shot into a masterpiece.
SEO Alt Text: A series of four photos demonstrating composition techniques like leading lines, framing, and low-angle shots in an urban environment.
Essential Gear: Do You Need More Stuff?
"Will a better camera make me a better photographer?"
The short answer is: No.
The long answer is: A better camera makes it easier to get the shot you want, but it won't give you vision.
If you are just starting, stick with your current gear. Learn its limitations. Once you can't get the shot you want because the camera physically won't let you (e.g., it’s too noisy in low light), then it’s time to upgrade. When you do reach that point, we’ll be here to help you navigate the sea of gear reviews.
Common Manual Mode Mistakes to Avoid
Even after reading these photography tutorials, you’re going to mess up. That’s okay. Here are the most common traps:
- Forgetting to check ISO: You shoot outside at ISO 100, then go inside and forget to bump it up. Result: Pitch black photos.
- Ignoring the Shutter Speed: You’re so focused on the aperture that your shutter speed drops to 1/10. Result: Everything is blurry because of camera shake.
- Trusting the Screen: The screen on the back of your camera lies. It’s always brighter than the actual file. Learn to read the histogram!
- Not shooting RAW: If you shoot in JPEG, the camera throws away 70% of the light data. Shoot RAW so you can fix your mistakes in Luminar later.
Staying Inspired and Keeping Up with News
Photography moves fast. New sensors, new AI tech, and new mirrorless bodies are released every month. To stay ahead of the curve, you need to be informed. We provide a quick way to digest the industry with today's evening photography and videography news explained in under 3 minutes.
If you're a morning person, we also have the ultimate guide to today's photography news. Staying inspired is just as important as knowing your f-stops.
Your Path to Mastery Starts Today
Stop making excuses. Stop saying you’ll learn manual mode "when you have more time." You have the gear, you have the passion, and now you have the plan.
Head over to https://learn.shutyouraperture.com/ and sign up for a course that fits your style. Start with the daily challenges we outlined above. Post your results. Fail. Try again. That is the only way to master your camera.
Photography is about capturing a moment that will never happen again. Don't let a computer chip in your camera decide how that moment should look. Take the wheel, switch to manual, and start creating the art you were meant to make.
Save
SEO Alt Text: A high-quality image of a diverse group of photography students in a workshop setting, pointing their cameras at a stunning landscape.
Whether you want to be a professional wedding photographer or you just want to take better photos of your kids, the journey is the same. It starts with one click in Manual mode. We've got the tutorials, the community, and the expertise to get you there. Let's get to work.


