
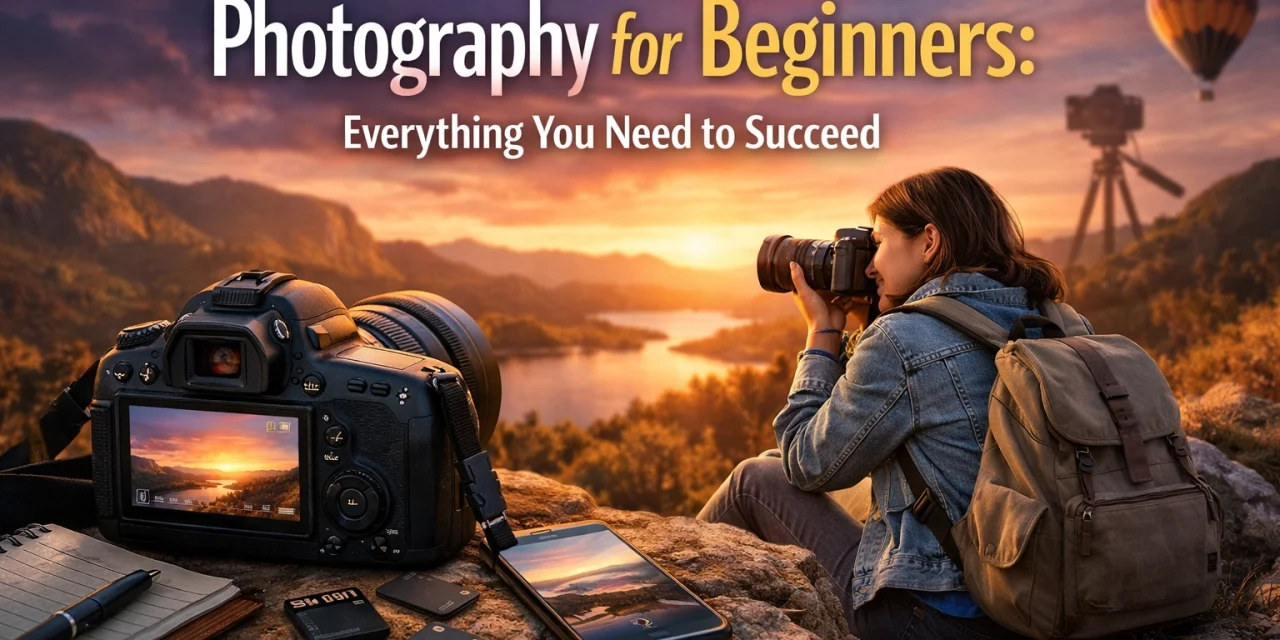
So, you’ve finally done it. You’ve traded in the "point-and-hope" method of your smartphone for a real camera, or maybe you're just looking to squeeze more potential out of the device in your pocket. Either way, welcome to the club. Photography is one part science, one part art, and about eight parts "why is this photo so dark?"
At Shut Your Aperture, we believe photography shouldn't feel like a physics exam. It should be fun, intuitive, and occasionally a little bit messy. This guide is here to take you from "accidental masterpiece" to "consistent pro." We’re going to break down the technical jargon, help you see light differently, and give you the confidence to flip that dial off the "Auto" setting.
The Foundation: Mastering the Exposure Triangle
If photography had a "Holy Trinity," this would be it. The Exposure Triangle is the relationship between Aperture, Shutter Speed, and ISO. These three settings work together to determine how bright or dark your photo is: and more importantly, how it looks.
Think of it like a window with shutters. The size of the window (Aperture), the length of time the shutters stay open (Shutter Speed), and how sensitive the glass is to light (ISO) all decide how much light enters the room.
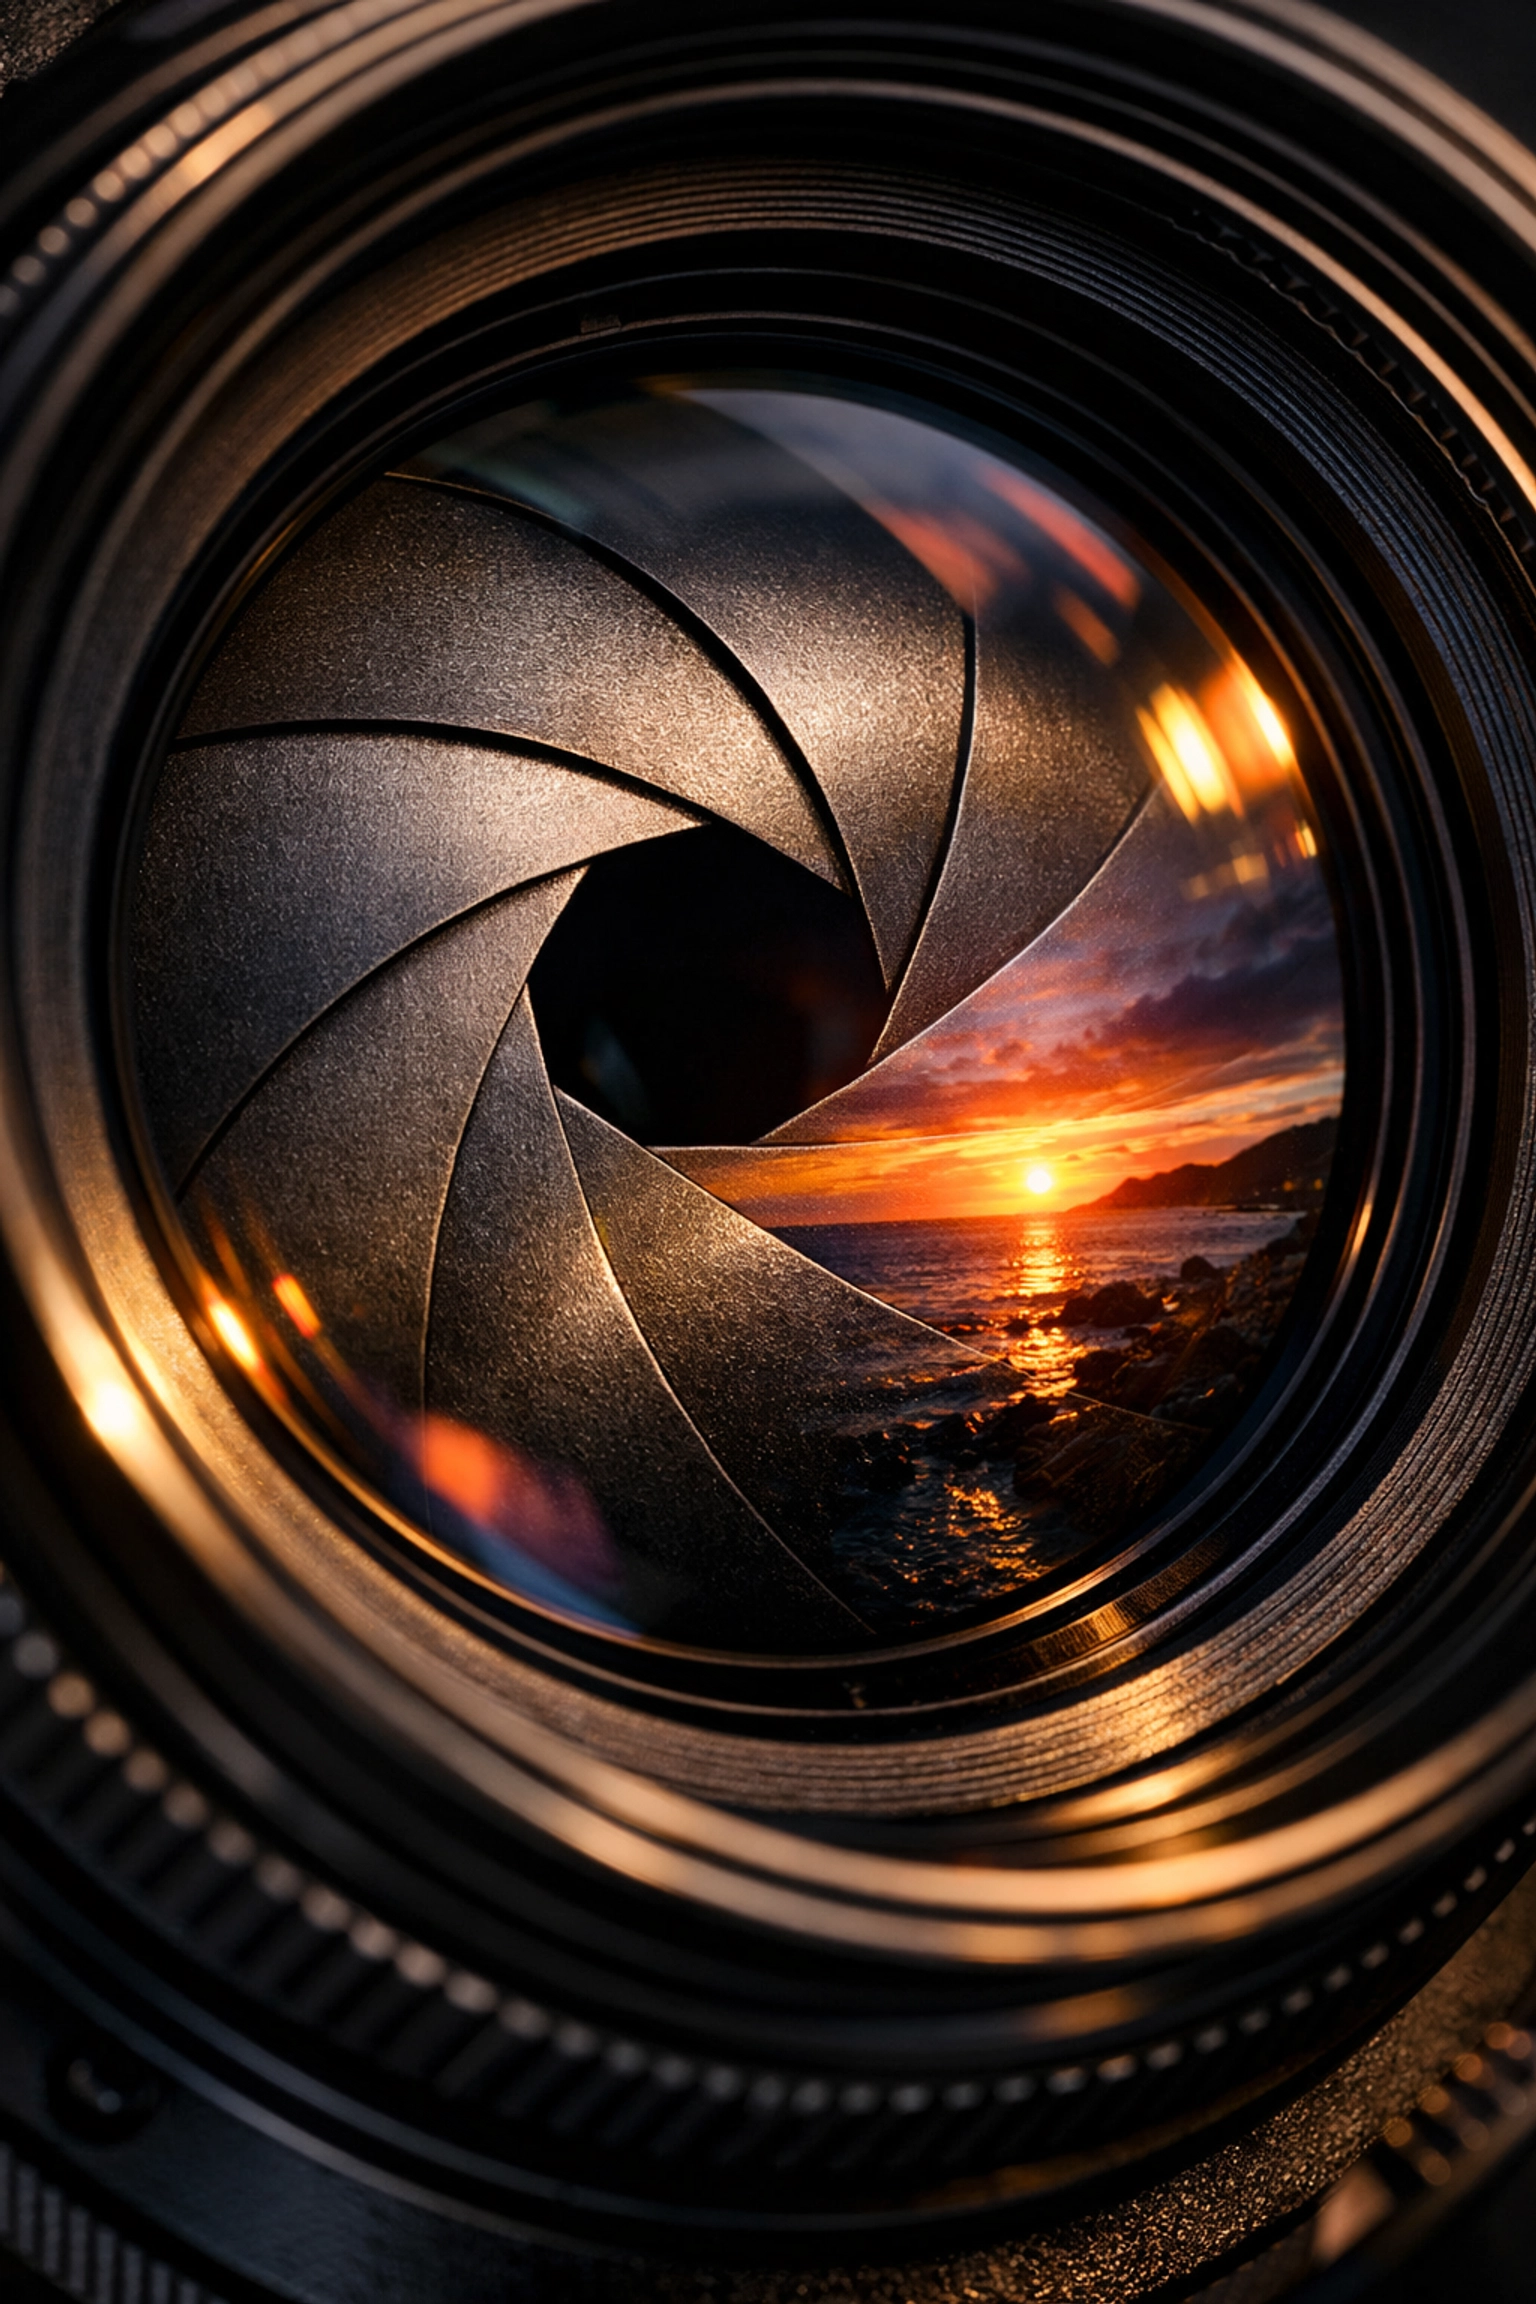
1. Aperture (The "F-Stop")
Aperture controls the opening in your lens. It’s measured in f-stops (like f/1.8 or f/11). This is where things get a little counter-intuitive: a lower number means a larger opening.
- Low f-stop (f/1.8, f/2.8): Lets in tons of light and gives you that creamy, blurry background (bokeh) that makes portraits pop.
- High f-stop (f/8, f/11, f/16): Lets in less light but keeps everything from the foreground to the background in sharp focus. This is your best friend for landscape photography.
2. Shutter Speed
This is how long your camera’s sensor is exposed to light.
- Fast shutter (1/1000s): Freezes motion. Perfect for sports or hyperactive dogs.
- Slow shutter (1/30s or longer): Blurs motion. This is how photographers get those silky-smooth waterfalls. Just remember: if you go slow, you’re going to need a tripod to avoid "camera shake" (the nemesis of a sharp photo).
3. ISO
ISO is your camera’s sensitivity to light.
- Low ISO (100-400): Best for bright, sunny days. It produces the cleanest, crispest images.
- High ISO (1600+): Necessary for low-light situations, like a dim restaurant or a concert. The trade-off? High ISO adds "noise" or grain to your photo.
For a deeper dive into making these three play nice, check out our Manual Mode 101 guide.
Essential Camera Settings You Need to Know
Once you understand the exposure triangle, you’ll notice your camera has a lot of other buttons. Don’t panic. You don’t need to know all of them today, but these four will change your life:
White Balance
Ever take a photo indoors and everyone looks like they have a bad spray tan? That’s a White Balance issue. Different light sources have different "colors." White Balance tells your camera what "white" actually looks like so your colors remain natural.
Focus Modes
Most cameras offer "Single Shot" (AF-S) for things that stay still and "Continuous" (AF-C) for things that move. If you’re shooting a portrait, use AF-S. If you’re shooting a bird flying by, flip to AF-C.
Metering Modes
Your camera is constantly trying to guess the exposure. Metering modes tell the camera where to look to make that guess. "Evaluative" looks at the whole scene, while "Spot" looks at one tiny point.
The Histogram
Stop relying on the screen on the back of your camera: it lies to you, especially in bright sunlight. The histogram is a little graph that shows you exactly how much light is in your shot. If the graph is all the way to the left, it’s too dark. All the way to the right? Too bright.
Shooting in RAW vs. JPEG
This is the "Paper vs. Plastic" of the photography world.
- JPEG: The camera processes the photo for you. It’s convenient, takes up less space, but "bakes in" the settings. You have less room to fix mistakes later.
- RAW: This is the uncompressed data from your sensor. The files are huge, but they hold a massive amount of detail. If you accidentally underexpose a shot, you can usually save it in post-processing if you shot in RAW.
For anyone serious about learning, shoot in RAW. You can find more tips on modern gear and formats in our article on why the latest photography news matters.
Composition: How to Stop Taking Boring Photos
You can have the most expensive camera in the world, but if your composition sucks, your photo sucks. Composition is simply how you arrange the elements in your frame.
The Rule of Thirds
Imagine a tic-tac-toe grid over your image. Instead of putting your subject dead-center (which can be a bit static), try placing them along the lines or at the intersections. It immediately makes the photo feel more balanced and professional.
Leading Lines
Use natural lines: like a road, a fence, or even a shoreline: to lead the viewer’s eye toward your subject. It creates a sense of depth and journey within a 2D image.
Framing
Look for "frames within the frame." A window, an overhanging tree branch, or an archway can help draw focus to your subject and add a layer of storytelling. This is a favorite technique in real estate photography to make spaces feel more inviting.
Change Your Perspective
Most people take photos from eye level. That’s boring. Get low. Climb something. Tilt your camera. A simple change in height can turn a mundane subject into something epic. For more on how perspective changes everything, read about vistas and perspectives.
The Power of Light
Photography literally means "writing with light." Without good light, you have nothing.
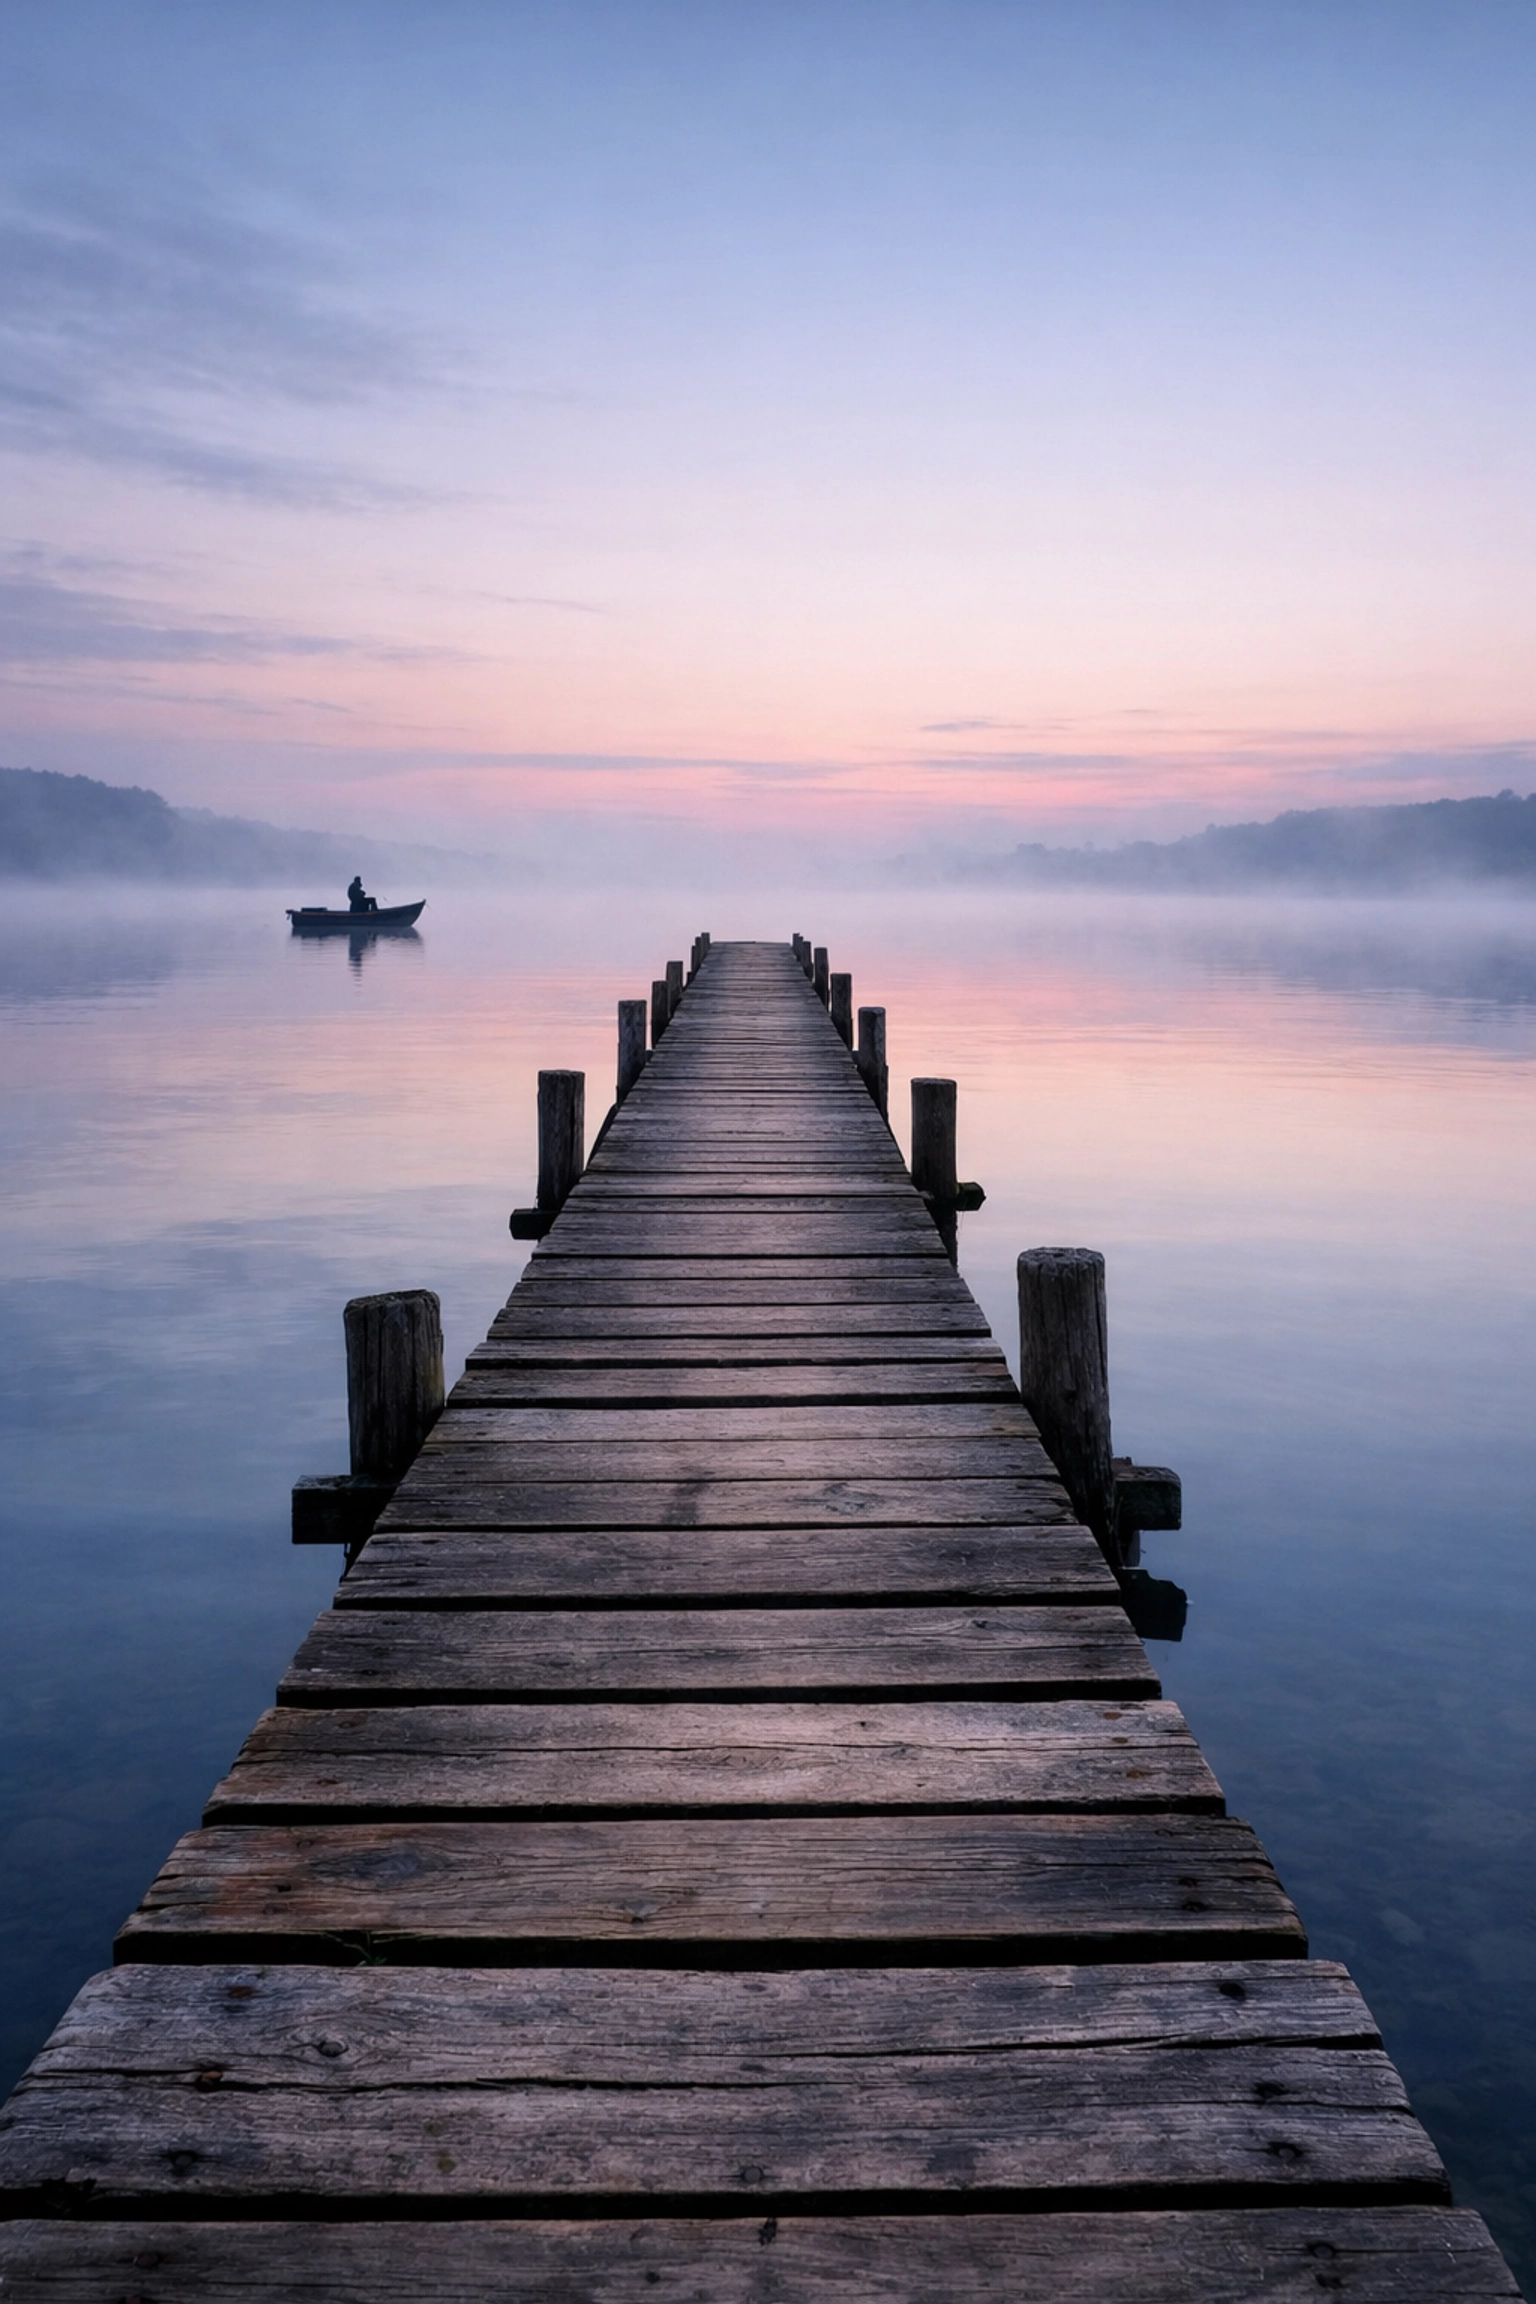
The Golden Hour
The hour after sunrise and the hour before sunset is the "Golden Hour." The light is soft, warm, and hits everything at an angle, creating beautiful shadows and textures. If you want to see how the masters do it, look at the techniques behind Peter Lik’s landscape photography.
Overcast Days are Your Friend
Beginners often think a bright, sunny noon is the best time for photos. It’s actually the worst. It creates harsh shadows under people's eyes (raccoon eyes) and blows out highlights. A cloudy day acts like a giant softbox, giving you even, flattering light that is perfect for portraits.
Understanding Luminosity
In some niches, like high-end property shooting, managing light becomes an art form. The role of luminosity in real estate is all about balancing the bright windows with the dark corners to create a "dreamy" look.
Gear: What Do You Actually Need?
It’s easy to get caught up in Gear Acquisition Syndrome (GAS). But here’s a secret: the best camera is the one you have with you. That said, if you’re looking to build a kit, start here:
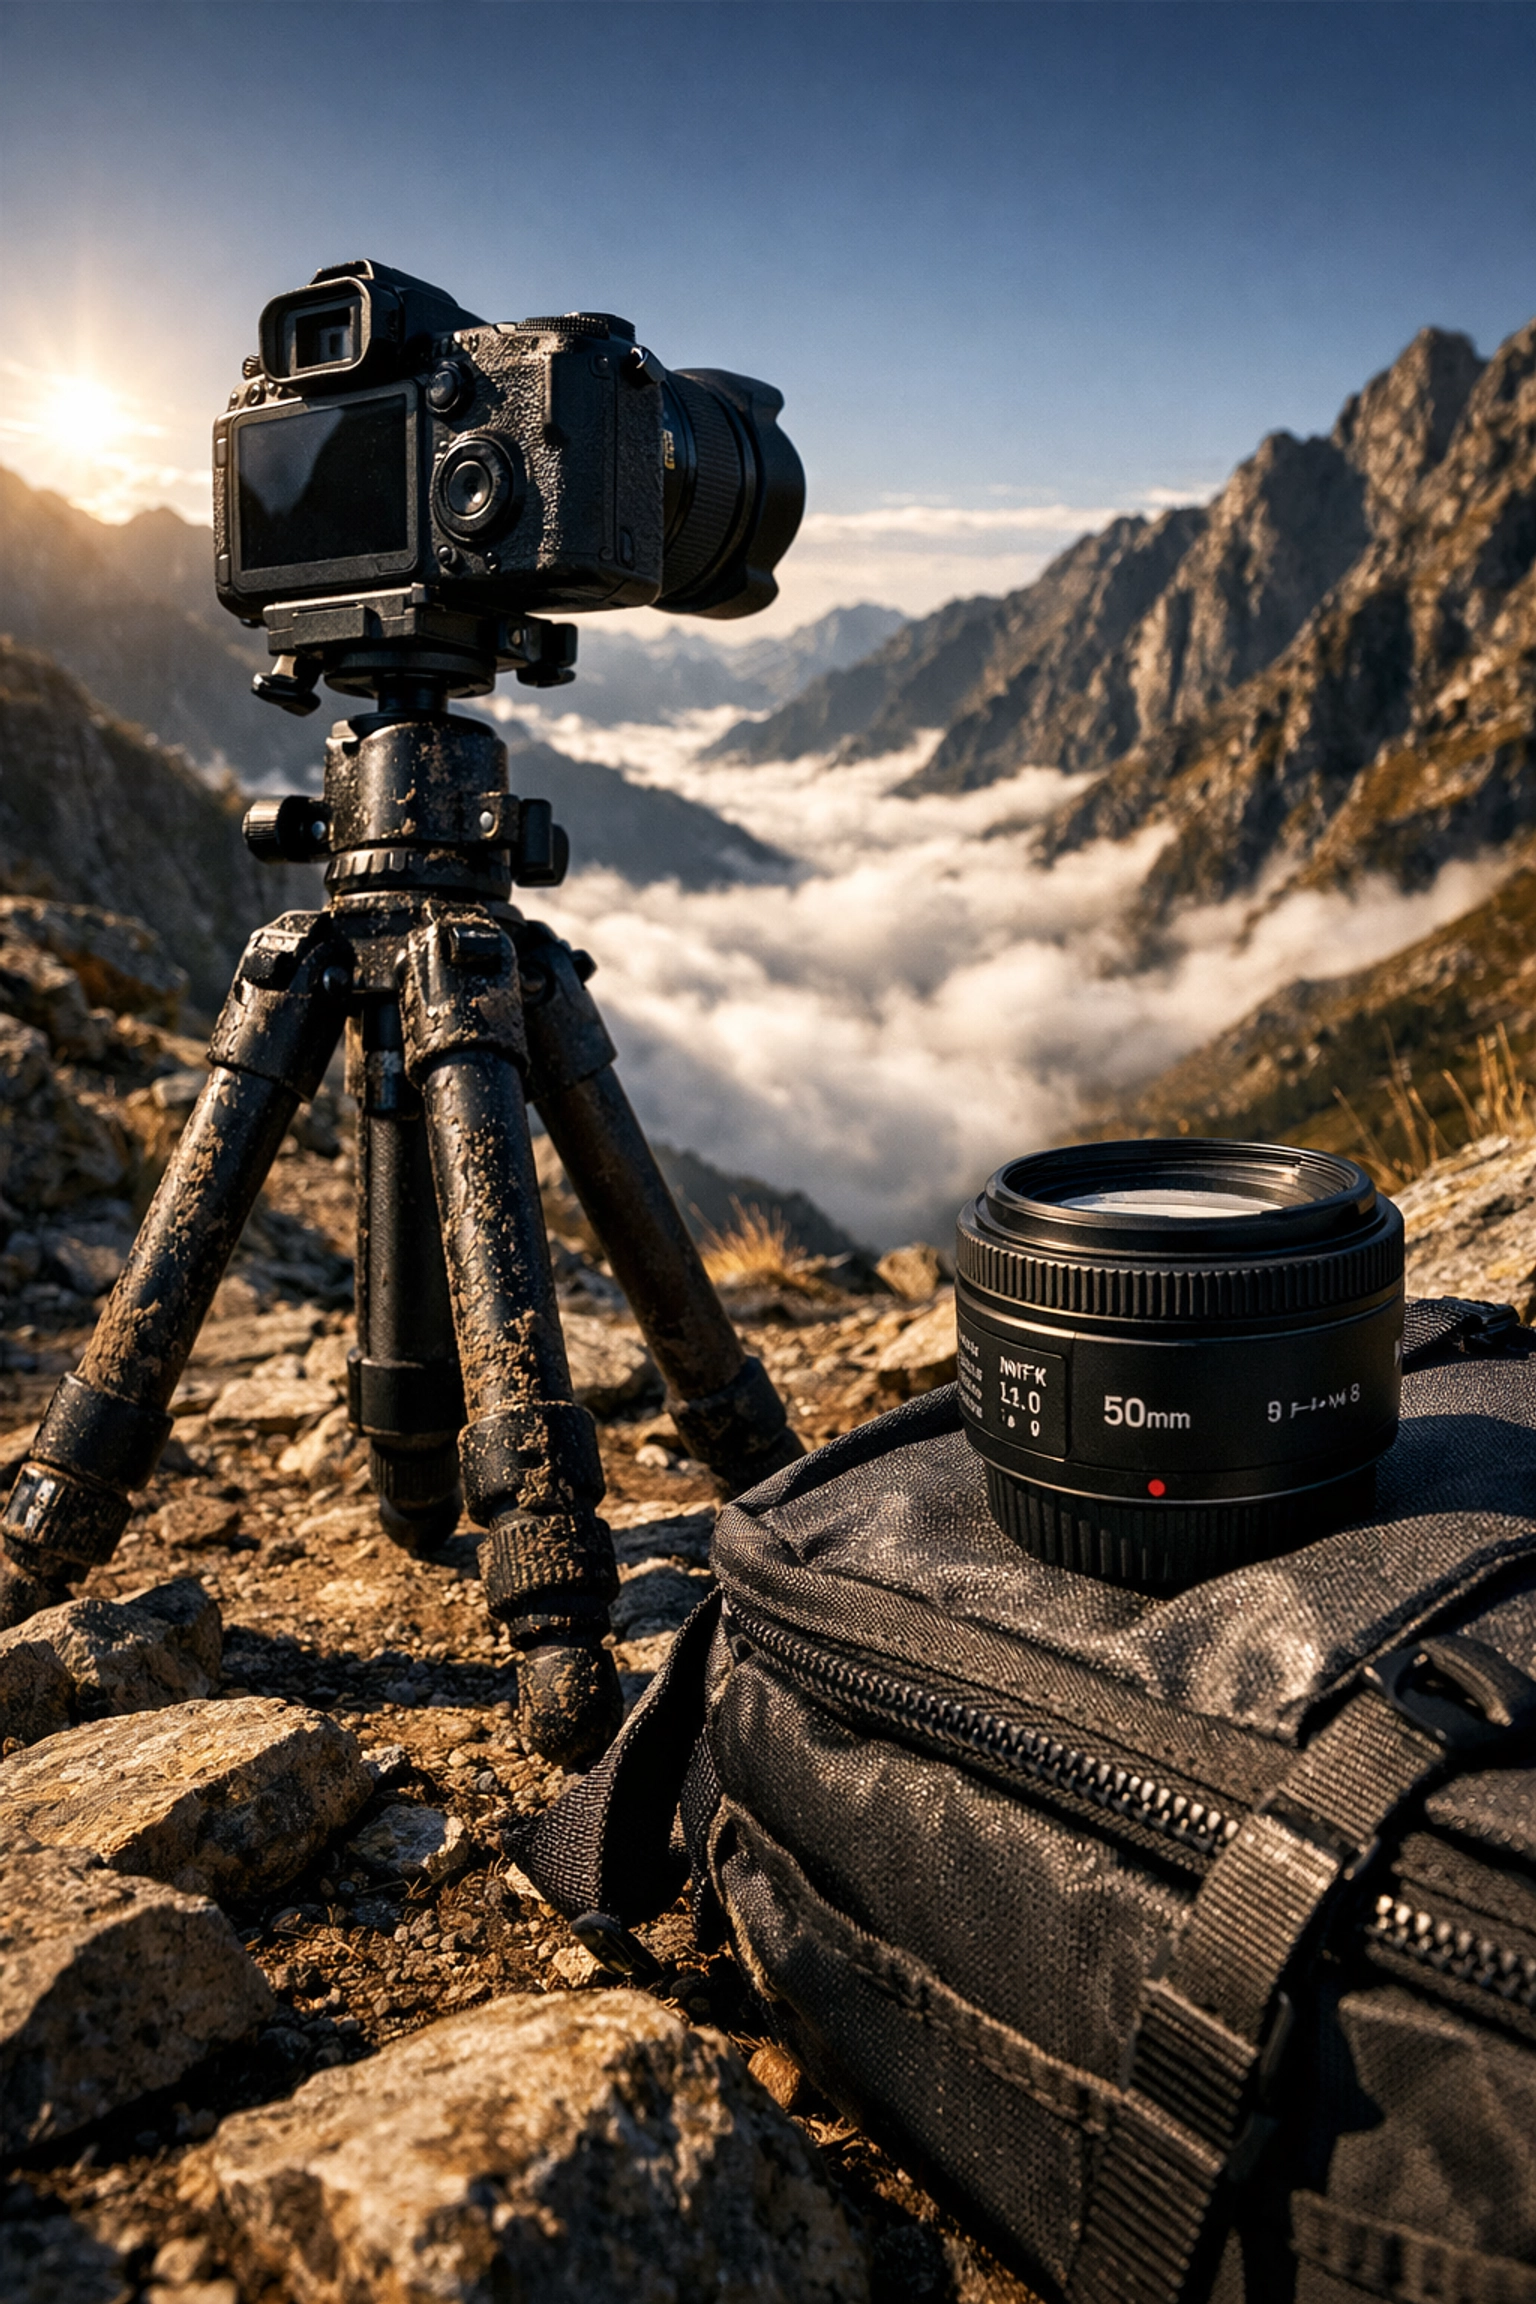
- A Sturdy Tripod: Non-negotiable for landscapes and low-light shots.
- A "Nifty Fifty": A 50mm f/1.8 lens is usually cheap, sharp, and great for portraits.
- Extra Batteries: Because your camera will always die right when the light gets perfect.
- Cleaning Kit: A thumbprint on your lens is the easiest way to ruin a $2,000 setup.
If you’re curious about where the tech is headed, check out the buzz around AI-integrated mirrorless cameras. AI is making it easier than ever for beginners to get sharp focus and perfect exposure automatically.
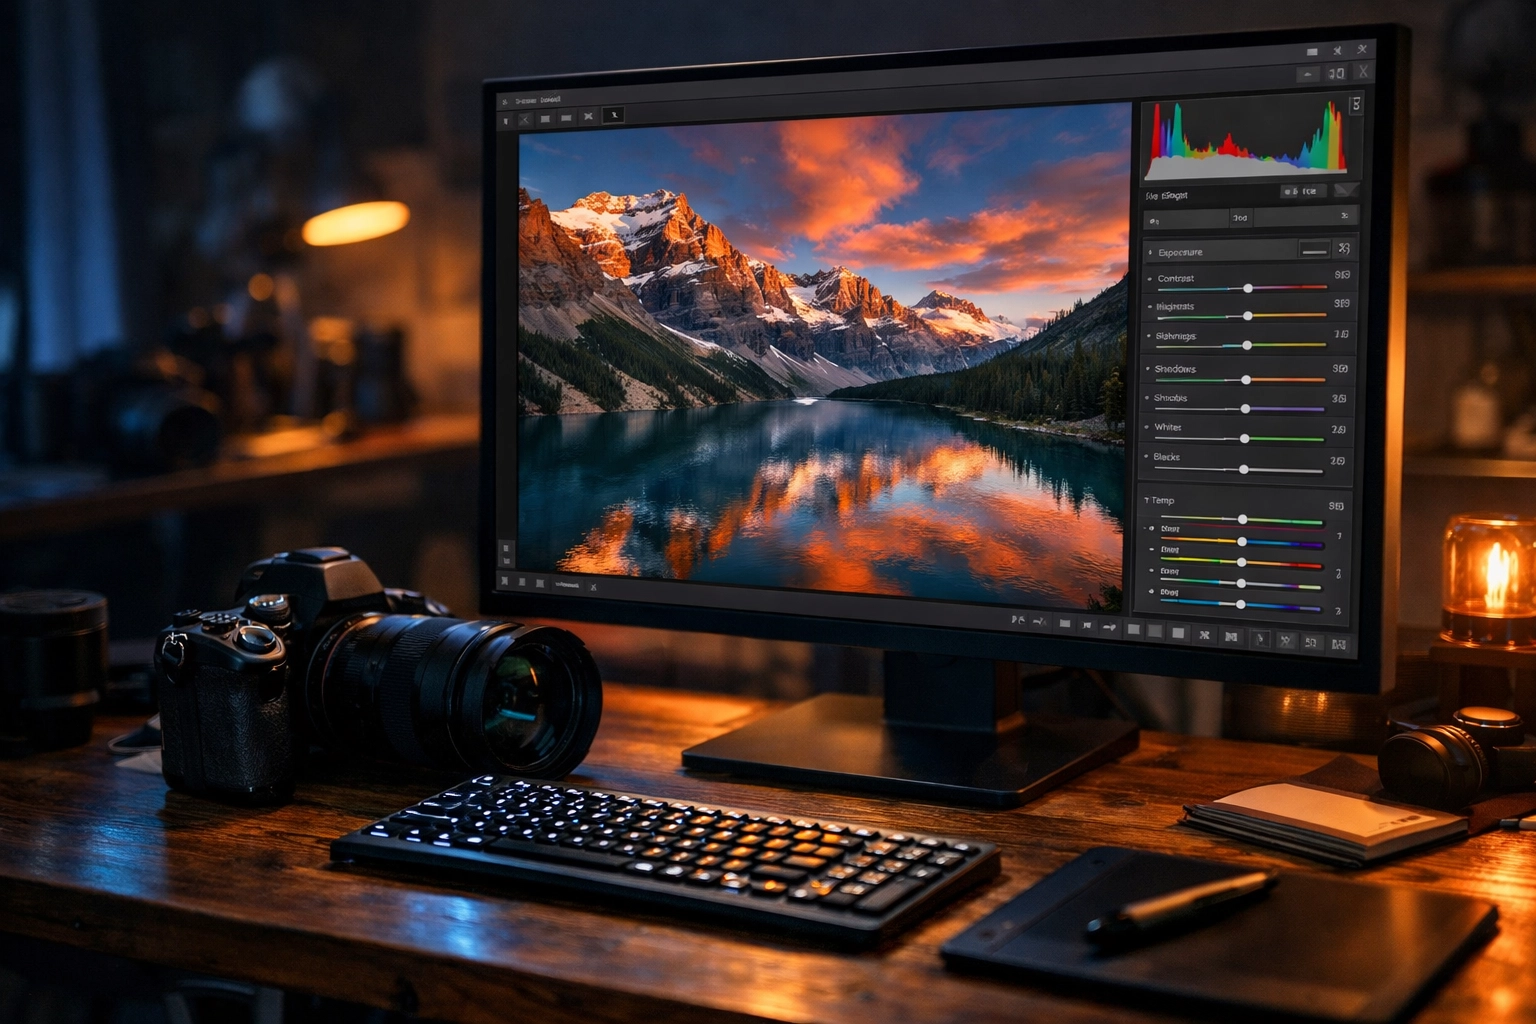
The Magic of Post-Processing
Taking the photo is only half the battle. The other half happens on your computer. Editing isn’t about "faking" a photo; it’s about bringing out the vision you had when you pressed the shutter.
While Adobe Lightroom is the industry standard, many beginners find it a bit intimidating. If you want something powerful but much more user-friendly, we highly recommend checking out Luminar. It uses AI to handle complex tasks like sky replacement or skin retouching with just a couple of clicks. It’s a game-changer for people who want pro results without spending six hours in front of a monitor.
For those looking for a comprehensive roadmap to mastering these tools, our ultimate guide to photography tutorials is a great place to start your journey in 2026.
Practical Tips to Get Better Fast
If you want to improve, you have to shoot. A lot. Here are some quick wins:
- Practice Every Day: Even if it’s just your cat in the kitchen.
- Study the Greats: Check out the impact of Peter Lik on photography trends to see how composition and color can scale to a global level.
- Don't Be Afraid to Fail: Most of your photos will be bad at first. That’s okay. Digital film is free.
- Get Feedback: Join a community or use resources like PhotoGuides.org to learn from others.
Photography is a Journey, Not a Destination
There is always something new to learn. One day you’re figuring out how to turn your camera on, and the next you’re wondering if cinematic techniques could transform your property showcases.
The most important thing is to keep your curiosity alive. Don't worry about having the most expensive gear or "likes" on Instagram. Focus on the feeling of capturing a moment that would otherwise be lost.
Whether you’re aiming to become a professional or just want better vacation photos, the fundamentals remain the same. Master your settings, understand your light, and never stop looking for a new perspective.
For more inspiration, you can always browse the fine art collections at Edin Fine Art or see what’s happening over at Edin Studios. And if you ever find yourself in need of professional-grade services, ProShoot.io is always there to help bridge the gap between amateur and elite.
Now, stop reading this and go take some photos. The light is probably perfect right now.


