
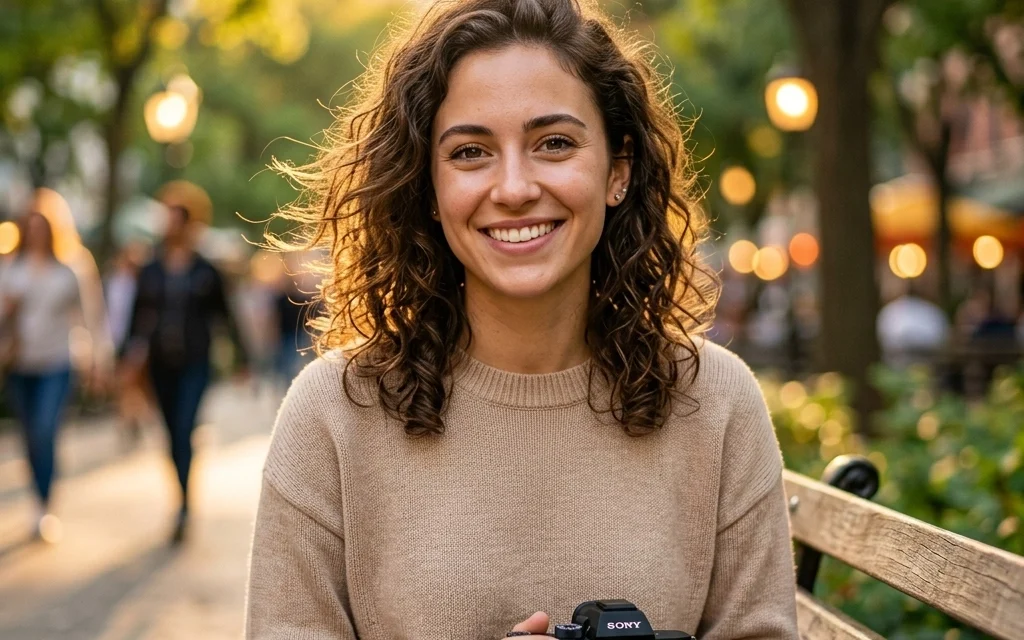
So, you want to take better portraits? You’ve come to the right place. Portrait photography is a lot more than just pointing a camera at a human and clicking the shutter. It’s about capturing a mood, a personality, and a story in a single frame. Whether you’re trying to level up your Instagram game or you’re looking to start a professional business, this guide is going to walk you through everything you need to know.
At Shut Your Aperture, we believe photography should be fun, not frustrating. Let’s dive into the gear, the settings, and the secrets to making your subjects look like rockstars.
What is Portrait Photography, Anyway?
In the simplest terms, portrait photography is the art of capturing the inherent character of your subject. It’s not just about what they look like; it’s about who they are. A great portrait makes the viewer feel like they know the person in the photo. It can be a tight headshot, a full-body lifestyle shot, or even a candid moment where the subject doesn’t even know you’re there.
If you’ve ever felt like your photos are missing that "spark," it’s probably because you’re focusing too much on the tech and not enough on the human connection. But don't worry: we’re going to cover both.
The Gear: What’s Actually in Your Bag?
You don’t need a $10,000 setup to take a great photo, but having the right tools makes the job a lot easier.
The Camera
Most modern DSLRs or mirrorless cameras will do the trick. The key is having a camera that allows for manual control. You want to be the boss of your ISO, Shutter Speed, and Aperture. If you’re looking for a deep dive into specific camera bodies, check out PhotoGuides.org for some solid technical breakdowns.
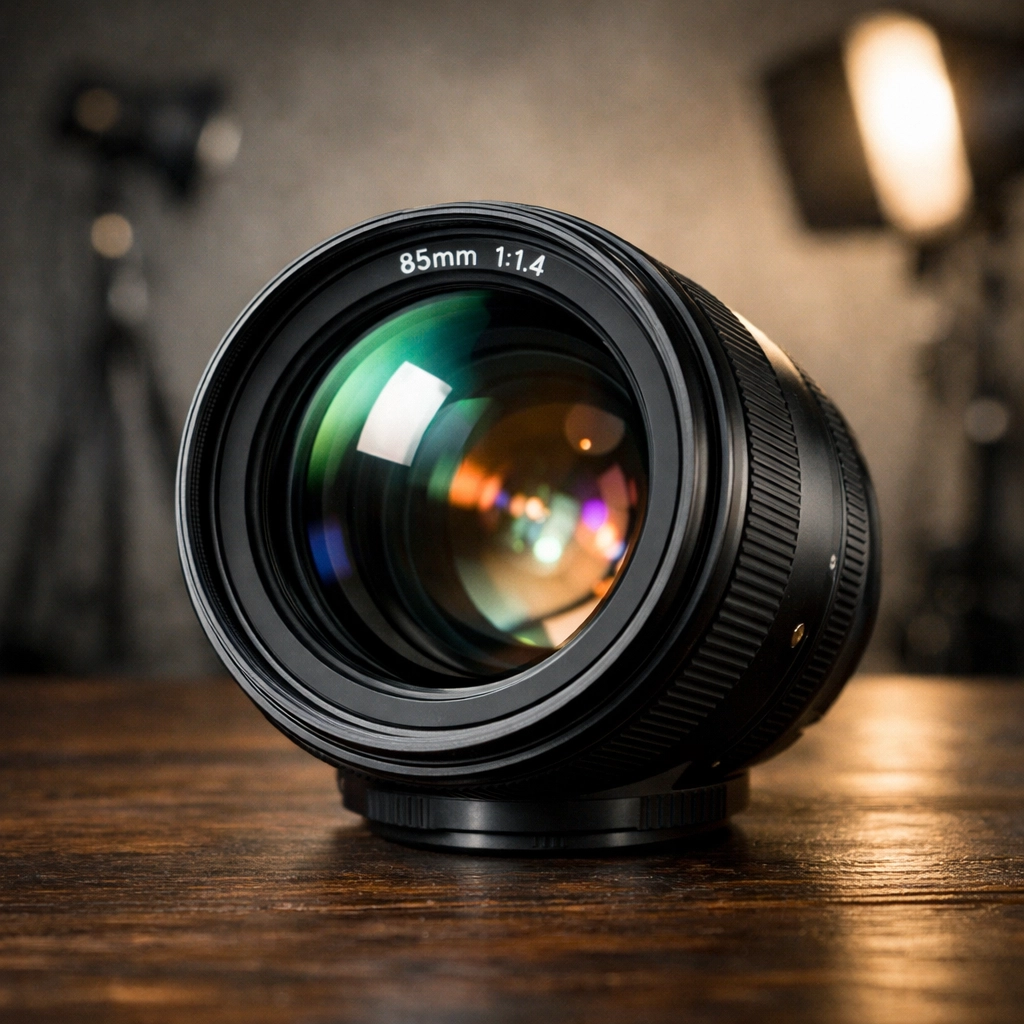
The Lenses (The Secret Sauce)
The lens is arguably more important than the camera body. For portraits, you want something that compresses the face and creates that creamy, blurry background (aka bokeh).
- 85mm Prime: This is the gold standard for full-frame cameras. It’s flattering, sharp, and keeps you at a comfortable distance from your subject.
- 50mm Prime: Often called the "Nifty Fifty," this is perfect for crop sensor cameras or full-length shots. It’s versatile and usually very affordable.
- 35mm Prime: Great for "environmental portraits" where you want to show the subject in their surroundings.
A wide aperture lens (anything from f/1.4 to f/2.8) is your best friend. It lets in more light and gives you that professional look.
Nailing the Technical Settings
If you’re still shooting on "Auto," it’s time to stop. Seriously. Turn that dial to Manual (M) or Aperture Priority (A/Av).
Aperture: The King of Depth
For portraits, you usually want a wide aperture. Setting your lens to f/1.8 or f/2.8 will blur the background, making your subject "pop." If you’re shooting a group, you might need to stop down to f/5.6 so everyone’s face stays in focus.
ISO: Keep it Clean
Keep your ISO as low as possible (ISO 100 or 200 is ideal). High ISO adds grain (noise), which can make skin look muddy. Only bump it up if you’re in a dark room and don’t have a flash.
Shutter Speed: Freeze the Moment
Humans move. Even when they think they’re being still, they’re swaying or blinking. Keep your shutter speed at 1/125th of a second or faster to ensure everything is tack-sharp.
Shoot in RAW
Always, always shoot in RAW format. It preserves the most data, which gives you way more flexibility when you’re editing later. If you mess up the white balance or exposure, RAW can usually save your bacon.
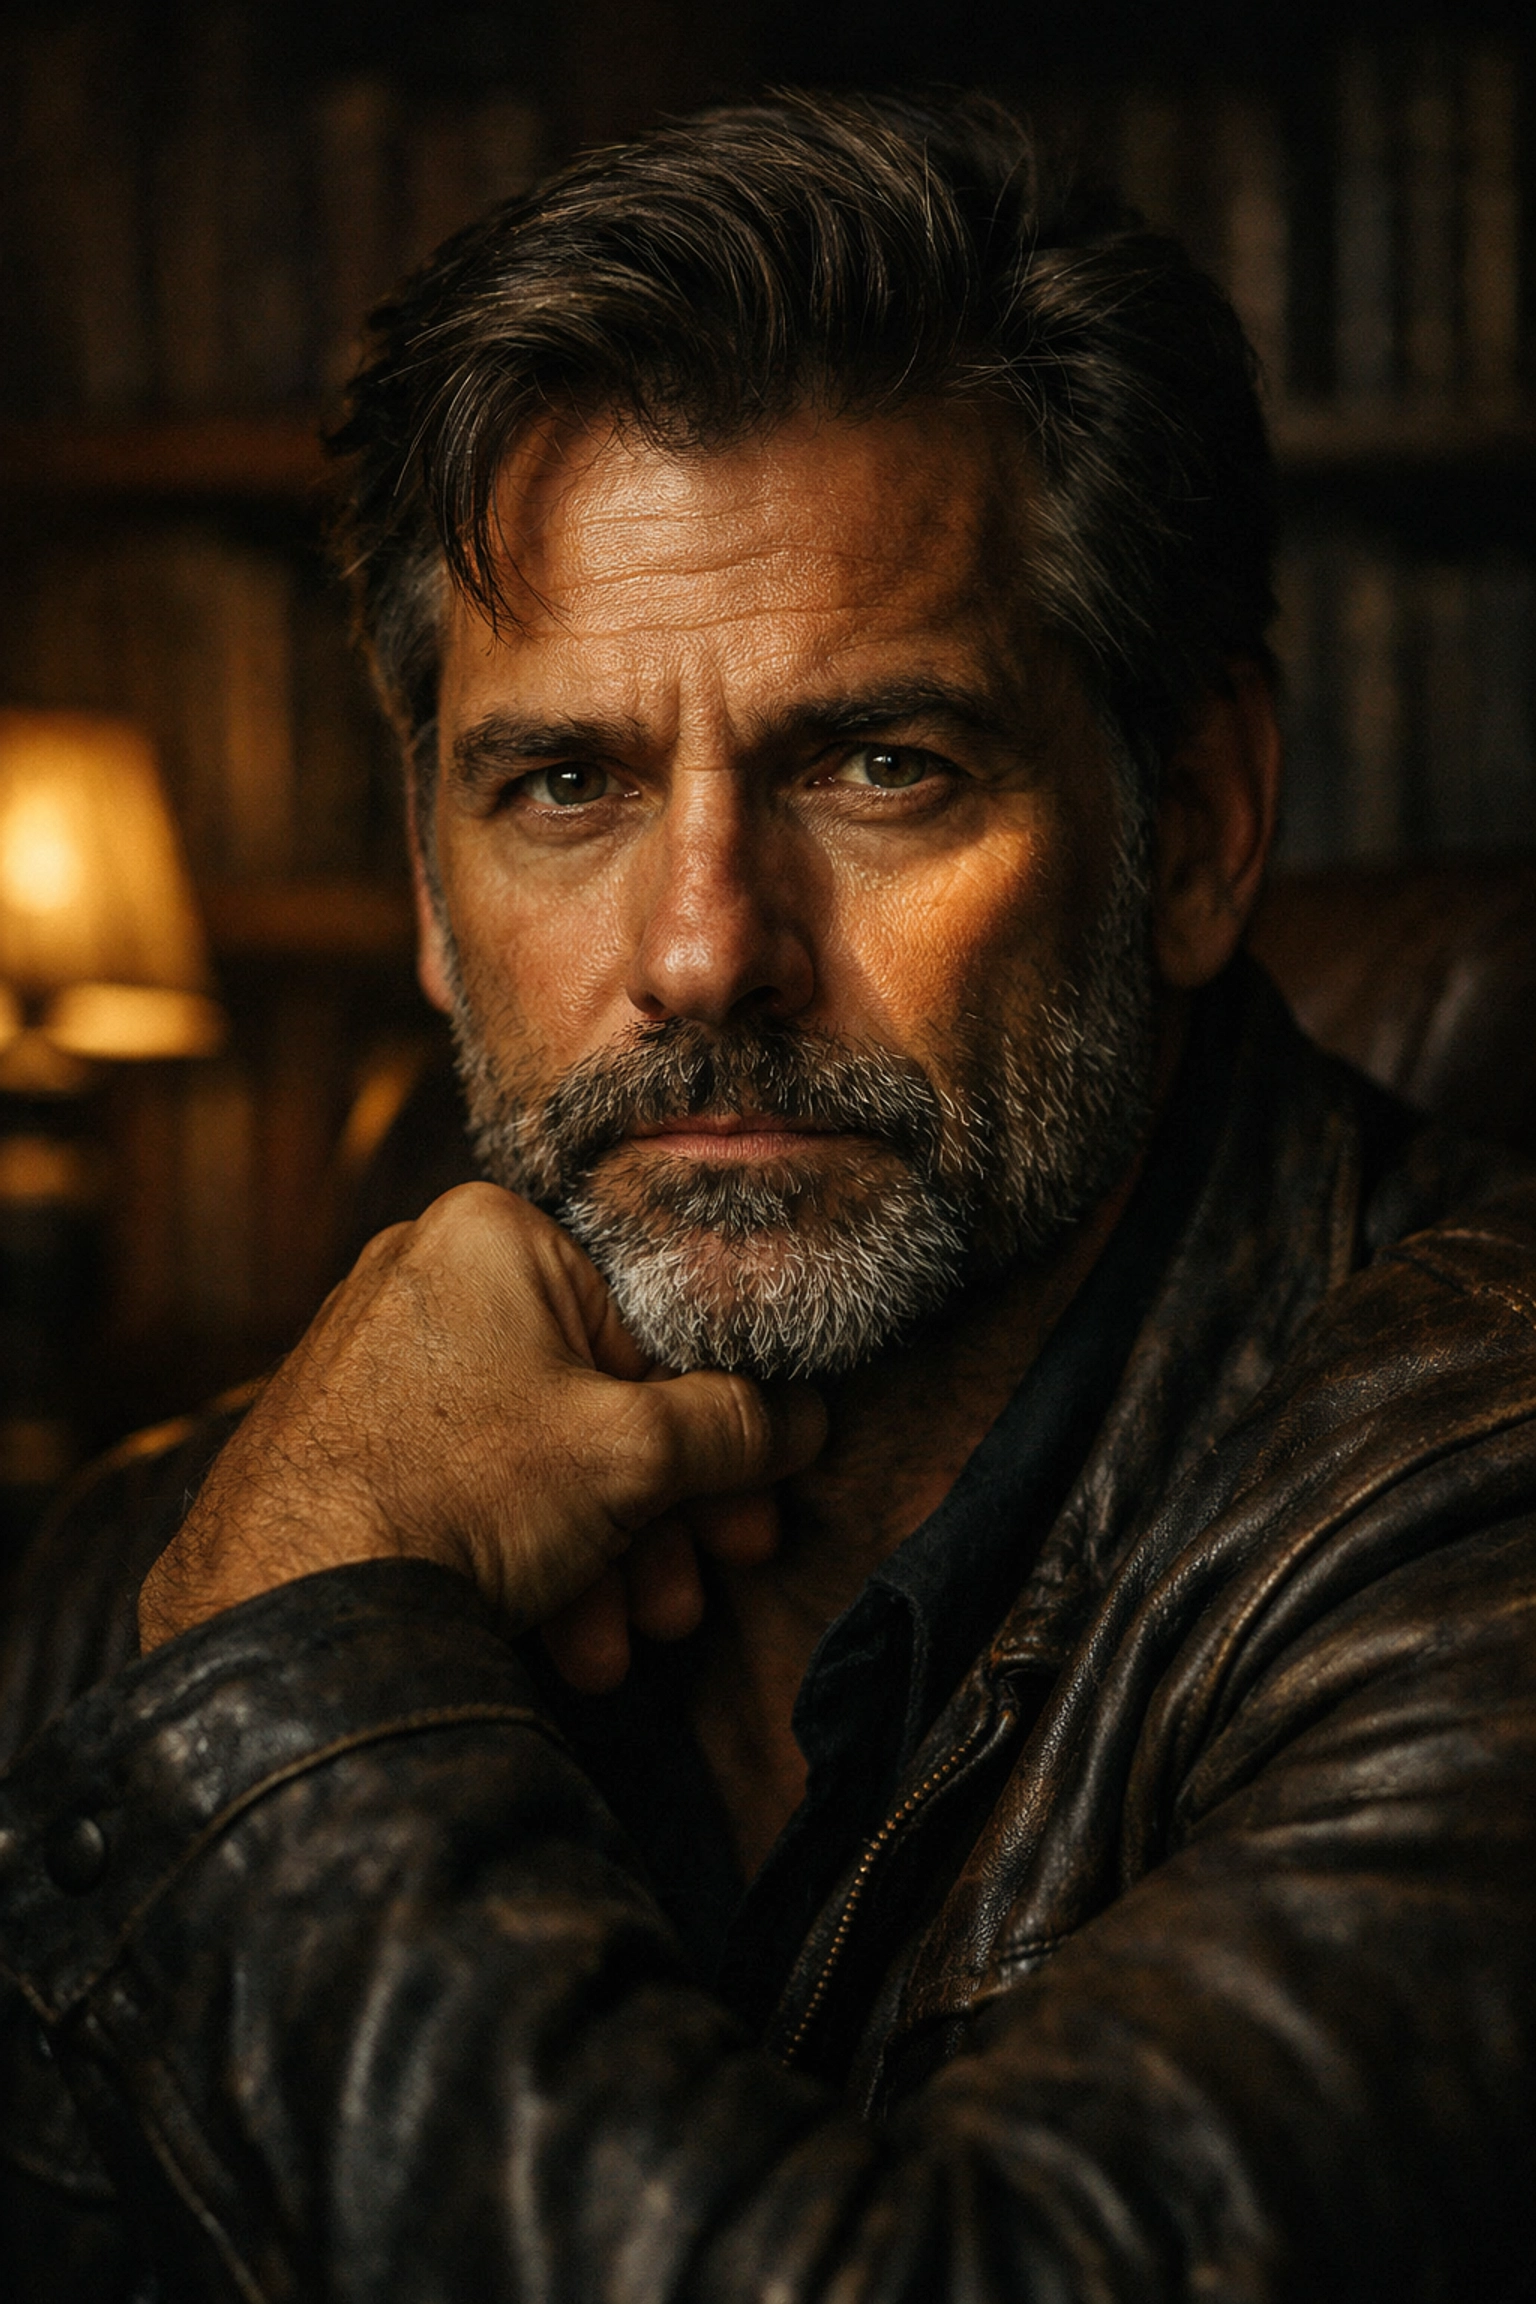
Mastering Light: The Make-or-Break Factor
Light is the most important element in any photo. You can have the best model in the world, but if the lighting is bad, the photo will be bad.
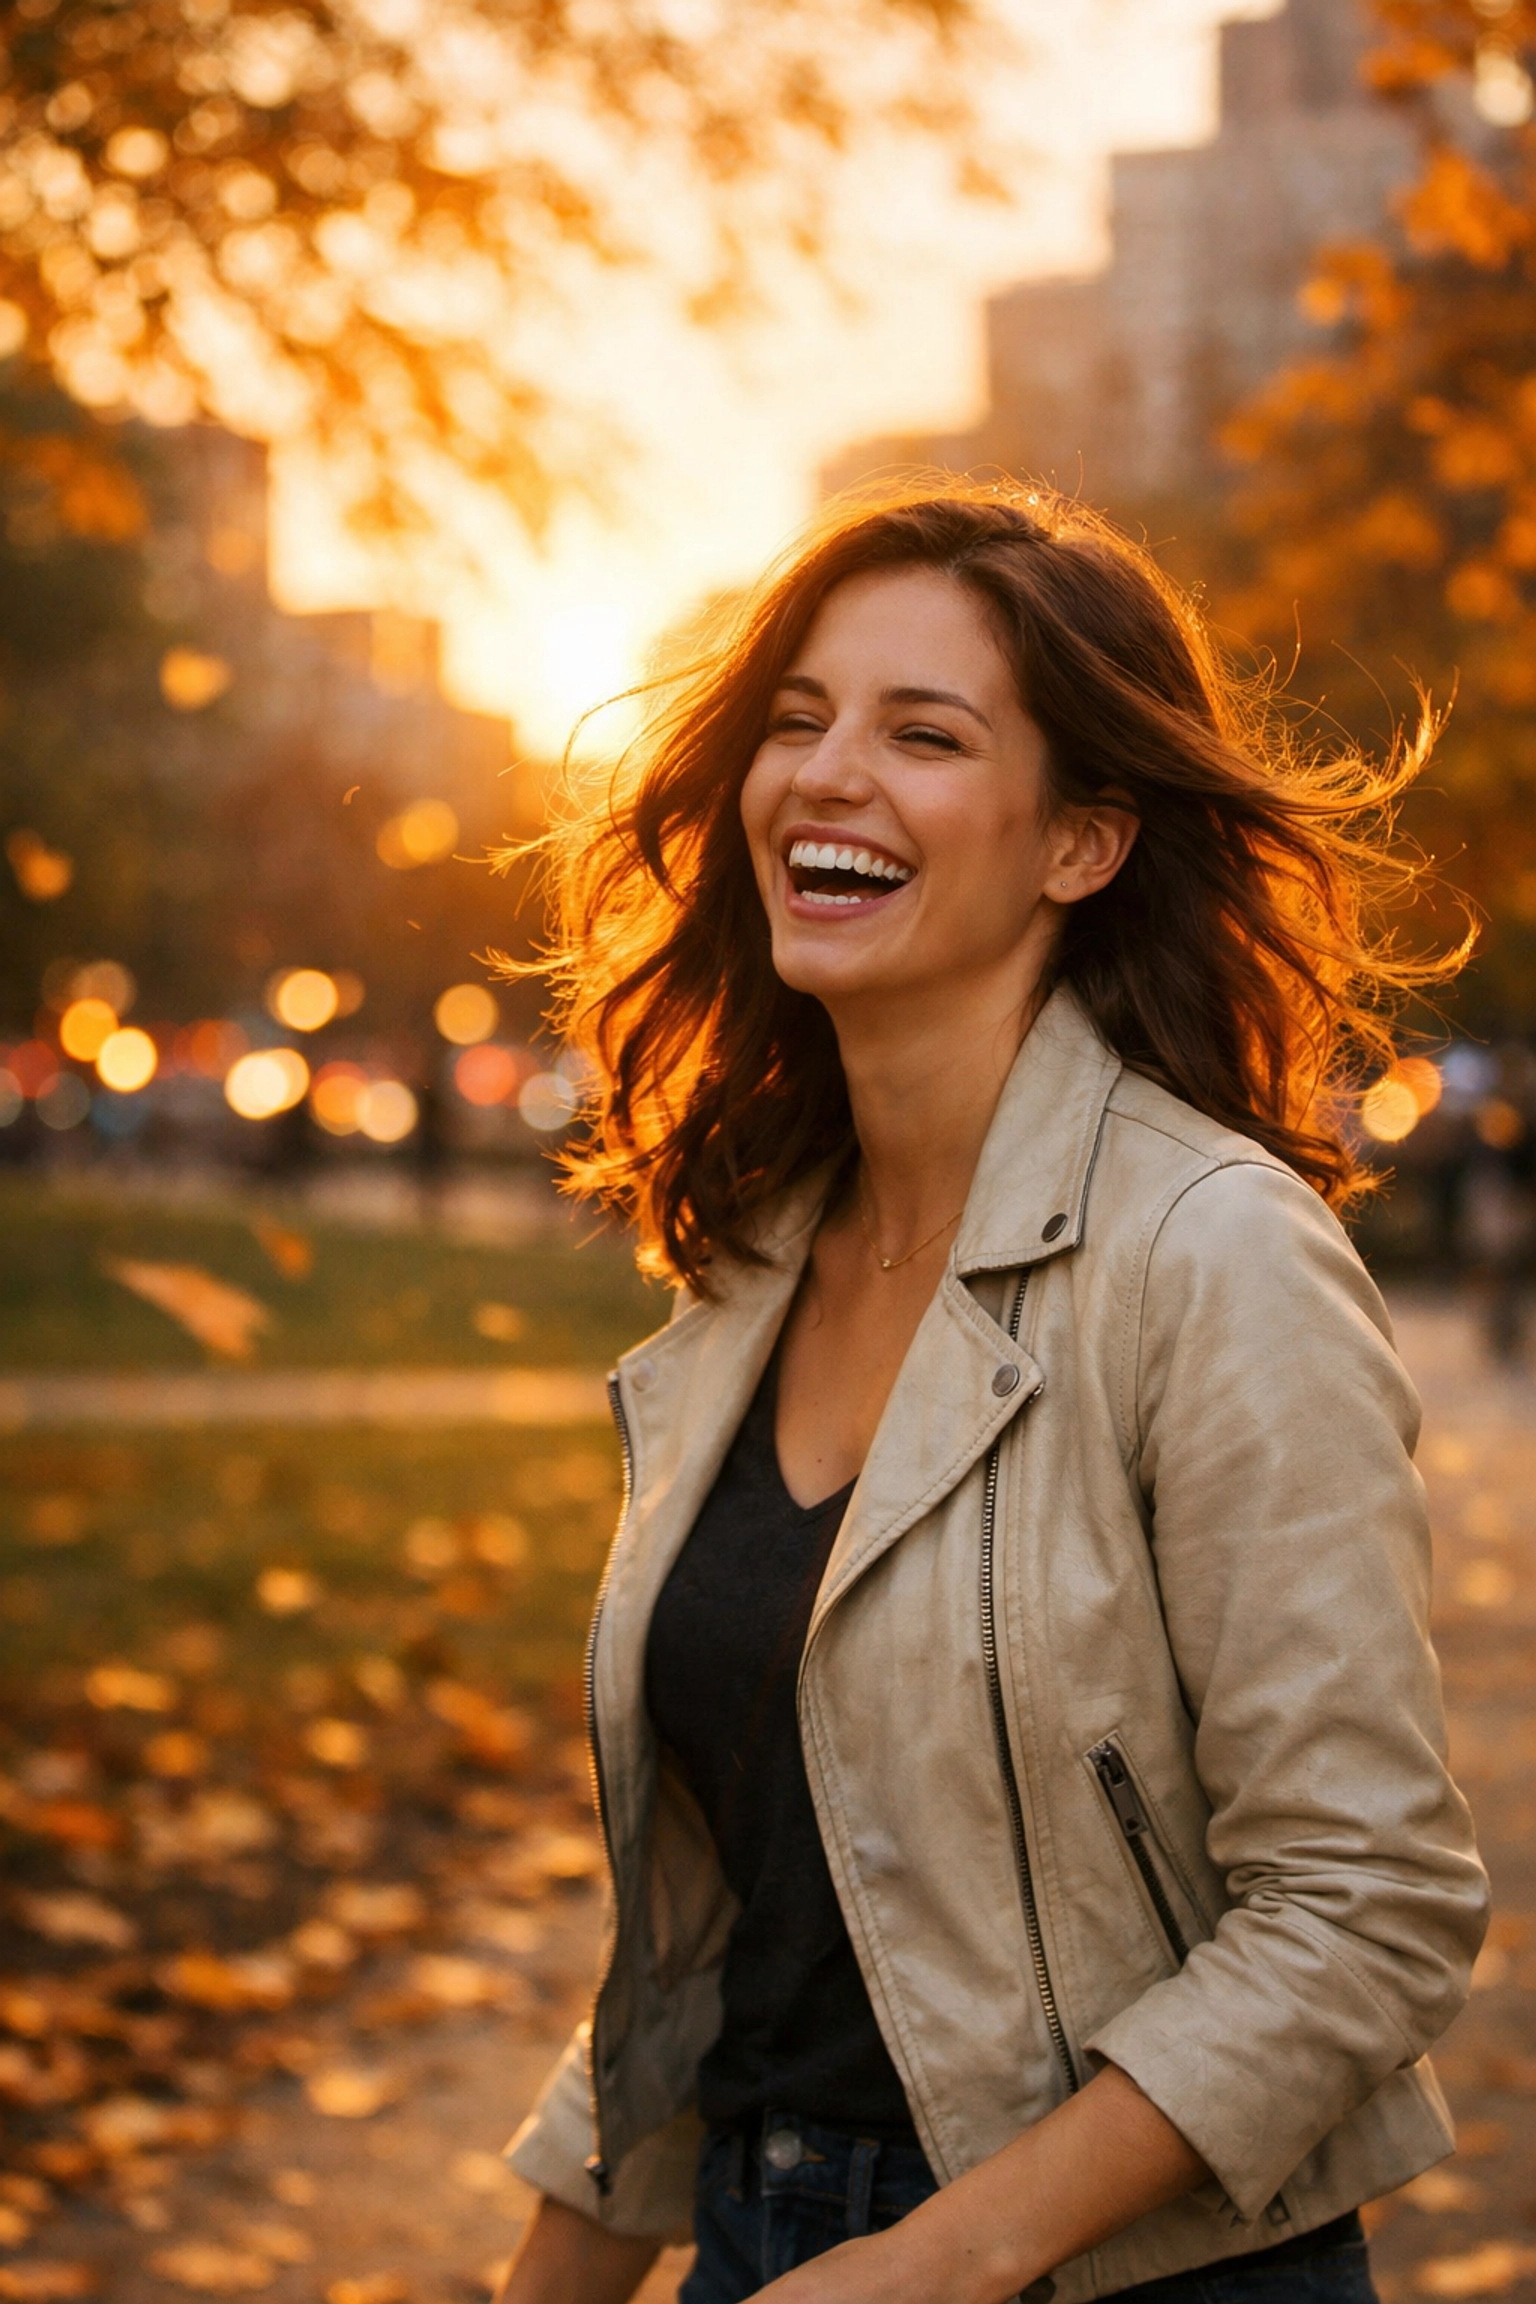
Natural Light
The "Golden Hour": the hour after sunrise or before sunset: is a photographer's playground. The light is soft, warm, and flattering. If you’re shooting in the middle of the day, find some "open shade" (like under a tree or in the shadow of a building) to avoid harsh shadows on the face.
Studio Lighting
If you want total control, you’ll need to head indoors. A simple one-light setup with a large softbox can create stunning results. You can see some professional examples of how light transforms a space over at www.edinstudios.com.
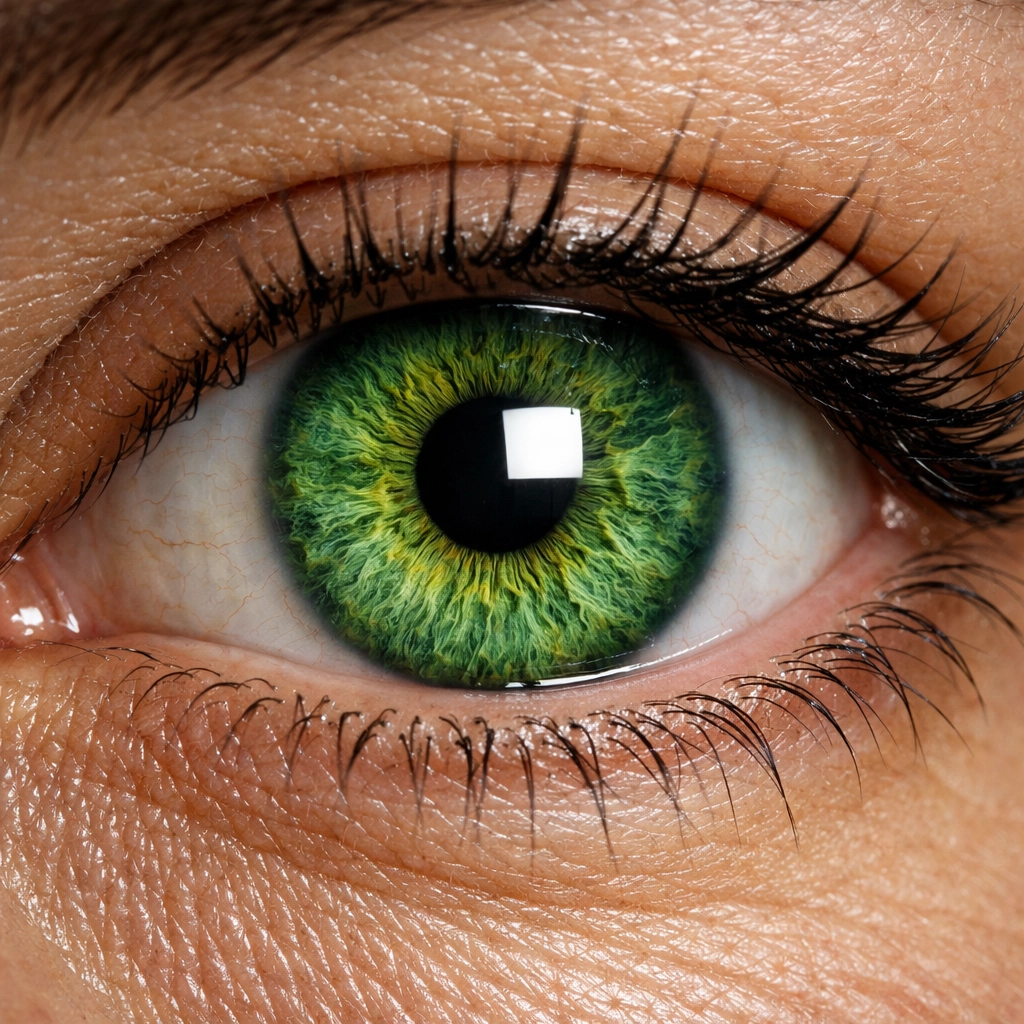
The Eyes Have It
Whatever light you use, make sure there are "catchlights" in the subject's eyes. These are the little reflections of the light source. Without them, the eyes look "dead" or flat. Focus your camera's focus point directly on the eye closest to the camera. If the eyes aren't sharp, the portrait is a fail.
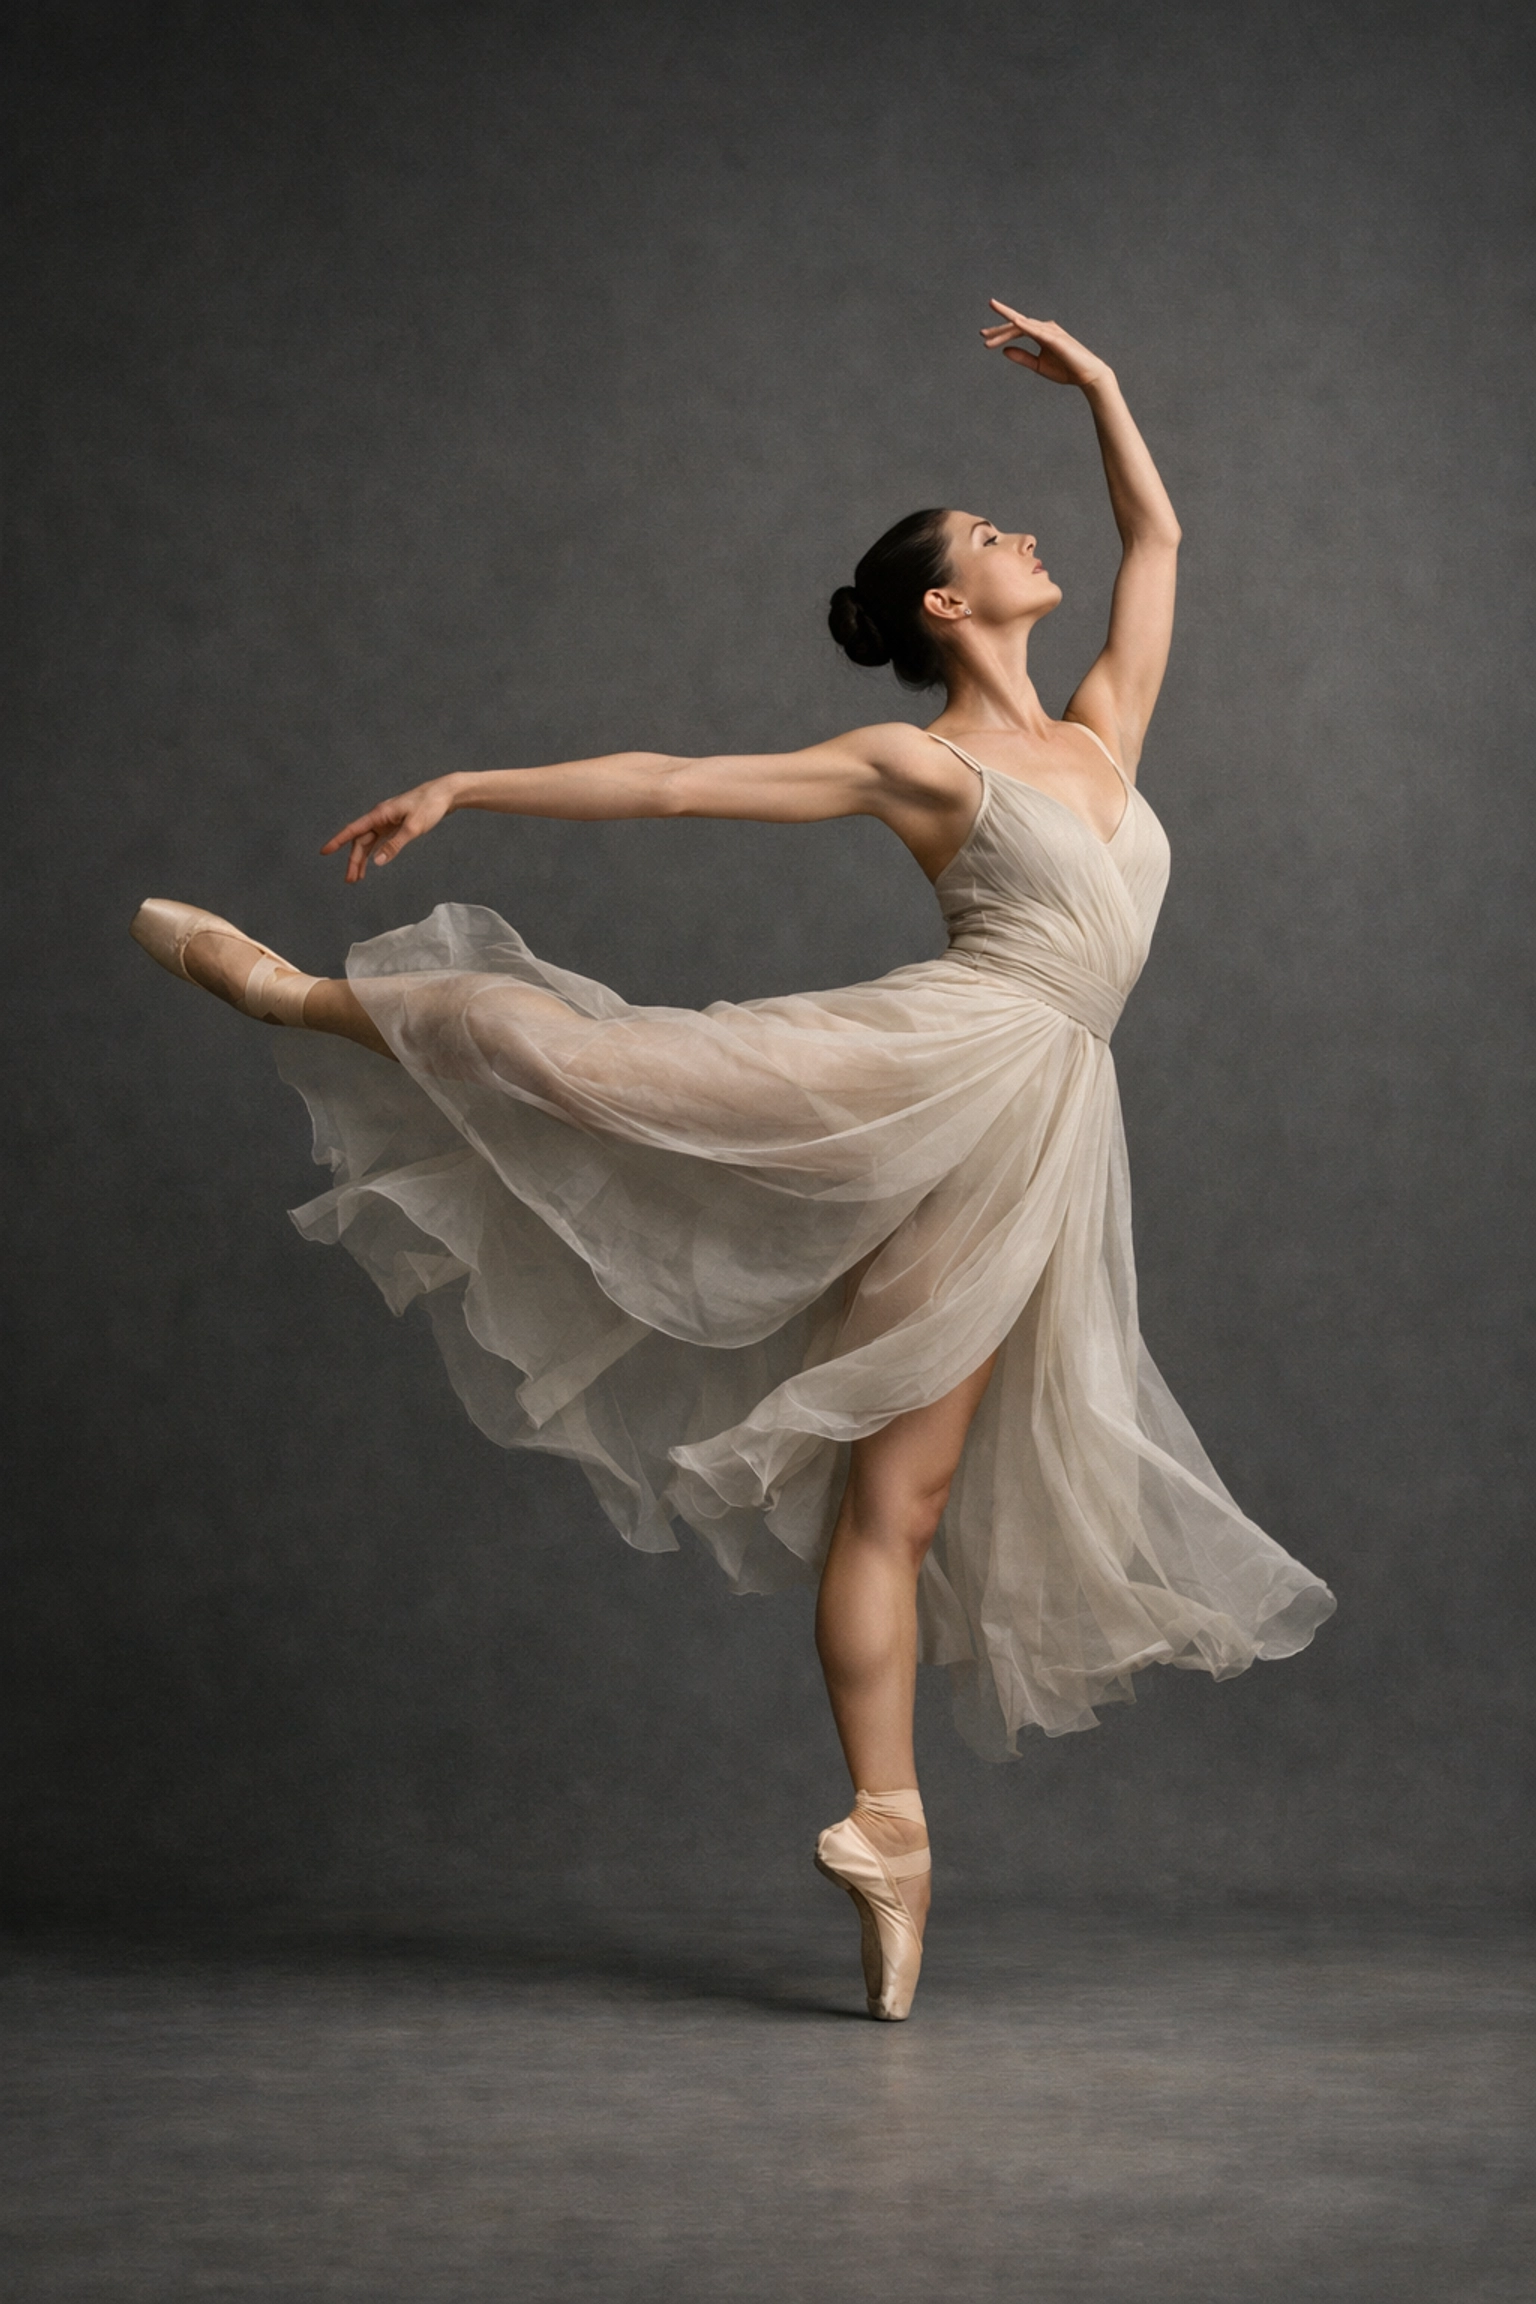
Composition and Posing: How to Avoid Awkwardness
This is where most people struggle. How do you tell someone what to do with their hands?
The Rule of Thirds
Don't always put your subject right in the middle of the frame. Use the rule of thirds grid to place their eyes on one of the top intersections. It creates a more dynamic and interesting composition.
Leading Lines
Use elements in the environment: like a fence, a road, or a hallway: to lead the viewer’s eye toward the subject.
Posing Tips
- The "S" Curve: For a more feminine look, ask the subject to shift their weight to one leg.
- Chin Out and Down: This helps define the jawline and prevents the dreaded double-chin.
- Give Them a Task: If they look stiff, tell them to adjust their watch, walk toward you, or look over their shoulder. Movement creates natural expressions.
If you’re doing professional work, like corporate portraits, there are specific traps you want to avoid. Take a look at our guide on 7 mistakes you’re making with professional corporate headshots and how to fix them to make sure your professional clients look their best.
The Psychology of the Shoot
You aren't just a photographer; you're a director, a cheerleader, and sometimes a therapist. If your subject is nervous, it will show in their face.
Your job is to make them feel comfortable. Talk to them. Tell jokes. Show them the "back of the camera" when you get a great shot to boost their confidence. When people feel good, they look good. For more tips on the business and lifestyle side of photography, blog.edinchavez.com is a great resource for seeing how a pro handles client interactions.
Post-Processing: Making it Pop
Taking the photo is only half the battle. The other half happens in the digital darkroom.
Lightroom and Photoshop
Lightroom is great for organizing and doing basic color correction. Photoshop is where you go for the heavy lifting, like skin retouching or removing distracting objects from the background.
Speeding Up the Workflow
Editing shouldn't take forever. Using AI-powered tools can save you hours of clicking. We’re big fans of using Luminar for quick enhancements. It has incredible AI features that can retouch skin, brighten eyes, and even swap out a boring sky in seconds. Seriously, if you haven’t tried Luminar yet, you’re working too hard.
Different Styles of Portraits
Not all portraits are created equal. Depending on the goal, your approach will change.
- Traditional Portraits: These are usually posed and shot in a studio. Think graduation photos or formal family shots.
- Lifestyle Portraits: These look more "candid." They are often shot in the subject's home or a coffee shop, showing them in their "natural habitat."
- Environmental Portraits: These focus on the person and their work. A chef in a kitchen, a painter in a studio, etc.
- Fine Art Portraits: This is where you get creative. Use weird angles, dramatic lighting, and heavy editing to create something more like a painting. Check out www.edinfineart.com for inspiration on how photography can cross over into the art world.
Common Mistakes to Avoid
Even the pros mess up sometimes. Here are the big ones to watch out for:
- Distracting Backgrounds: Make sure there isn't a tree branch looking like it's growing out of your subject's head.
- Over-Editing: Don't make the skin look like plastic. People have pores; it's okay to show them.
- Bad Cropping: Avoid "amputating" limbs at the joints. Don't crop at the wrists, elbows, or knees. Crop mid-thigh or mid-arm instead.
- Ignoring the Wardrobe: If your subject shows up in a neon green shirt with a huge logo, it’s going to distract from their face. Suggest neutral colors or solid tones before the shoot.
Bringing it All Together
Portrait photography is a journey. Your first hundred shots might be terrible, and that’s okay. The key is to keep shooting, keep experimenting, and keep connecting with people.
Remember, the tech is just a tool. The real magic happens in the split second when your subject lets their guard down and you’re ready to capture it.
If you want to see how the pros handle large-scale productions or need high-end retouching services, www.proshoot.io is the place to go. And keep an eye on our social media: I’m working closely with Sonny, our Social Media Manager, to bring you more bite-sized versions of these tips so you can learn on the go.
Now, grab your camera, find a willing victim (friend, family member, or even your dog), and start practicing. The world is full of interesting faces( go capture them!)


