
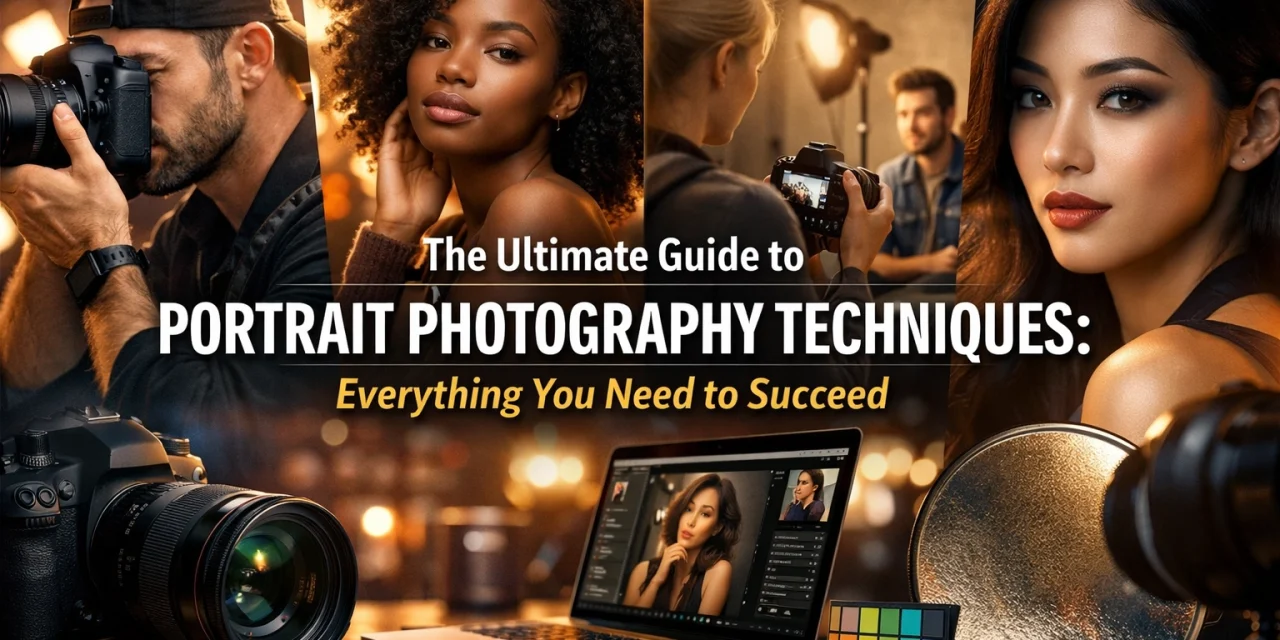
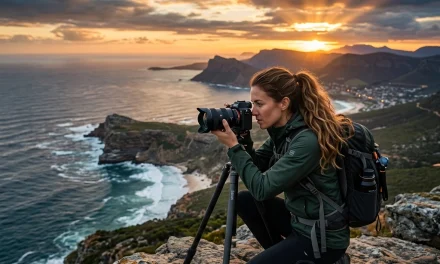
Let’s be honest: taking a photo of a person is easy. Taking a portrait that actually says something? That’s the real challenge. Whether you’re just starting out with photography for beginners or you’ve been snapping away for years, mastering portrait photography techniques is a journey that never really ends.
In 2026, the tech has changed, but the goal is still the same: capturing the soul (or at least a really cool-looking version of it). We’re going to dive deep into everything from gear and settings to the psychology of posing. Grab your favorite mirrorless camera, and let’s get into it.
1. Why Portraiture Matters More Than Ever
In a world filled with AI-generated faces and filtered selfies, authentic portraiture is a breath of fresh air. It’s about more than just a sharp image; it’s about connection. If you can make someone feel comfortable in front of your lens, you’ve already won half the battle.
But before we get into the "feel-good" stuff, we need to talk about the tools that make it possible. If you are looking for more inspiration, check out some incredible work over at Edin Fine Art.
2. The Gear: Choosing Your Weapon
You don’t need the most expensive kit in the world, but your gear does dictate your style.
Mirrorless vs. DSLR
By now, the debate is pretty much over. Best mirrorless cameras are the gold standard for portraits because of their eye-autofocus capabilities. Being able to track a subject’s eye in real-time while they move is a total game-changer. If you’re still on the fence, you can see why everyone is talking about mirrorless cameras in 2026.
The "Magic" Lenses
For portraits, focal length is everything.
- 50mm (The Nifty Fifty): Great for a natural look that mimics the human eye.
- 85mm (The King): This is the sweet spot. It provides beautiful compression and that creamy background blur (bokeh) everyone loves.
- 35mm: Excellent for environmental portraits where you want to show the subject’s surroundings, similar to street photography ideas.
If you're looking to upgrade your kit, check out camera gear reviews to see what fits your budget.
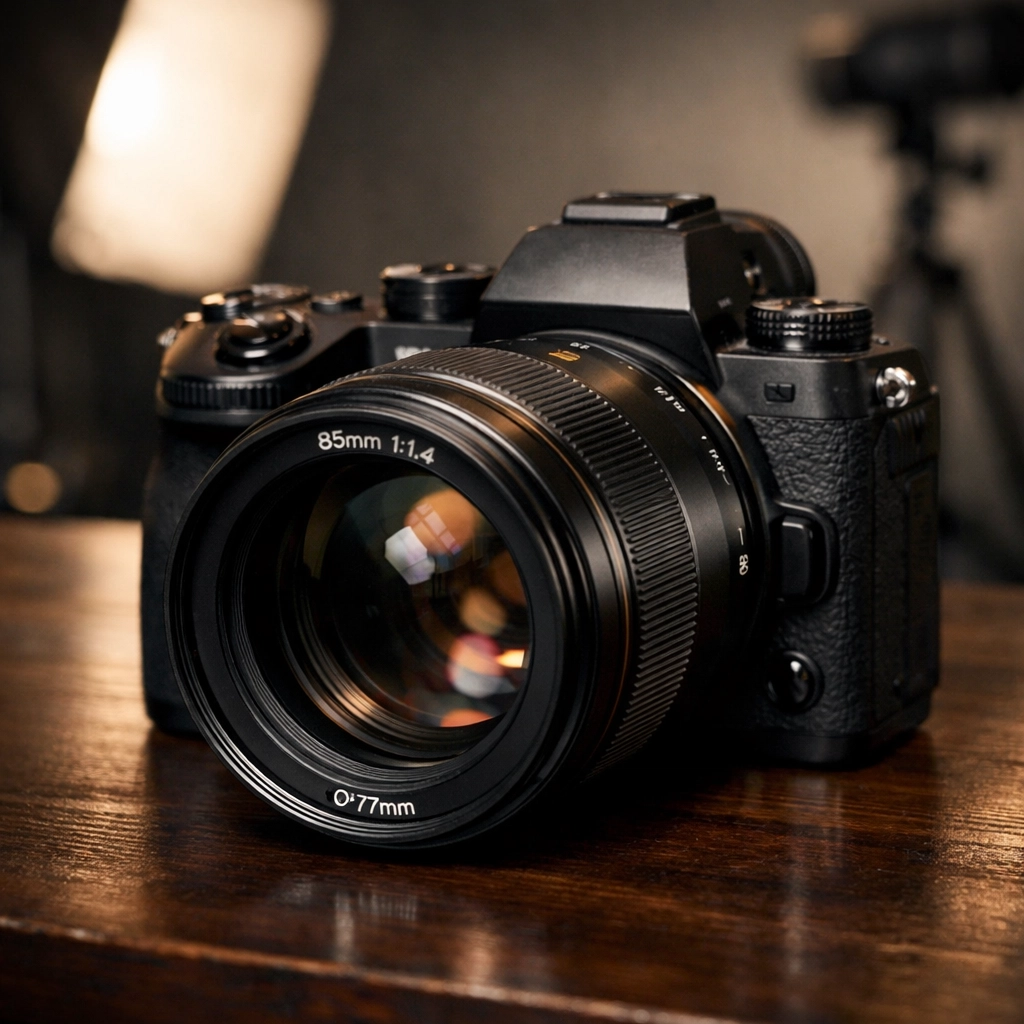
Alt text: A professional mirrorless camera with an 85mm f/1.4 lens attached, sitting on a wooden table with a soft-focus background of a photo studio.
3. Mastering the Settings: How to Use Manual Mode Camera
If you’re still shooting on "Auto," stop. Right now. To get those professional results, you need control. Learning how to use manual mode camera is the single best thing you can do for your craft. If you feel a bit lost, don't worry: we have a guide on how to use manual mode without getting overwhelmed.
Aperture: The Bokeh Maker
In portraiture, you usually want a wide aperture (a low f-number like f/1.8 or f/2.8). This separates your subject from the background. It makes them "pop."
Shutter Speed
People move. Even when they’re trying to be still, they breathe and blink. Keep your shutter speed at least double your focal length. If you’re shooting with an 85mm lens, don’t go below 1/200th of a second unless you want blurry eyes.
ISO
Keep it as low as possible (ISO 100 or 400) to avoid "noise" or grain. However, modern mirrorless cameras handle high ISO incredibly well, so don’t be afraid to bump it up if you’re in a dark room. You can find more details on these fundamentals at PhotoGuides.org.
4. Lighting: It’s Not Just About Brightness
Lighting is the "paint" of photography. You can have the best portrait photography techniques in the world, but if the light is flat or harsh, the photo will suck.
Soft Light is Your Best Friend
Avoid direct midday sun. It creates "raccoon eyes" (dark shadows in the eye sockets). Instead, look for "open shade": like under a tree or the shadow of a building. This creates soft, even light that is flattering for every skin type.
The Power of the Catchlight
A catchlight is that tiny spark of light in a subject's eyes. It makes them look alive. If the eyes are dark and "dead," the whole portrait feels off. Use a reflector or a small light source to get that sparkle.
Studio Lighting Basics
If you're moving into the studio, start with a single large softbox. Position it 45 degrees to the side and slightly above the subject's head. This creates "Rembrandt lighting," a classic look that adds depth and drama. For professional studio setups and inspiration, Edin Studios is a great resource.

Alt text: A portrait of a woman shot in natural "golden hour" light, showing soft shadows and a distinct catchlight in her eyes.
5. Composition and Framing
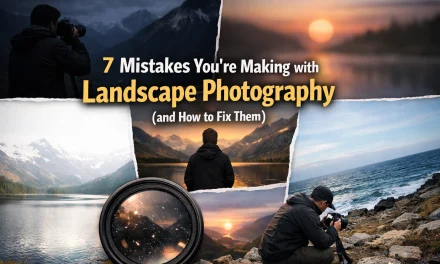
Composition isn't just for landscape photography tips. It applies heavily to people, too.
- Focus on the Eyes: This is non-negotiable. If the eyes aren't sharp, the photo goes in the trash.
- The Rule of Thirds: Don't always put your subject right in the middle. Place their eyes on the top-third grid line for a more dynamic feel.
- Negative Space: Sometimes, what you leave out of the frame is just as important as what you leave in. Give your subject room to "breathe" or look into the empty space.
- Angles Matter: Shooting from slightly above is generally flattering for faces. Shooting from a low angle makes the subject look powerful and heroic.
Check out our top photography tips for more layout ideas.
6. Posing and Subject Direction
This is where most photographers freeze up. It’s awkward to stand in front of a camera! Your job is to be the director.
Don't Say "Cheese"
Never ask someone to smile on command. It looks fake. Instead, talk to them. Tell a bad joke. Ask them about their favorite travel memory. Capture the reaction to what you say.
Give Them Something to Do
Hands are the most awkward part of the body. If your subject doesn't know what to do with their hands, give them a prop, ask them to fix their hair, or have them put their hands in their pockets. Movement creates natural lines.
The "Squinch"
Ask your subject to tighten their lower eyelids slightly. It conveys confidence and intensity. Wide-open eyes can sometimes look like a "deer in headlights."
For those looking to turn these skills into a business, ProShoot.io offers great insights into the professional side of the industry.

Alt text: A candid portrait of a man laughing, showing a natural expression and relaxed posing, shot with a shallow depth of field.
7. Post-Processing: Polishing the Diamond
Your work isn't done when you click the shutter. Photo editing is where you define your "look."
Keep it Real
In 2026, the trend is moving away from "plastic" skin. We want to see pores! Use frequency separation to fix temporary blemishes (like a pimple), but leave the permanent character lines.
The Workflow
Most pros start in Adobe Lightroom for color grading and then move to Photoshop for fine retouching. If you want to speed up your workflow significantly, I highly recommend using Luminar. Its AI tools for skin enhancement and sky replacement are incredible time-savers.
If you are new to the editing world, dive into our photo editing tutorials 101 for a complete breakdown.
8. Common Mistakes to Avoid
Even pros mess up. Here are the big ones to watch out for:
- Distracting Backgrounds: That telephone pole looks like it’s growing out of your subject’s head. Watch the background before you shoot.
- Missing the Focus: Ensure your camera is set to "Continuous AF" or "Eye-AF."
- Over-Processing: Don't turn the saturation up to 100. Subtle is better.
- Poor Communication: If you aren't talking, your subject is wondering if they look bad. Keep the conversation flowing.
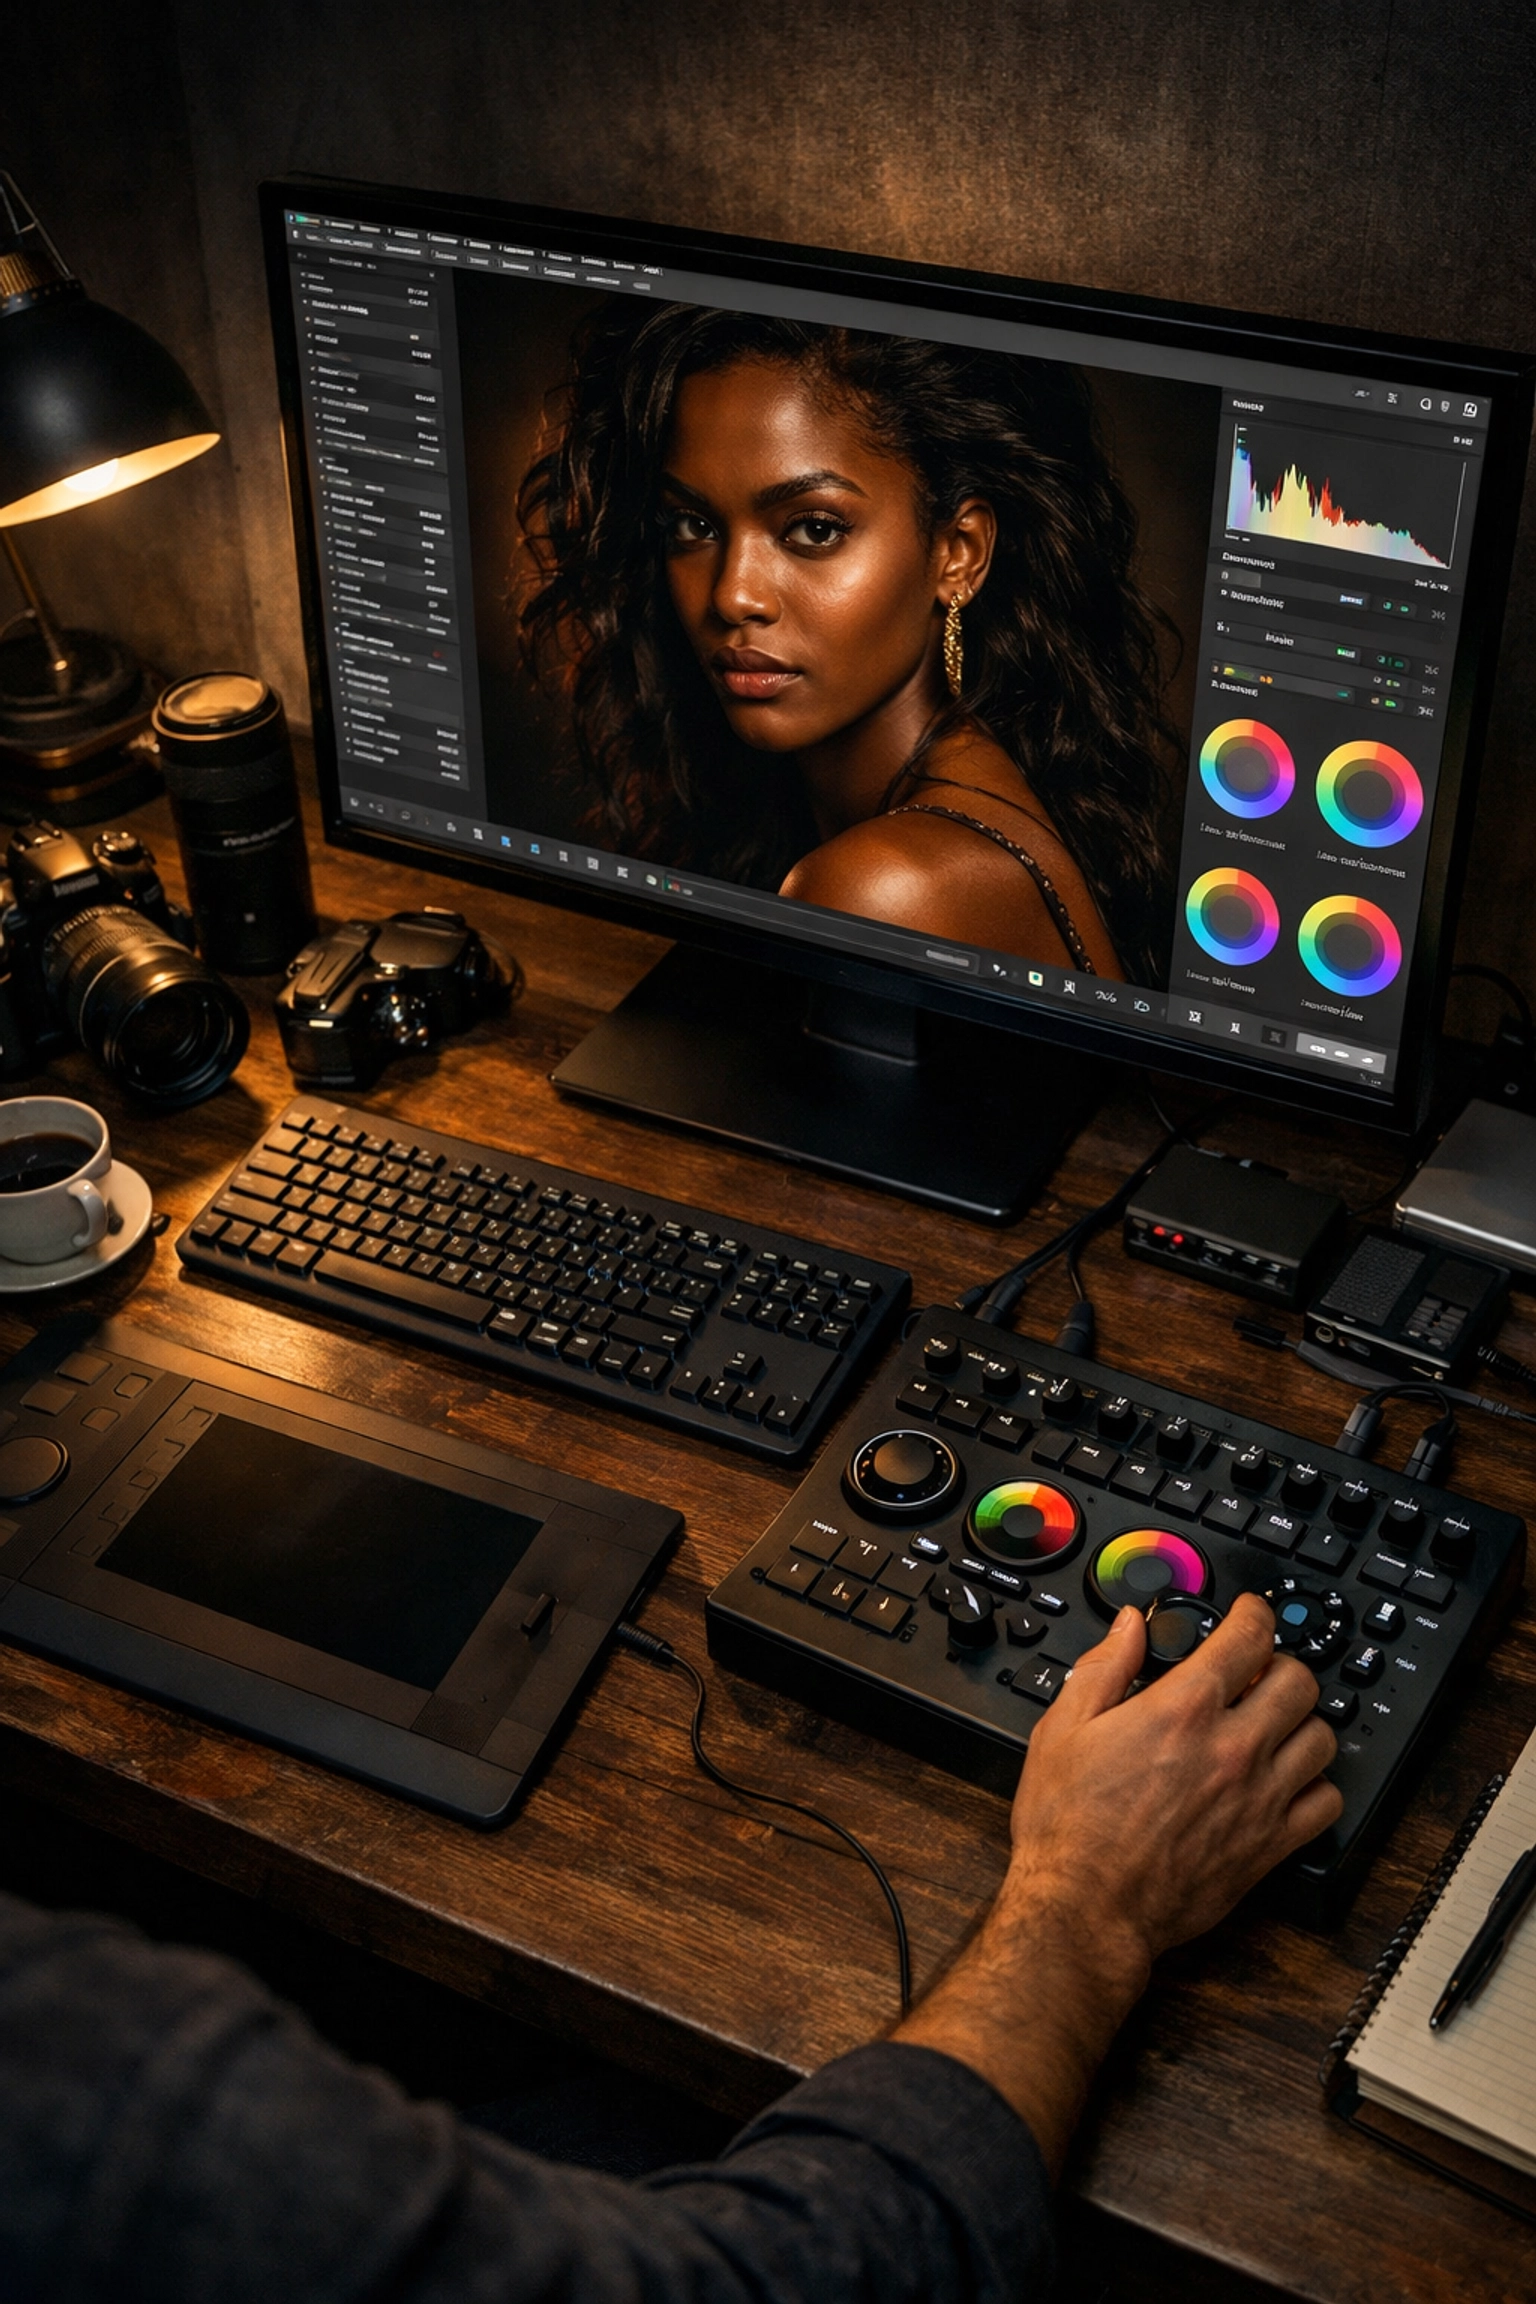
Alt text: A split screen showing a "Before" and "After" of a portrait edit, highlighting subtle color grading and skin retouching.
9. Staying Current with Photography News
The world of photography moves fast. From new sensor tech to AI firmware updates, staying informed is part of the job. For the latest on photography news, keep an eye on Shut Your Aperture's news section. You can also find great industry updates on Edin Chavez’s blog.
10. Conclusion: Practice Makes Permanent
You can read all the photography tutorials in the world, but the only way to get better is to shoot. Take your camera out. Photograph your friends, your family, or even strangers on the street (with permission, of course!).
Portraiture is an art form that blends technical precision with human emotion. Once you master the camera settings and the lighting, the "tech" fades into the background, and you can finally focus on what really matters: the person in front of you.
Ready to take your skills further? Explore our camera maintenance guide to make sure your gear stays in top shape for your next big shoot. Now get out there and start shooting!


