Let’s be real for a second: shooting is the fun part. You’re out in the world, the light is hitting just right, and you’re clicking away. But then you get home, plug in your memory card, and realize you have 1,400 photos of the same tree. Suddenly, the "fun" part feels like a massive chore.
If you’ve ever spent four hours editing three photos only to realize they still look "off," you aren't alone. Most beginners treat editing like a chaotic experimental lab session rather than a process. But the pros? They have a system. A workflow. A way to get in, make the magic happen, and get out before their coffee gets cold.
In this guide, I’m going to break down the five essential steps to editing your photos like a pro while saving yourself hours of frustration. We’re talking about efficiency, style, and getting your life back.
Step 1: The Great Culling (Don’t Edit Everything)
The biggest mistake beginners make is trying to edit every single photo they took. Stop it. Right now. Professional photography is as much about what you don’t show as what you do.
Before you even touch a slider, you need to organize and log your material. This is what we call "culling." If you took 50 shots of a sunset, you probably only need one or two. Why waste time adjusting the exposure on a blurry shot or a duplicate?
Start by importing your photos into a dedicated folder system. I’m a big fan of organizing by Year > Date_Location. Once they are in your software: whether you're using Lightroom or a faster AI-based alternative: go through them quickly. Use the "Pick" or "Star" system. If a photo doesn't grab you in three seconds, move on.
If you’re still figuring out the basics of how to get the best shot in the first place, you might want to check out our guide on how to master your camera's manual mode in 5 minutes. The better the raw file, the less time you spend fixing it later.
Pro Tip: Don’t edit while you cull. Your brain uses different gears for "choosing" and "creating." Separate the two processes to stay in the flow.
Step 2: Global Adjustments – The "Rough Assembly"
Think of this step as the foundation of a house. You wouldn't pick out curtains before the walls are up, right? Global adjustments are changes that affect the entire image.
- White Balance: This is the most important first step. If your photo is too blue or too yellow, everything else will look muddy. Fix the temperature first.
- Exposure and Contrast: Bring up the shadows if the scene was too dark, or pull back the highlights if the sky is "blown out."
- Lens Corrections: Most modern software has a one-click button to fix the distortion caused by your lens. Use it.
If you’re working on landscape photography, this is where you ensure your horizon is straight. There is nothing that screams "amateur" more than a tilted ocean. For more on avoiding these pitfalls, see our article on 7 mistakes you're making with landscape photography.
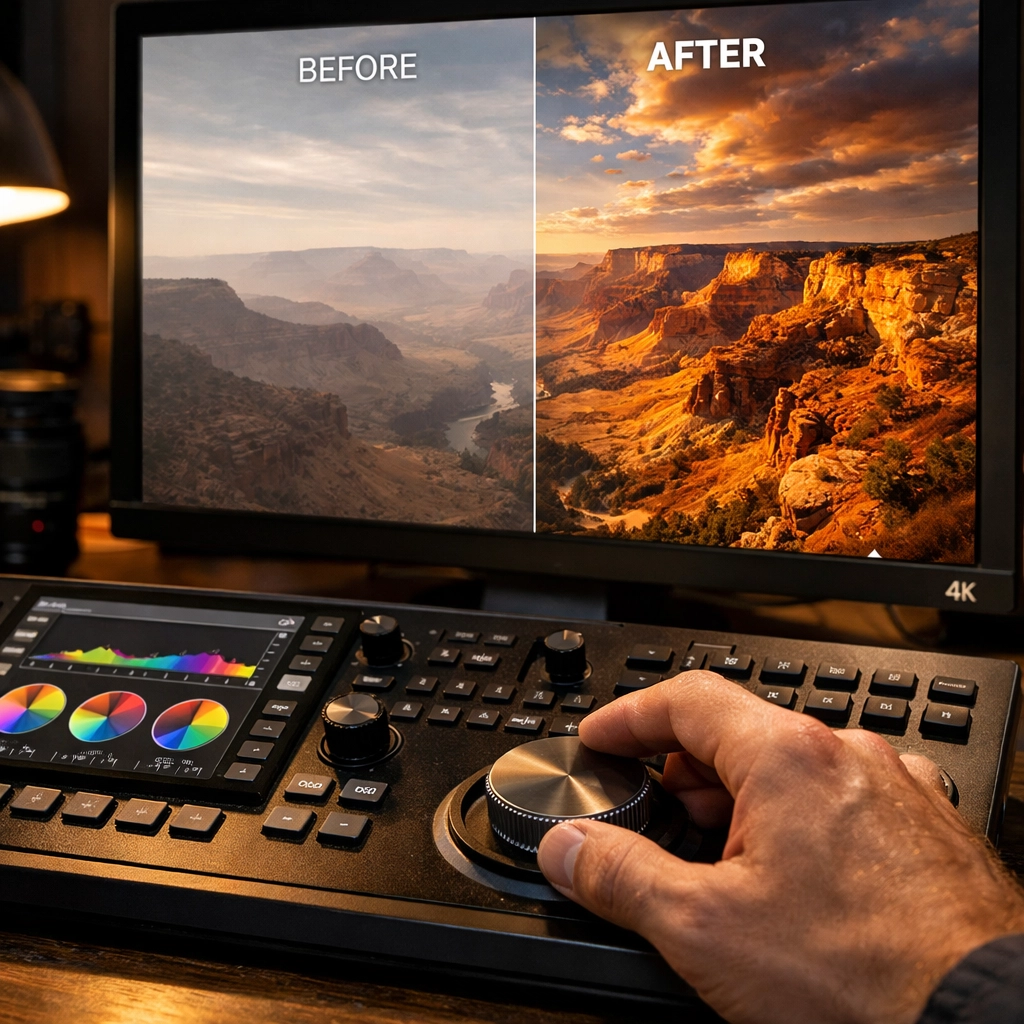
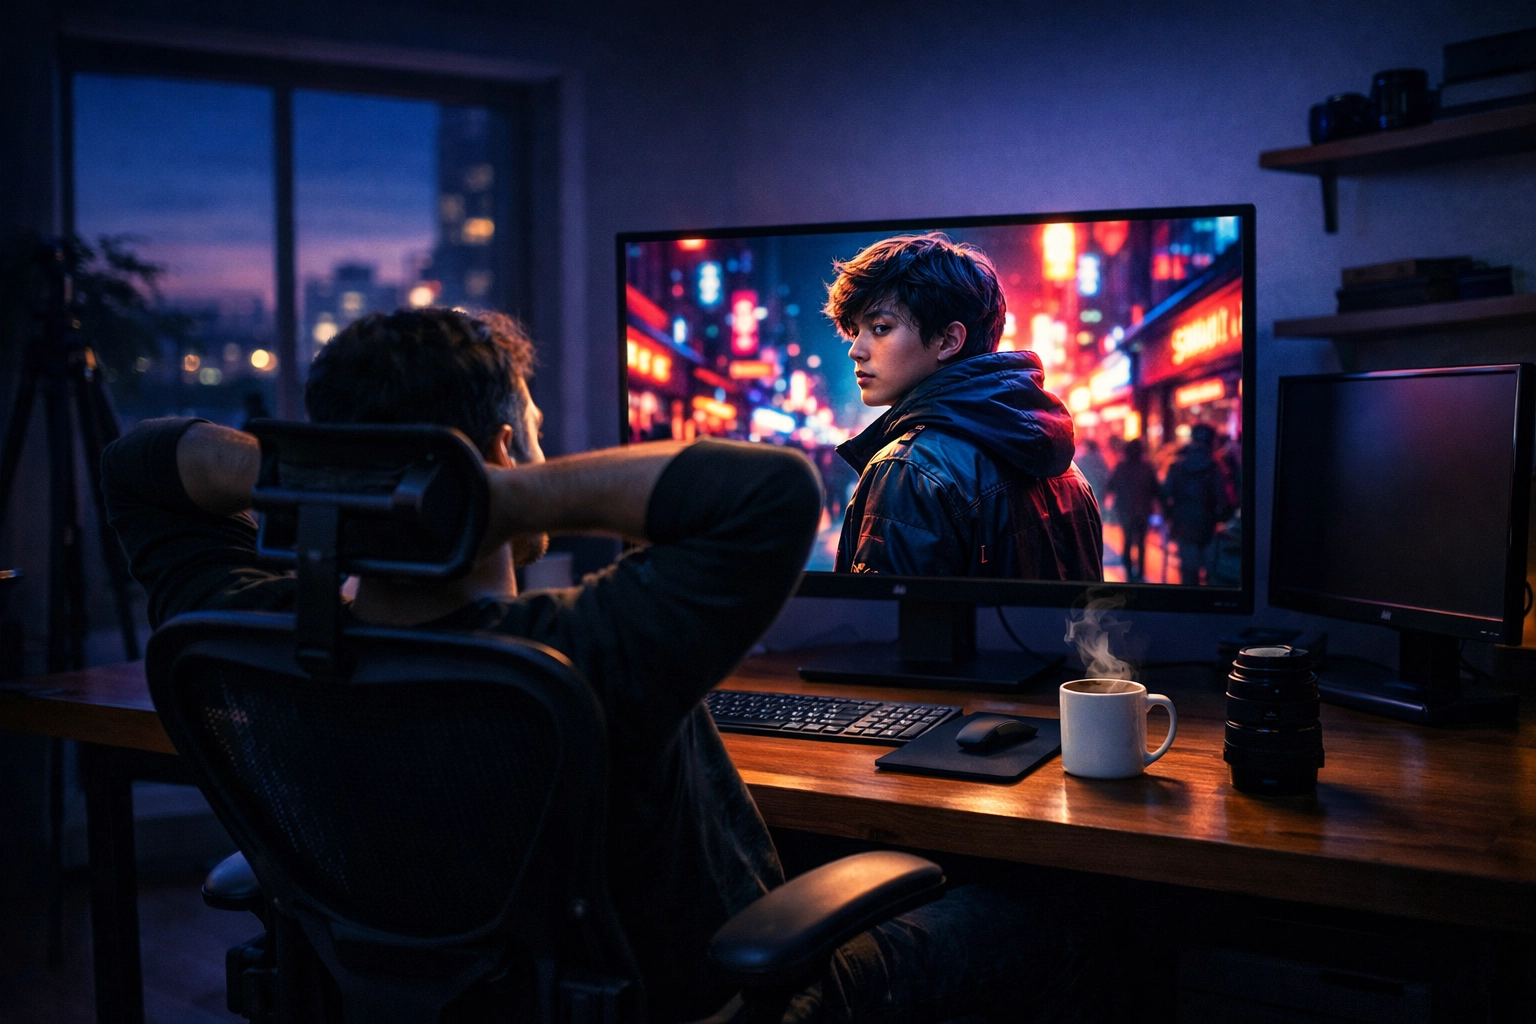
Step 3: Style and The Power of AI
This is where the fun starts. Once the technical basics are solid, it’s time to give the photo a "look." This is where you decide if the image should be moody and dark, or bright and airy.
In 2026, you shouldn't be doing all the heavy lifting manually. This is where Luminar becomes a total game-changer for beginners and pros alike. Tools like Sky Replacement or AI Skin Enhancement can do in five seconds what used to take forty minutes in Photoshop.
Using AI-driven tools in Luminar allows you to maintain a consistent style across your entire shoot. Consistency is the hallmark of a professional. If you’re building a portfolio on PhotoGuides.org, you want your gallery to look like it belongs together, not like a random collection of filter experiments.
Remember, style should serve the story. If you're shooting a gritty urban scene, a soft pastel edit might not work. Always ask yourself: "What is this photo trying to say?" For more on this, read up on storytelling in photography tips.
Step 4: Localized Magic (The Fine Cut)
Now that the image looks good overall, it’s time to focus on the details. Local adjustments allow you to "dodge and burn": a classic darkroom technique where you make specific parts of the image lighter or darker.
- The Eyes: In portraits, a tiny bit of extra clarity and brightness on the eyes makes the subject pop.
- The Subject: Use a radial filter to slightly brighten your subject and a vignette to subtly darken the edges. This leads the viewer’s eye exactly where you want it.
- The Sky: Sometimes the foreground is perfect, but the sky is a bit weak. Use a graduated filter to bring back some drama in the clouds.
If you're out capturing majestic sunset photography, local adjustments are your best friend to balance the bright sun with the darker foreground.
Step 5: Final Polish and Export
The final 5% of the edit is what separates the pros from the hobbyists. This is the "Polish and Finalize" phase.
- Sharpening: Every digital photo needs a little sharpening, but don’t go overboard. You don’t want your subject to look like they’re made of sandpaper.
- Noise Reduction: If you shot at a high ISO, you might have some "grain" or noise. Clean it up, but keep it natural.
- The "Fresh Eyes" Check: This is the most important time-saving tip. Once you think you’re done, walk away. Grab a glass of water, look out the window, or go to blog.edinchavez.com and read a few posts. When you come back, you’ll immediately see if you pushed the saturation too far or if the skin tones look like Oompa-Loompas.
Finally, export your files correctly. If you're posting to Instagram, you need a different size than if you're sending a file to Edin Fine Art for a high-quality print.
Bonus Tips to Save Even More Hours
If you want to move at lightning speed, you have to stop clicking and start typing.
- Keyboard Shortcuts: Learn them. Every time you move your mouse to "File > Save" or to find the "Crop" tool, you’re losing seconds. Those seconds add up to hours over a year.
- Presets are a Starting Point: Don't just slap a preset on and call it a day. Use a preset to get 80% of the way there, then spend your time on the final 20% that makes it unique.
- Batch Processing: If you have ten photos taken in the same light, edit one, copy the settings, and paste them onto the other nine. Then just do minor tweaks. This is the ultimate "pro" move for event and travel photography.
Why Your Workflow Matters
At the end of the day, photography is about capturing moments and sharing your vision of the world. If you’re buried under a mountain of unedited files, you aren't out there shooting. You aren't finding those hidden gem locations or capturing water photography in motion.
By following these five steps: Organize, Global, Style, Local, and Polish: you turn a daunting task into a repeatable system. You’ll find that you actually enjoy the editing process because you’re in control of it, rather than it being in control of you.
Whether you're using the latest mirrorless tech (find out which one to choose for 2026 here) or a vintage-inspired digital setup, the software is just a tool. Tools like Luminar are there to help you realize your vision faster, but the vision starts with you.
So, go ahead: open up that catalog, start culling ruthlessly, and watch your editing time shrink while your image quality sky-rockets. Happy editing!