
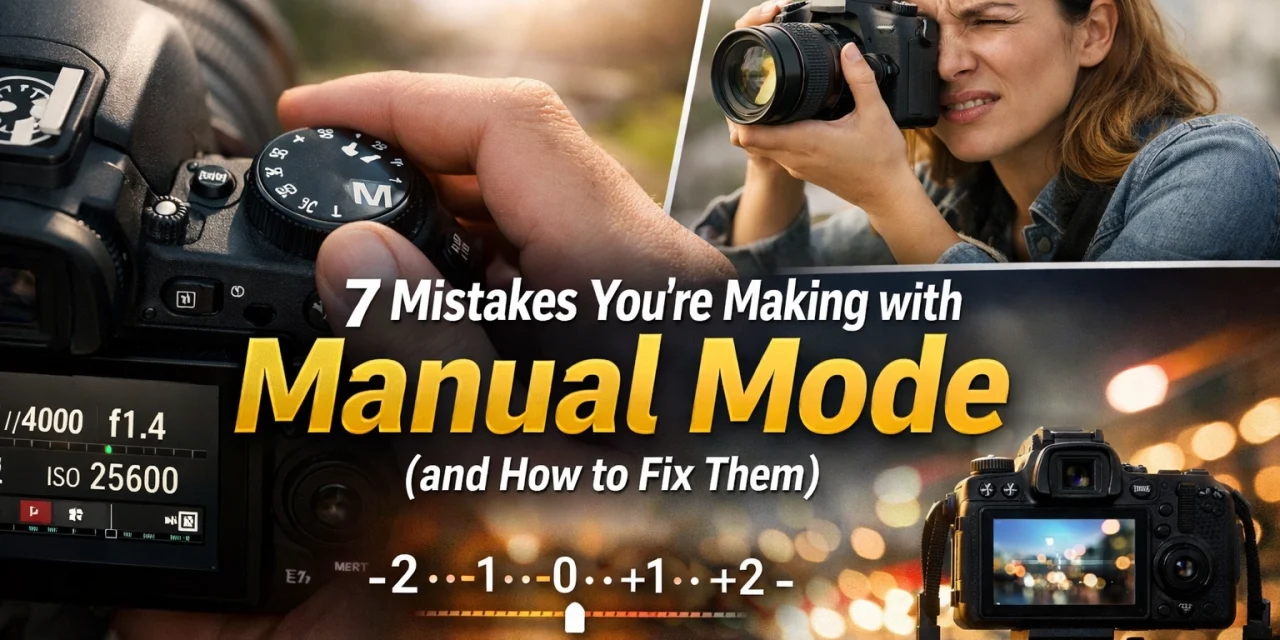
So, you finally worked up the nerve to turn that little dial on top of your camera to "M." Congratulations! You’ve officially left the safety net of "Auto" and stepped into the world where you’re the boss. It feels powerful, doesn’t it? Until you take a shot and it’s completely black. Or blurry. Or looks like it was taken through a screen door.
Manual mode is the holy grail of photography, but let’s be real, it’s also a steep learning curve. Even if you’ve read our Manual Mode 101 guide, it’s easy to fall into old habits or make simple errors that ruin a great shot.
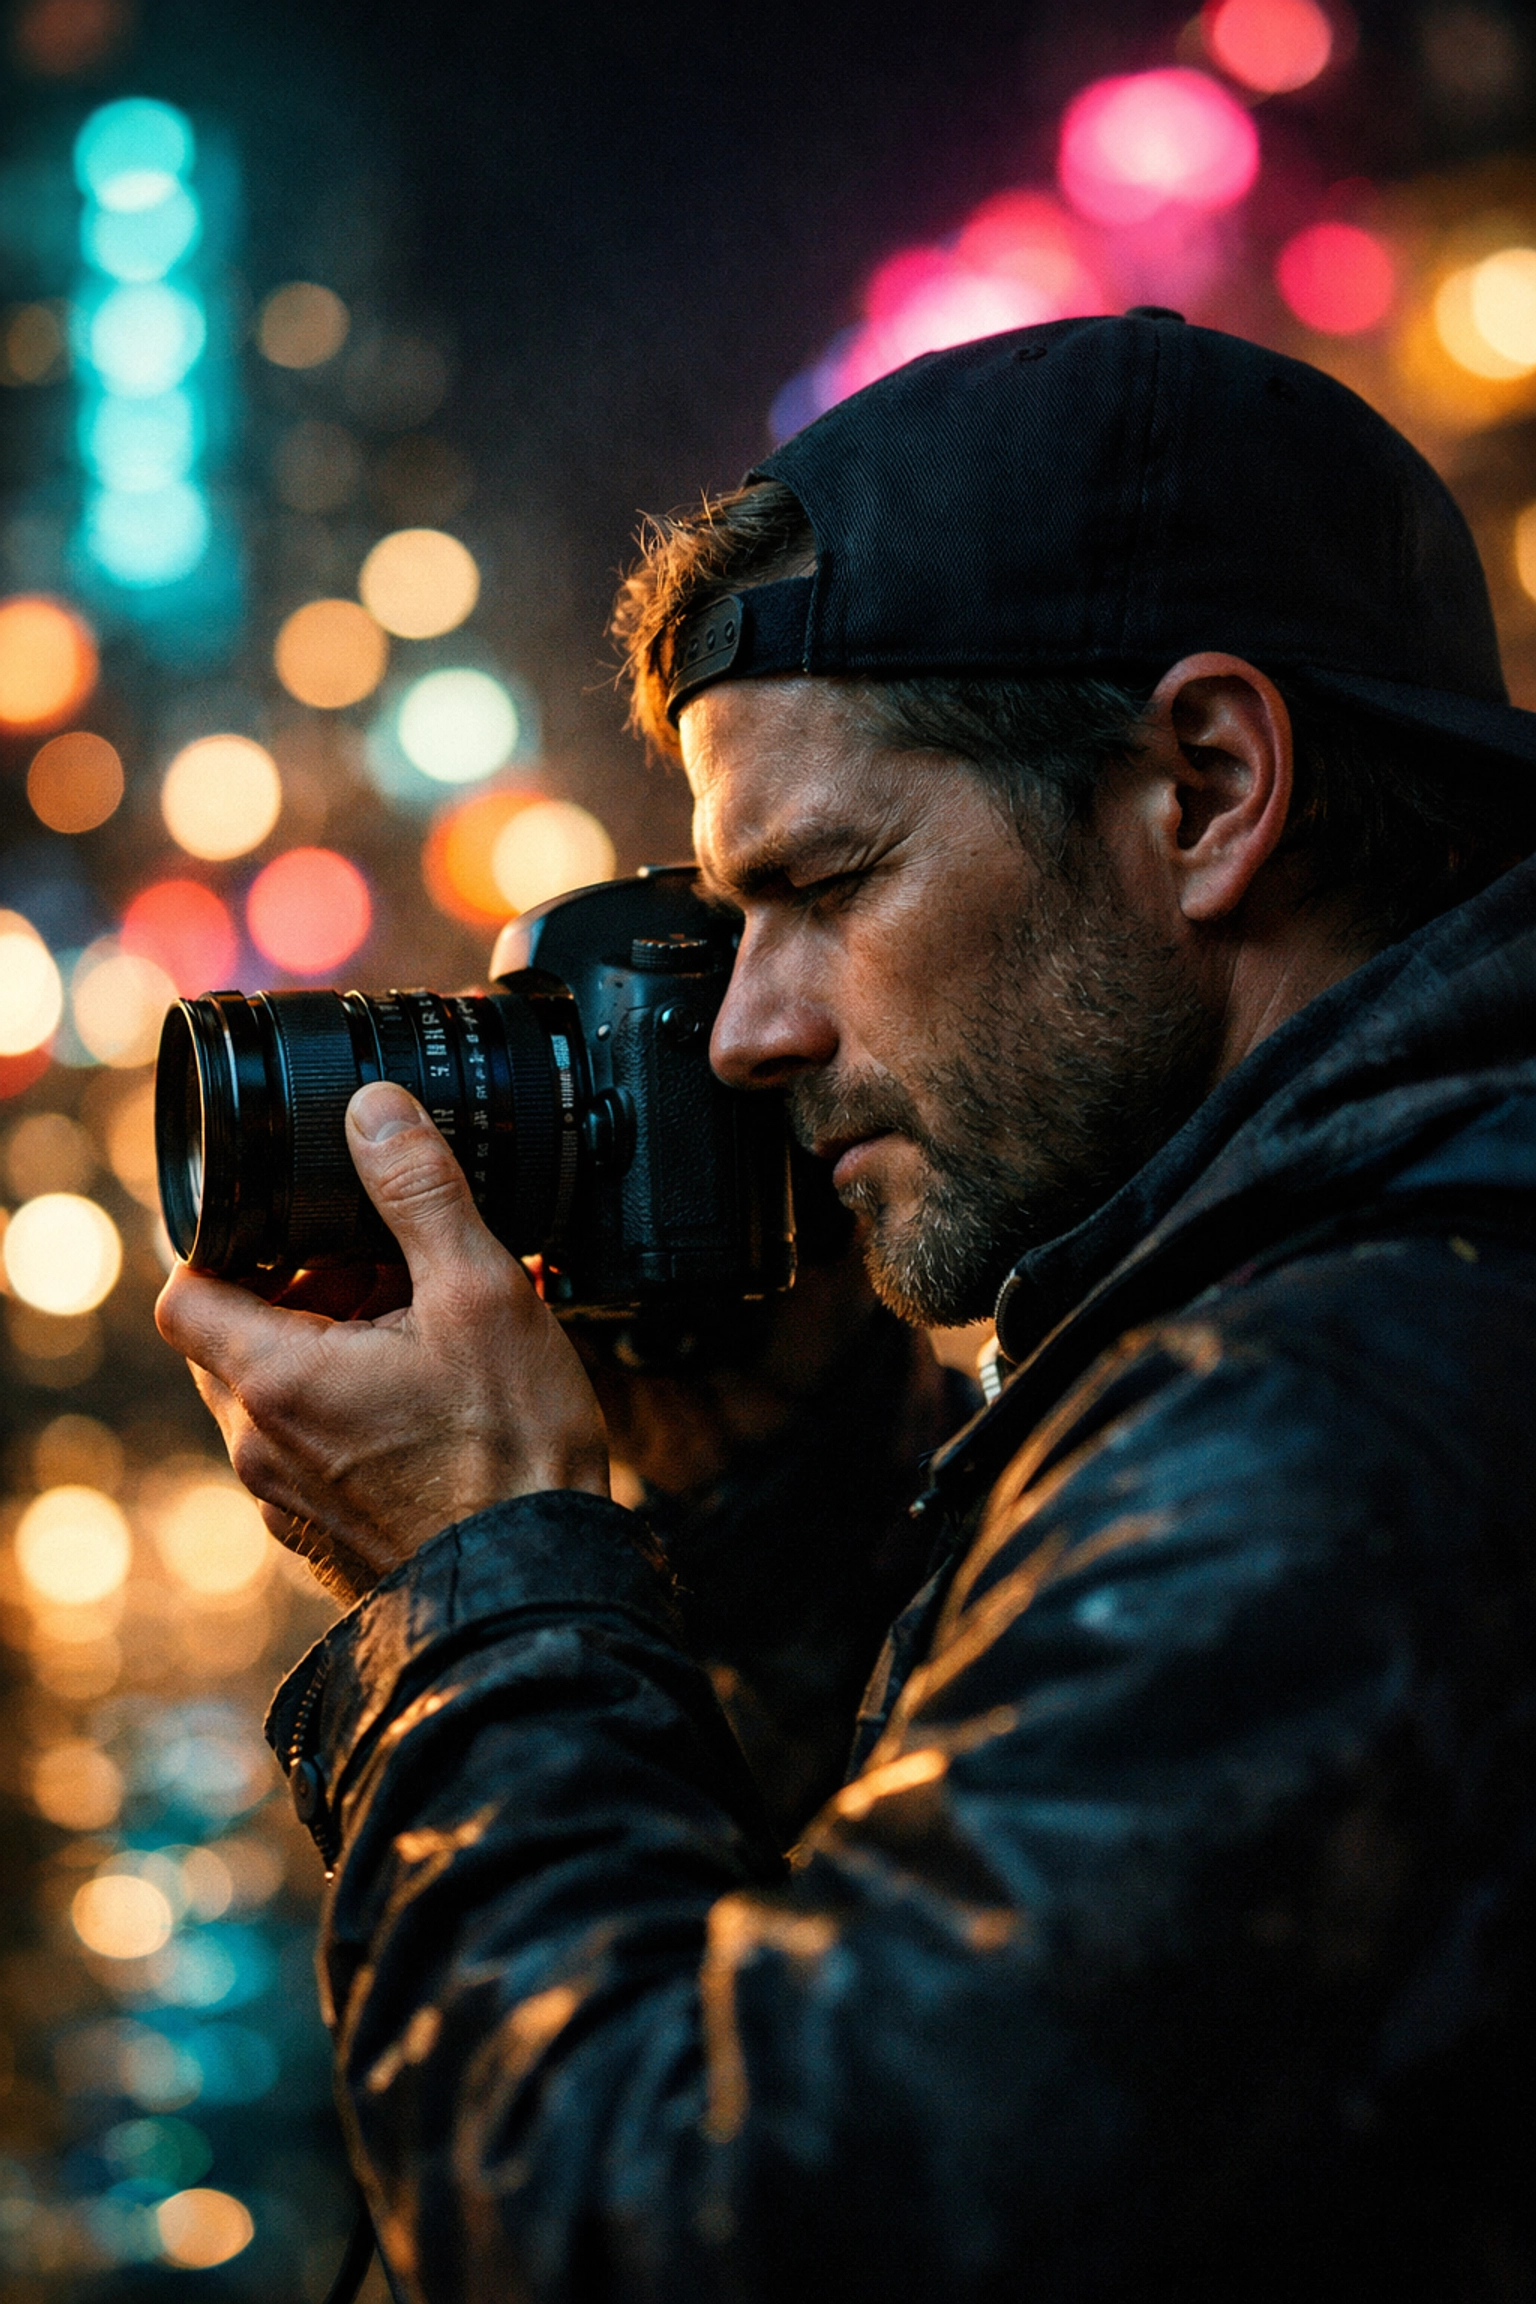
Don't sweat it. We’ve all been there. Edin Chavez and the rest of the crew at Shut Your Aperture have spent years making these exact mistakes so you don't have to. Here are the seven most common manual mode mistakes and, more importantly, exactly how to fix them.
1. The "Set It and Forget It" Syndrome
This is the number one mistake beginners make. You’re outside, the sun is shining, and you dial in the perfect settings. Your photos look amazing. Then, you walk into a shaded alley or the clouds move in, and you keep clicking away without touching your dial.
Suddenly, your photos are three stops underexposed.
The Fix: Stay Fluid
Light is alive; it’s constantly changing. You need to treat your camera settings like a conversation, not a monologue. Every time the light shifts, even slightly, you should be glancing at your light meter. Get into the habit of "The Light Check." Before every new sequence of shots, ask yourself: Has the light changed? If you're looking for more tips on staying ahead of the curve, check out the latest photography trends.
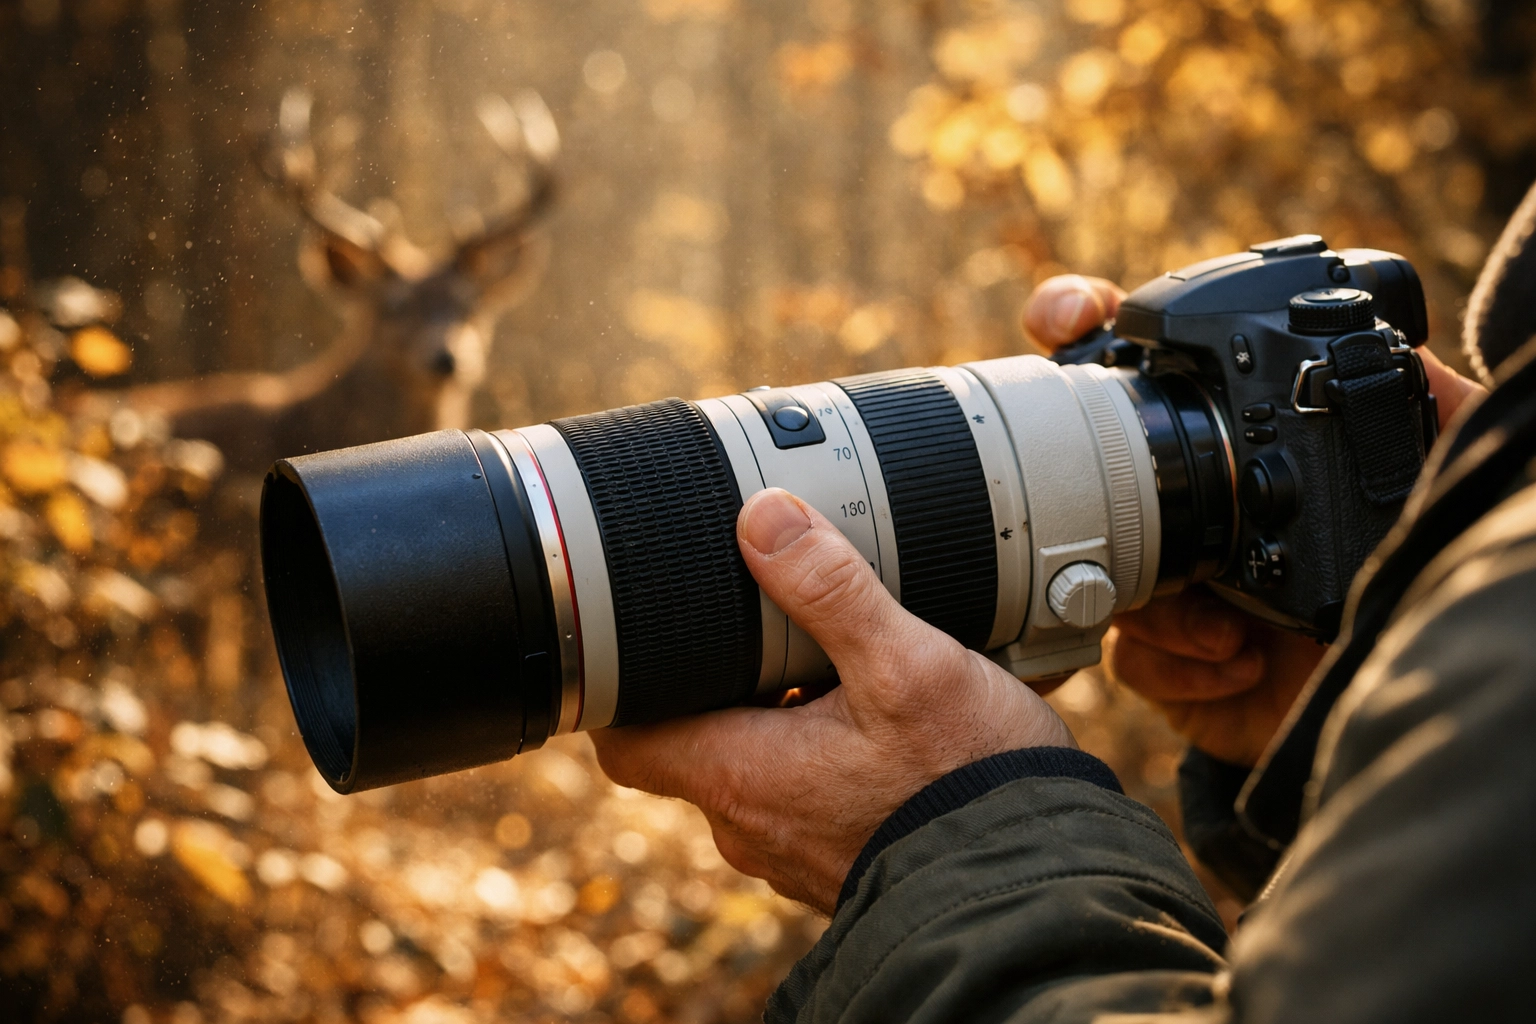
2. Ignoring the Shutter Speed vs. Focal Length Rule
Have you ever taken a photo that looked sharp on the tiny LCD screen but looked like a blurry mess once you opened it on your computer? You probably used a shutter speed that was too slow for your lens.
Many photographers think they can hand-hold a shot at 1/50th of a second regardless of the lens they’re using. If you’re using a 300mm telephoto lens, that’s just not going to happen.
The Fix: The Reciprocal Rule
The rule is simple: your shutter speed should be at least 1 / [your focal length].
- If you’re shooting with a 50mm lens, keep your shutter speed at 1/50s or faster.
- If you’re zoomed in at 200mm, you need at least 1/200s.
If you have "shaky hands," double it. Go 1/400s for a 200mm lens. It’s better to have a slightly grainier photo from a higher ISO than a blurry photo you have to delete.
3. The ISO Fear Factor
We get it. Digital noise (grain) is the boogeyman of photography. You’ve been told to keep your ISO at 100 at all costs. But here’s the secret: an underexposed photo at ISO 100 will actually look worse when you try to brighten it in post-processing than a properly exposed photo at ISO 1600.
When you "push" an underexposed file in software like Luminar, you introduce nasty artifacts and color banding that are way harder to fix than standard grain.
The Fix: Embrace the Grain
Don’t be afraid to bump that ISO. Modern cameras are incredible at handling high ISO. A sharp, well-exposed image with a little bit of noise is a keeper. A dark, muddy image is trash. If the noise still bothers you, use tools like Luminar to clean it up with one click. You can find more post-processing hacks over at PhotoGuides.org.
4. Changing Lenses but Not Changing Settings
This happens a lot during fast-paced shoots, like weddings or street photography. You swap your 35mm f/1.4 for an 85mm f/1.8, but you forget that the physical properties of the glass, and your hand-holding stability, have changed. Or maybe you're using a variable aperture zoom lens where the f-stop changes as you zoom in.
The Fix: Reset Your Brain with Every Lens Swap
Every time you click a new lens into place, take a "test shot." Look at your exposure meter and your shutter speed. Does the 1/focal length rule still apply? Does your aperture need to open up to keep the same exposure? If you’re looking for gear recommendations to make these transitions smoother, head over to proshoot.io.
5. Misusing Auto ISO in Manual Mode
"Wait, there’s an Auto ISO in Manual Mode?" Yes, and it’s a trap for the unwary. Auto ISO allows the camera to choose the sensitivity while you control shutter speed and aperture. While this can be a great "semi-manual" tool, it can also lead to overexposed shots in bright light because most cameras can't go below ISO 100. If you have a wide aperture and a slow shutter speed in bright sun, Auto ISO can’t save you.
The Fix: Set Your Limits
If you must use Auto ISO, go into your camera settings and set a "Maximum ISO" and a "Minimum Shutter Speed." This prevents the camera from making wild guesses. However, for true mastery, try to keep ISO manual. It forces you to understand the relationship between all three pillars of the exposure triangle. For a deep dive into this, our Ultimate Guide to Photography Tutorials is a great place to start.
6. Letting the Camera Pick the Focus Point
Manual mode is about taking control of the light, but many people forget that control extends to focus. If you’re in manual mode but using "Auto Area AF," the camera is basically guessing what the most important part of the photo is. Usually, it guesses the closest object, which might be a blade of grass instead of your subject's eyes.
The Fix: Single Point AF or Manual Focus
Switch your camera to Single Point AF. This allows you to move a little dot around the viewfinder to tell the camera exactly where to focus. If you’re feeling extra brave: especially in landscape or macro photography: switch to full manual focus. Use focus peaking (that colorful highlighting in your viewfinder) to nail the sharpness every time. You can see examples of tack-sharp professional work over at edinfineart.com.
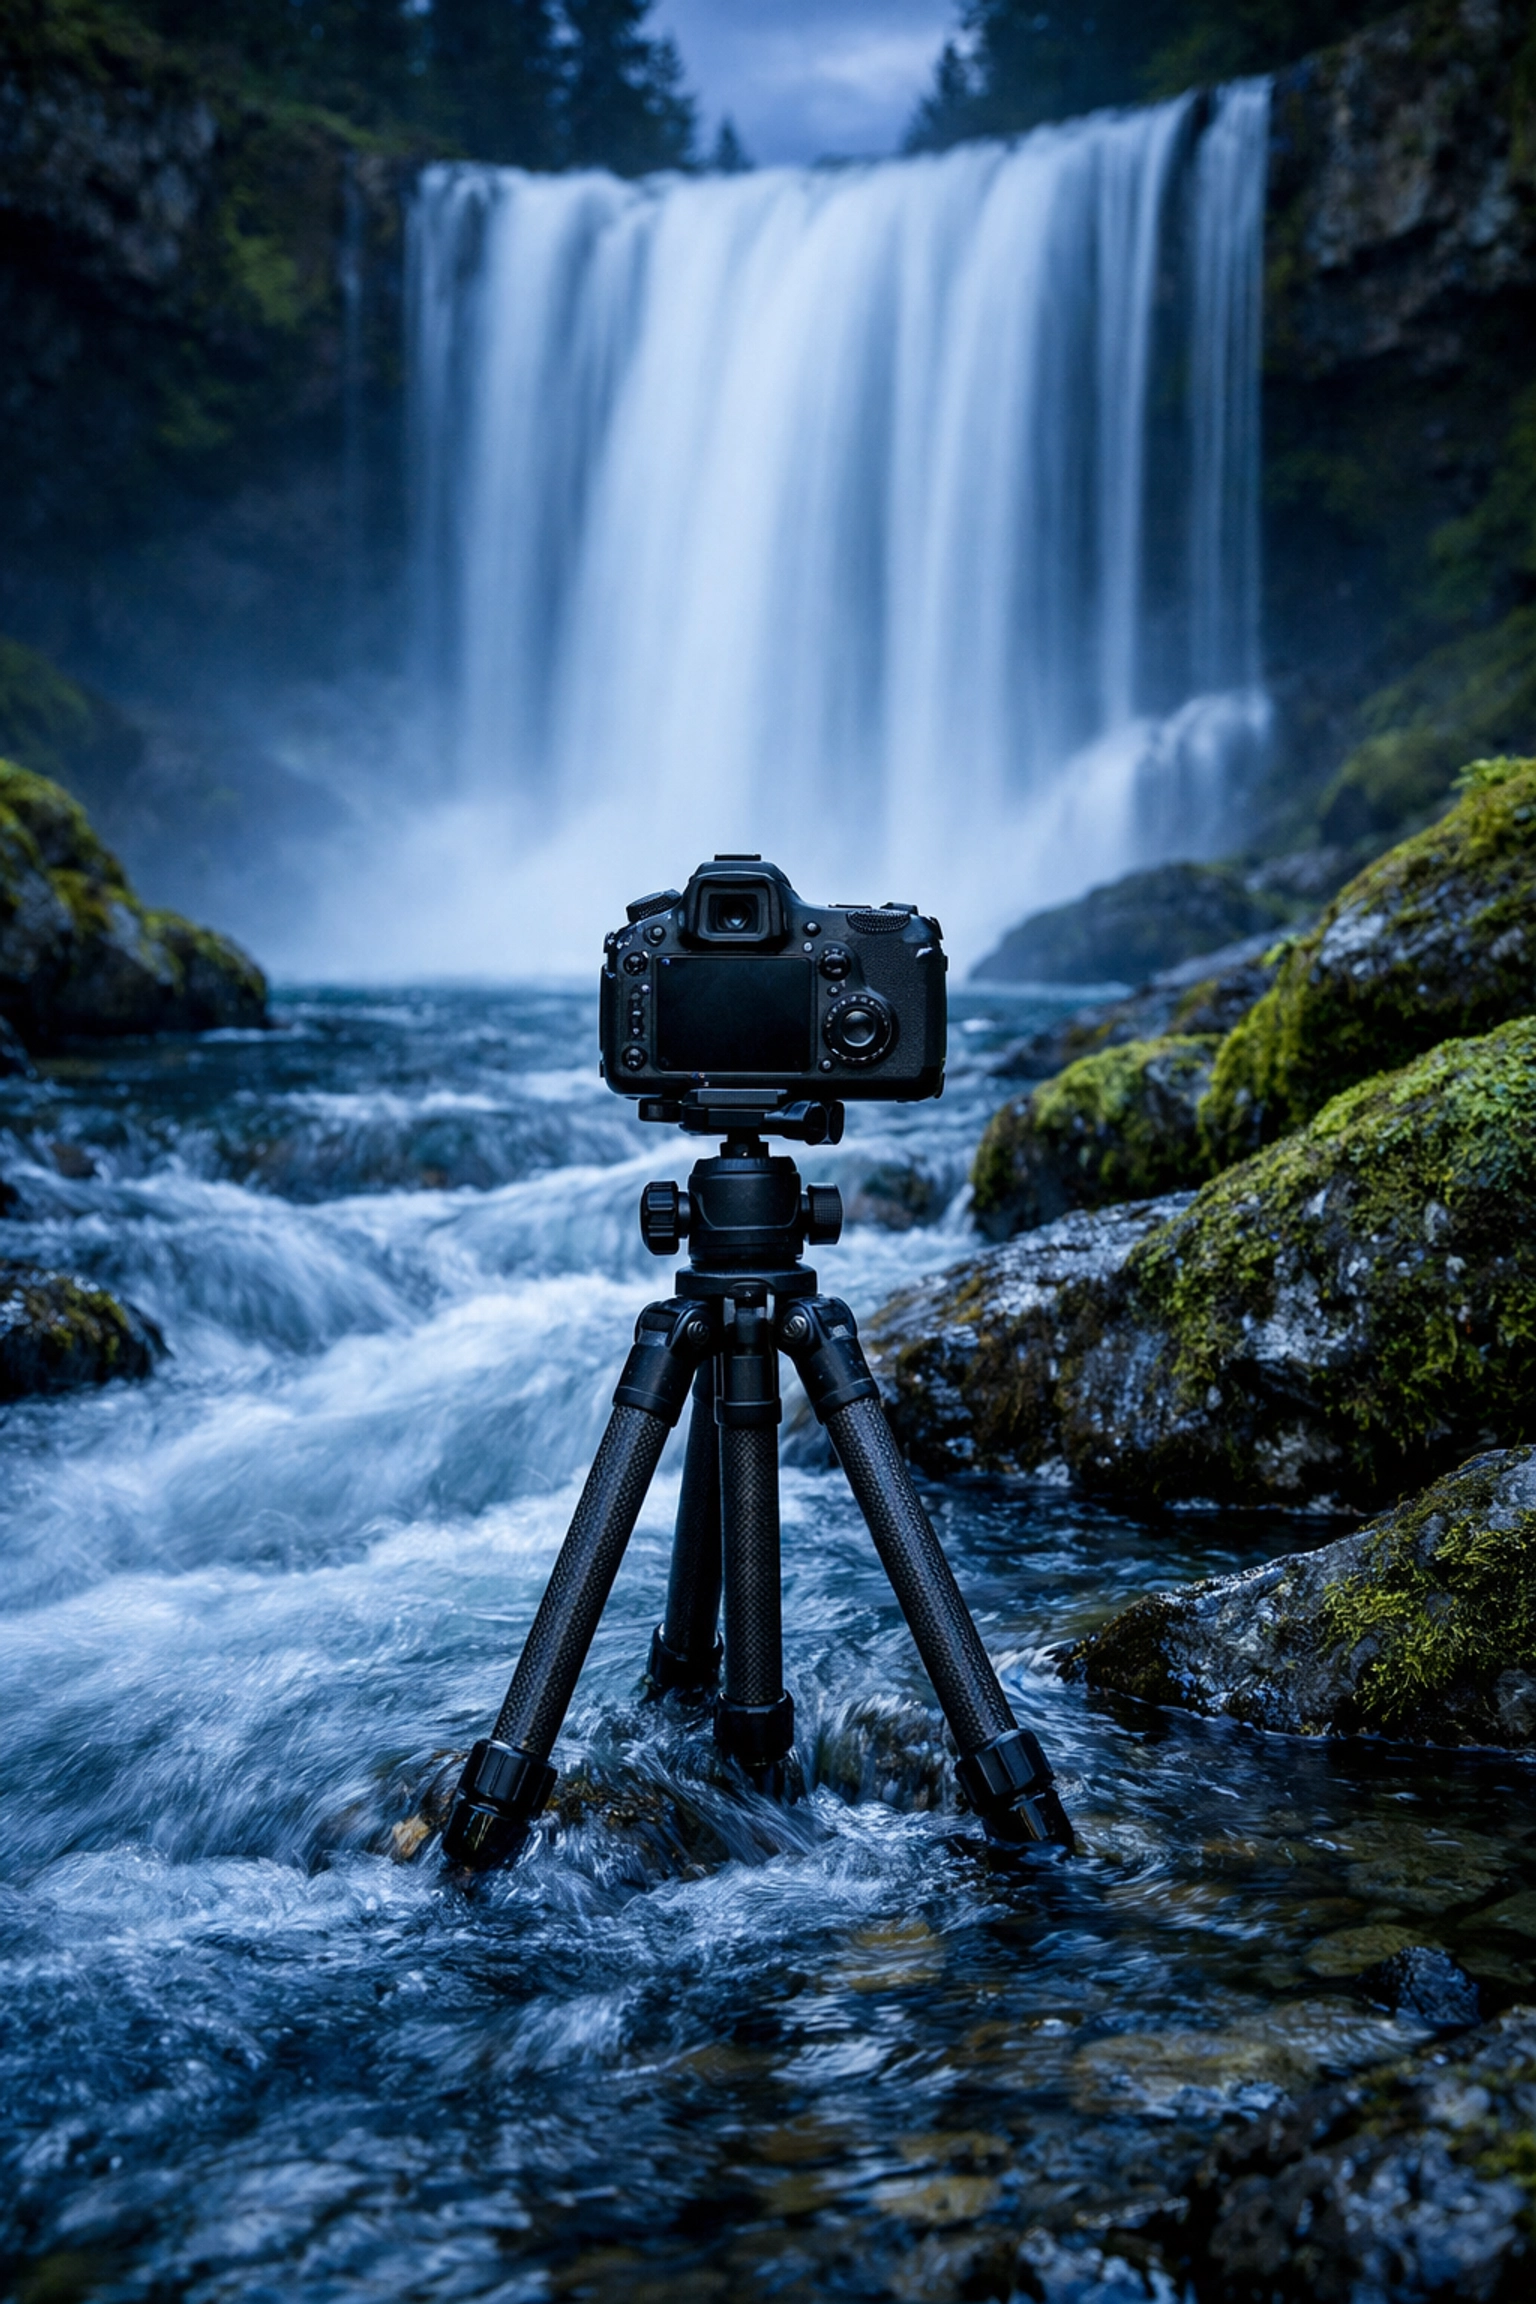
7. Leaving Image Stabilization ON While Using a Tripod
This one is a classic "gotcha." Image Stabilization (IS) or Vibration Reduction (VR) is designed to counteract the tiny movements of your hands. When your camera is on a steady tripod, there are no movements to counteract. The IS system can actually create movement while searching for vibrations that aren't there, resulting in a slightly soft image.
The Fix: Flip the Switch
When the camera goes on the sticks, the IS goes OFF. It’s a simple habit that will save your long-exposure shots. If you’re doing high-end architectural or commercial work, like what we do at edinstudios.com, this small step is the difference between a professional result and an amateur mistake.
Why Manual Mode Matters (Even When It’s Hard)
You might be wondering, "If it's this easy to mess up, why bother?"
The answer is creative intent. Auto mode is designed to give you an "average" exposure. It wants everything to be safe. But great photography isn't always safe. Maybe you want a silhouette. Maybe you want intentional motion blur. Maybe you want a moody, dark-toned portrait.
In Manual Mode, you aren't fighting the camera's computer; you're using it as a tool.
Mastering the Exposure Triangle
To truly fix these mistakes, you have to internalize the Exposure Triangle. Think of it like a three-legged stool. If you move one leg, you have to adjust the others to keep the stool level.
- Aperture: Controls depth of field (blurry background vs. everything sharp).
- Shutter Speed: Controls motion (frozen action vs. motion blur).
- ISO: Controls the camera's sensitivity to light.
If you’re struggling with how these three interact, check out some of the resources at blog.edinchavez.com. He breaks down complex concepts into simple, bite-sized pieces that actually make sense.
A Note on Metering Modes
One bonus mistake many manual shooters make is using the wrong "Metering Mode." Your camera’s light meter isn't always telling you the truth: it's giving you its best guess based on how you have it set up.
- Matrix/Evaluative Metering: The camera looks at the whole scene and averages it out. Good for landscapes.
- Spot Metering: The camera only looks at a tiny circle in the middle (or at your focus point). This is a lifesaver for backlit portraits where the background is super bright but the face is in shadow.
- Center-Weighted: A mix of both.
If your manual shots are consistently too bright or too dark, take a look at your metering mode. You might be telling the camera to look at the wrong part of the scene!
Practice Makes Perfect (Seriously)
Nobody becomes a master of manual mode overnight. It takes thousands of bad photos to start getting the good ones consistently. The goal isn't to never make a mistake; the goal is to recognize the mistake as soon as you see the result on your screen.
If the photo is too dark, you should instinctively know which dial to turn. If it's too blurry, you should know why.
Spend some time in our Resources section to find gear and guides that can help you on this journey. And don't forget to check out our shop if you want to see how we handle color and light in our own post-processing.
Manual mode is the key to the castle. It’s the difference between "taking a picture" and "making a photograph." Stop letting your camera make the decisions for you. It’s a machine; you’re the artist.
Now, grab your camera, head outside, and go make some mistakes. It’s the only way to learn. For more deep dives, you can always browse our site index to find exactly what you're looking for.
Happy shooting!


