Updated October 2026
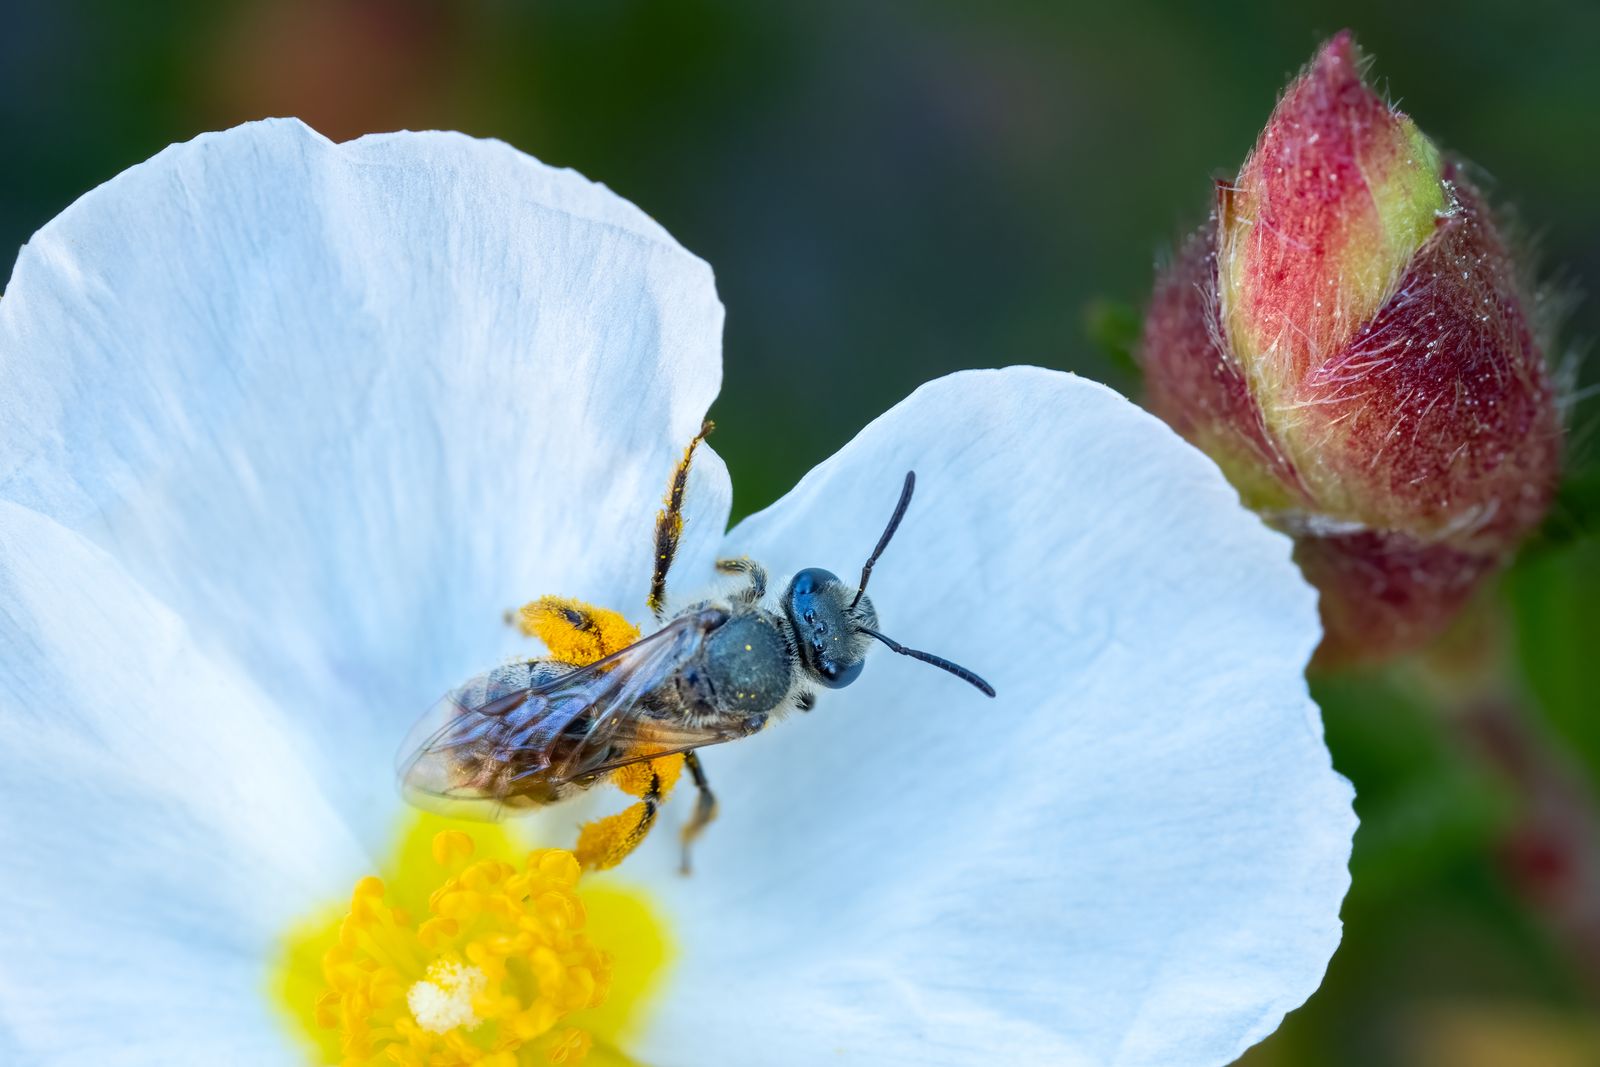
Macro photography in natural landscapes is a different game from shooting in a studio. Nothing holds still, the light changes minute by minute, and the best subjects sit in awkward places: a mushroom on a mossy log, a bee on a wildflower, a frosted stem on a cold morning. This guide covers field technique: where to look, when to shoot, how to approach living subjects, how to deal with wind and light, and how to place a tiny subject inside the larger world around it.
If you need exposure numbers first, start with the basics in our guide to mastering macro photography techniques. This post is about what to do once you are standing in a meadow, a forest or a garden with your camera.
 Save
SaveWhy macro and natural landscapes go together
A landscape photographer looks at the big view. A macro photographer looks at what is at their feet. The two are closer than they seem. The same forest, field or shoreline holds a hundred small scenes, and each one comes with its own light, color and mood. Working close to the ground also shows you places you would walk past otherwise.
The challenge is that the natural world does not pose for you. You need patience, a plan and a handful of habits that give you more sharp, well lit frames per outing.
Scouting: where to find macro subjects
You do not need to travel far. A small patch of ground can fill a whole morning. Good places include:
- Meadows and field edges. Flowers, grasses and insects gather where sun meets shade.
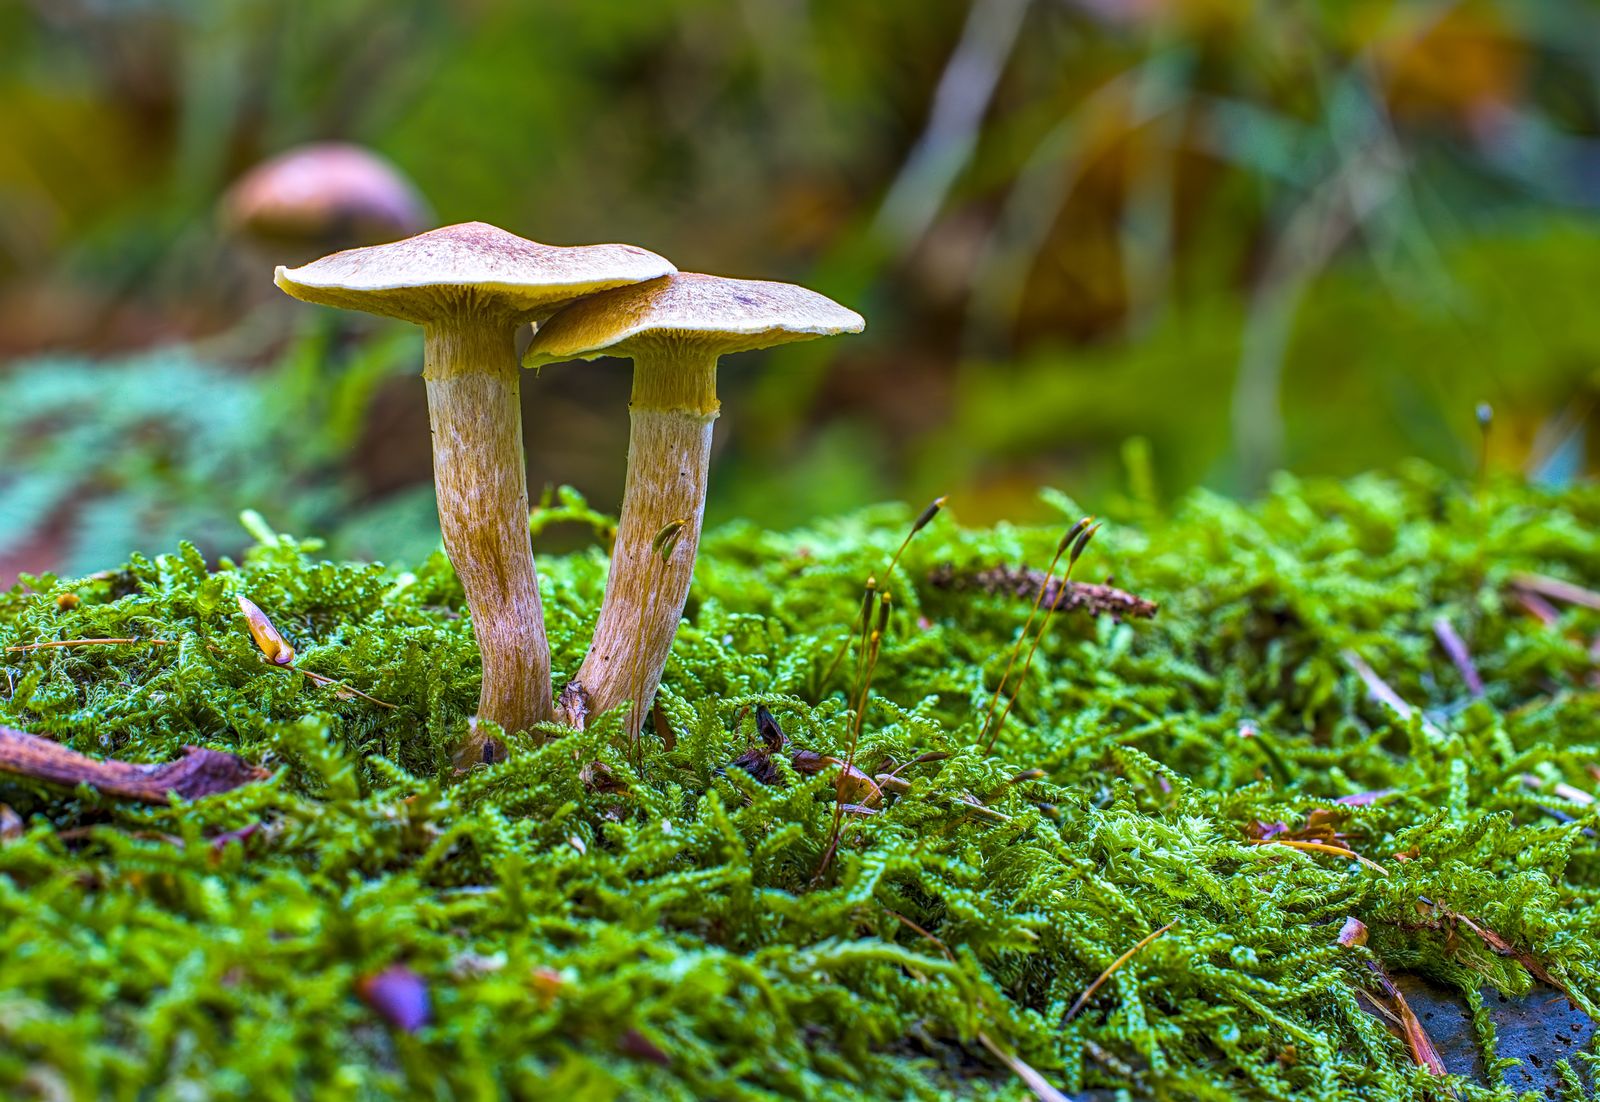
- Forest floors. Moss, ferns, fungi and fallen leaves, especially after rain.
- Gardens and parks. Reliable flowers and pollinators, often easy to reach.
- Ponds, streams and shorelines. Water drops, reflections and dragonflies.
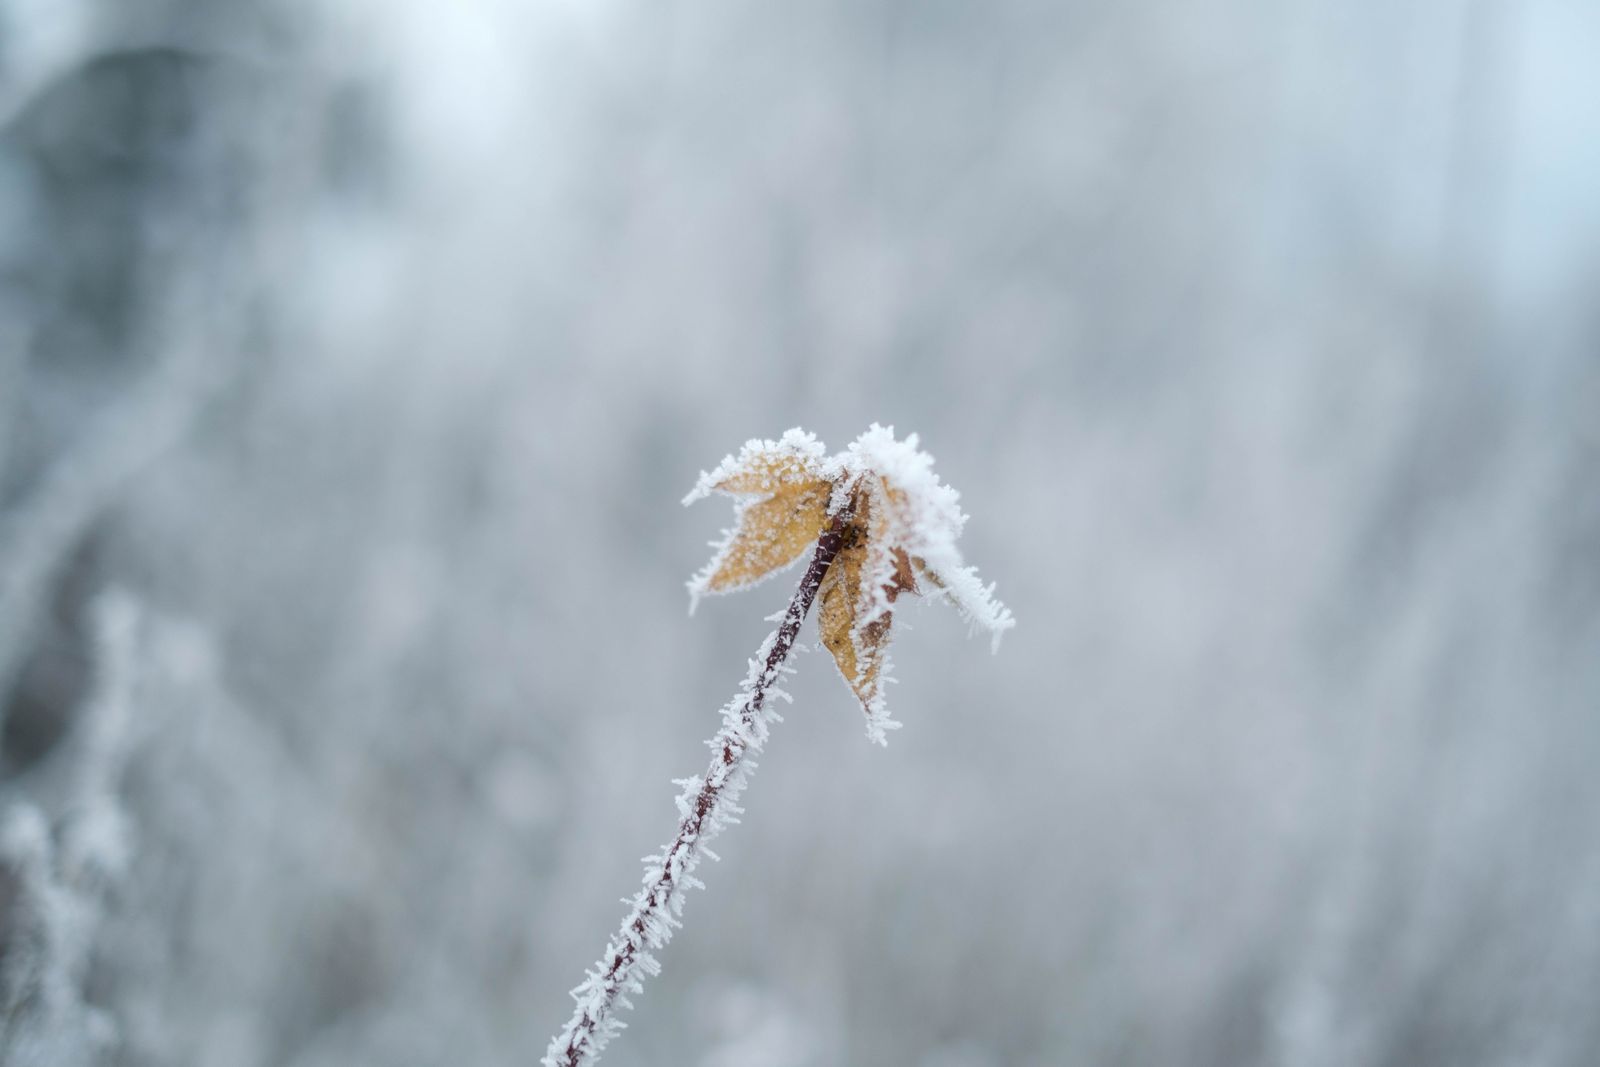
- Frosty or dewy fields. Cold mornings turn plain stems into glittering subjects.
Walk slowly and look low. Many photographers walk the area once without the camera raised, noting promising spots, and then return when the light is better. Look for contrast, clean backgrounds, interesting textures and anything that catches the light.
Start with the easy subjects
If you are new to field macro, begin with subjects that hold still. Mushrooms, moss, seed heads, frost and flowers on calm mornings let you practice focus, light and background control without chasing anything. Once your hit rate improves, move on to bees on open flowers, then to more skittish insects. Each step trains your patience and your eye, and each one teaches you something about how the light and the wind behave in your own local patch of nature.
Timing: when to shoot
- Early morning. Soft light, calmer air, and dew that has not yet dried. Insects are often slower in cool air, which can make them easier to approach.
- Late afternoon. Low, warm light is great for backlit petals and seed heads.
- Overcast days. Even, shadowless light makes colors look rich and avoids harsh highlights.
- After rain. Water drops, wet moss and saturated colors, though you will need to watch your gear.
- Cold clear mornings. Frost forms delicate patterns on plants. It melts quickly once the sun hits it, so move early.
 Save
SaveWorking with wind
Wind is the biggest enemy of field macro. A breeze that you barely notice can swing a flower stem across the frame in the middle of an exposure. What helps:
- Shoot early. Air is often calmer at dawn.
- Block the wind. Use your body, a folding reflector or a small diffuser panel on the windward side of the subject.
- Use a faster shutter speed. Raise ISO or open the aperture if you must.
- Wait for lulls. Watch the stem. When it settles, press the shutter.
- Shoot a burst. More frames means a better chance of one perfectly still one.
Avoid tying or holding plants in place in a way that harms them. Respect the habitat.
Camera support in the field
A tripod gives you sharper images and lets you refine composition, but it can be slow to set up and awkward at ground level. Options include:
- A tripod with a low or reversible center column. It lets the camera sit close to the ground.
- A beanbag. It rests on the ground, a log or a rock and holds the camera steady with little fuss.
- Hand holding. Best for moving insects. Brace your elbows against your body, kneel or lie down, and use a fast shutter speed or flash.
If you shoot hand held, take lots of frames. The sharpest one is often not the first.
 Save
SaveApproaching living subjects
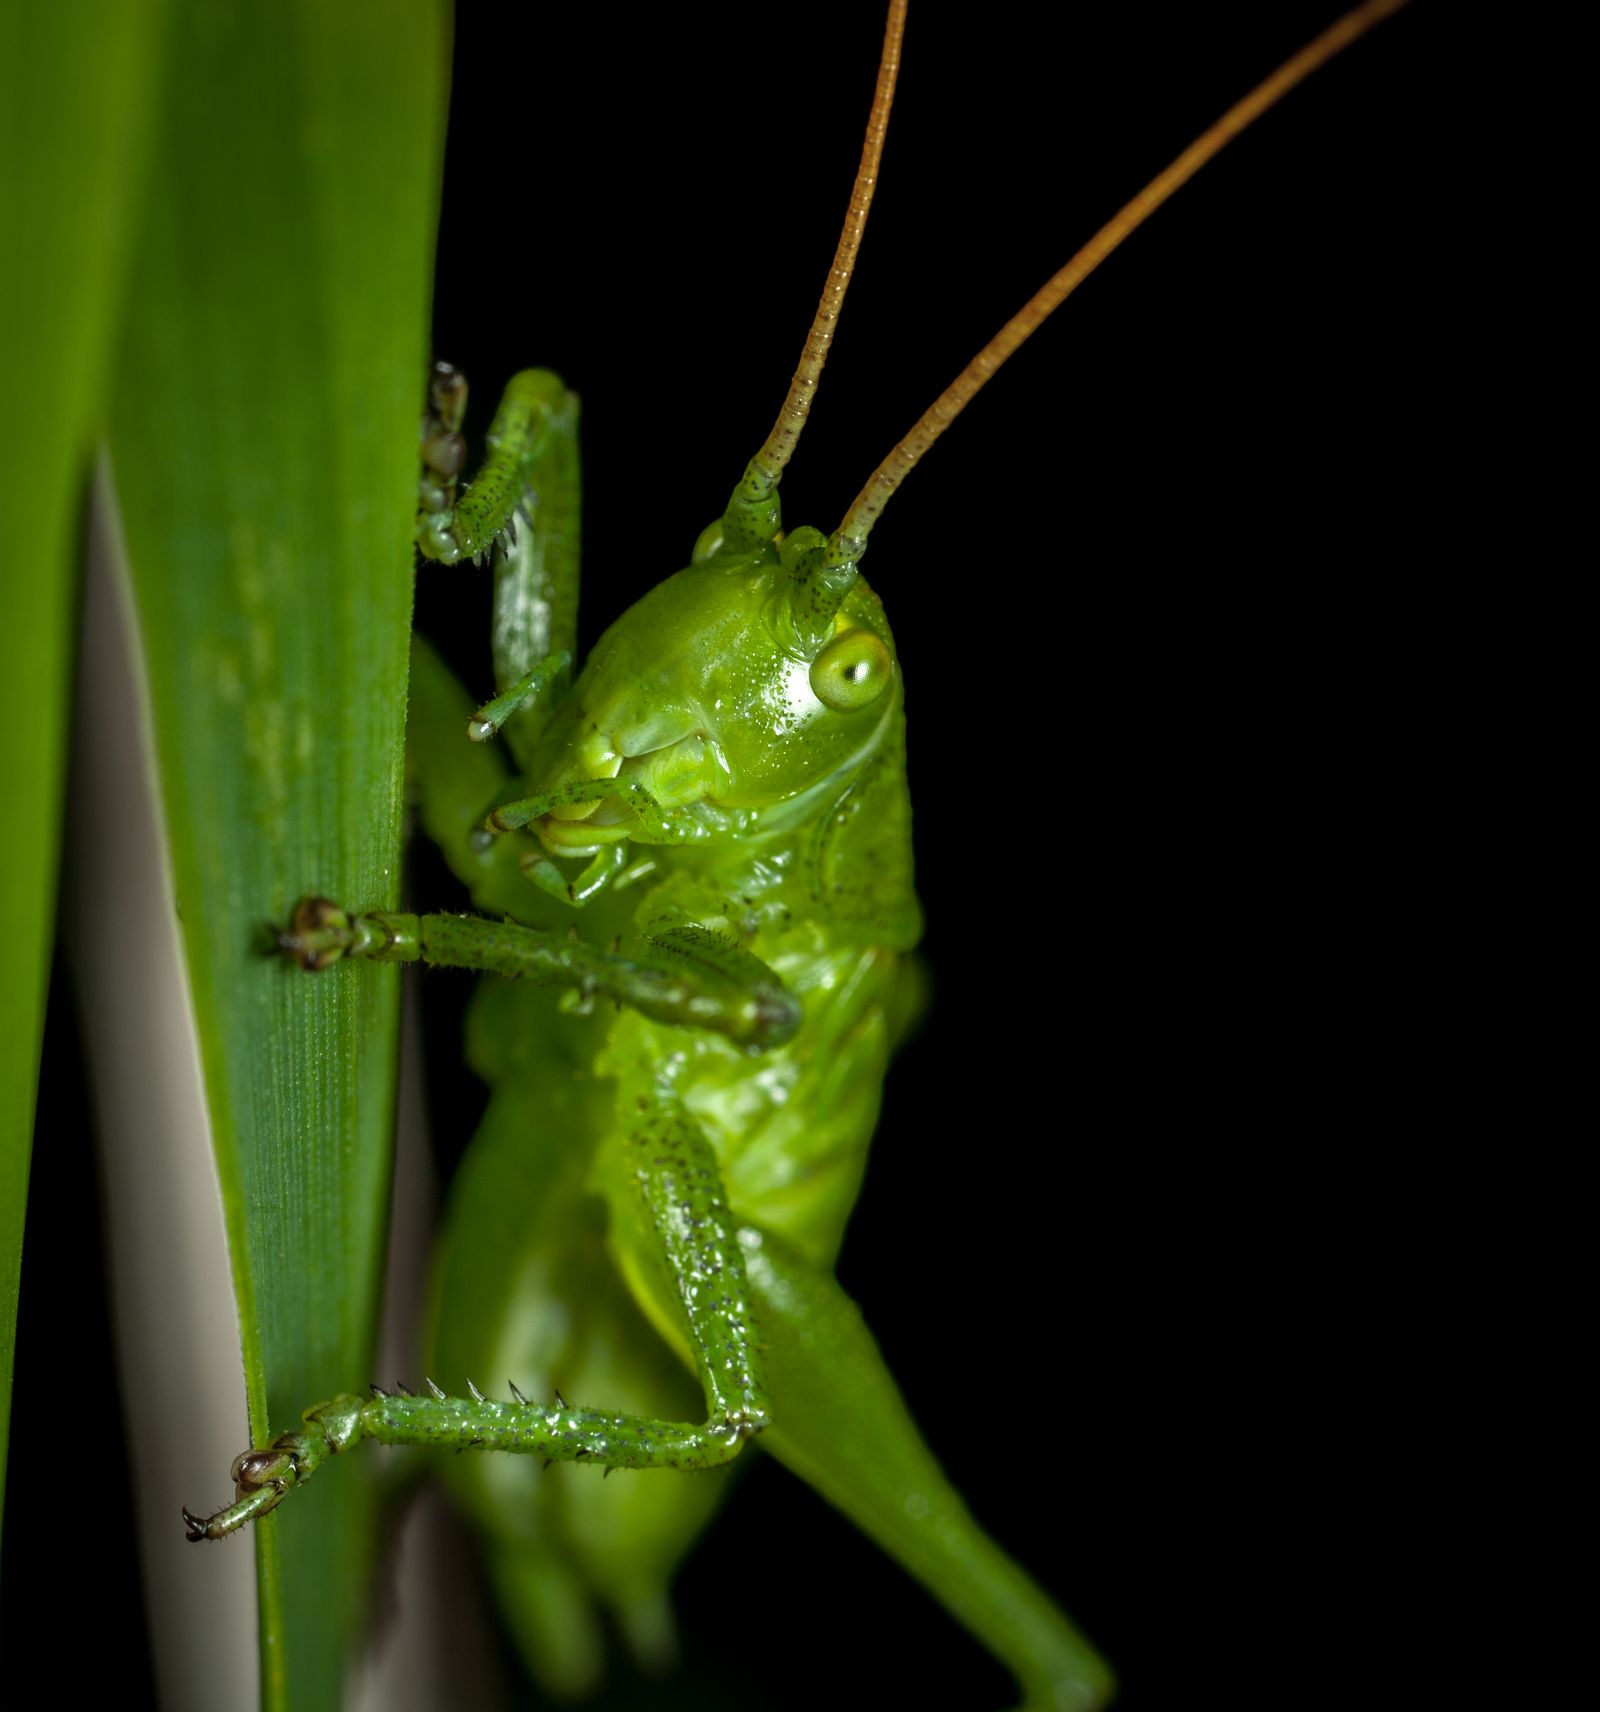
Insects and other small animals react to movement, shadows and vibrations. A few habits help you get closer without disturbing them:
- Move slowly. Think in slow motion. Avoid sudden changes in direction.
- Mind your shadow. A shadow falling across an insect can send it flying.
- Pre-focus. Set the lens to a fixed focus distance and move your whole body forward until the subject comes into focus, instead of turning the focus ring when you are close.
- Be patient. If an insect flies, it often returns to the same flower. Wait.
- Stay ethical. Do not trample plants, move animals for a better shot, or chase them. The subject always comes first.
 Save
SaveLight in the field
Light decides whether a macro photo feels flat or alive. Here are the main ways to use it outdoors:
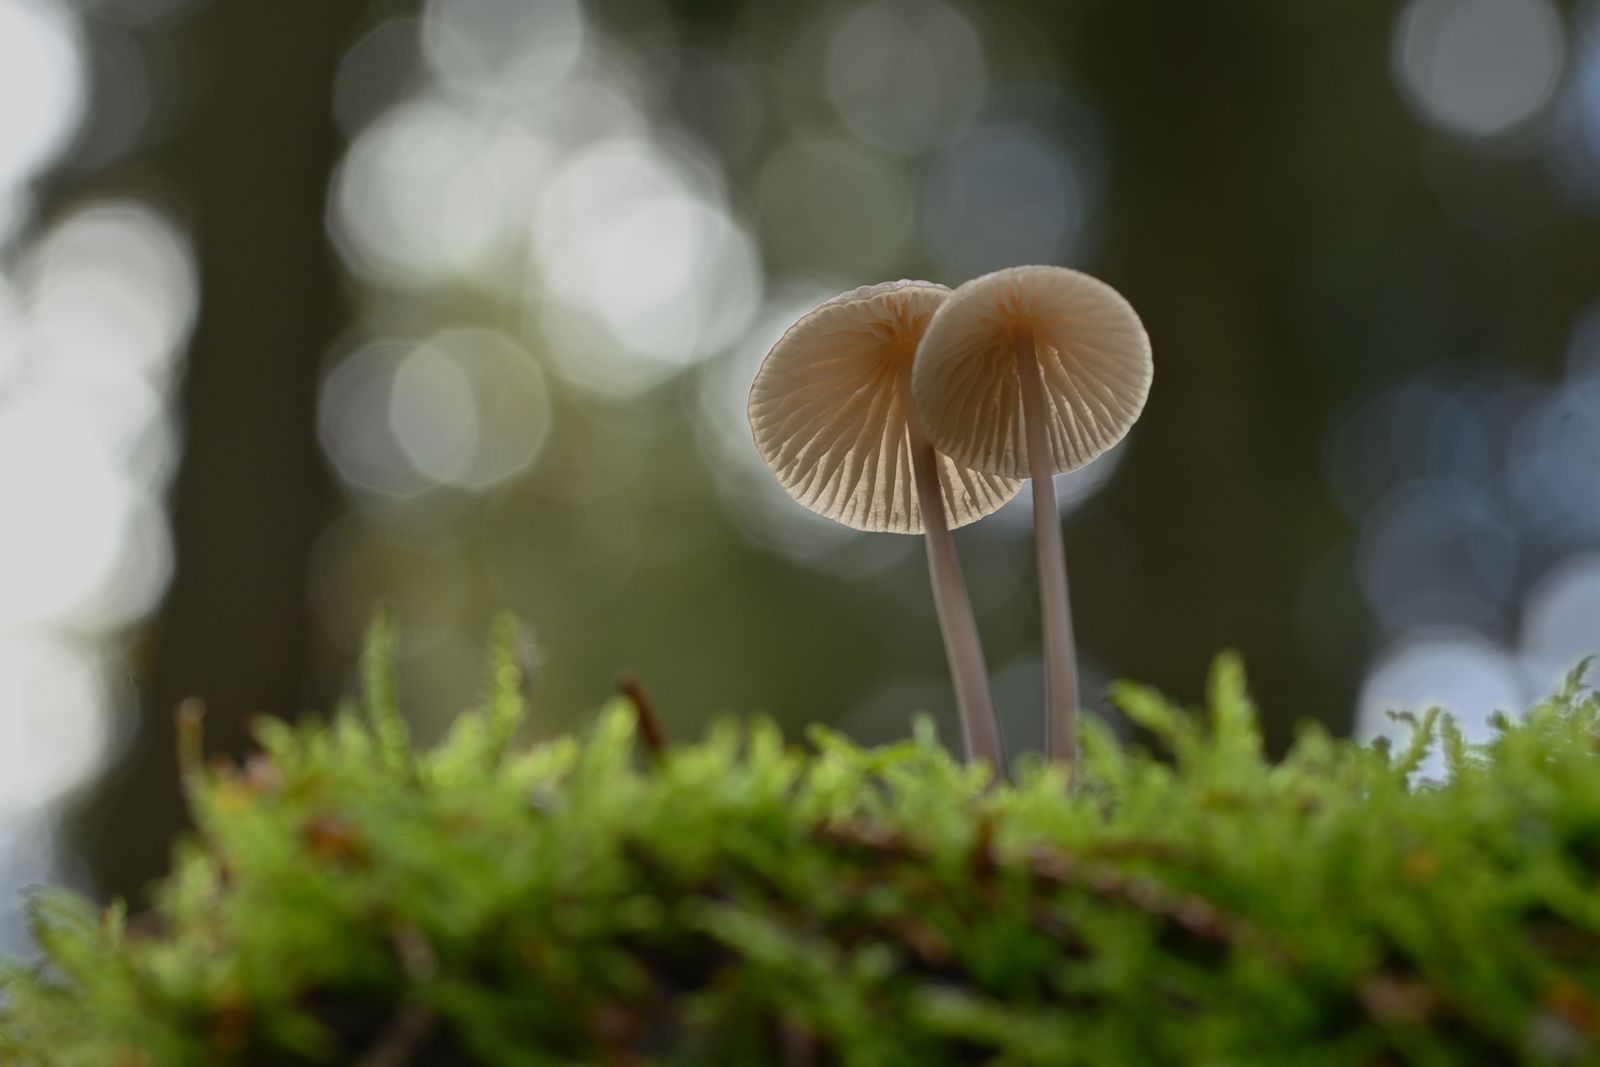
- Backlight. Light from behind makes petals, leaves and insect wings glow. It also creates a halo of light around fine hairs. Expose carefully, since the meter can be fooled.
- Side light. Brings out texture on bark, moss and frost.
- Soft, diffused light. A diffuser held over a subject in harsh sun turns the light soft and even.
- Reflectors. A small reflector fills shadows and adds a bit of sparkle.
- Flash. Lets you use a smaller aperture and a faster effective shutter speed, and can make a subject pop against a darker background. Diffuse it, or the result looks harsh.
Backgrounds: the quiet half of the photo
A subject can be perfect and the photo can still fail because of what is behind it. Before you press the shutter, look at the background. Check for bright spots, sticks and busy patterns. Then move. Even a small change in angle can swap a messy background for a smooth wash of color. Shooting from a low angle, looking slightly upward, often puts sky or distant foliage behind the subject, which blurs nicely. A wide aperture helps, and so does having the subject far from the background.
 Save
SaveComposition: put the small subject in a big world
Good macro images follow the same rules as any other photo. Our guide on what is composition covers the basics. In the field, some ideas matter more than others:
- Keep the camera parallel to the subject when you want as much of it sharp as possible. Tilting it means part of the subject falls out of focus.
- Pick the most important point and focus there. For an insect, it is usually the eye.
- Leave room for the subject to look or move into.
- Use color. A small spot of red or yellow against green can hold the whole frame.
- Include environment. A wider shot that shows the mushroom in its forest tells a different story from an extreme close-up. Try both.
- Simplify. Remove distractions. One subject, one idea.
Water and weather
Dew, rain and mist add atmosphere. Dew is best at dawn, and a gentle backlight makes each drop sparkle. A small spray bottle can add droplets to a leaf or petal if you do it gently. For more on shooting water, see our guide to water macro photography. Protect your gear from moisture with a cover or a cloth, and wipe the front of the lens often. Moving from a cold place to a warm one can fog the glass, so let your gear adjust slowly.
A simple field workflow
- Scout first. Walk the area and note promising subjects and backgrounds.
- Check the conditions. Light direction, wind and temperature.
- Set up your support if the subject will hold still.
- Pick your aperture based on how much of the subject you need sharp.
- Choose your background by moving your position.
- Focus carefully. Manual focus or magnified live view, on the key detail.
- Take several frames, and check them at 100 percent on the screen.
- Adjust and repeat. Small changes in position and light make a big difference.
Leave no trace
Nature photographers are guests. Stay on paths where possible, avoid trampling plants, do not pick or move subjects, and leave nests, dens and fragile habitats alone. Obey local rules in parks and protected areas. Take only photographs and leave the place as you found it.
Editing field macro images
Keep edits simple. Adjust exposure and contrast, protect highlights in backlit shots, clean up distracting specks, and fine-tune color so it looks natural. Sharpen carefully, because over-sharpening creates halos around fine edges.
Keep learning
Explore more photography tips at the Shut Your Aperture Academy.
Frequently asked questions
What is the best time of day for outdoor macro photography?
Early morning is a favorite. The light is soft, the air is often calm, and dew can still be on petals, leaves and webs. Overcast days also work well because the light is even.
How do I photograph insects without scaring them away?
Approach slowly, keep your shadow off the subject, and avoid sudden movements. Pre-focus at your lens’s working distance and move in with your body rather than the focus ring. Never harm the animal or its habitat for a photo.
Do I need a tripod for macro in the field?
A tripod, or a low support such as a beanbag, helps with still subjects like mushrooms, frost and flowers. For active insects, many photographers shoot hand held with a fast shutter speed or flash.
How do I deal with wind when shooting flowers?
Shoot in the calm of early morning, block the wind with your body or a diffuser, use a faster shutter speed, or wait for the lulls between gusts.
How do I get a clean background in macro photography?
Change your angle. Even a small move left, right, up or down changes what sits behind the subject. A distant, evenly lit background blurs best at wide apertures.
What should I carry for a macro walk?
A macro lens, a tripod or beanbag, a small reflector or diffuser, a spray bottle, a lens cloth and spare batteries and cards. Pack light so you can move quietly.
Gear box: research starting points
These are starting points for your own research, not endorsements. Check compatibility with your camera and read recent reviews before buying.
- Macro lenses: See macro lenses at B&H | See macro lenses on Amazon
- Extension tubes: See extension tubes at B&H | See extension tubes on Amazon
- Reflector and diffuser: See 5-in-1 reflectors at B&H | See 5-in-1 reflectors on Amazon
- Macro flash (the B&H results include ring and twin flash units): See macro flashes at B&H | See macro flashes on Amazon
Affiliate disclosure: some links above are affiliate links. If you buy through them, Shut Your Aperture may earn a small commission at no extra cost to you. As an Amazon Associate, Shut Your Aperture earns from qualifying purchases.