
Manual mode is the "Mount Everest" of photography. Most beginners look at it from the base of the mountain, shivering in their boots, while professionals stand at the peak, breathing in that crisp, controlled air. But here’s a secret: Manual mode isn’t actually that hard. The problem isn’t your camera; it’s the series of small, sneaky mistakes you’re making that turn a fun photo session into a frustrating mess of blurry, dark, or grainy images.
If you’ve ever switched your dial to ‘M’ only to get frustrated and flick it back to ‘Auto’ two minutes later, this guide is for you. We’re going to break down the seven most common mistakes people make with manual mode and, more importantly, how to fix them so you can finally master your gear in 2026.
1. The "Set It and Forget It" Trap
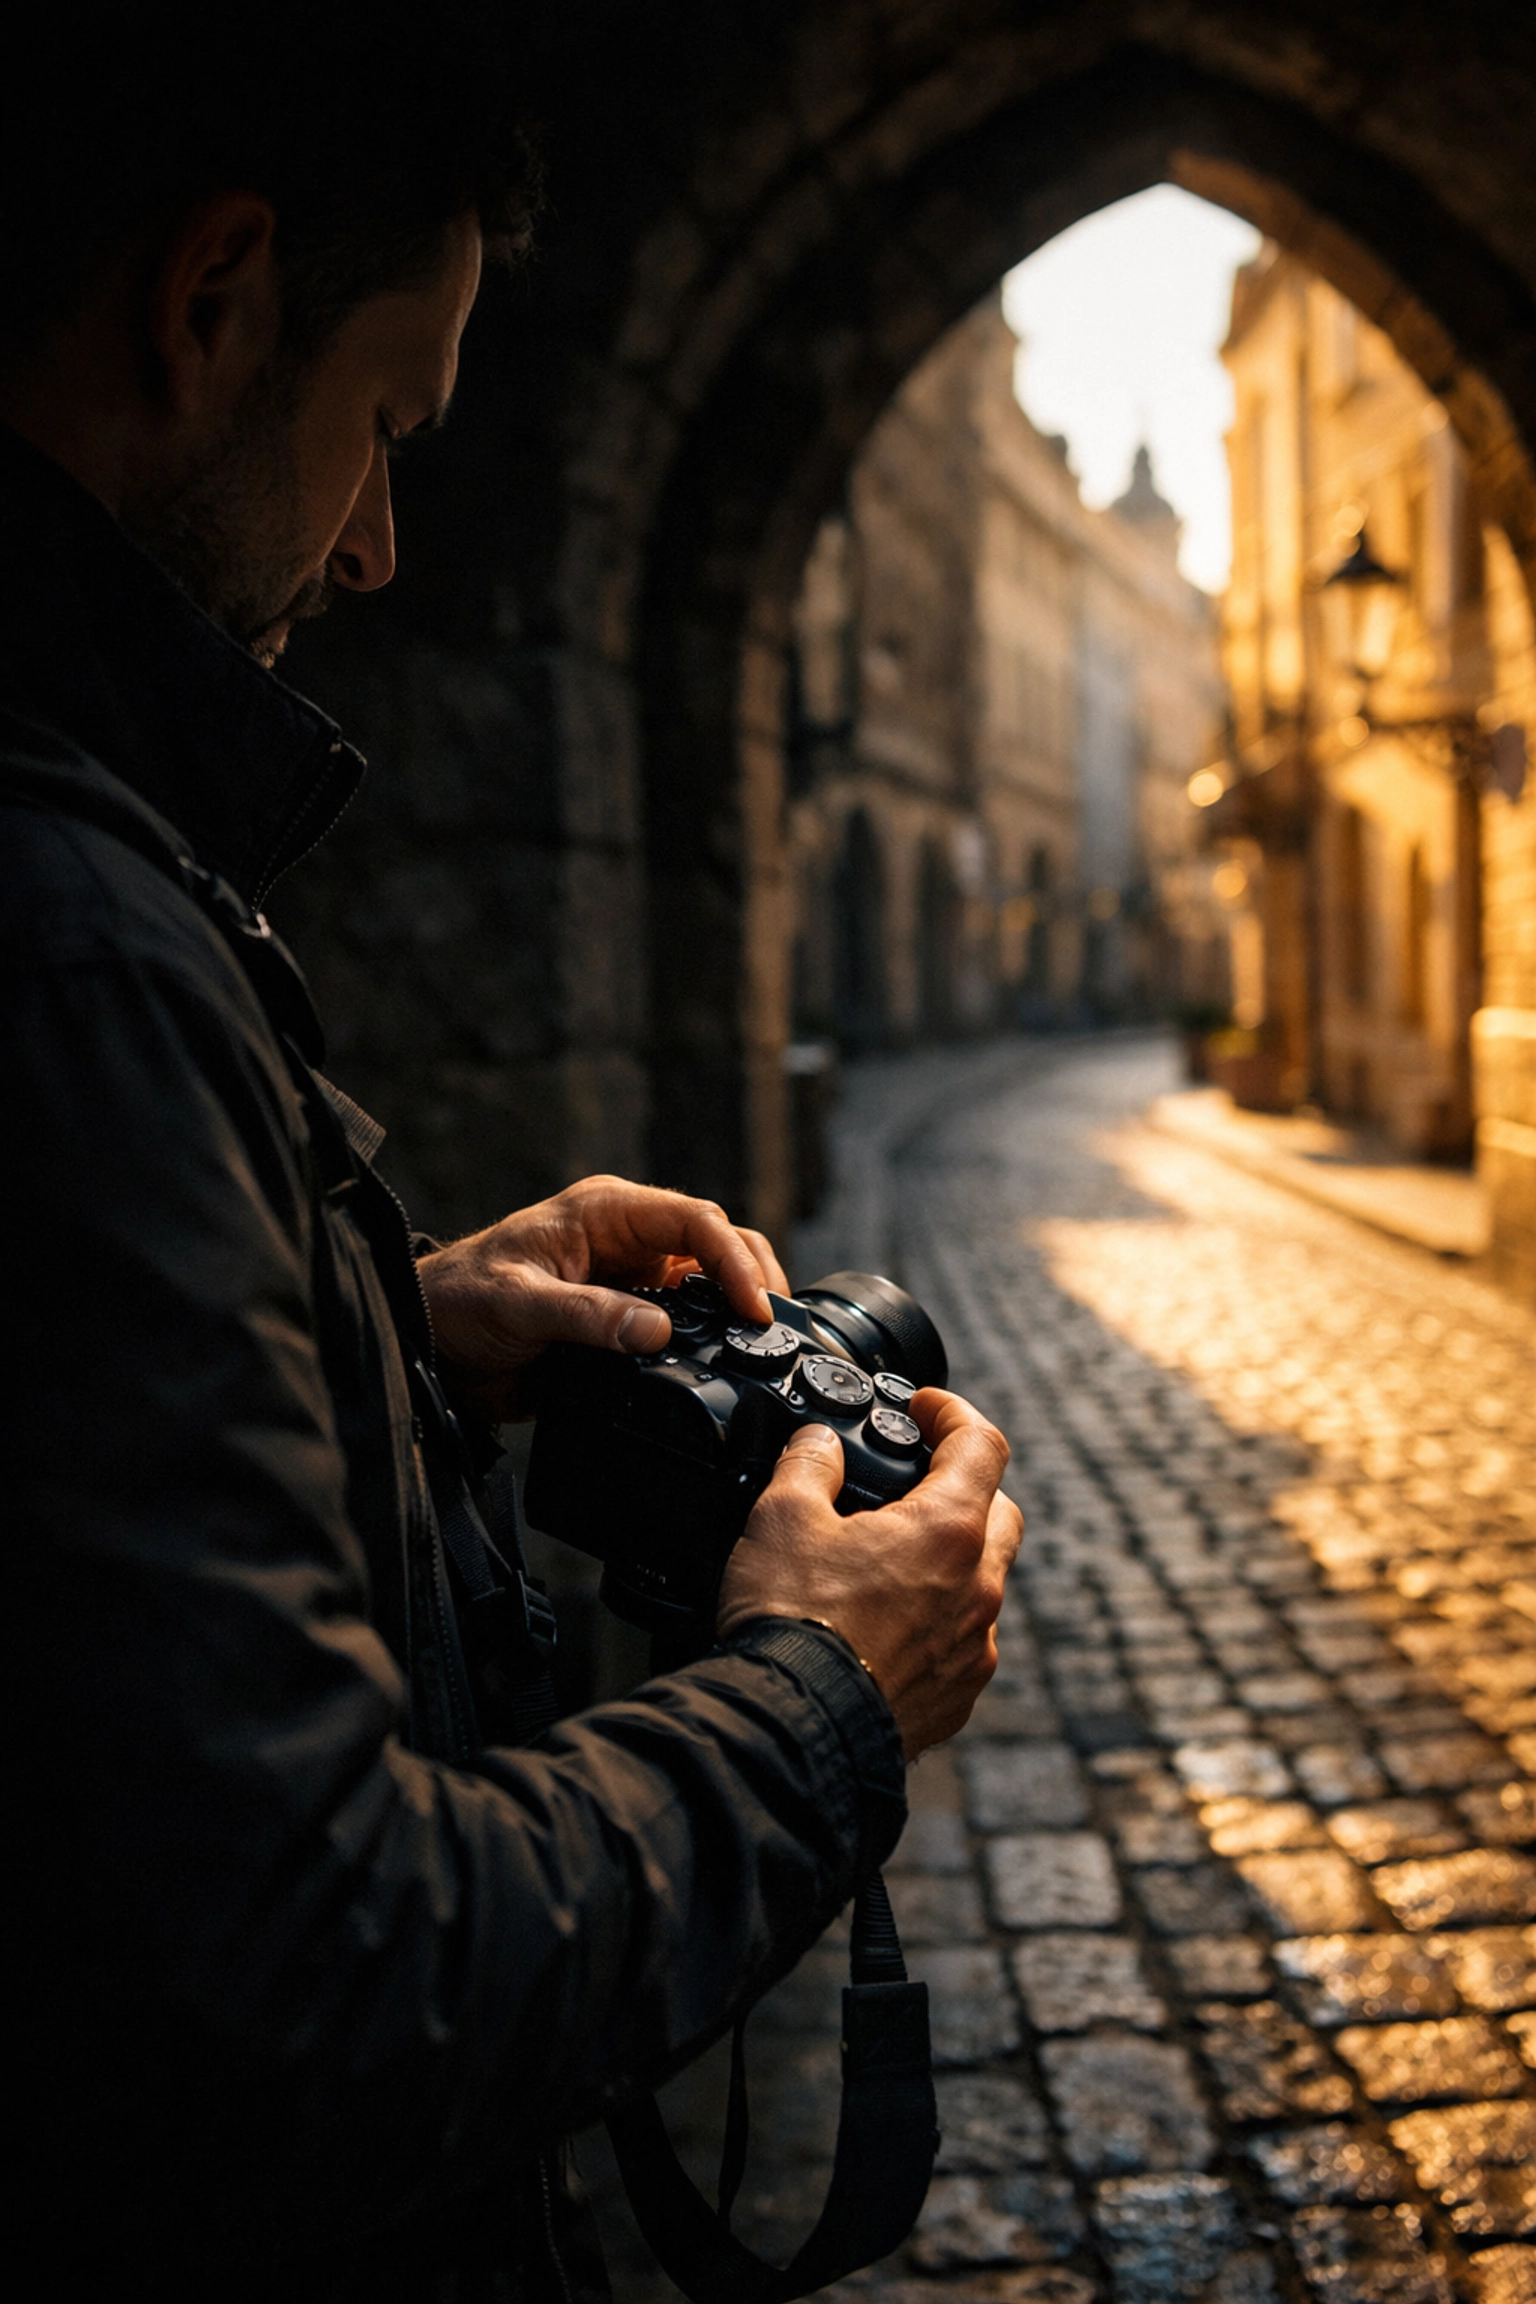
We’ve all been there. You arrive at a beautiful park, dial in your settings for a perfect portrait under a tree, and then you spend the next two hours shooting without ever touching the dials again. You move from the shade to the sun, the clouds roll in, the sun starts to set, and you’re still shooting at 1/200th, f/2.8, ISO 100.
The result? Half your photos are blown out, and the other half look like they were taken in a coal mine.
The Fix:
Light is fluid. It’s a living thing that changes every time you turn your head. In manual mode, your brain has to become the camera's light meter. You need to reassess your exposure triangle, aperture, shutter speed, and ISO, every single time the environment changes. If you move from a bright sidewalk into a dark cafe, your settings need to move with you.
A good habit is to check your histogram after every few shots. Don’t just look at the image on the LCD (those screens lie!), look at the data. If the graph is smashed against the left or right side, it’s time to spin those dials. For more on the basics of keeping your settings in check, take a look at our Manual Mode 101 guide.
2. Ignoring the Relationship Between Focal Length and Shutter Speed
This is one of the most common reasons for "soft" photos. You’re in manual mode, you’ve got a great exposure, but when you get home and look at the photos on a big screen, everything is just a little bit blurry. You check your shutter speed and see it was 1/50th of a second. "That’s fast enough for a static subject!" you think.
But were you using a 35mm lens or a 200mm lens?
The Fix:
Enter the Reciprocal Rule. This is an old-school photography trick that still applies to the latest digital beasts. The rule is simple: your shutter speed should be at least 1 over your focal length.
If you’re shooting with a 50mm lens, your shutter speed shouldn't drop below 1/50th. If you’re zoomed in at 300mm to catch a bird, you need a shutter speed of at least 1/300th to compensate for the micro-jitters in your hands. When you zoom in, you magnify the camera shake. If you're struggling with sharpness in wide-open spaces, check out these landscape photography tips to help stabilize your shots.
3. The "ISO Phobia" (Fear of Grain)
Photographers are terrified of ISO. We’ve been told since the dawn of digital sensors that "ISO 1600 is the devil" and "Keep it at 100 or your photo is ruined." Because of this fear, many manual mode users will keep their ISO low and try to compensate by using a shutter speed that is way too slow, leading to motion blur.
Here is the truth: A sharp, grainy photo is usable. A blurry, "clean" photo belongs in the trash.
The Fix:
Stop being afraid of ISO. Modern sensors, especially the AI-integrated mirrorless cameras coming out today, handle high ISO incredibly well. It’s actually better to push your ISO higher to get a proper exposure than to underexpose a photo at ISO 100 and try to "save" it in post-production.
Underexposing and then lifting the shadows in software actually introduces more ugly noise than if you had just shot at a higher ISO to begin with. Plus, with tools like Luminar, removing digital noise is easier than ever. Don’t let a fear of grain stop you from getting the shot.
4. Forgetting to Adjust When the Light Dims
This is a specific version of the "Set it and Forget it" trap, but it usually happens during transitions, like when you’re shooting a wedding and the party moves from the garden to the reception hall.
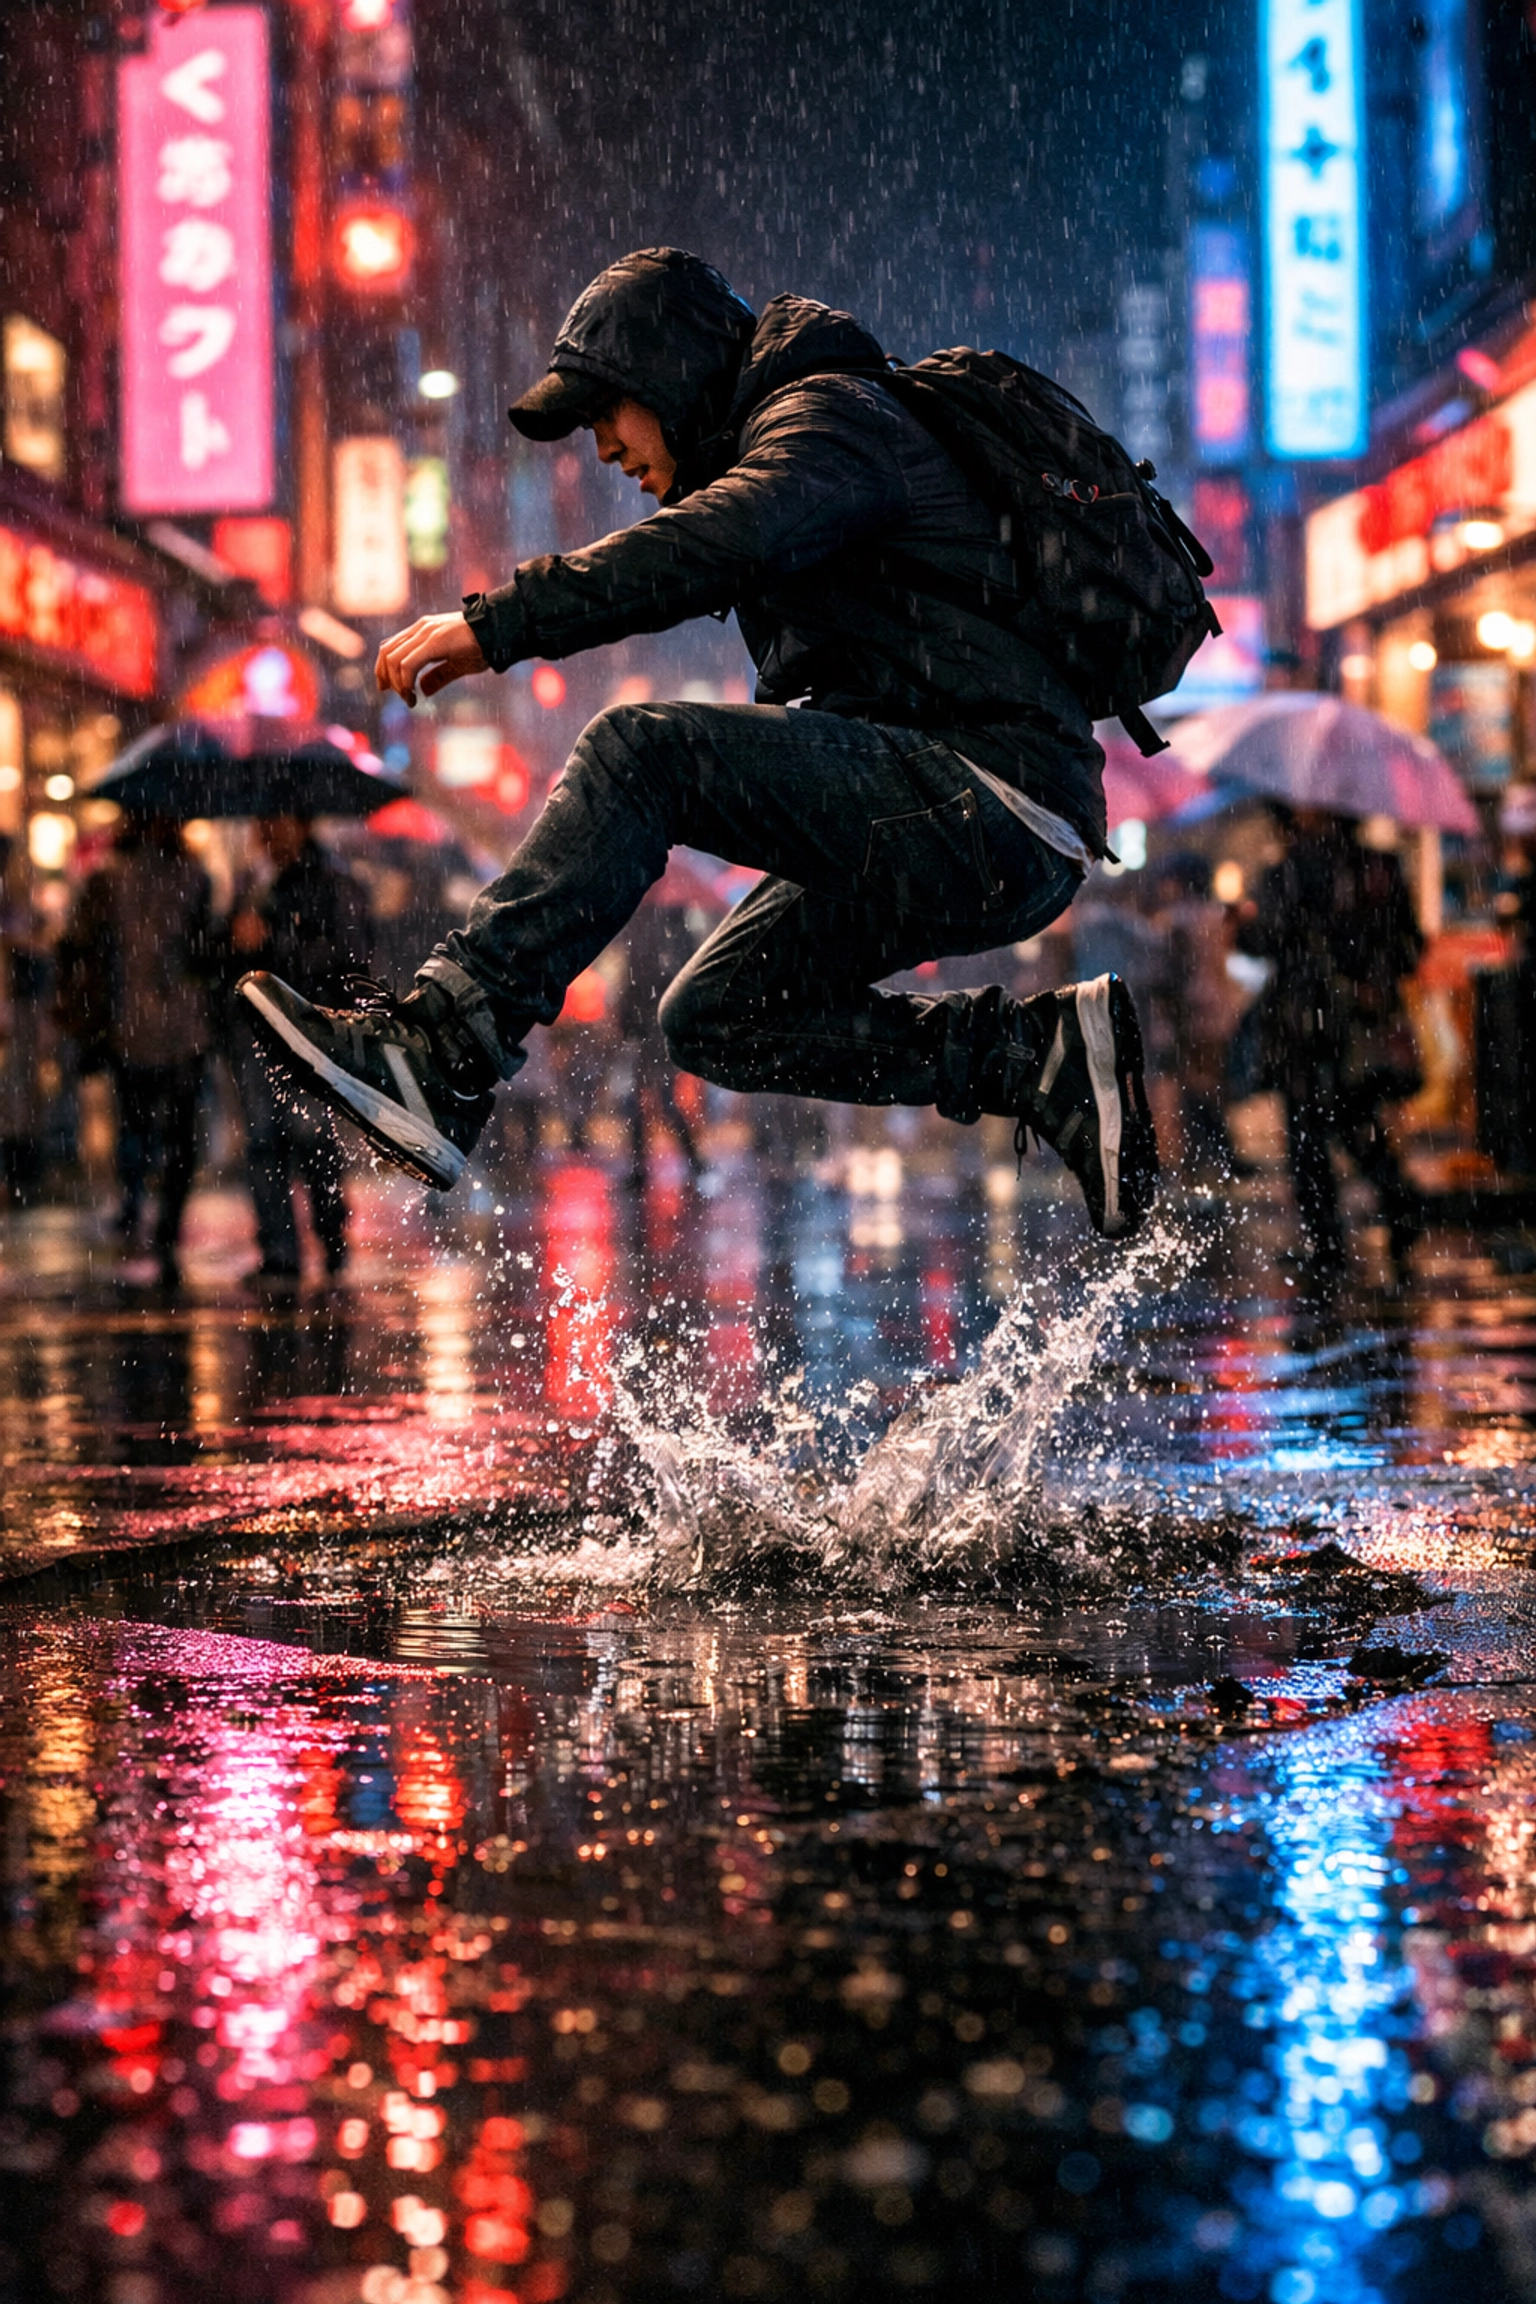
When the light drops, your first instinct is to open your aperture (e.g., f/2.8). Once you hit that limit, you start slowing down your shutter speed. But if you keep slowing down your shutter to 1/10th of a second just to keep your ISO at 100, you’re going to end up with a blurry mess of light trails.
The Fix:
You have to be proactive with your ISO. When you move into a darker environment, bump your ISO up immediately. Think of ISO as the "sensitivity" of your camera. In a dark room, your camera needs to be highly sensitive. By bumping the ISO, you allow yourself to keep a fast enough shutter speed to freeze motion. This is vital for genres like sports photography or wedding photography, where things move fast.
5. Using Auto-ISO as a Permanent Crutch
Wait, isn't Auto-ISO a manual mode feature? Technically, yes. Many cameras allow you to set your Aperture and Shutter Speed manually while letting the camera pick the ISO. While this is a great "safety net" for beginners, it’s a mistake to rely on it forever if you want to truly master manual mode.
Why? Because the camera doesn't know what kind of vibe you're going for. It just wants a "neutral" exposure. It might pump the ISO up to 6400 when you actually wanted a moody, dark silhouette.
The Fix:
Take full control. Manage your ISO manually. This forces you to understand the relationship between all three pillars of the exposure triangle. When you control all three, you aren't just taking a picture the camera thinks is "correct", you are creating an image that matches your vision. If you’re looking for more ways to get creative with your frame, check out these composition tips.
6. Searching for "Magic" Settings
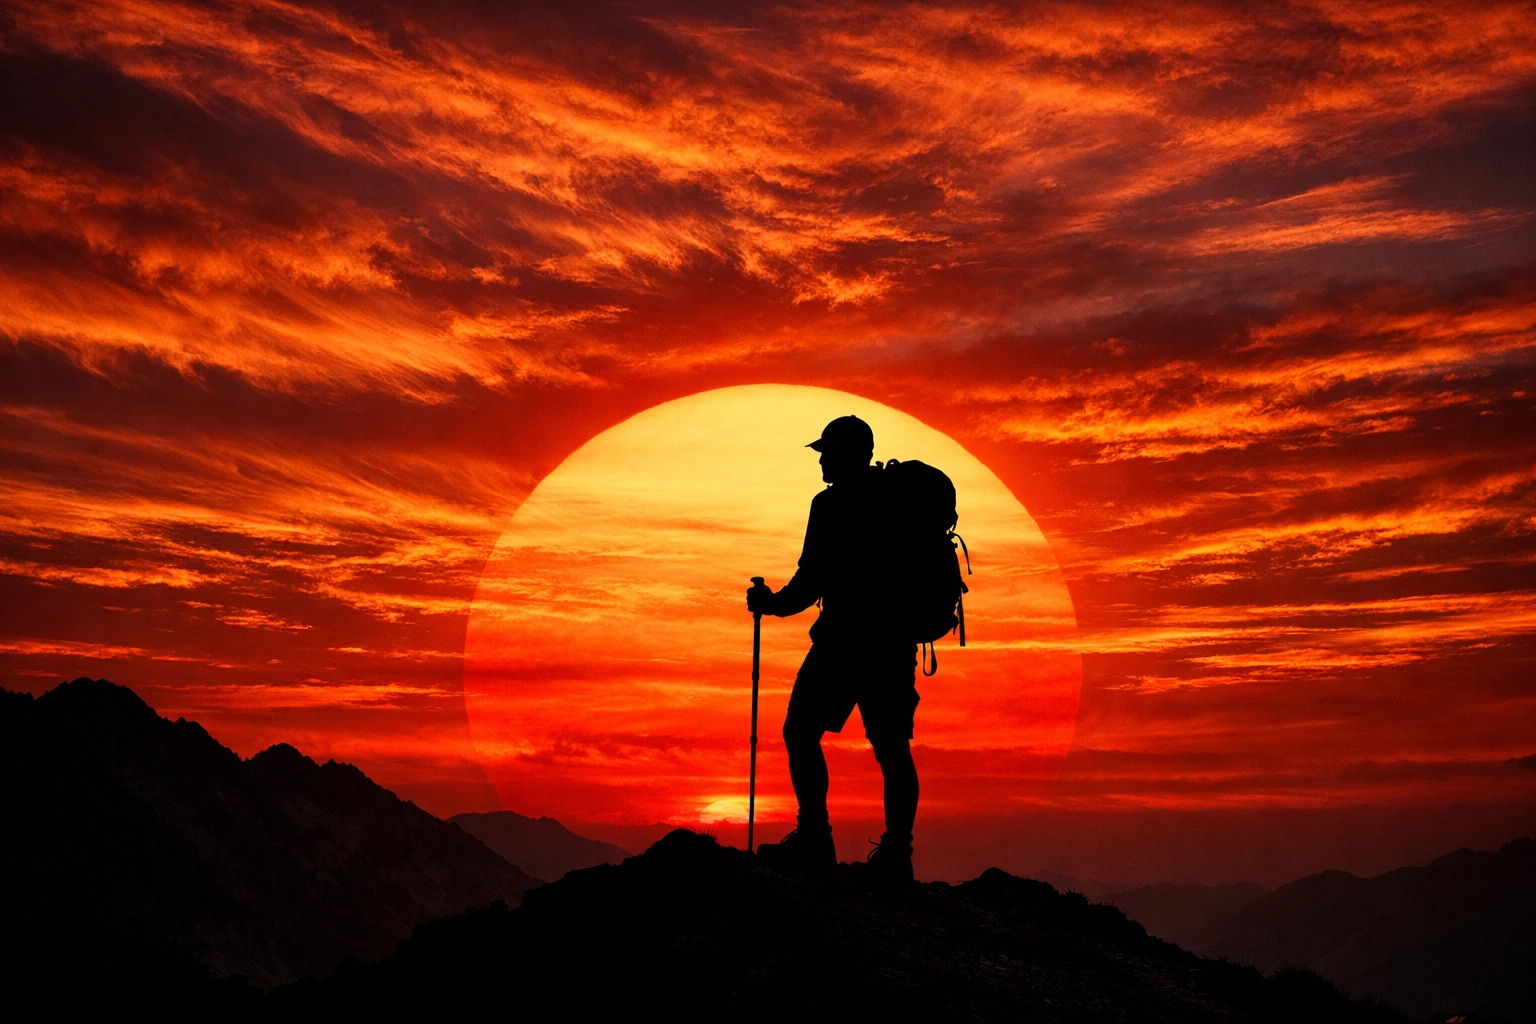
I see this in photography forums all the time: "What are the best manual settings for a sunset?" or "What settings do I use for a portrait?"
The mistake here is thinking that there is a "correct" answer. There are no universal settings. The "best" settings for a sunset in Arizona are completely different from a sunset in London. Your lens, your distance from the subject, and the specific atmosphere all change the requirements.
The Fix:
Stop looking for recipes and start learning the ingredients. Instead of memorizing numbers, learn how each setting affects the look.
- Aperture controls depth of field (blurry backgrounds).
- Shutter Speed controls motion (frozen action or silky water).
- ISO controls light sensitivity.
Once you understand what you want the photo to look like, the settings will reveal themselves. For a deep dive into how to build this foundation, our ultimate guide to photography tutorials is a great place to start. You can also find great resources over at PhotoGuides.org for specific technical breakdowns.
7. Losing Focus on the Subject (Literally)
A common side effect of switching to manual mode is that photographers get so caught up in the exposure settings that they forget about focus. They leave the camera on "Auto-Area AF," and the camera decides to focus on a blade of grass in the foreground instead of the bride’s eyes.
In manual mode, the goal is total control. If you are controlling the light but letting the camera control the focus, you're only doing half the job.
The Fix:
Switch to a single-point focus or use eye-autofocus tracking if your camera supports it. You want to be the one deciding where the focal plane sits. This is especially important in emotive portrait photography, where the eyes are everything. If the eyes aren't sharp, the photo doesn't work.
How to Practice Without Losing Your Mind
Mastering manual mode doesn't happen overnight. It’s a muscle that needs to be trained. If you try to learn it during a high-stakes shoot (like a paid gig or your best friend’s wedding), you’re going to have a bad time.
Start small. Go into your backyard or a local park and pick a subject: a flower, a bench, a stray cat. Spend 30 minutes just changing one setting at a time to see how it affects the image.
- Set your Aperture and Shutter Speed, then cycle through ISO settings.
- Set your ISO and Aperture, then play with Shutter Speed to see how much motion blur you can get away with.
- Keep your exposure the same but change the "recipe" (e.g., higher ISO/faster shutter vs. lower ISO/slower shutter).
If you find that your manual shots are almost perfect but need a little extra "oomph," don't be afraid to use post-processing. Most pros use Luminar to fine-tune their exposure and color after the fact. It’s not "cheating": it’s finishing the job you started in-camera.
The Long-Term Benefit of Manual Mode
Why bother with all this? Why not just stay in Aperture Priority or Auto?
Because manual mode gives you consistency. When you’re in an auto-mode, the camera is constantly recalculating. If a person with a white shirt walks into your frame, the camera might think the scene got brighter and suddenly underexpose your subject. In manual mode, the exposure stays exactly where you put it. This makes editing a breeze because your entire sequence of shots will have the same lighting and color profile.
Whether you're exploring destination wedding photography or just taking photos of your newborn, manual mode is the key to moving from a "person with a camera" to a "photographer."
If you want to keep up with how technology is making manual shooting even more intuitive, keep an eye on our photography news updates. You can also find more of my personal work and deep-dive essays over at blog.edinchavez.com.
Manual mode isn't about being a perfectionist; it's about being intentional. Every time you move a dial, you're making a creative choice. You're deciding how much of the world to let in, how much to blur out, and how to capture the light. Stop making these seven mistakes, start practicing, and watch your photography transform.
Photography is a journey, and manual mode is the steering wheel. It's time to take the driver's seat. For more tips on gear and professional techniques, head over to proshoot.io. Now get out there and shut your aperture!


