

Let’s be real for a second: portrait photography is a lot harder than it looks. On the surface, it’s just a person standing in front of a camera, right? Wrong. It’s a delicate dance between technical settings, psychological coaching, and artistic vision. You can have the most expensive camera on the market, but if you’re making some of the common blunders that trip up even intermediate shooters, your photos will never have that "wow" factor.
I’ve been there. I’ve come home from a shoot feeling like a rockstar, only to upload the RAW files and realize I missed focus on every single shot or that there’s a literal tree branch growing out of the client’s ear. It’s frustrating, it’s humbling, and honestly, it’s part of the process. But you don't have to keep making those same mistakes.
Today, we’re going to break down the seven most common mistakes in portrait photography and, more importantly, how to fix them so you can start delivering world-class results.
1. Letting the Background Steal the Show
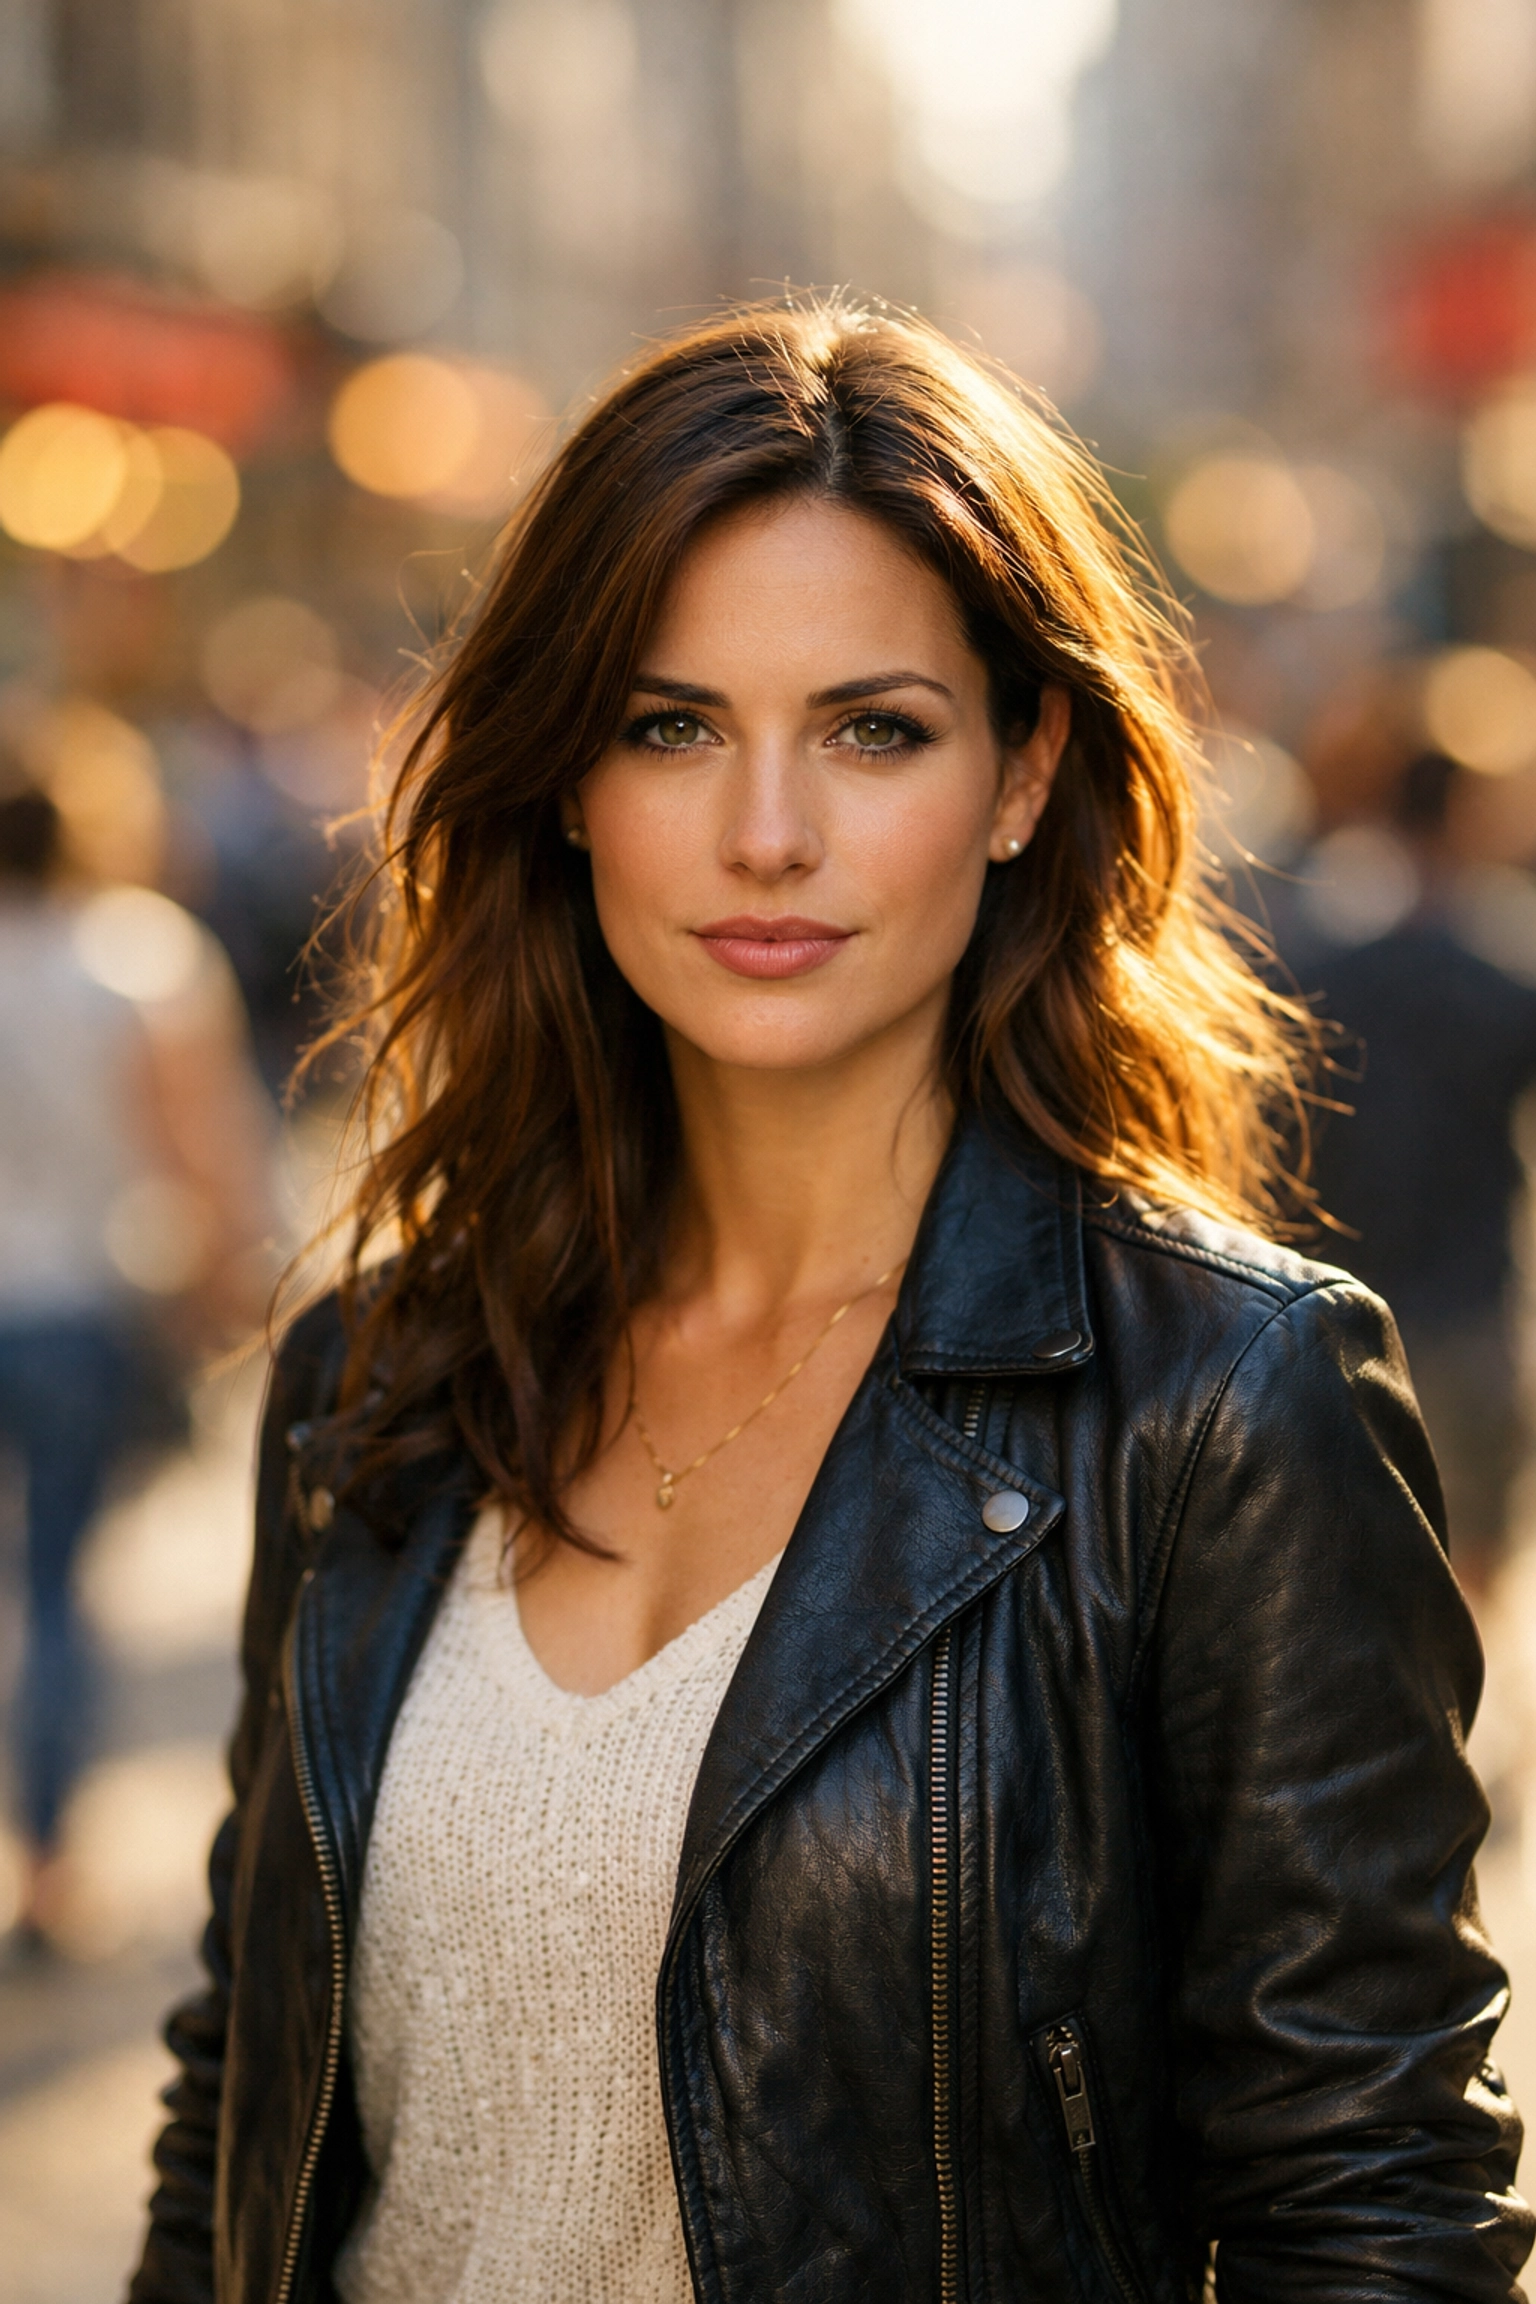
The biggest mistake I see beginners make is focusing so hard on the subject that they completely forget to look at what’s behind them. A busy, cluttered, or ugly background is the fastest way to ruin a great portrait. If there’s a bright red car, a dumpster, or a distracting pattern behind your subject, the viewer’s eye will go straight there instead of to the person you're actually trying to photograph.
The Fix:
You have two main weapons here: location scouting and aperture. Before you even bring your subject into the frame, look at the environment. Can you move three feet to the left to hide that trash can?
If you can't move the clutter, hide it with bokeh. This is where mastering your gear comes in. If you're still shaky on how aperture affects your background, you should check out our Manual Mode 101 guide. By opening up your aperture (using a lower f-number like f/1.8 or f/2.8), you create a shallow depth of field that blurs the background into oblivion.
Also, consider your lens choice. A longer focal length, like an 85mm or even a 70-200mm, will compress the background, making it look closer and even creamier. If you're looking for more tips on how to elevate your shots through better visual habits, take a look at PhotoGuides.org.
2. Leaving Too Much "Dead Space" Above the Head
This is a classic "amateur" move. Often, photographers will place the subject's eyes right in the center of the frame. Because the eyes are the focal point, our brains naturally want to put them in the middle. The problem? This leaves a massive amount of empty, useless space above the subject’s head. Unless you’re planning to put a magazine title there, it just looks like you didn't know how to compose the shot.
The Fix:
Follow the Rule of Thirds: or at least get close to it. Move your camera down so that the subject’s eyes are in the upper third of the frame. This fills the frame with the person and makes the portrait feel much more intimate and professional.
Don't be afraid to crop. Sometimes, cutting off the very top of the hair is actually a great look for a tight headshot. It brings the viewer closer to the eyes and creates a more engaging perspective. If you want to learn more about how perspective can change the entire feel of a photo, you might find our article on manipulating real estate perception surprisingly relevant: compositional rules often cross over between genres.
3. The "Deer in Headlights" Posing Problem
Most people hate being in front of the camera. They feel awkward, they don't know what to do with their hands, and they end up looking like they’re posing for a mugshot. If you just stand there and wait for them to "look natural," you’re going to be waiting a long time. Bad posing (or a total lack of direction) is one of the main reasons portraits feel stiff and lifeless.
The Fix:
You are the director. It is your job to tell them exactly what to do. Give clear, simple instructions. Instead of saying "look natural," give them an action. Tell them to "look over your shoulder" or "walk toward me and laugh at that invisible bird."
One of my favorite tricks for a flattering jawline is the "turtle." Tell your subject to push their forehead toward the camera and then slightly down. It feels ridiculous to them, but on camera, it eliminates double chins and defines the jaw.
If you want to dive deeper into professional techniques that help you direct better, stay updated with the latest photography trends for 2026. Learning how to interact with subjects is just as important as knowing your ISO.

4. Shooting Everything from Eye Level
If you stand at your full height and take every photo from your own eye level, your photos will look exactly like what everyone else sees every day. It's predictable. It's a bit boring. Eye level is safe, but safe rarely makes for a "Portfolio-worthy" shot.
The Fix:
Change your altitude. Squat down and shoot from the subject’s chest level or lower. This makes the subject look more powerful and heroic. Alternatively, get a bit higher and shoot down for a more vulnerable or artistic feel.
Different angles tell different stories. Don't just stand there: move your body. We talk about this a lot in our guide on how to get better at landscape photography, because the same principle applies: moving your tripod (or yourself) just a few inches can completely change the composition. For more inspiration on world-class techniques, check out EdinFineArt.com.
5. Missing Focus on the Eyes
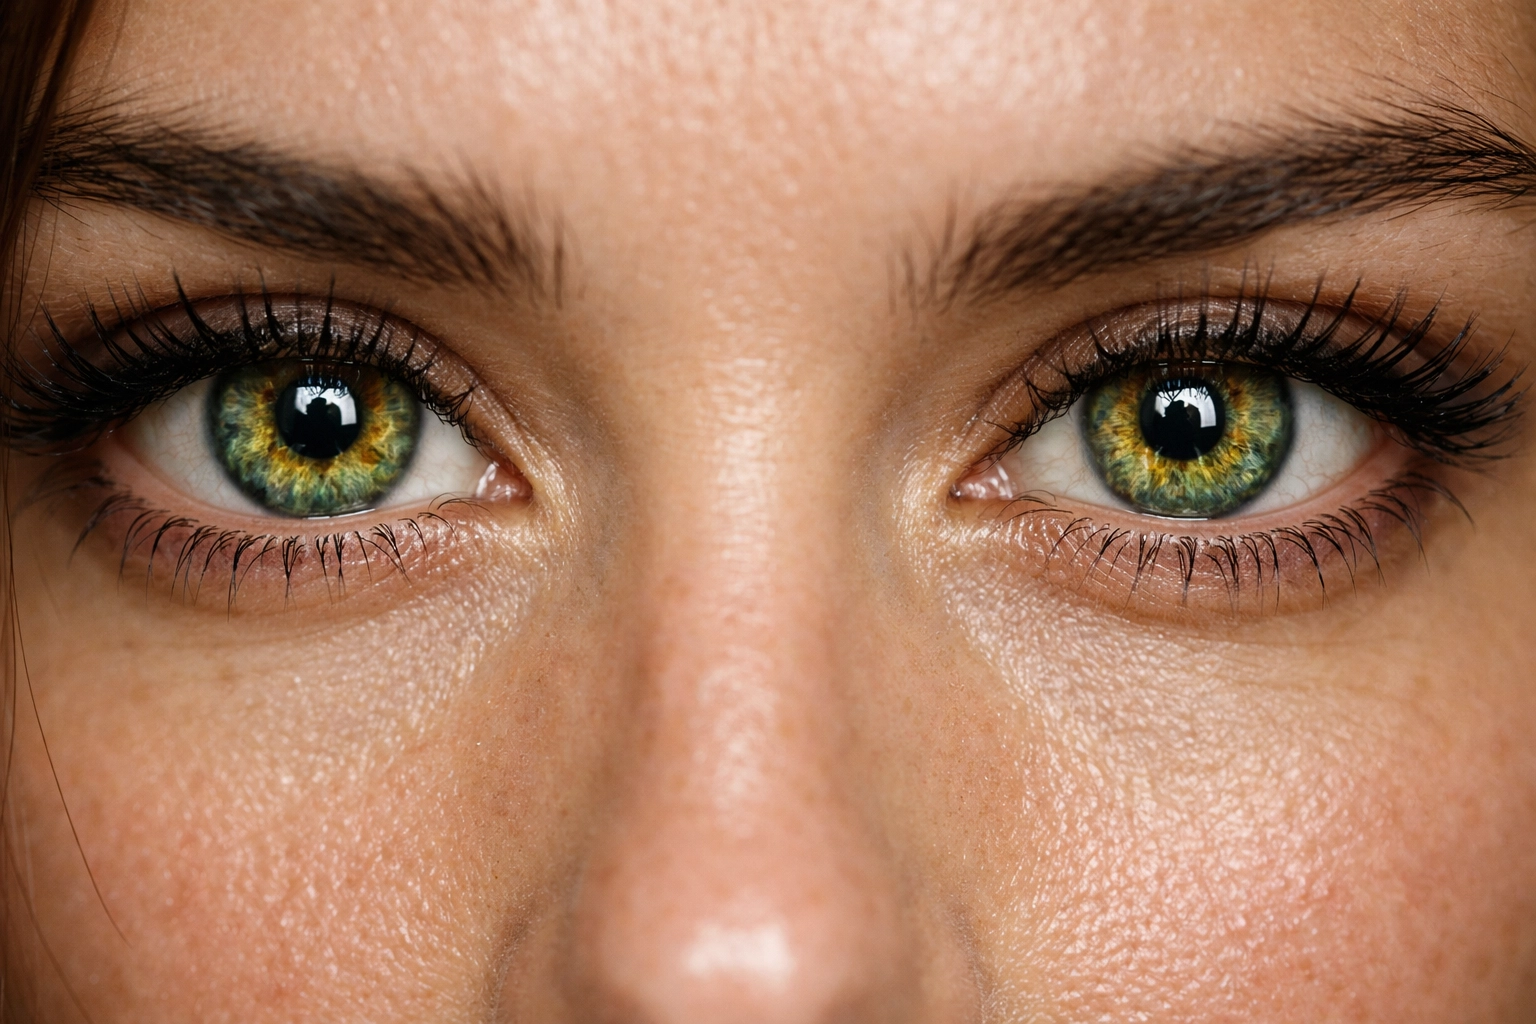
In portraiture, the eyes are everything. If the tip of the nose is sharp but the eyes are slightly blurry, the photo is a "delete." This often happens when you use a very wide aperture (like f/1.4) and your subject moves even a tiny bit, or your autofocus points aren't set correctly.
The Fix:
If your camera has it, use Eye-AF (Eye Autofocus). Modern mirrorless cameras are incredible at this. They will track the subject's eye in real-time, even as they move. If you’re still using an older DSLR, make sure you manually select a single focus point and place it directly on the eye closest to the camera.
If you haven't made the switch to a body that handles this for you, it might be time to see why everyone is talking about AI-integrated mirrorless cameras. It’s a game-changer for portrait shooters. Also, for high-end studio work tips, keep an eye on ProShoot.io.
6. Using a Shutter Speed That's Too Slow
You might think that because your subject is "standing still," you can get away with a slow shutter speed like 1/60th of a second. But people aren't statues. They breathe, they blink, they sway. Plus, unless you have hands made of stone, you have a tiny bit of camera shake. This results in "micro-blur": that annoying softness that you only notice when you zoom in on your computer later.
The Fix:
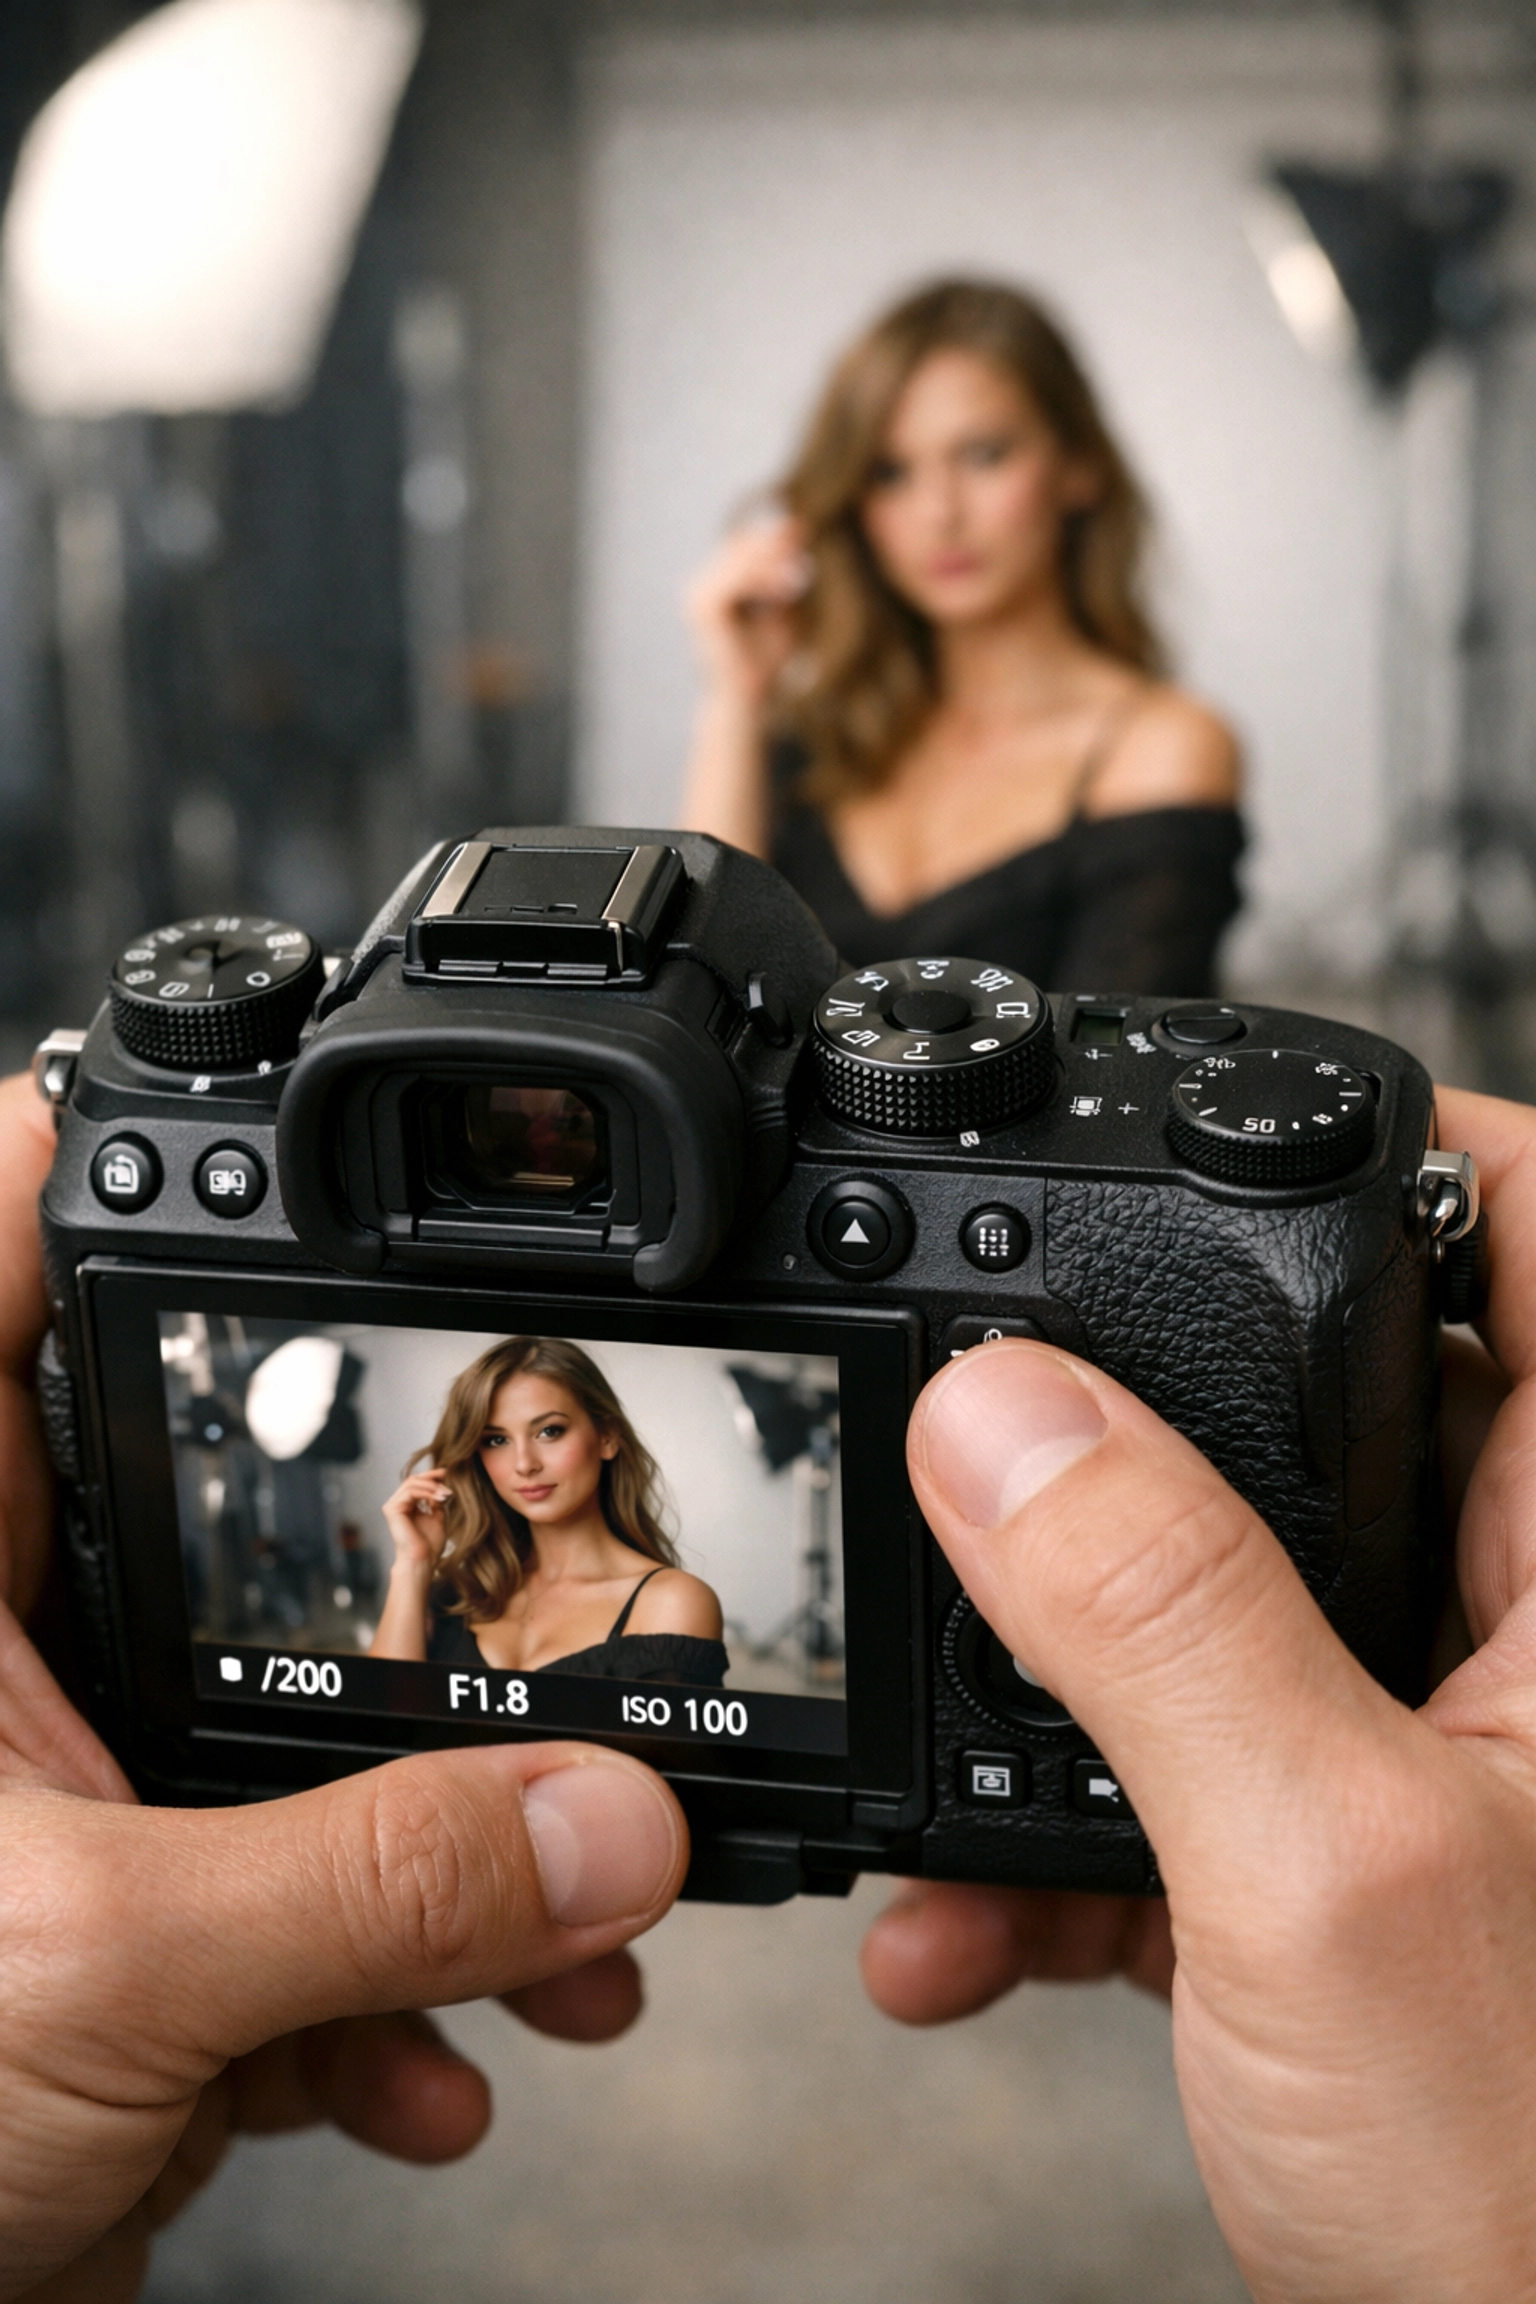
Keep your shutter speed fast. A good rule of thumb for portraits is to keep it at least double your focal length. If you’re shooting with an 85mm lens, don't go below 1/200th. Personally, I like to stay around 1/400th or higher if I'm shooting outdoors with natural light. It guarantees that every single hair and eyelash is tack-sharp.
If you're struggling with getting the right exposure while keeping your speed up, it might be time for a refresher on the ultimate guide to photography tutorials.
7. The "Fat Thumb" Syndrome (Accidental Setting Changes)
You’re in the middle of a great session. The light is peaking, the model is killing it, and you’re firing away. Then you get home and realize that somewhere around the 10-minute mark, your thumb bumped a dial and you accidentally switched from RAW to JPEG, or your ISO jumped to 12,800.
The Fix:
Check your settings every time there is a break in the action. I make it a habit to glance at my top LCD or through the viewfinder every few minutes. Most professional cameras also have a "Lock" switch or button: use it!
Also, get to know your camera’s ergonomics. If you find yourself hitting the same button by accident, go into the menu and disable that button or reassign it to something less critical. Staying organized and mindful is what separates the pros from the hobbyists. For more professional workflow advice, visit EdinStudios.com.
Bonus: Don't Forget the Post-Processing
Even if you fix all seven of these mistakes, a "raw" photo straight out of the camera is rarely the finished product. To truly make a portrait pop, you need to clean up skin blemishes, enhance the eyes, and maybe do a bit of color grading.
I’m a huge fan of using Luminar for this. Their AI-driven portrait tools are terrifyingly good. You can enhance eyes, improve skin texture, and even adjust lighting on the face with just a couple of sliders. It saves hours of manual masking in Photoshop and lets you get back to what you actually enjoy: shooting. You can check out more of my personal work and thoughts over at blog.edinchavez.com.
Wrap Up
Portrait photography is a journey of a thousand tiny adjustments. If you can stop the background from being distracting, nail the focus on the eyes, and actually give your subject some direction, you’re already ahead of 90% of the people out there with a camera.
Next time you head out for a shoot, pick one of these mistakes to focus on. Master it, then move to the next. Before you know it, these "fixes" will become second nature, and you'll be producing portraits that you’re actually proud to show off.
Keep shooting, keep failing, and keep getting better. That’s the only way it works.


