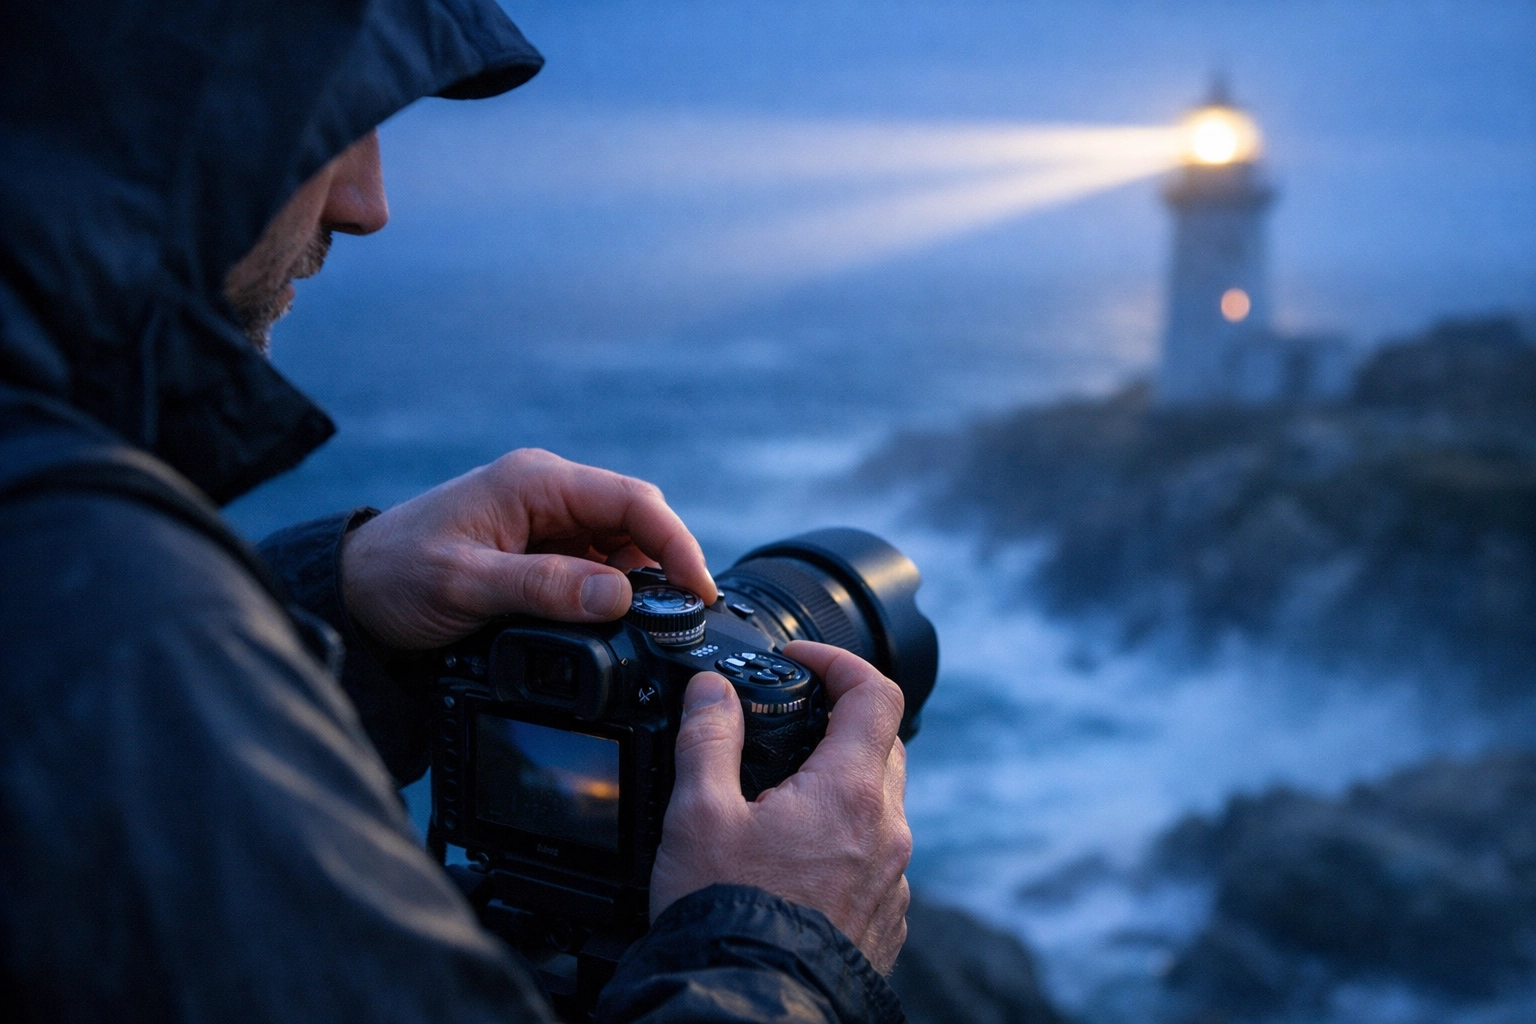
Switching your camera dial to that little "M" for the first time feels like a rite of passage. It’s the moment you stop letting a computer chip make creative decisions for you and start taking the wheel yourself. But let’s be real: manual mode can be a total nightmare when you’re starting out. You’re toggling dials, looking at the light meter, and by the time you’ve got the exposure right, the "decisive moment" has packed its bags and left the building.
I’ve seen a lot of photographers get frustrated and retreat back to the safety of Auto or Program mode. Don’t do that. Most of the time, the "failure" isn't because manual mode is too hard; it's because you're falling into the same traps everyone else does.
In this guide, we’re going to break down the 7 most common mistakes photographers make in manual mode and: more importantly: how to fix them so you can shoot with confidence. Whether you’re trying to master your camera's manual mode in 5 minutes or you've been at it for a while and just feel "stuck," this is for you.
1. The Fear of High ISO
This is the number one mistake I see, and it’s usually rooted in advice from 2008. Back in the early days of digital, pushing your ISO past 400 meant your photo would look like a bowl of digital oatmeal. But we are living in 2026. If you’ve looked at how to choose the best mirrorless camera for 2026, you know that modern sensors are absolute beasts.
Many photographers insist on keeping their ISO at 100 or 200 regardless of the lighting conditions. The result? They end up with a shutter speed so slow that the image is blurry, or an aperture so wide that nothing is in focus.
The Fix: Don’t be afraid to crank it. ISO 1600, 3200, and even 6400 are incredibly clean on most modern cameras. It is always better to have a sharp, slightly grainy photo than a perfectly clean, blurry one. If the grain bothers you, you can easily clean it up in post-processing using Luminar, which handles high-ISO noise like a champ. Raise your ISO to give yourself the freedom to use the shutter speed and aperture you actually need.
2. Ignoring the Reciprocal Rule
You’re in manual mode, you’ve set a beautiful aperture for some bokeh, and your ISO is reasonable. But when you get home and look at your shots on a big screen, they’re all just a tiny bit soft. This is usually because your shutter speed was too slow for handheld shooting.
A lot of beginners forget that your hands shake. Even if you think you’re as steady as a surgeon, you aren’t.
The Fix: Use the Reciprocal Rule. As a general rule of thumb, your shutter speed should be at least 1 over your focal length. If you’re shooting with a 50mm lens, your shutter speed should be 1/50th of a second or faster. If you’re using a 200mm zoom lens, you need at least 1/200th.
Keep in mind that if you’re on a crop-sensor camera, you need to factor in the crop. For more technical deep-dives on lens physics, check out Shut Your Aperture. Understanding this relationship is the fastest way to get sharper photos instantly.
3. Underexposing to "Save" the Image
There’s a common misconception that it’s better to underexpose a photo at a low ISO and "bring it back" in editing than it is to use a higher ISO. This is actually backward.
When you underexpose an image, you aren't capturing enough data in the shadow areas. When you try to push those shadows later in software like Luminar, you’ll see a massive amount of "shadow noise" and weird color banding. It looks much worse than the natural grain of a high-ISO shot.
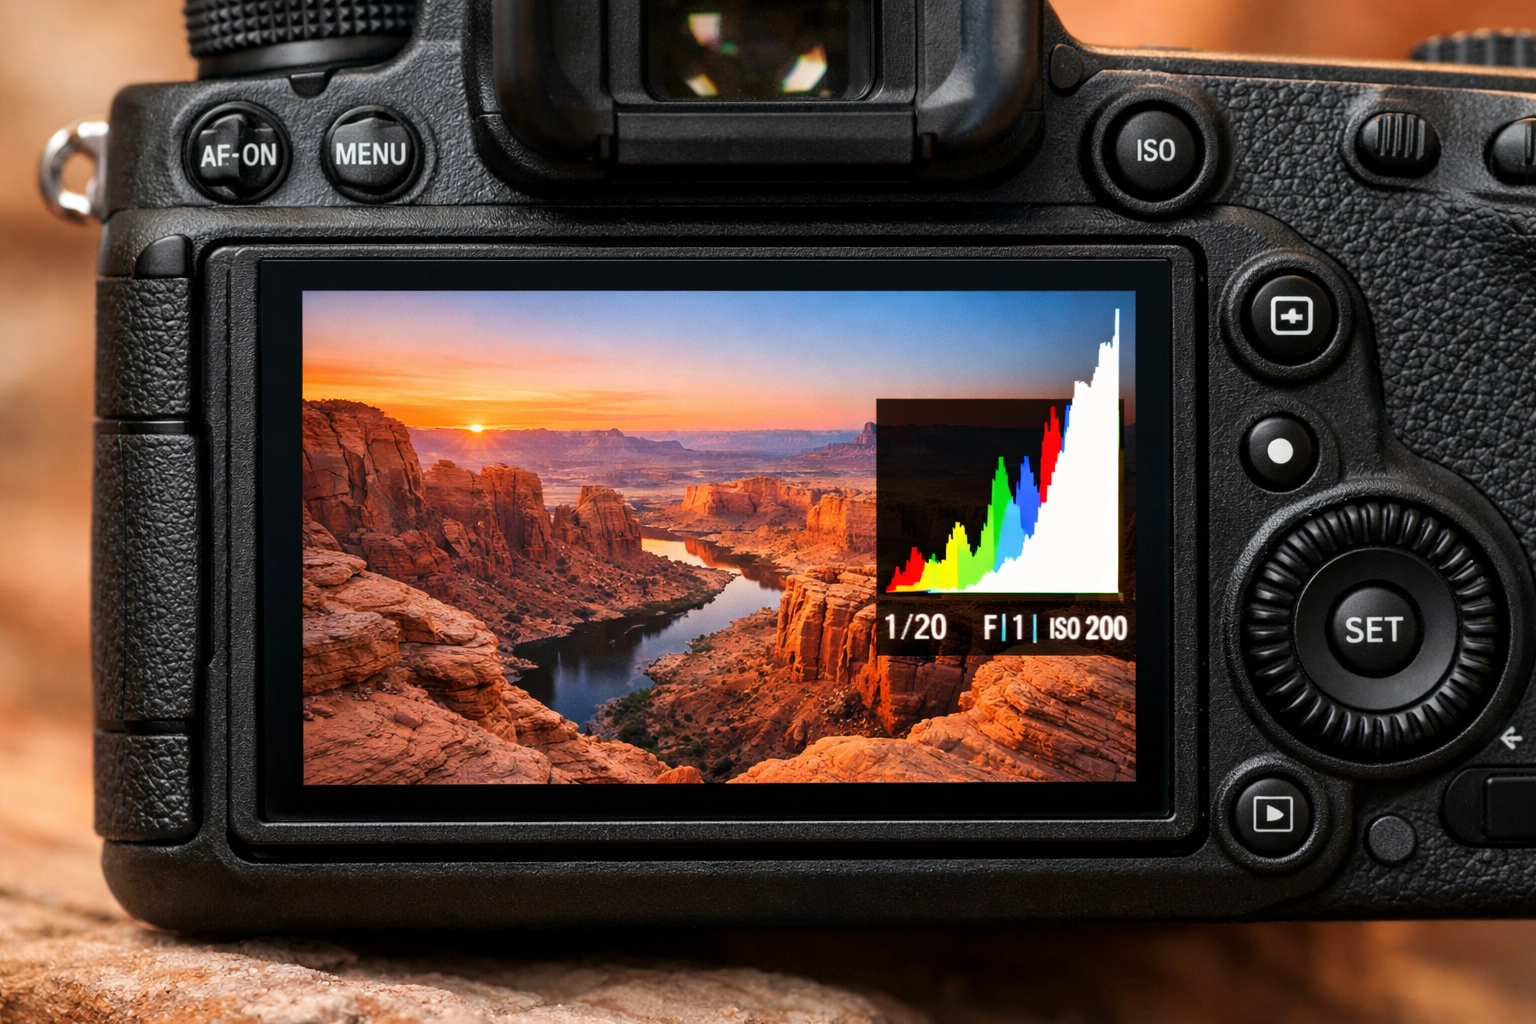
The Fix: Expose for the highlights, but keep your levels healthy. This is often called "Exposing to the Right" (ETTR). You want your histogram to be as far to the right as possible without clipping (blowing out) your highlights. This ensures you have the maximum amount of data in your file. For more on how this impacts different genres, see our post on 7 mistakes you’re making with landscape photography.
4. Letting the Camera Choose the Focus Point
Manual mode is about control, right? So why are you still letting the camera decide which of its 600 focus points to use? If you leave your focus on "Auto-Area," the camera will almost always focus on the object closest to the lens. If you’re trying to shoot a portrait and a stray branch is in the foreground, the branch will be sharp and your subject will be a blur.
The Fix: Take control of your focus point. Switch to Single Point AF (or use the joystick/touchscreen on your mirrorless camera) to place the focus exactly where it belongs: usually on the subject's eye. If you want to learn more about why focus and composition are the keys to storytelling in photography, you’ve got to start by owning the focus.
5. Leaving Image Stabilization On While Using a Tripod
This one feels counter-intuitive. Image Stabilization (IS) or Vibration Reduction (VR) is designed to stop blur, so why would you turn it off?
When your camera is on a sturdy tripod, there is no vibration for the system to correct. However, the IS system is still looking for movement. It can actually create a "feedback loop" where the internal elements move around trying to find a vibration that isn't there, which actually causes blur in your long exposures.
The Fix: Whenever you lock your camera down on a tripod: especially for landscapes or architectural shots: flip the switch on your lens to "Off." It’s a small habit that makes a massive difference in technical perfection. If you're wondering if gear upgrades help with this, read our breakdown on if new camera gear really matters in 2026.
6. Searching for "Magic Settings"
I get this question all the time: "Edin, what are your settings for a sunset?" or "What settings do I use for a wedding?"
The mistake is thinking that manual mode is a destination where you input a secret code and get a great photo. Lighting is fluid. It changes every minute as the sun moves or as someone walks across a room. A "magic setting" that worked for a photo in Central Park at 4:00 PM won't work in a backyard in Miami at 4:15 PM.
The Fix: Instead of memorizing numbers, learn the Exposure Triangle. You need to understand how Aperture, Shutter Speed, and ISO balance each other out. If you open your aperture by two stops, you need to speed up your shutter or lower your ISO by two stops to maintain the same exposure. Once you understand the why, the how becomes second nature. For inspiration on how the pros handle these shifts, take a look at the techniques behind Peter Lik’s landscape photography.
7. Being a "Manual Mode Snob" in Dynamic Situations
There is a weird sense of pride some photographers have about always shooting in manual. But here’s the truth: sometimes manual mode is the wrong tool for the job.
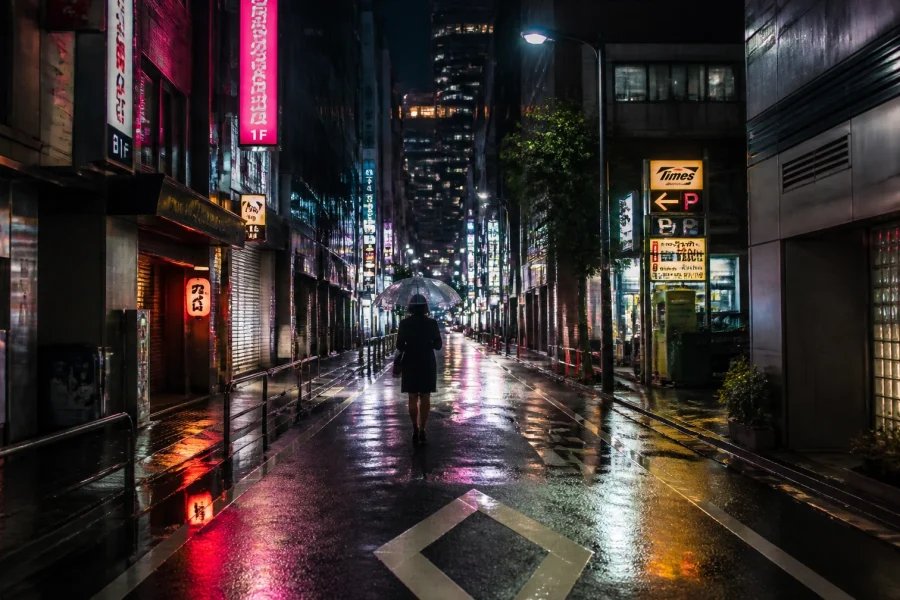
If you’re shooting a street scene where you’re moving from bright sunlight into deep shade every ten seconds, or if you're shooting a fast-moving sporting event, you are going to miss shots because you're busy fiddling with your ISO dial.
The Fix: Know when to use Aperture Priority (Av/A) or Shutter Priority (Tv/S). These modes are "Semi-Manual." You control the most important element, and the camera handles the rest. For instance, in street photography, you might set your Aperture to f/8 and your ISO to Auto, letting the camera adjust the shutter speed. This allows you to focus on the moment and the storytelling rather than the math.
Professional photographers aren't the ones who stay in manual mode 100% of the time; they’re the ones who know exactly which mode will get the shot. You can read more about professional workflows over at proshoot.io.
Putting It Into Practice
Manual mode isn't a test of your intelligence; it’s a tool for your creativity. Every mistake listed above is just a part of the learning curve. The key is to stop treating your camera like a mystery box and start treating it like an extension of your eye.
Start by fixing one mistake at a time. This weekend, go out and purposely shoot at ISO 3200 just to see how it looks. Or, put your camera on a tripod and see the difference between having IS on and off. The more you experiment, the faster these "fixes" will become muscle memory.
If you want to keep up with the latest in the photography world, check out why everyone is talking about today's photography news. And for a deeper dive into the fine art side of things, head over to edinfineart.com or blog.edinchavez.com for more insights.
Manual mode gives you the keys to the kingdom. Don't let a few common mistakes lock you out. Keep shooting, keep failing, and keep adjusting. That’s how great photos are made.