
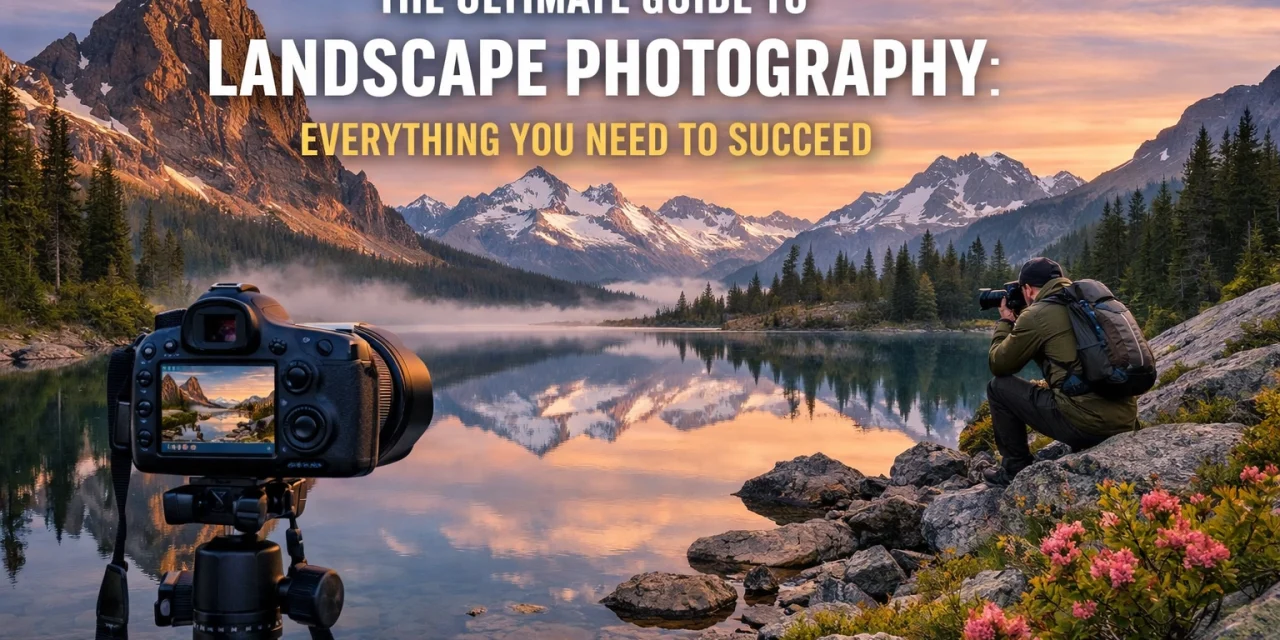
Let’s be honest: standing on the edge of a cliff at 5:00 AM with a camera in your hand is pretty much the peak of human existence. There’s something about the silence of the morning, the way the light hits the mist, and the thrill of capturing a moment that will never happen exactly that way again.
Landscape photography is more than just taking pictures of trees and dirt. It’s about storytelling, patience, and occasionally, not falling off a rock. Whether you’re a complete newbie or someone who has been shooting for years but can’t quite get those "pro" shots, this guide is for you. We’re going to break down everything from the gear you actually need to the secrets of composition that make people stop scrolling on Instagram.
If you’re just starting out, you might want to check out our Manual Mode 101 guide to get a handle on the basics before we dive into the deep end.
The Gear: What’s in the Bag?
First things first: you don’t need a $10,000 setup to take a great photo. Seriously. The best camera is the one you have with you, but if you’re looking to upgrade or build a landscape-specific kit, here’s what matters.
1. The Camera Body
In 2026, the debate between DSLR and mirrorless is pretty much over. Mirrorless won. Why? Because they are lighter, and when you’re hiking five miles uphill, every ounce counts. Plus, AI-integrated mirrorless cameras are changing the game with better autofocus and dynamic range.
2. The Lenses
For landscapes, you generally want a wide-angle lens. Think something in the 16mm to 35mm range (on a full-frame sensor). This allows you to capture those expansive, "wow" scenes. However, don’t sleep on telephoto lenses (70-200mm). They are great for compressing the scene and picking out specific details in a mountain range.
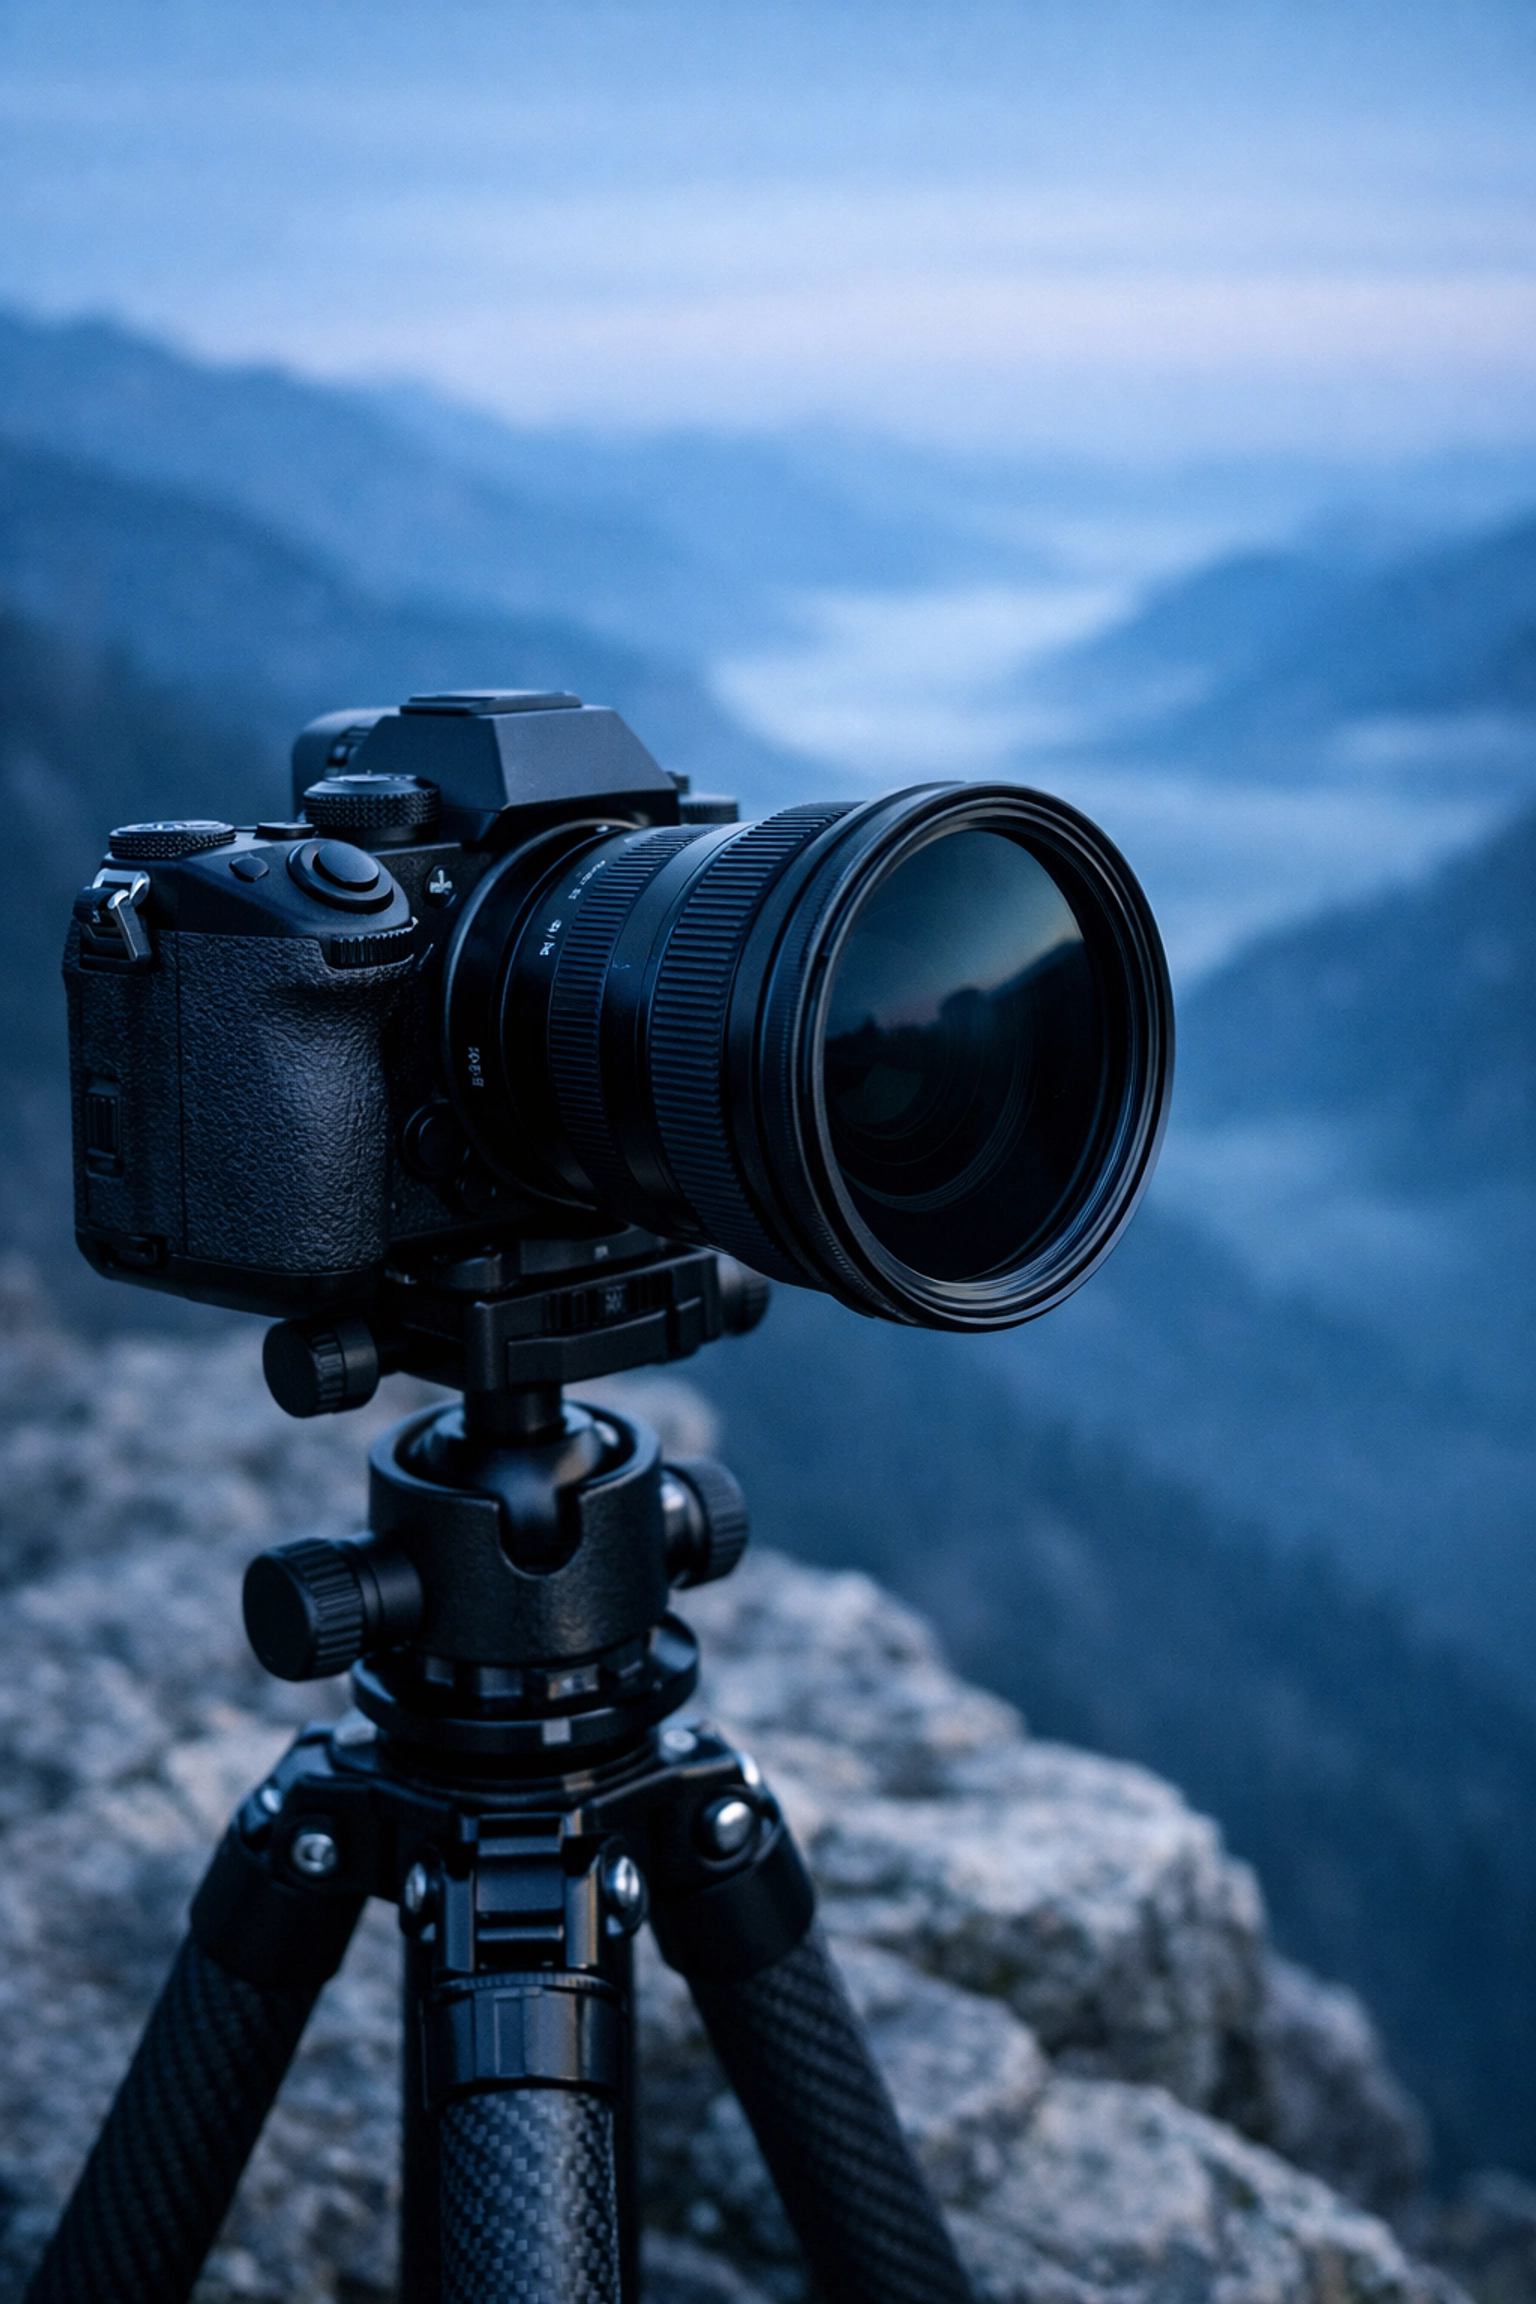
3. The Tripod
If you take one thing away from this guide, let it be this: Buy a sturdy tripod. You can’t shoot long exposures or sharp low-light landscapes without one. A cheap, flimsy tripod will blow over in the wind and take your expensive camera with it. Check out some recommendations over at PhotoGuides.org for gear that won't break the bank.
4. Filters
Circular Polarizers and Neutral Density (ND) filters are your best friends. A polarizer cuts glare on water and makes the clouds pop. An ND filter acts like sunglasses for your lens, allowing you to take long exposures even in the middle of the day. This is how you get that silky smooth water effect.
Nailing the Camera Settings
Getting the settings right is the difference between a blurry mess and a gallery-worthy print.
Aperture (The F-Stop)
For landscapes, you usually want a deep depth of field so everything from the foreground to the background is sharp. A sweet spot is usually between f/8 and f/11. If you go all the way to f/22, you might actually lose sharpness due to something called diffraction. Keep it in that middle range for the best results.
ISO
Keep your ISO as low as possible: usually ISO 100. This ensures your images are clean and free of "noise" (that grainy look). Since you’re using a tripod, you don’t need to worry about the shutter speed being too slow to hold by hand.
Shutter Speed
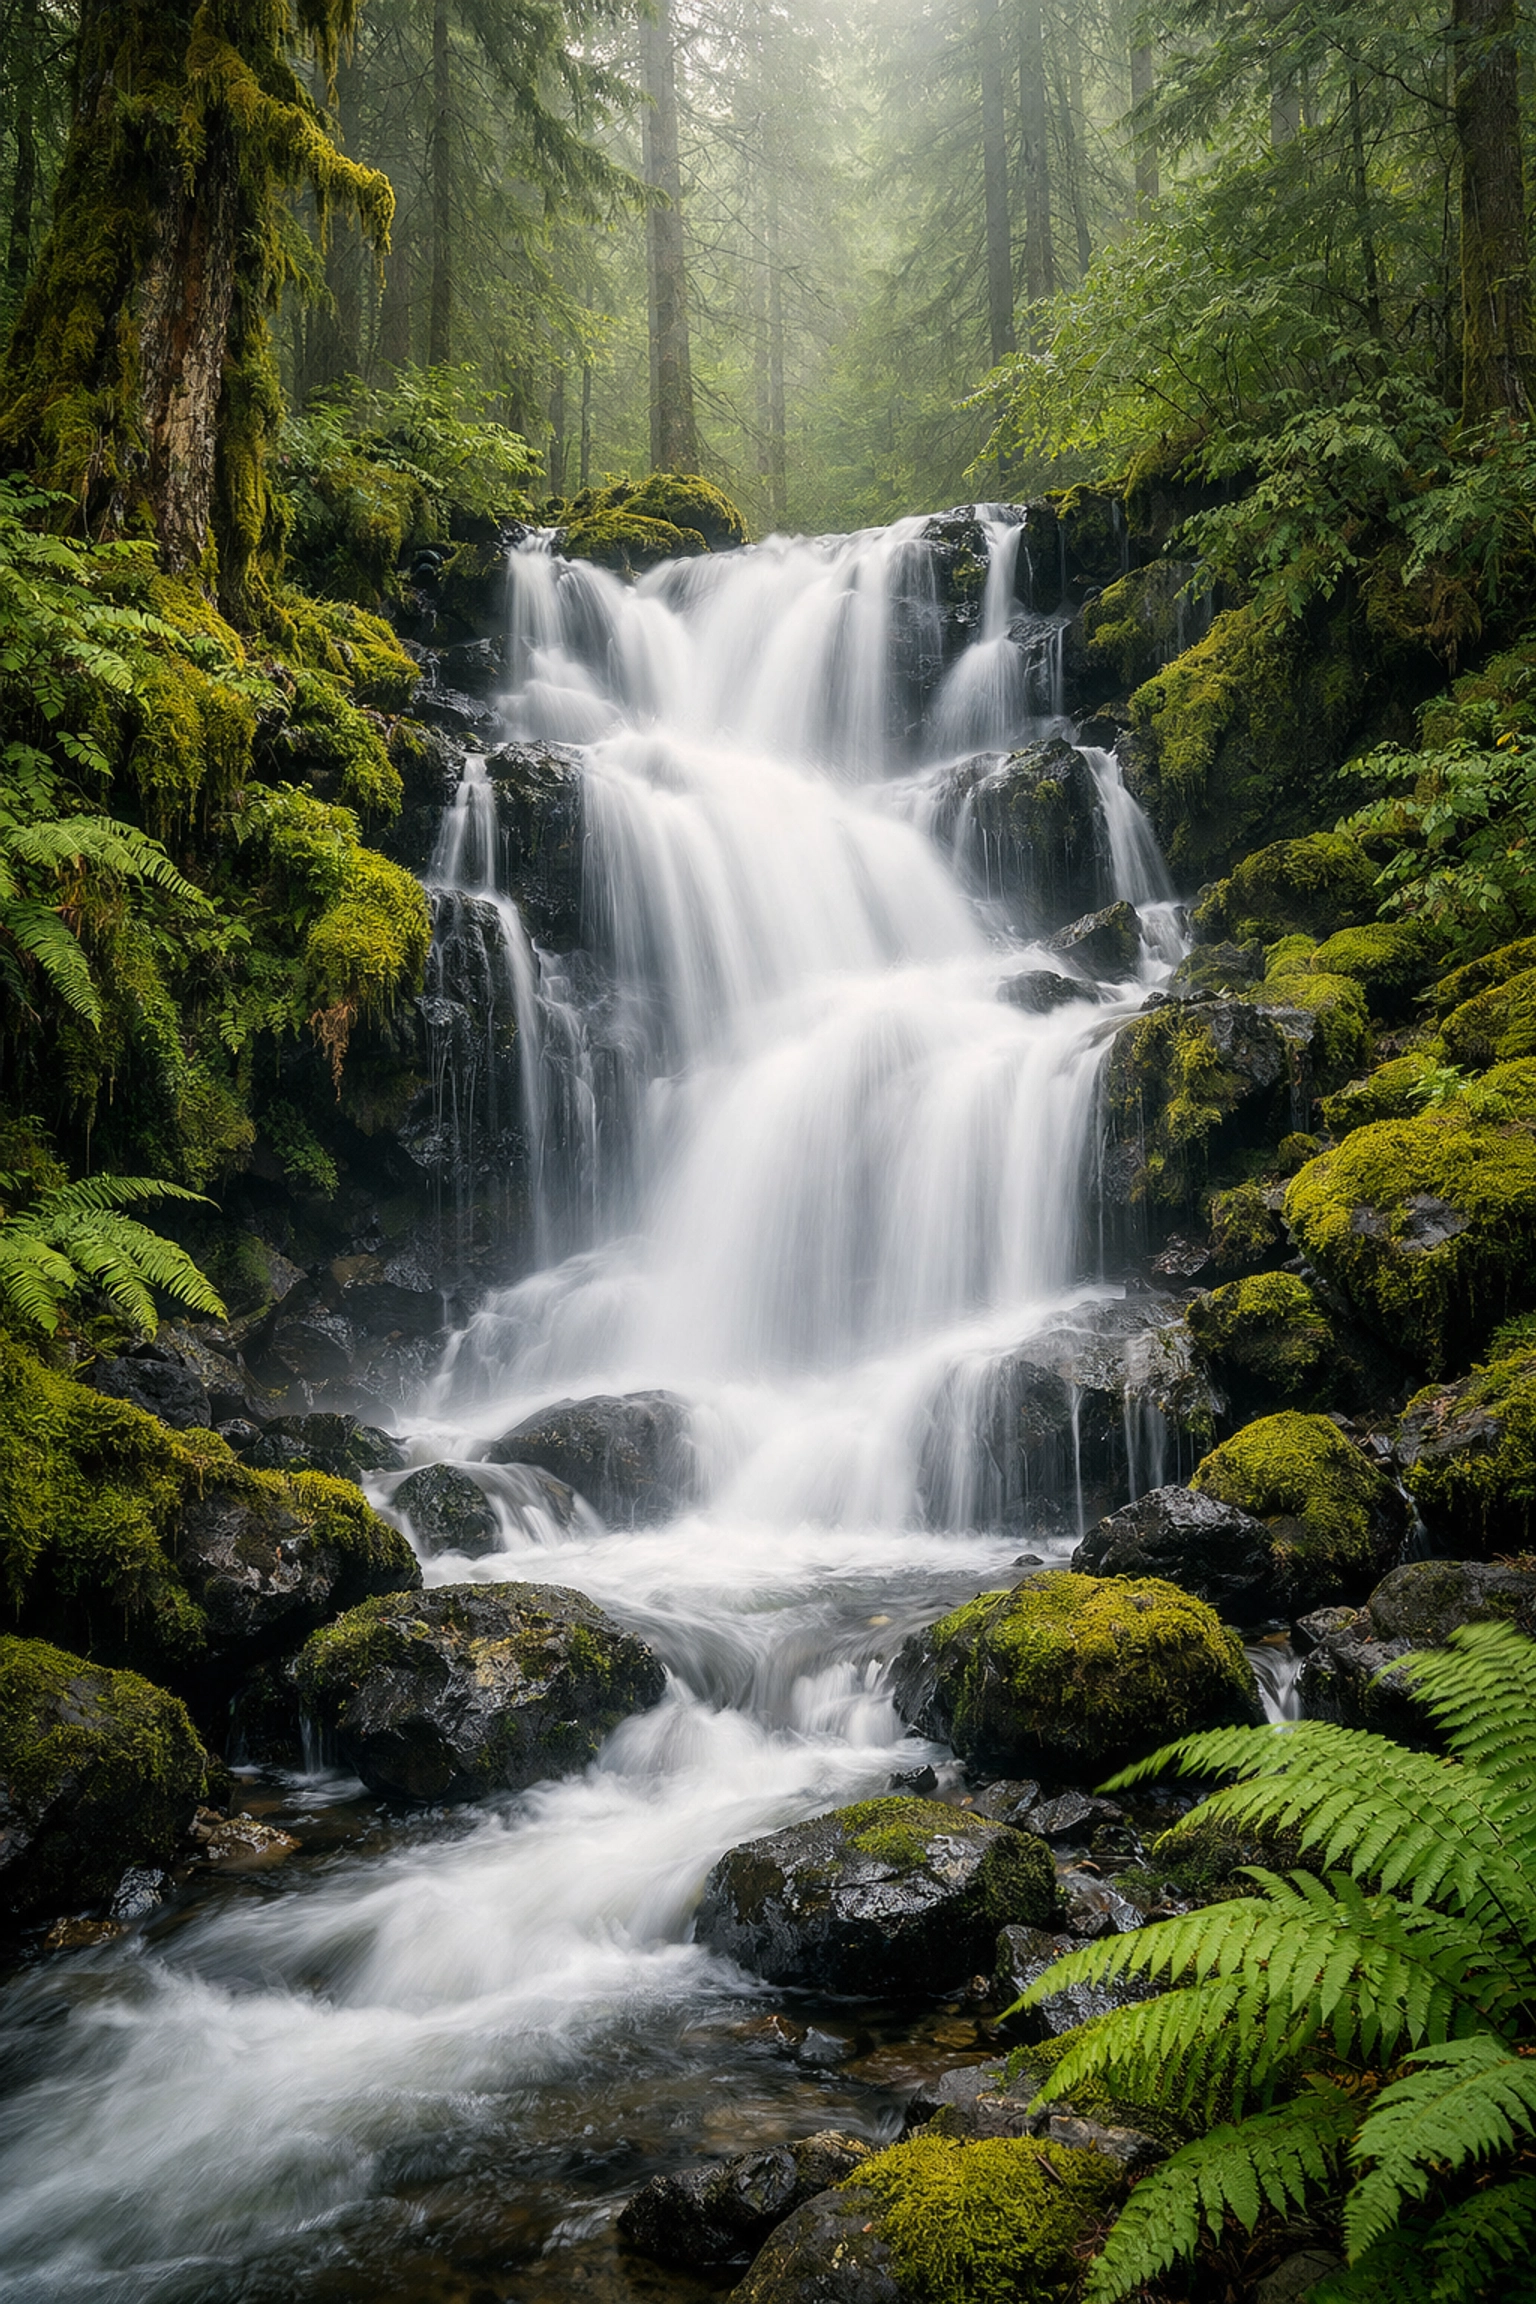
This depends on what you’re shooting. If you want to freeze a crashing wave, you need a fast shutter speed (1/500s or faster). If you want to make a waterfall look like silk, you need a slow shutter speed (0.5s to 30s). This is where techniques for stunning water photography really come into play.
Composition: The Secret Sauce
You can have the best gear in the world, but if your composition sucks, your photo will be boring. Here’s how to fix that.
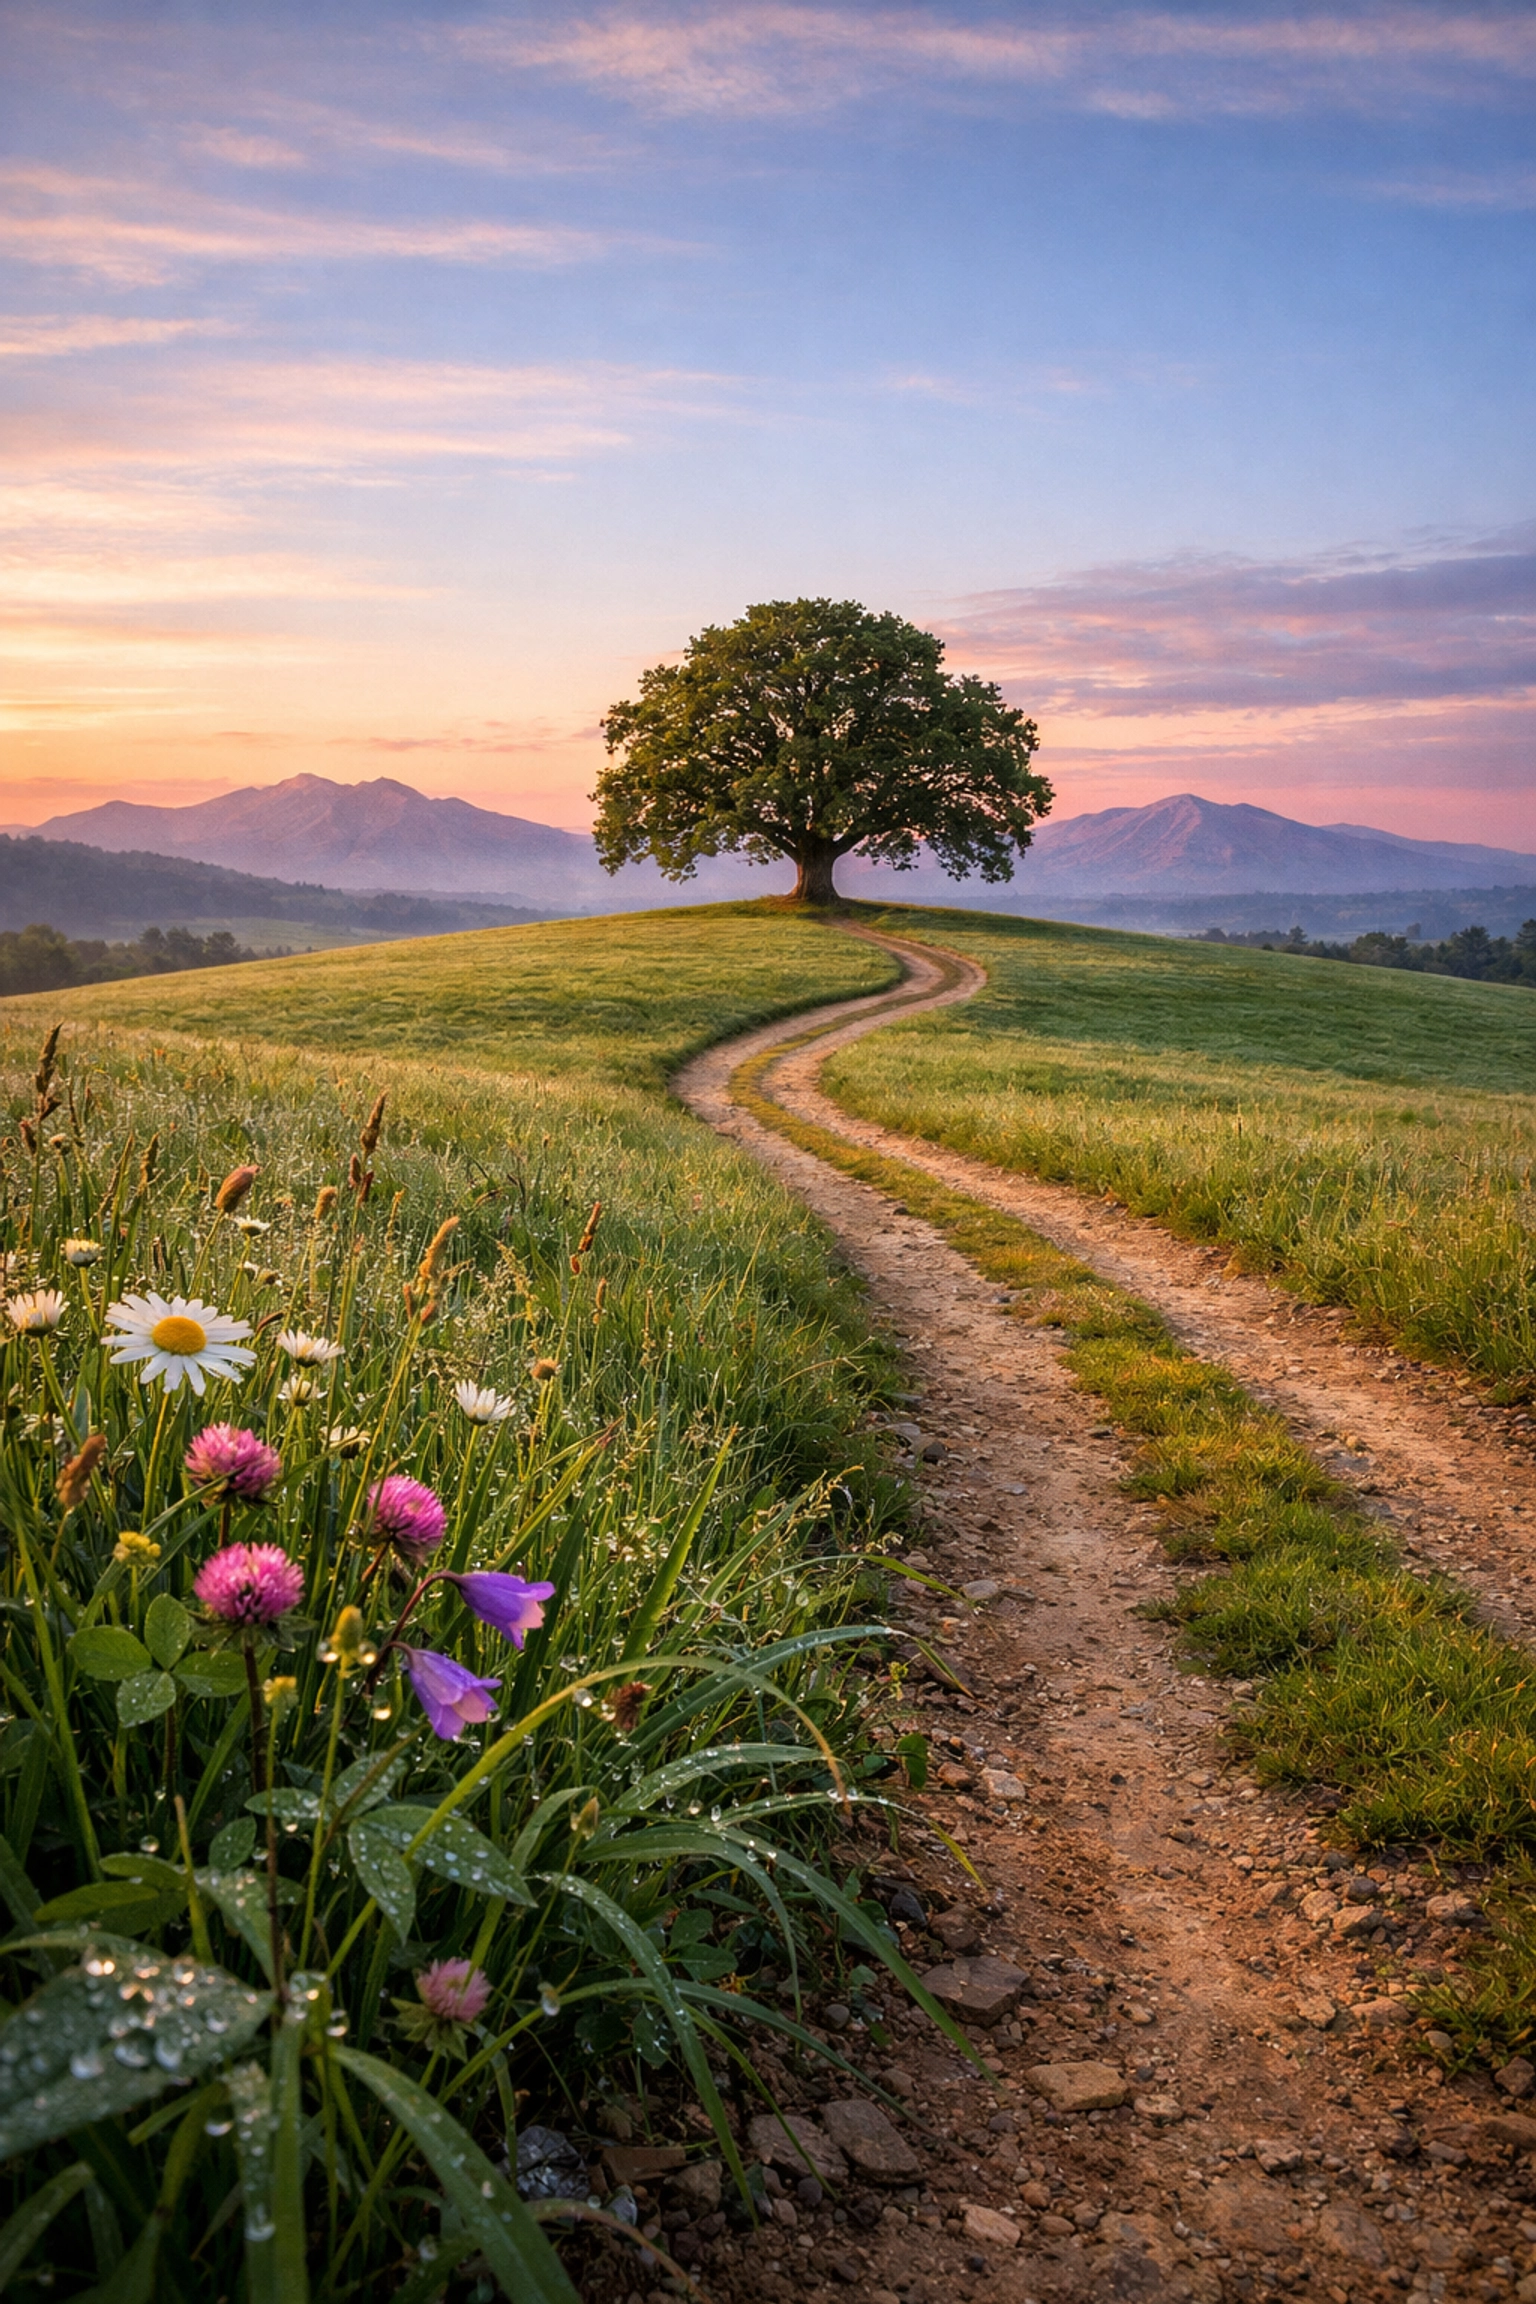
The Rule of Thirds
Imagine your frame is divided into a 3×3 grid. Instead of putting the horizon right in the middle, put it on the top or bottom third line. Place your main subject (like a lone tree or a mountain peak) on one of the intersections. It’s simple, but it works every time.
Leading Lines
Use elements in the environment to lead the viewer’s eye into the frame. This could be a path, a river, a fallen log, or even the edge of a shoreline. Leading lines create a sense of depth and make the photo feel more three-dimensional.
Foreground Interest
This is what separates the pros from the amateurs. Don’t just look at the big mountain in the distance. Find something interesting to put in the foreground: a cool rock, some flowers, or rare textures. This gives the viewer a "way in" to the photo.
Light is Everything
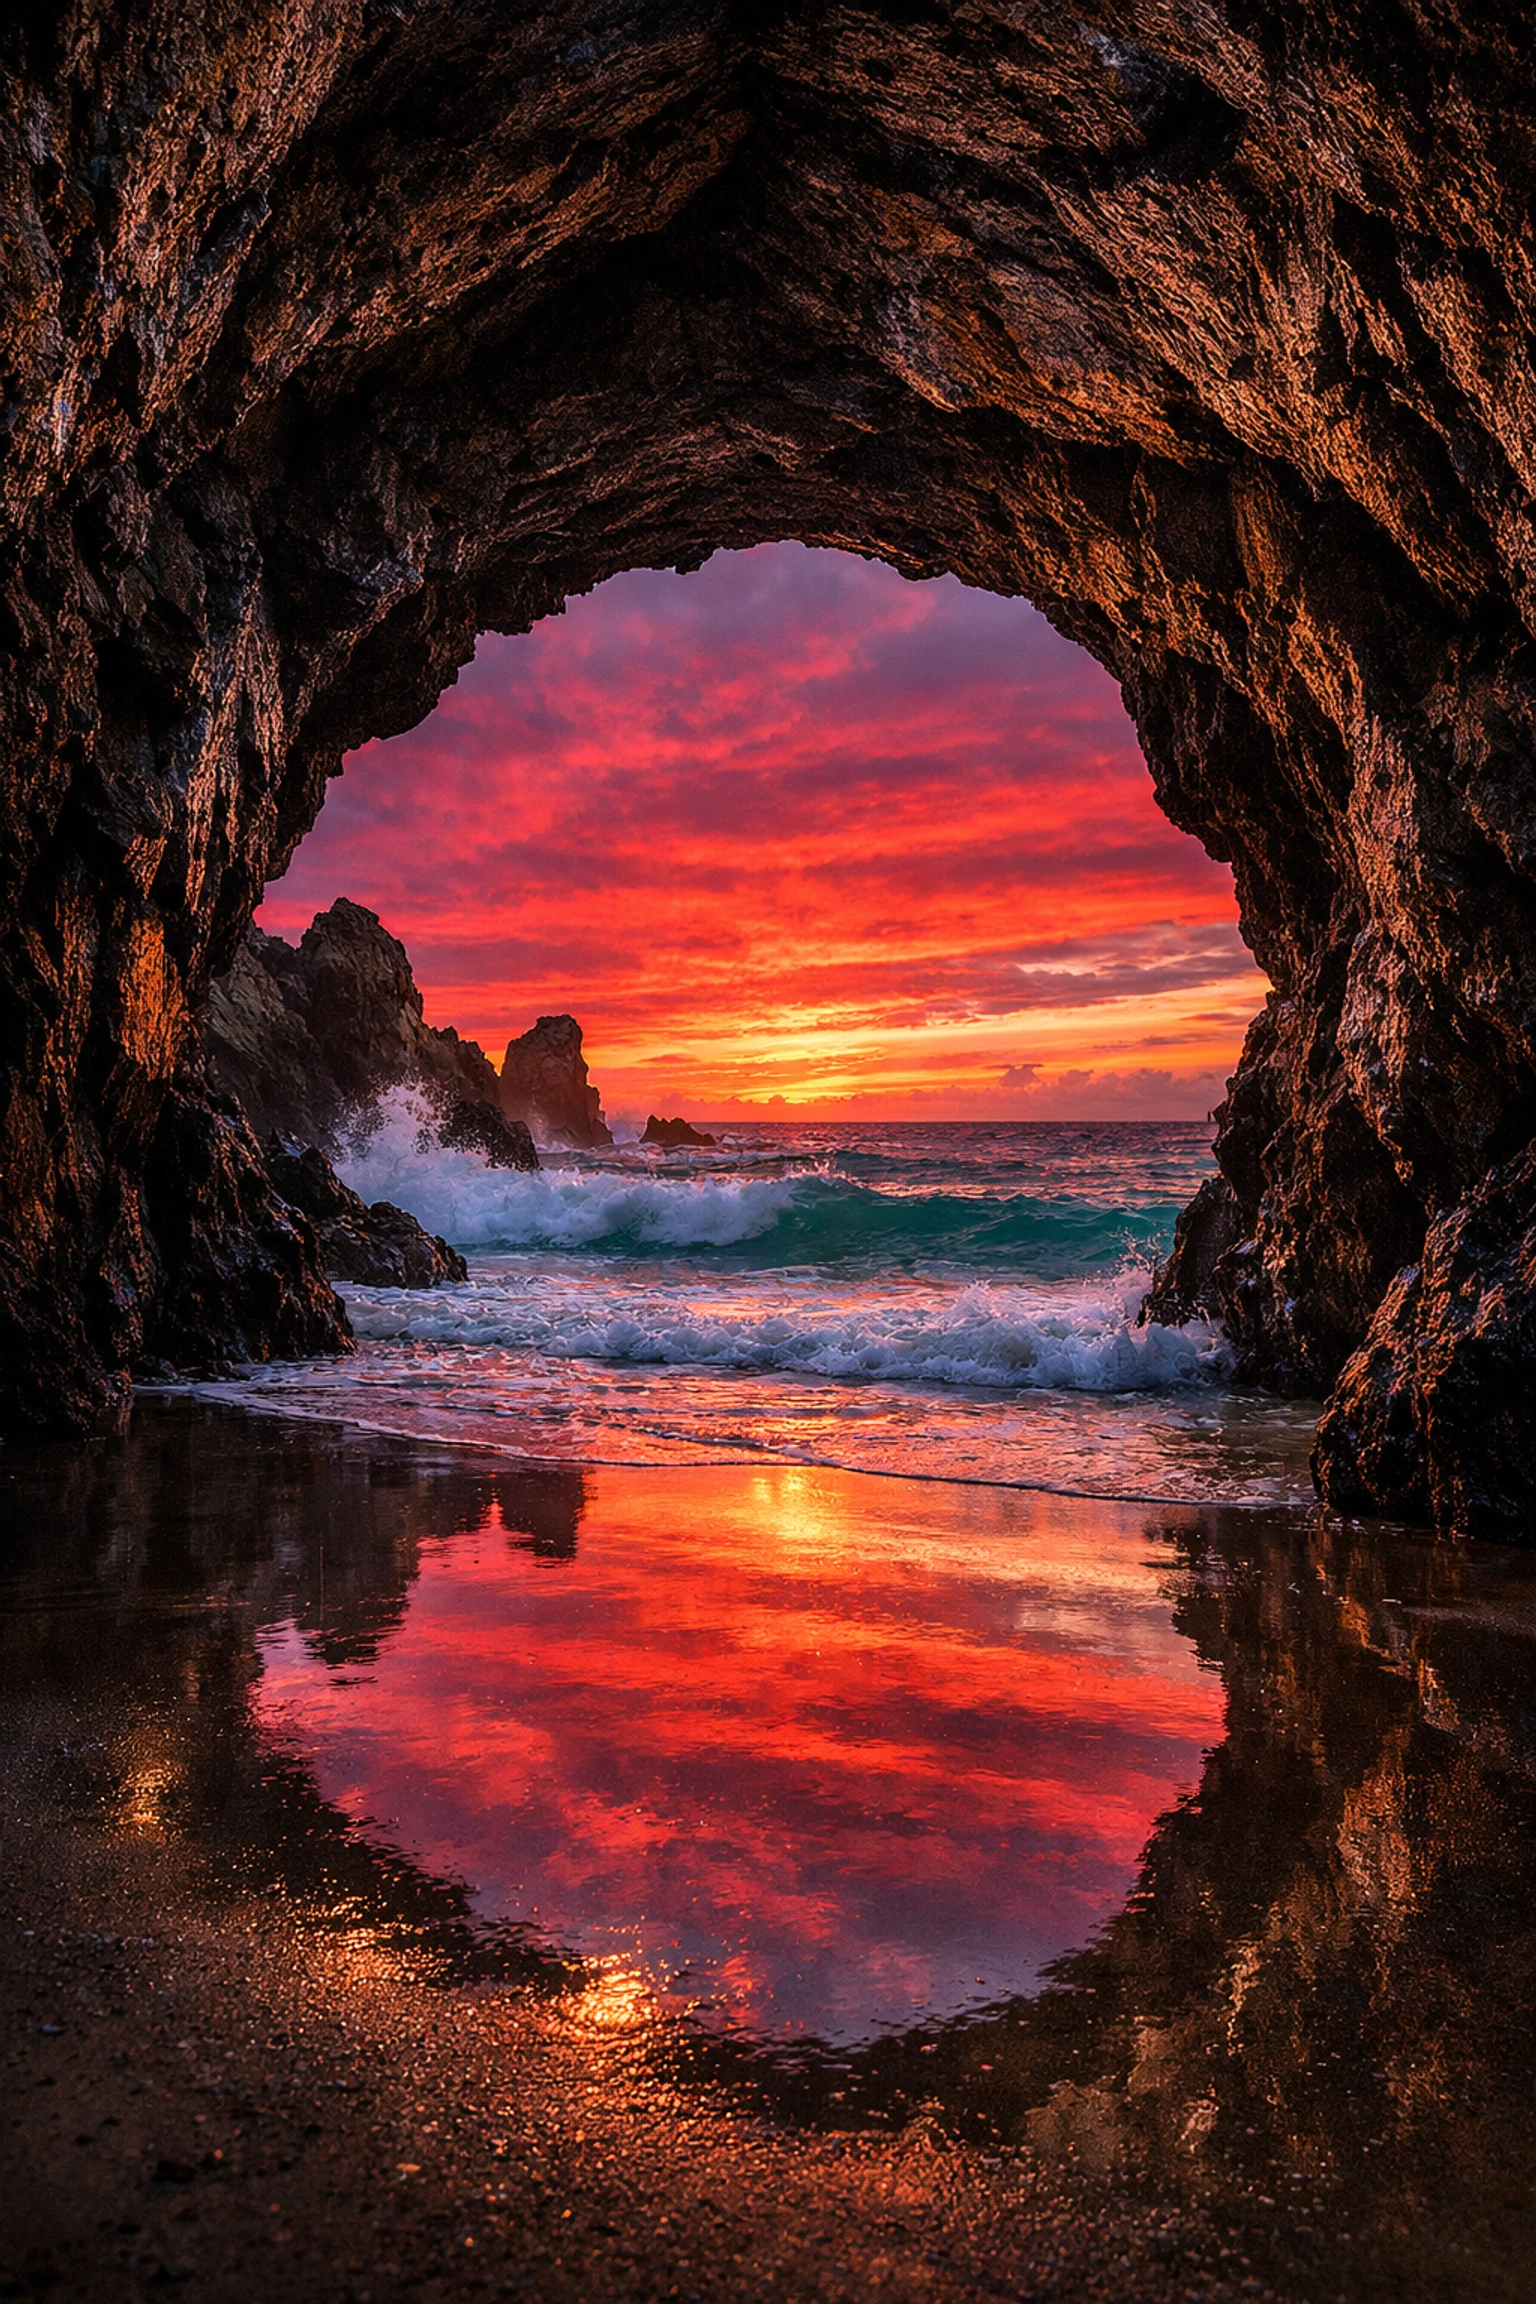
You’ve probably heard of the Golden Hour. That’s the hour after sunrise and the hour before sunset. The light is soft, warm, and hits the landscape at an angle that creates beautiful shadows and highlights.
But don’t pack up once the sun goes down. The Blue Hour (just after sunset) offers a cool, moody vibe that is perfect for majestic sunset photography.
If you’re dealing with flat, boring light on a cloudy day, don’t give up. Overcast skies are perfect for shooting forests and waterfalls because the clouds act like a giant softbox, eliminating harsh shadows. For more on this, check out the fastest way to get better at landscape photography.
Finding the Best Locations
You don’t have to fly to Iceland to get a great shot (though it helps). Some of the best photos come from hidden gem locations right in your backyard.
Use apps like Google Earth and PhotoPills to scout locations before you even leave your house. Look for lesser-known vistas and secluded paradises where you won't be fighting fifty other photographers for a tripod spot.
If you're feeling adventurous, look for ethereal landscapes or even picturesque coastal escapes. The world is full of "top spots," but the real magic happens when you find a place that hasn't been over-photographed.
Post-Processing: Bringing the Magic to Life
Taking the photo is only half the battle. The other half happens at your computer. RAW files (which you should definitely be shooting) look a bit flat straight out of the camera. They need a little love to bring out the colors and details you saw with your eyes.
I’m a huge fan of using Luminar for landscape editing. It’s incredibly intuitive and uses AI to help with things like sky replacement, enhancing foliage, and balancing light without making the photo look "fake."
Pro Tip: Don’t overdo it. It’s easy to crank the saturation to 100 and call it a day, but the best landscape edits are the ones where you can’t tell it was edited. Focus on:
- Bringing back detail in the shadows.
- Taming the highlights in the sky.
- Adding a bit of "pop" with contrast and clarity.
For a deeper dive into modern tools, read the ultimate guide to photography tutorials.
Advanced Techniques to Try
Once you’ve mastered the basics, it’s time to level up.
Focus Stacking
Sometimes, f/11 isn't enough to get that flower six inches from your lens and the mountain five miles away both in focus. Focus stacking involves taking multiple photos at different focus points and merging them in post-processing. It's the only way to get total sharpness in complex scenes.
Long Exposure
We touched on this with waterfalls, but long exposure is also great for moving clouds. A 2-minute exposure can turn a chaotic sky into a smooth, painterly masterpiece. You’ll need a strong ND filter (like a 10-stop) to pull this off during the day. For more on this, check out our guide on water photography beauty in motion.
Panorama Stitching
Can’t fit the whole scene in your wide-angle lens? Shoot a series of vertical shots and stitch them together. This creates a massive, high-resolution file that you can print as large as a wall.
Staying Inspired and Staying Current
The world of photography moves fast. New sensors, better AI, and changing styles mean there's always something new to learn. Staying on top of the latest photography news is key to keeping your work fresh.
Check out today's photography news explained in under 3 minutes to stay in the loop without wasting hours on forums. Also, keep an eye on current photography trends to see how the industry is shifting toward more organic, tangible aesthetics.
Final Thoughts
Landscape photography is a journey. You’re going to have days where the weather is perfect, and you’re going to have days where you get rained on and go home with zero shots. That’s part of the fun.
The most important thing is to get out there and shoot. Don't worry about having the perfect gear or the perfect "hidden gem" location. Just go to your local park, find a cool tree, and start experimenting with the rule of thirds.
If you want more inspiration, head over to Edin Chavez’s personal blog at blog.edinchavez.com or see some world-class prints at www.edinfineart.com. For professional shooting tips, www.proshoot.io is a great resource, and of course, you can always see what we’re up to at www.shutyouraperture.com.
Now, pack your bag, charge your batteries, and go catch that sunrise. Your best shot is waiting for you out there.


