
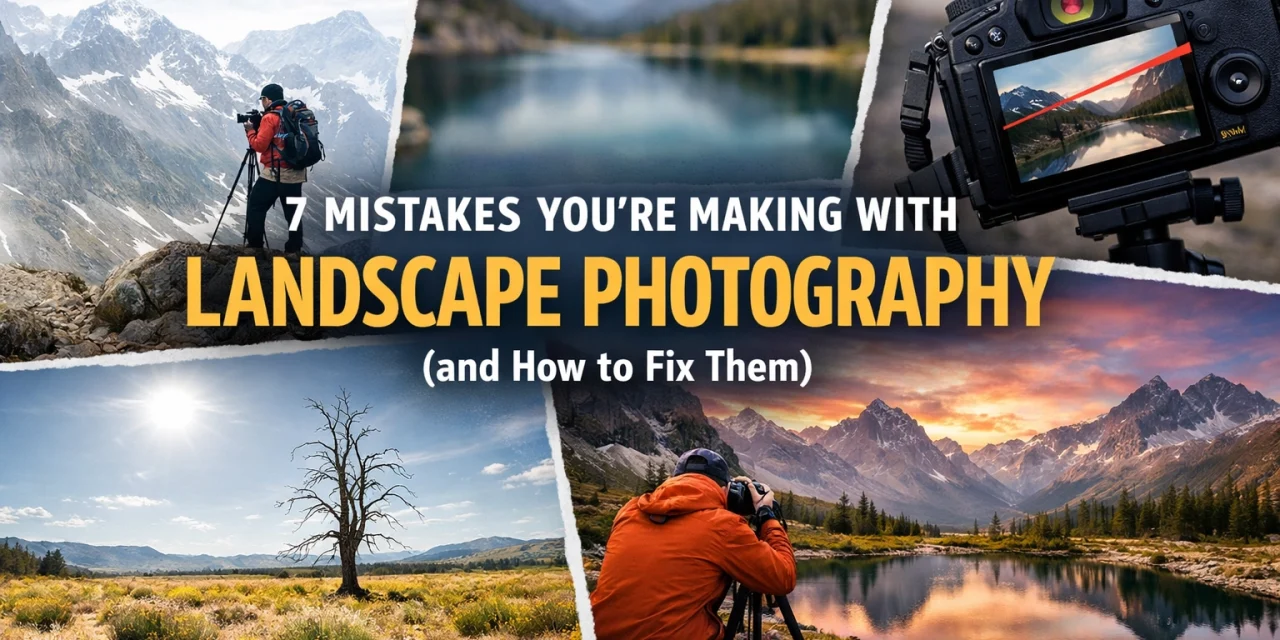
Let’s be real for a second. We’ve all been there. You’re standing on the edge of a cliff, the sun is dipping below the horizon, and the colors in the sky look like something out of a dream. You grab your camera, click the shutter, and think, "This is it. This is the shot that’s going to make me famous."
Then you get home, pull it up on your monitor, and… it’s just okay. Maybe it’s a little flat. Maybe the mountain looks tiny. Maybe the horizon looks like you were holding your camera while riding a unicycle.
Landscape photography is one of those things that looks easy but is actually incredibly hard to master. It’s not just about pointing a lens at something pretty. It’s about light, composition, and, most importantly, avoiding the common traps that even pros fall into.
If you want to stop taking "okay" photos and start taking "holy crap, did you take that?" photos, you’re in the right place. Here are seven mistakes you’re probably making with your landscape photography and exactly how to fix them.
1. The "Drunken" Horizon
This is the biggest cardinal sin in landscape photography. There is nothing that ruins a beautiful shot faster than a tilted horizon line. Unless you’re trying to do some experimental art piece, your horizon needs to be straight. If the ocean looks like it’s about to drain out of the side of your frame, you’ve got a problem.
Even a tilt of one or two degrees is enough to make a viewer feel uneasy. It pulls the eye away from the subject and makes the whole image feel "off."
The Fix:
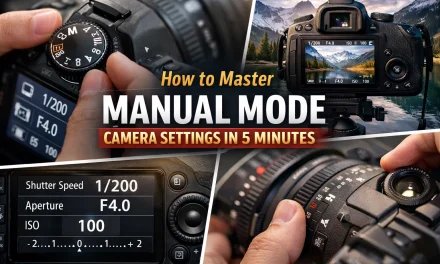
Most modern mirrorless cameras, like the Fujifilm X-T10 mirrorless digital camera, have a built-in electronic level. Use it! If your camera doesn’t have one, turn on the grid lines in your viewfinder. Align the horizon with one of the horizontal lines.
If you still mess it up in the field, you can fix it in post-processing. Most editing software has an auto-level tool. Just keep in mind that when you rotate an image, you have to crop it, which might cut out some of those beautiful details you worked hard to capture. To get it right the first time, check out The Fastest Way to Get Better at Landscape Photography.
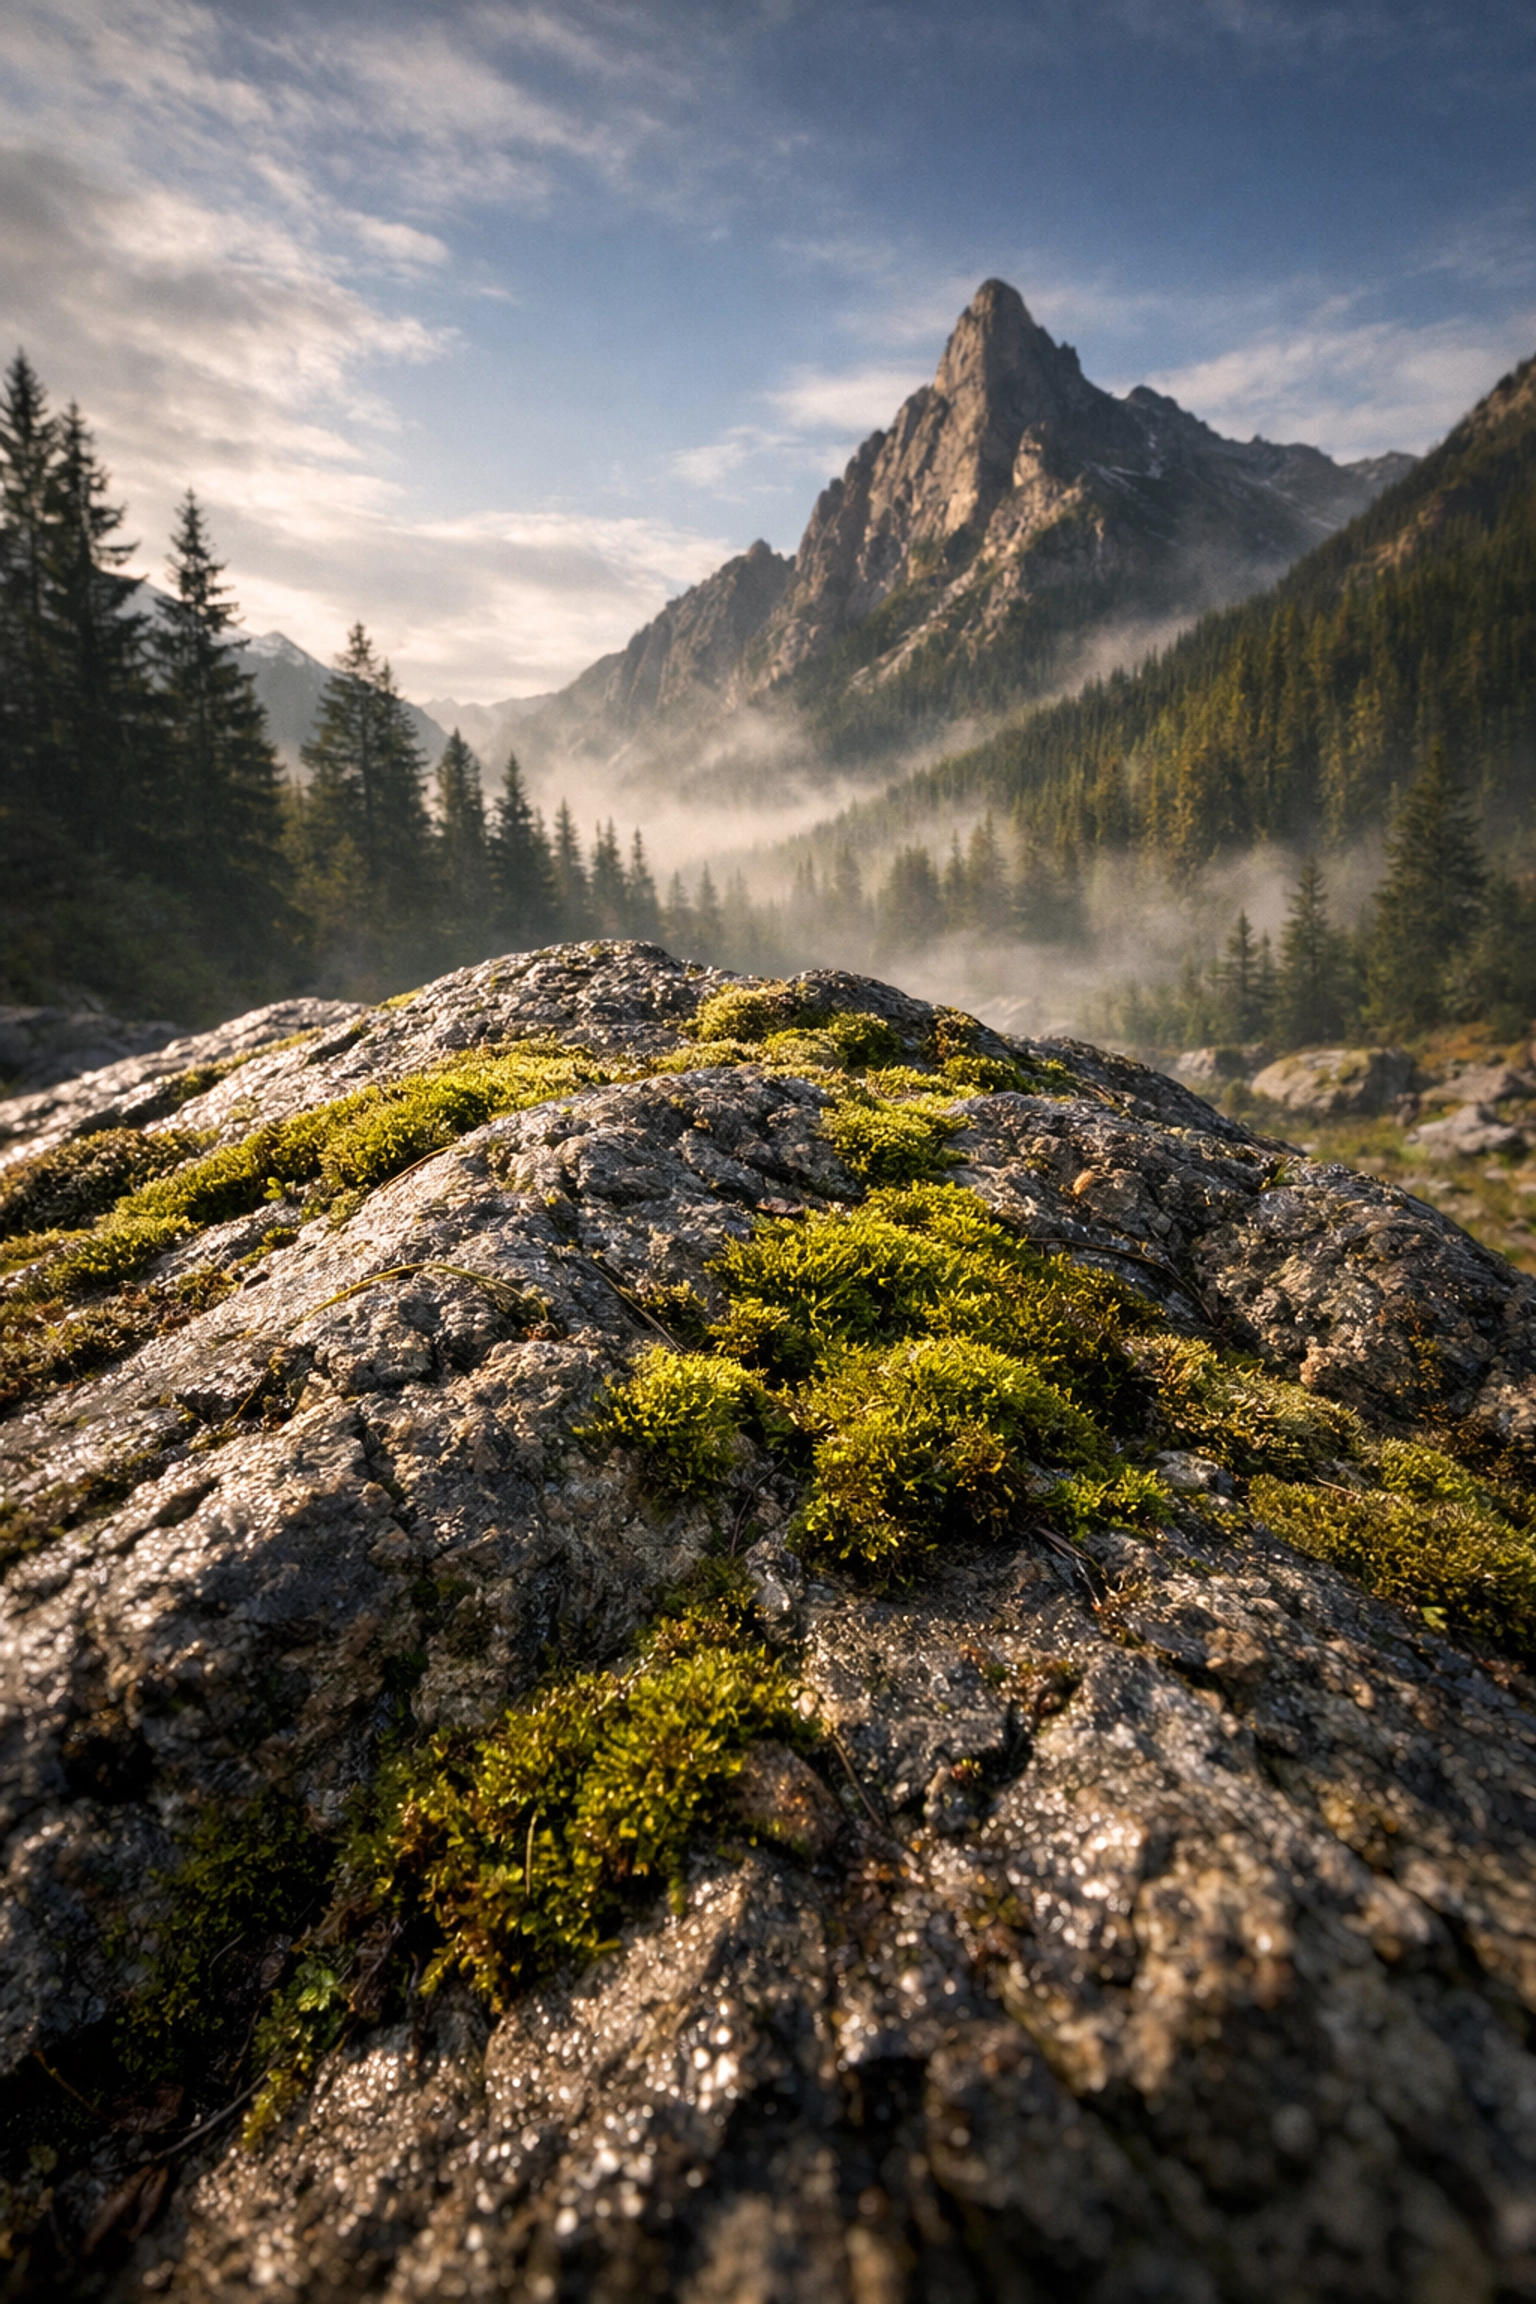
2. Standing Too Far Away with a Wide-Angle Lens
A common mistake beginners make is thinking that a wide-angle lens is meant to "fit everything in." While that’s technically true, using a wide-angle lens from a distance often results in a photo that feels empty. Your subject (like a mountain) looks tiny and far away, and you end up with a lot of boring grass or dirt in the foreground.
Wide-angle lenses are actually meant to be used up close. They are designed to exaggerate the scale of objects near the lens.
The Fix:
Get closer. No, seriously, get closer. Find a rock, a flower, or a patch of ice and put your camera just a few feet (or even inches) away from it. This creates a powerful foreground that leads the viewer’s eye into the rest of the scene. If you’re looking for a killer wide-angle lens, the Sigma 24mm f1.4 DG HSM Art Lens is a beast for capturing detail and depth.
By getting low and close, you create a sense of depth that makes the viewer feel like they are standing right there with you. For more composition tips, head over to PhotoGuides.org.
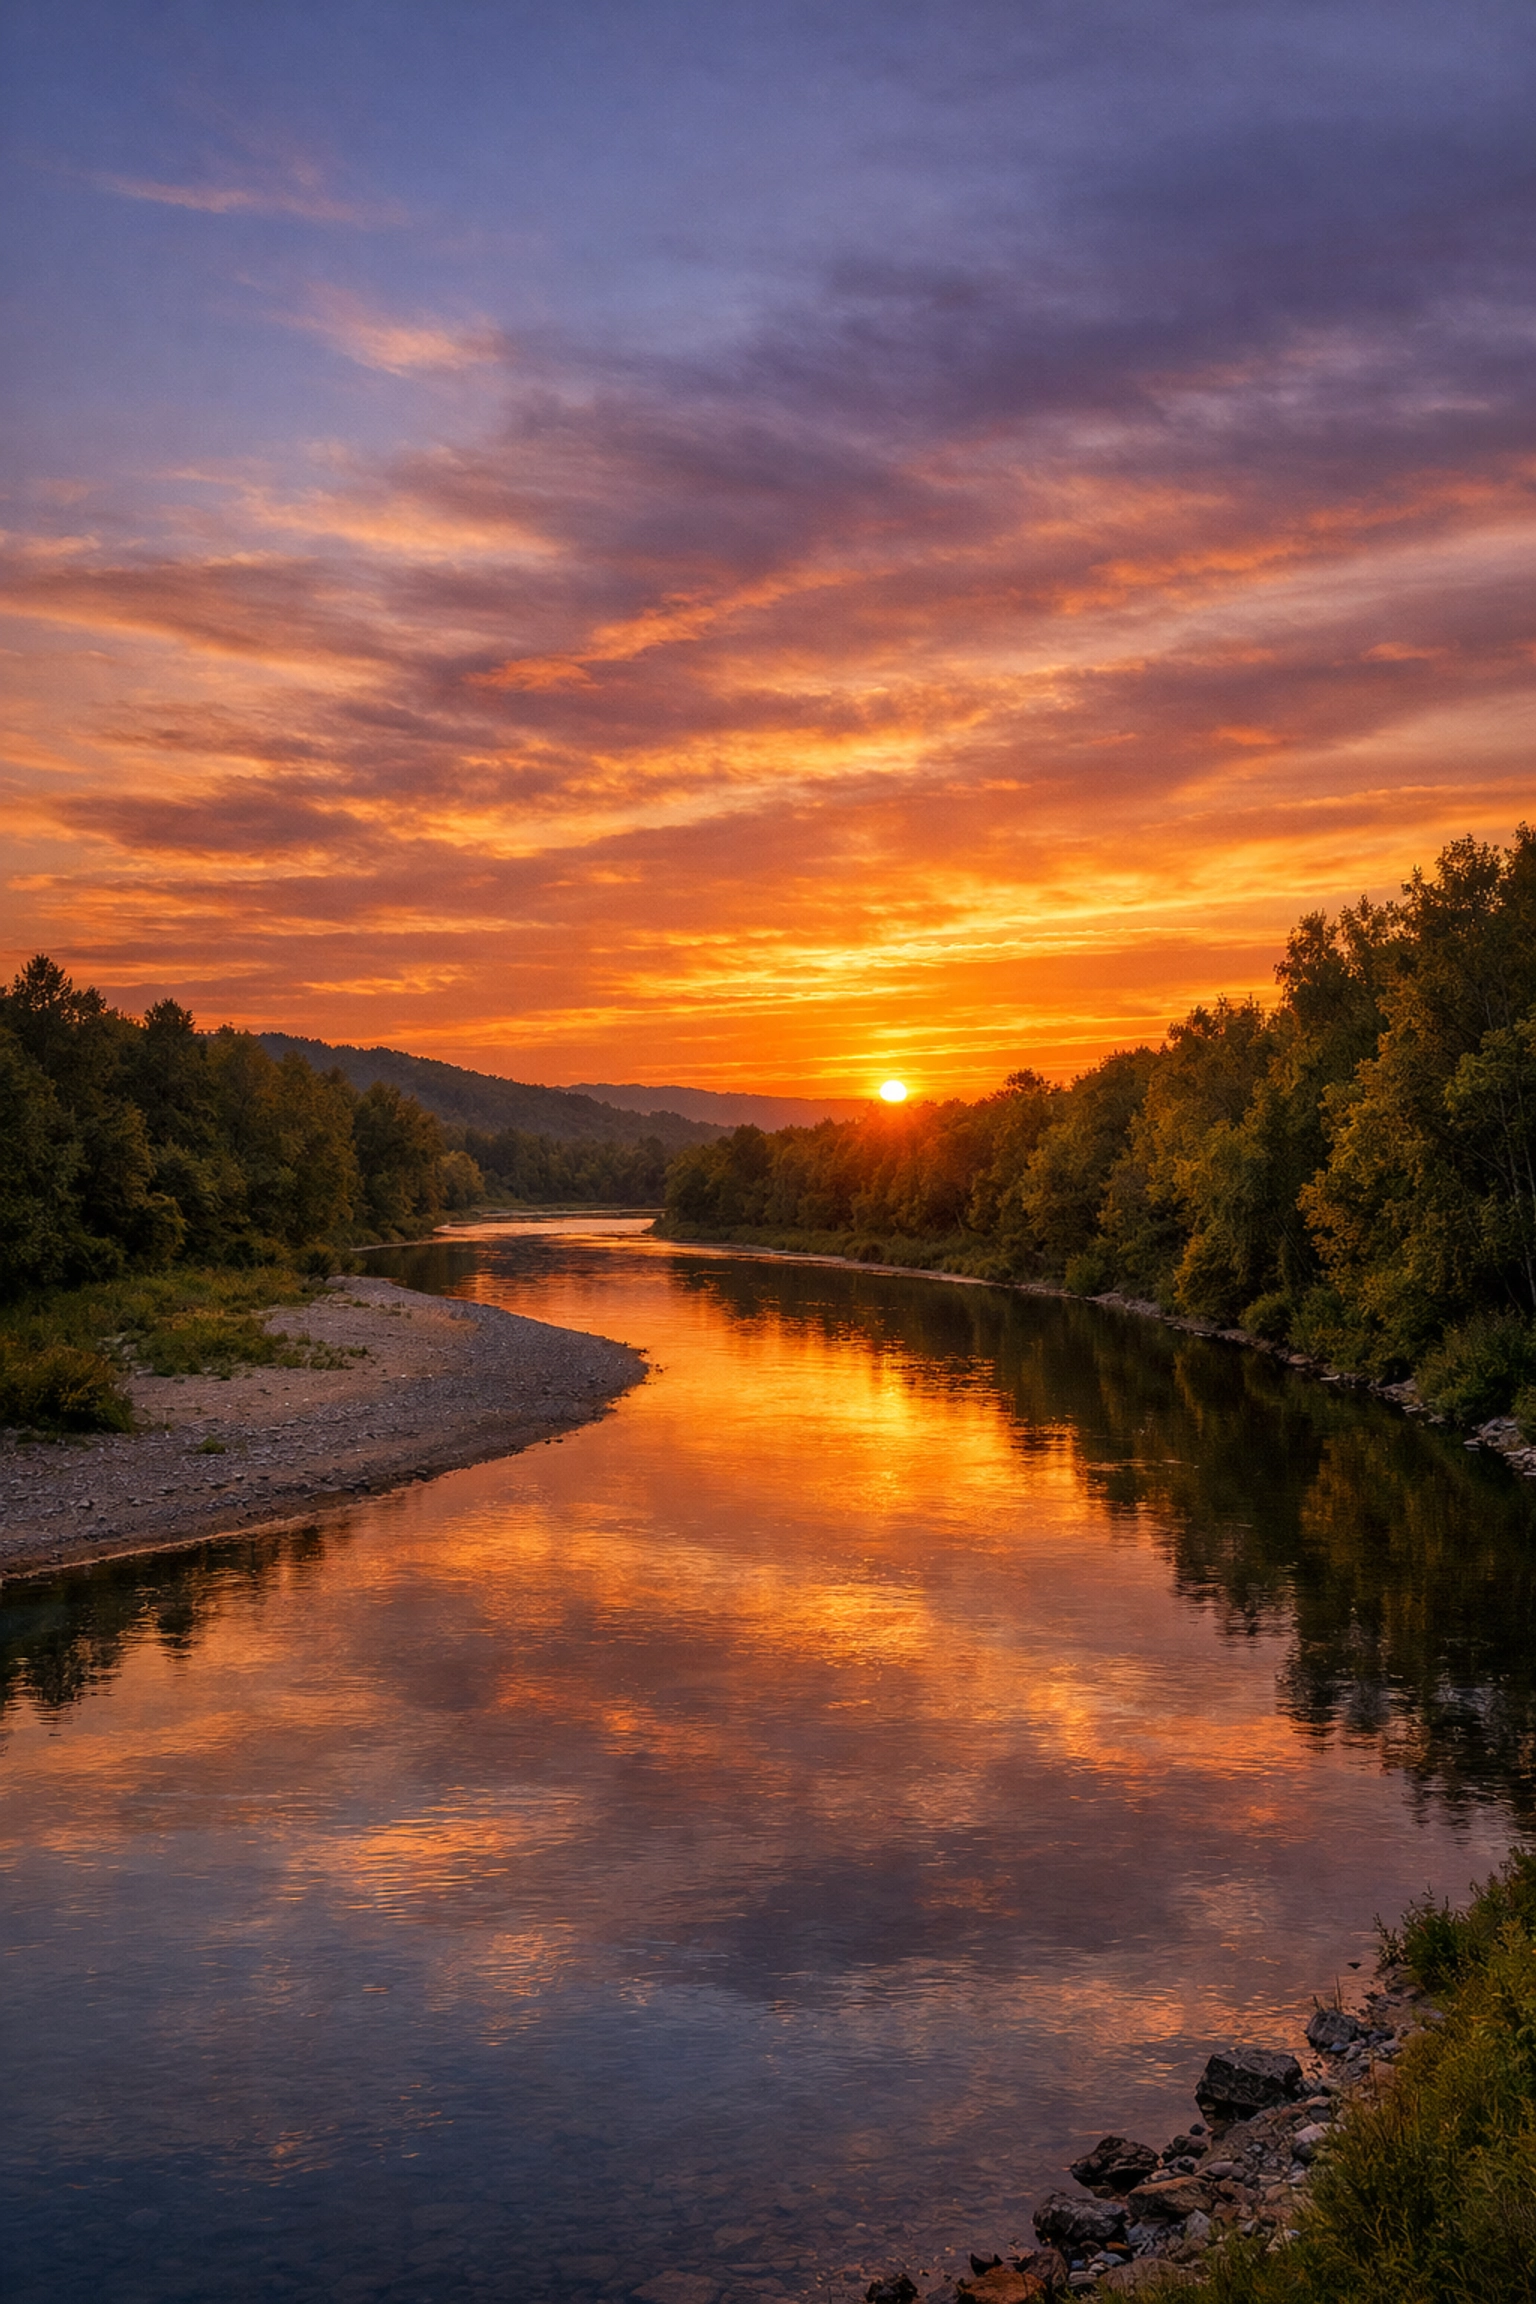
3. Chasing the "Boring" Blue Sky
We all love a sunny day, but for landscape photographers, a clear blue sky is usually a nightmare. It’s a giant, empty blue blob that adds zero drama or texture to your shot. In fact, a bright, clear sky often creates harsh shadows and blown-out highlights that are a pain to edit.
If you’re only shooting when the weather is "nice," you’re missing out on the best shots.
The Fix:
Wait for the weather to get "bad." Clouds are a landscape photographer's best friend. They catch the light during sunrise and sunset, creating those fiery oranges and deep purples. They add mood and texture. Check out this photo of the day by Khalil Morcos to see how clouds and reflections can transform a scene.
Try shooting during "blue hour" or "golden hour." If you’re stuck with a boring sky, compose your shot so the horizon is higher up, giving more room to the foreground and less to the empty sky. You can also check out Daybreak for some serious lighting inspiration.
4. Being Afraid of Small Apertures (Aperture Anxiety)
There’s a lot of talk in the gear world about "diffraction." People get scared to shoot at f/11 or f/16 because they’ve heard it makes the image slightly less sharp than f/8. So, they stick to f/5.6 or f/8, and guess what? Their foreground is sharp, but their background is a blurry mess.
In landscape photography, you almost always want everything from the front to the back to be in focus.
The Fix:
Don't be afraid to stop down. For most landscapes, f/11 is the sweet spot. If you have something very close to your lens and a mountain in the far distance, you might even need f/16. Yes, you might lose a tiny bit of "perceived sharpness" due to diffraction, but it’s much better to have the whole scene in focus than to have a blurry mountain.
If you really want to go pro, look into "focus stacking." This involves taking 3 or 4 shots at different focus points and blending them in post. If you're interested in how technology is changing these techniques, read about why everyone is talking about AI-integrated mirrorless cameras. You can also find technical guides on proshoot.io.
5. The "Nuclear" Saturation Look
We’ve all seen them on Instagram: landscapes where the grass is neon green and the sky is a shade of blue that doesn't exist in nature. When you first start editing, it’s tempting to crank that saturation slider to 100 to make the colors "pop."
But over-saturating your images is a quick way to make them look amateurish and fake. It kills the fine details in your colors and makes the image look flat.
The Fix:
Be subtle. Instead of using the Saturation slider, use the Vibrance slider. Vibrance is "smarter", it boosts the less-saturated colors without blowing out the ones that are already bright.
If you really want to take control of your colors, I highly recommend using Luminar. Their AI tools allow you to enhance specific parts of the landscape, like the sky or the foliage, without making the whole photo look like a cartoon. For more editing inspiration and high-end results, take a look at edinfineart.com.
6. Overusing the Clarity Slider
Clarity is like salt. A little bit makes everything better; too much makes it inedible. The Clarity slider adds mid-tone contrast, which makes textures look "crunchy" and sharp. It’s great for bringing out detail in rocks or bark.
However, if you push it too far, you’ll get weird dark halos around your trees and mountains, and your clouds will start looking like they’re made of dirty concrete. It’s a very "digital" look that screams "I don't know how to edit."
The Fix:
Apply clarity selectively. Don't just slide the bar for the whole image. Use a brush or a gradient tool to add clarity only to the areas that need it, like a rocky foreground or a textured tree trunk. Keep the sky soft.
A good rule of thumb? Move the slider until you think it looks good, then move it back halfway. If you want to see how the pros handle texture and detail, check out the work on blog.edinchavez.com.
7. Ignoring the "Mess" in the Frame
When we’re standing in a beautiful location, our brains tend to filter out the junk. We see the majestic mountain, but we don't see the trash can in the corner, the power lines cutting through the sky, or the random twig poking into the bottom of the frame.
When those things end up in your final photo, they become massive distractions. They pull the viewer's eye away from the beauty and toward the "mess."
The Fix:
Slow down. Before you click the shutter, do a "border check." Run your eye around the edges of the frame. Is there a half-cut tree branch? A piece of trash? A distracting bright spot?
Move your tripod a few inches to the left or right to hide those distractions behind something else. If you can’t move, you might have to remove them in post-processing, but it’s always better to get it right in the camera. Look at this shot of Olympic National Park by Mark Rogers, notice how clean the composition is. Every element belongs there.
Bonus Tip: Stop Shooting at Eye Level
Most people walk up to a scene, stand at their full height, and take a picture. This is "eye-level" photography, and it’s usually the most boring angle possible because it’s how everyone sees the world every single day.
If you want your photos to stand out, you need to change your perspective.
The Fix:
Get low. Get high. Get weird. Put your camera six inches off the ground. It makes the foreground feel massive and immersive. Or, find a higher vantage point to look down on the scene. Changing your height by just two feet can completely change the geometry of your shot.
For some crazy examples of how changing perspective can change a whole city, look at Tilting the Streets of San Francisco.
Putting It All Together
Landscape photography is a journey. You’re going to make mistakes, heck, I still make them sometimes. The key is to learn why a photo didn't work and apply that knowledge to the next one.
Start by checking your horizons. Then, focus on your composition by getting close to your foreground. Wait for the right light, use a sensible aperture, and keep your editing subtle.
If you’re looking for more gear advice or the latest industry updates, stay tuned to our daily photography news. It’s the best way to keep your skills sharp without spending hours reading manuals.
And remember, the best camera is the one you have with you: whether it’s a high-end mirrorless or even a Panasonic Lumix DMC-CM1. What matters is how you use it.
Now, grab your gear, check the weather forecast for some "beautifully miserable" clouds, and go shoot something epic. If you need more inspiration, browse through our Sitemap to find hundreds of tutorials and galleries.
Happy shooting!


