
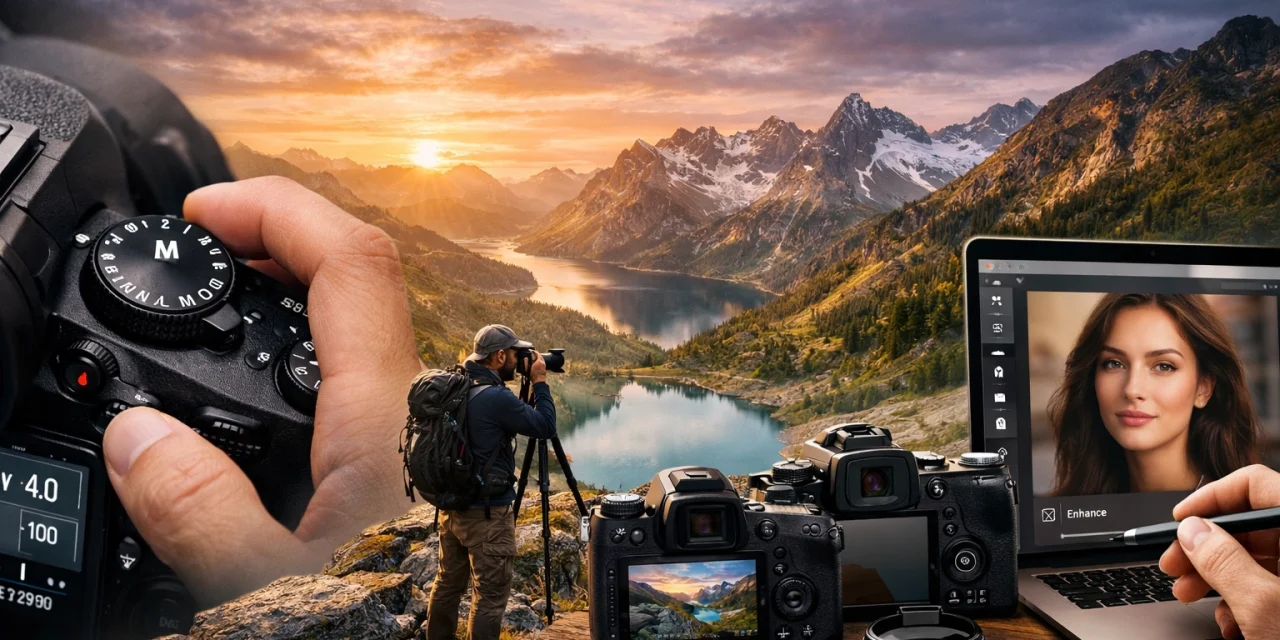
Let’s be real for a second: that little green "Auto" mode on your camera is like a security blanket. It’s warm, it’s safe, and it’s also holding you back from being the photographer you actually want to be. If you want to stop taking "nice" photos and start creating images that actually stop people from scrolling, you need to grab the steering wheel.
Welcome to the ultimate breakdown of everything that matters in the world of photography right now. From tearing apart the exposure triangle to figuring out which camera won’t break your bank (or your back), and diving into the mind-blowing world of AI editing, we’re covering it all. Grab a coffee, let’s get into it.
Mastering Manual Mode: Your New Best Friend
If you’ve ever looked at a professional shot and wondered why theirs looks like art while yours looks like a DMV photo, the answer is usually control. Manual mode (the "M" on your dial) is where the magic happens. It lets you tell the camera exactly what to do, rather than letting some software in a silicon chip make a "best guess."
The core of manual mode is the Exposure Triangle: ISO, Aperture, and Shutter Speed.
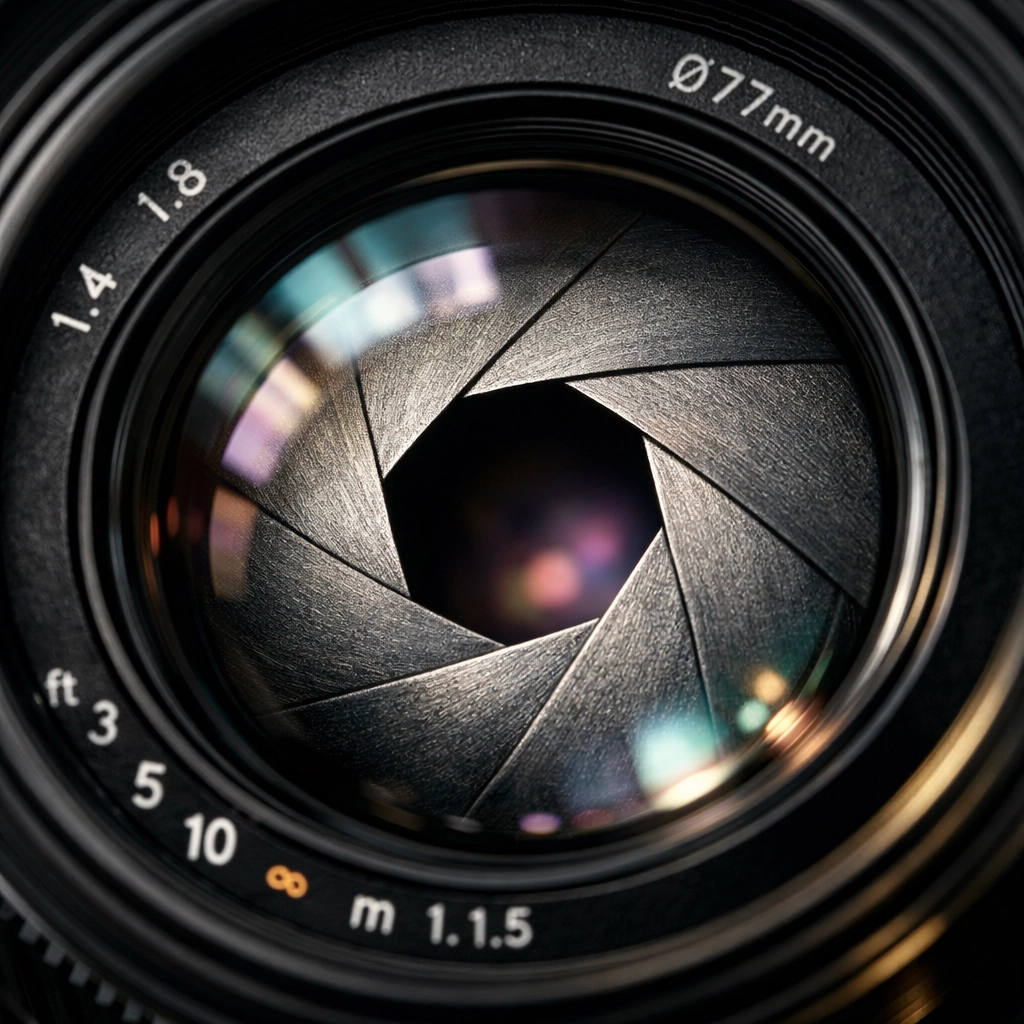
1. Aperture (The Depth Maker)
Think of aperture as the eye of your lens. The wider it is (a lower f-number like f/1.8), the more light comes in. This also gives you that creamy, blurry background (bokeh) that makes portraits pop. If you want everything sharp, like in a massive mountain vista, you’ll want a narrower aperture (a higher f-number like f/11 or f/16).
2. Shutter Speed (The Time Keeper)
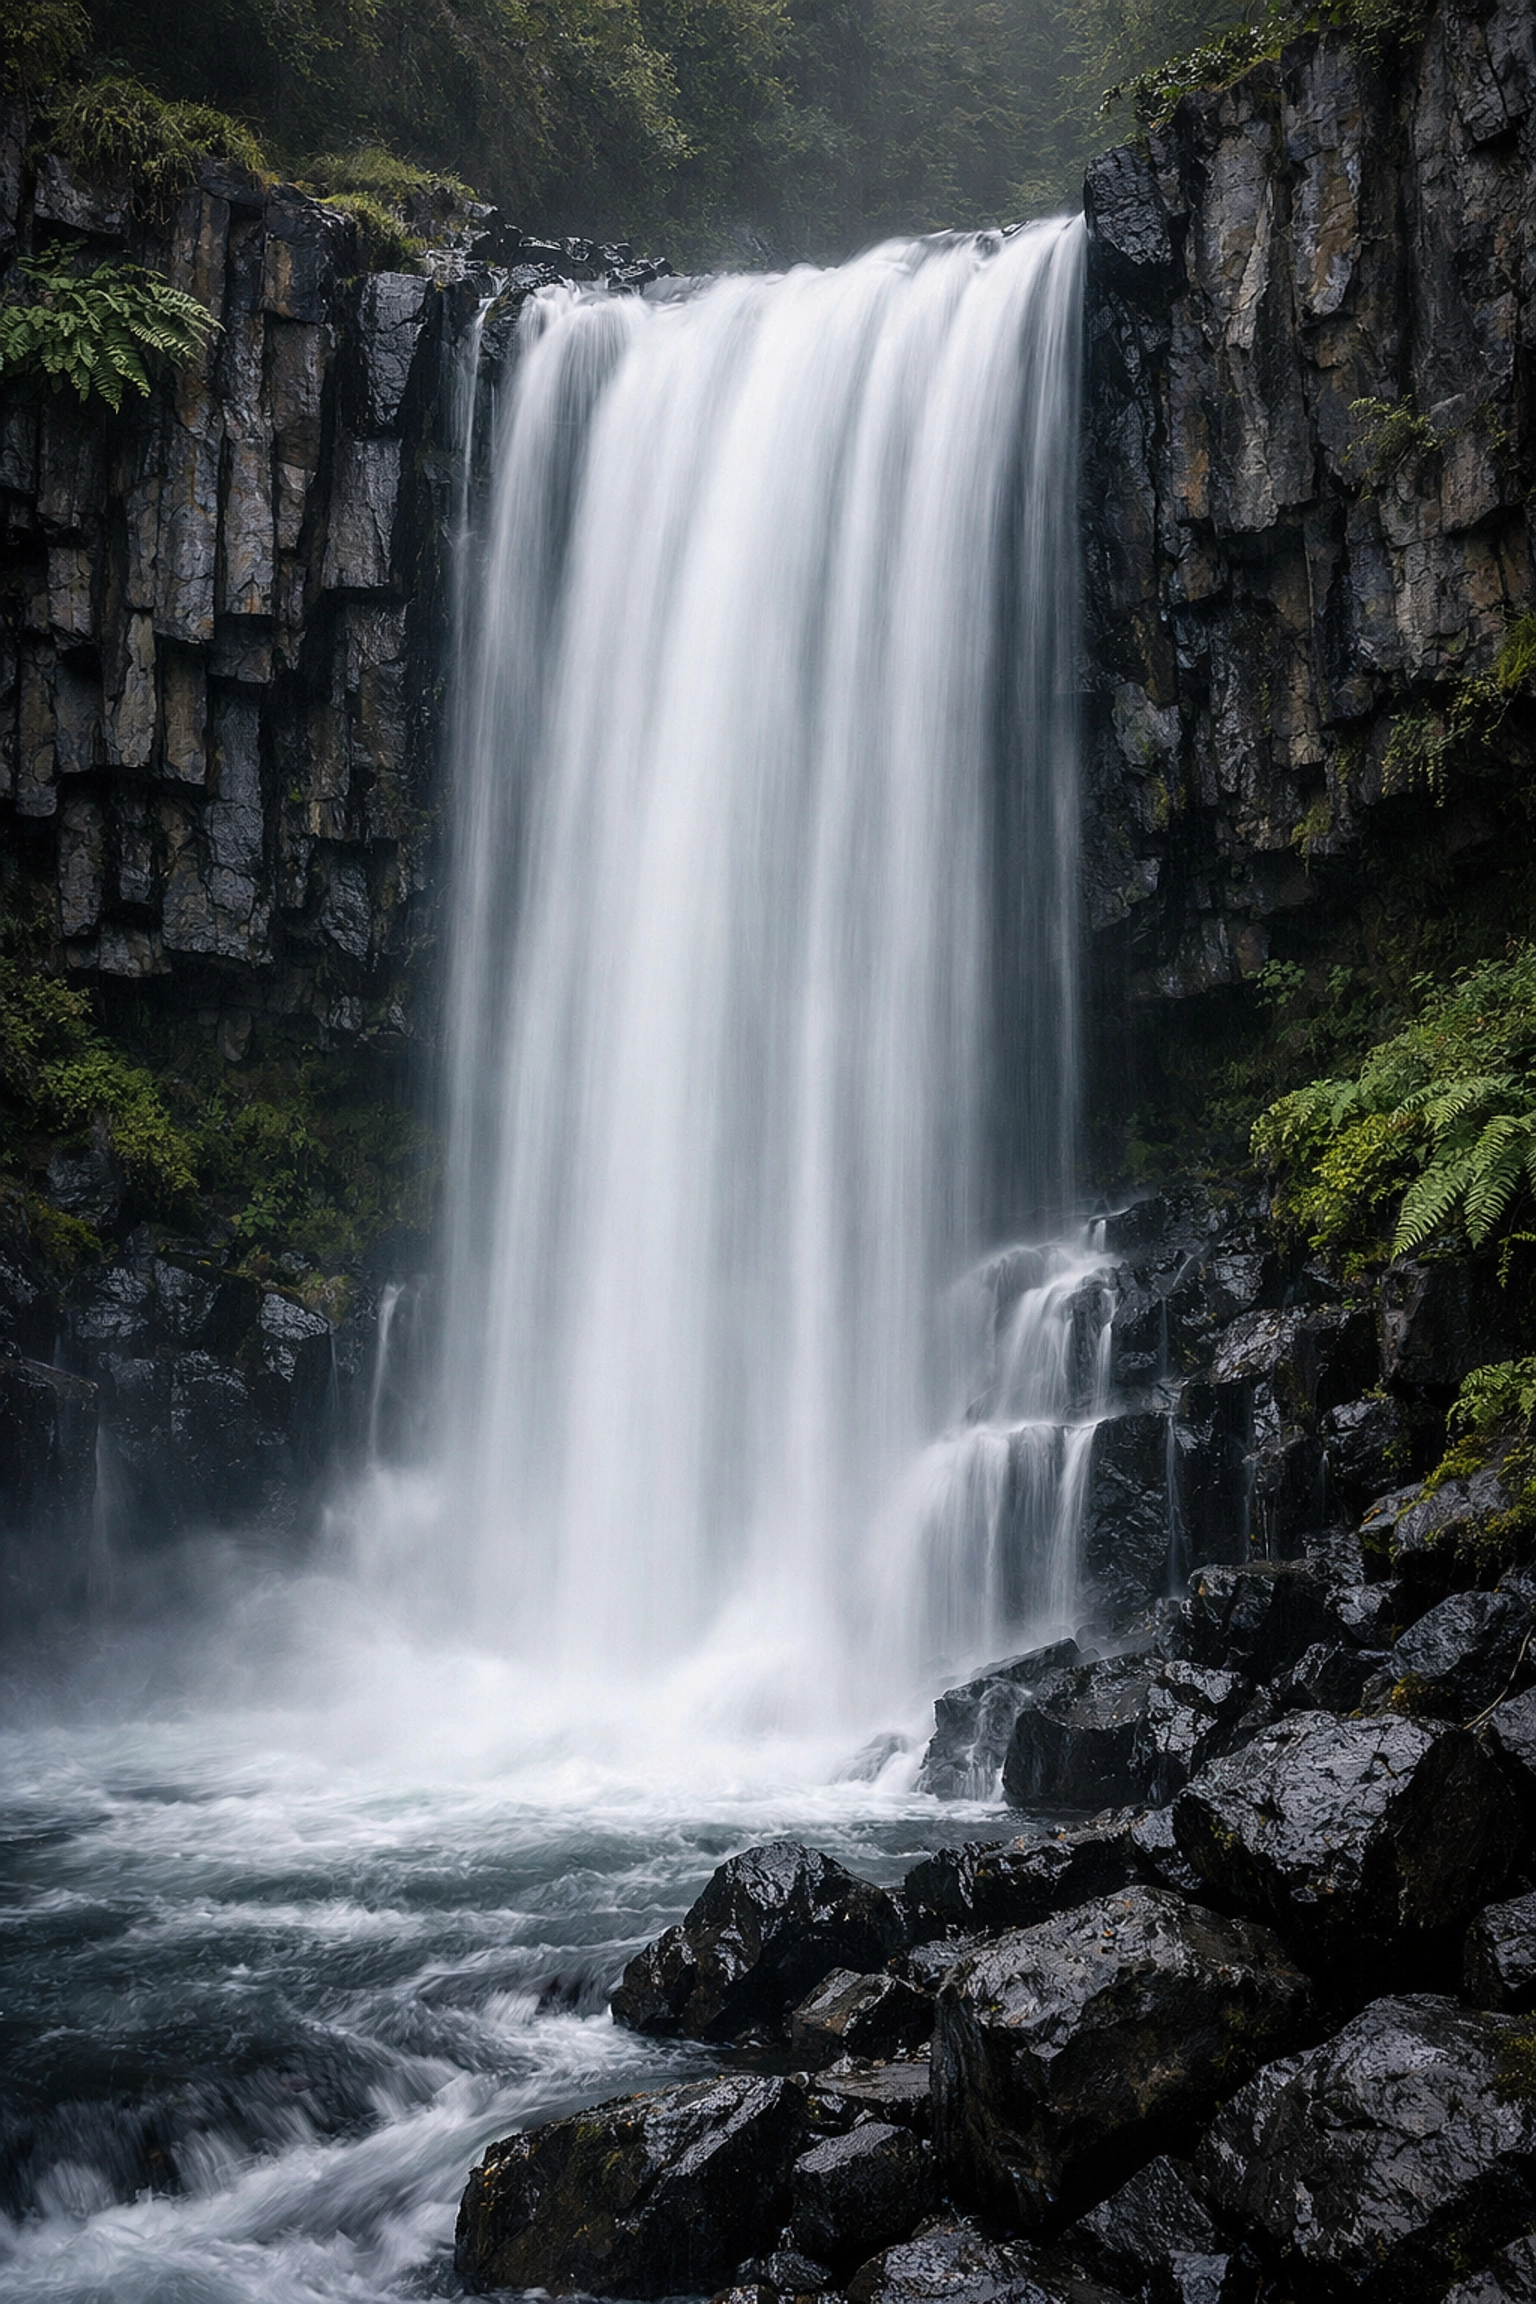
This is how long your sensor sees the world. Want to freeze a bird in mid-flight? You need a fast shutter speed (1/1000s or faster). Want to make a waterfall look like silk? You’ll need a slow shutter speed. For the latter, check out our guide on water photography, capturing beauty in motion. Just remember, if your shutter is open for more than a fraction of a second, you’re going to need a tripod.
3. ISO (The Light Sensitive)
ISO is your camera's sensitivity to light. In bright daylight, keep it low (ISO 100). As it gets darker, you bump it up. The catch? The higher the ISO, the more "noise" or grain you get in your photo. It’s a balancing act.
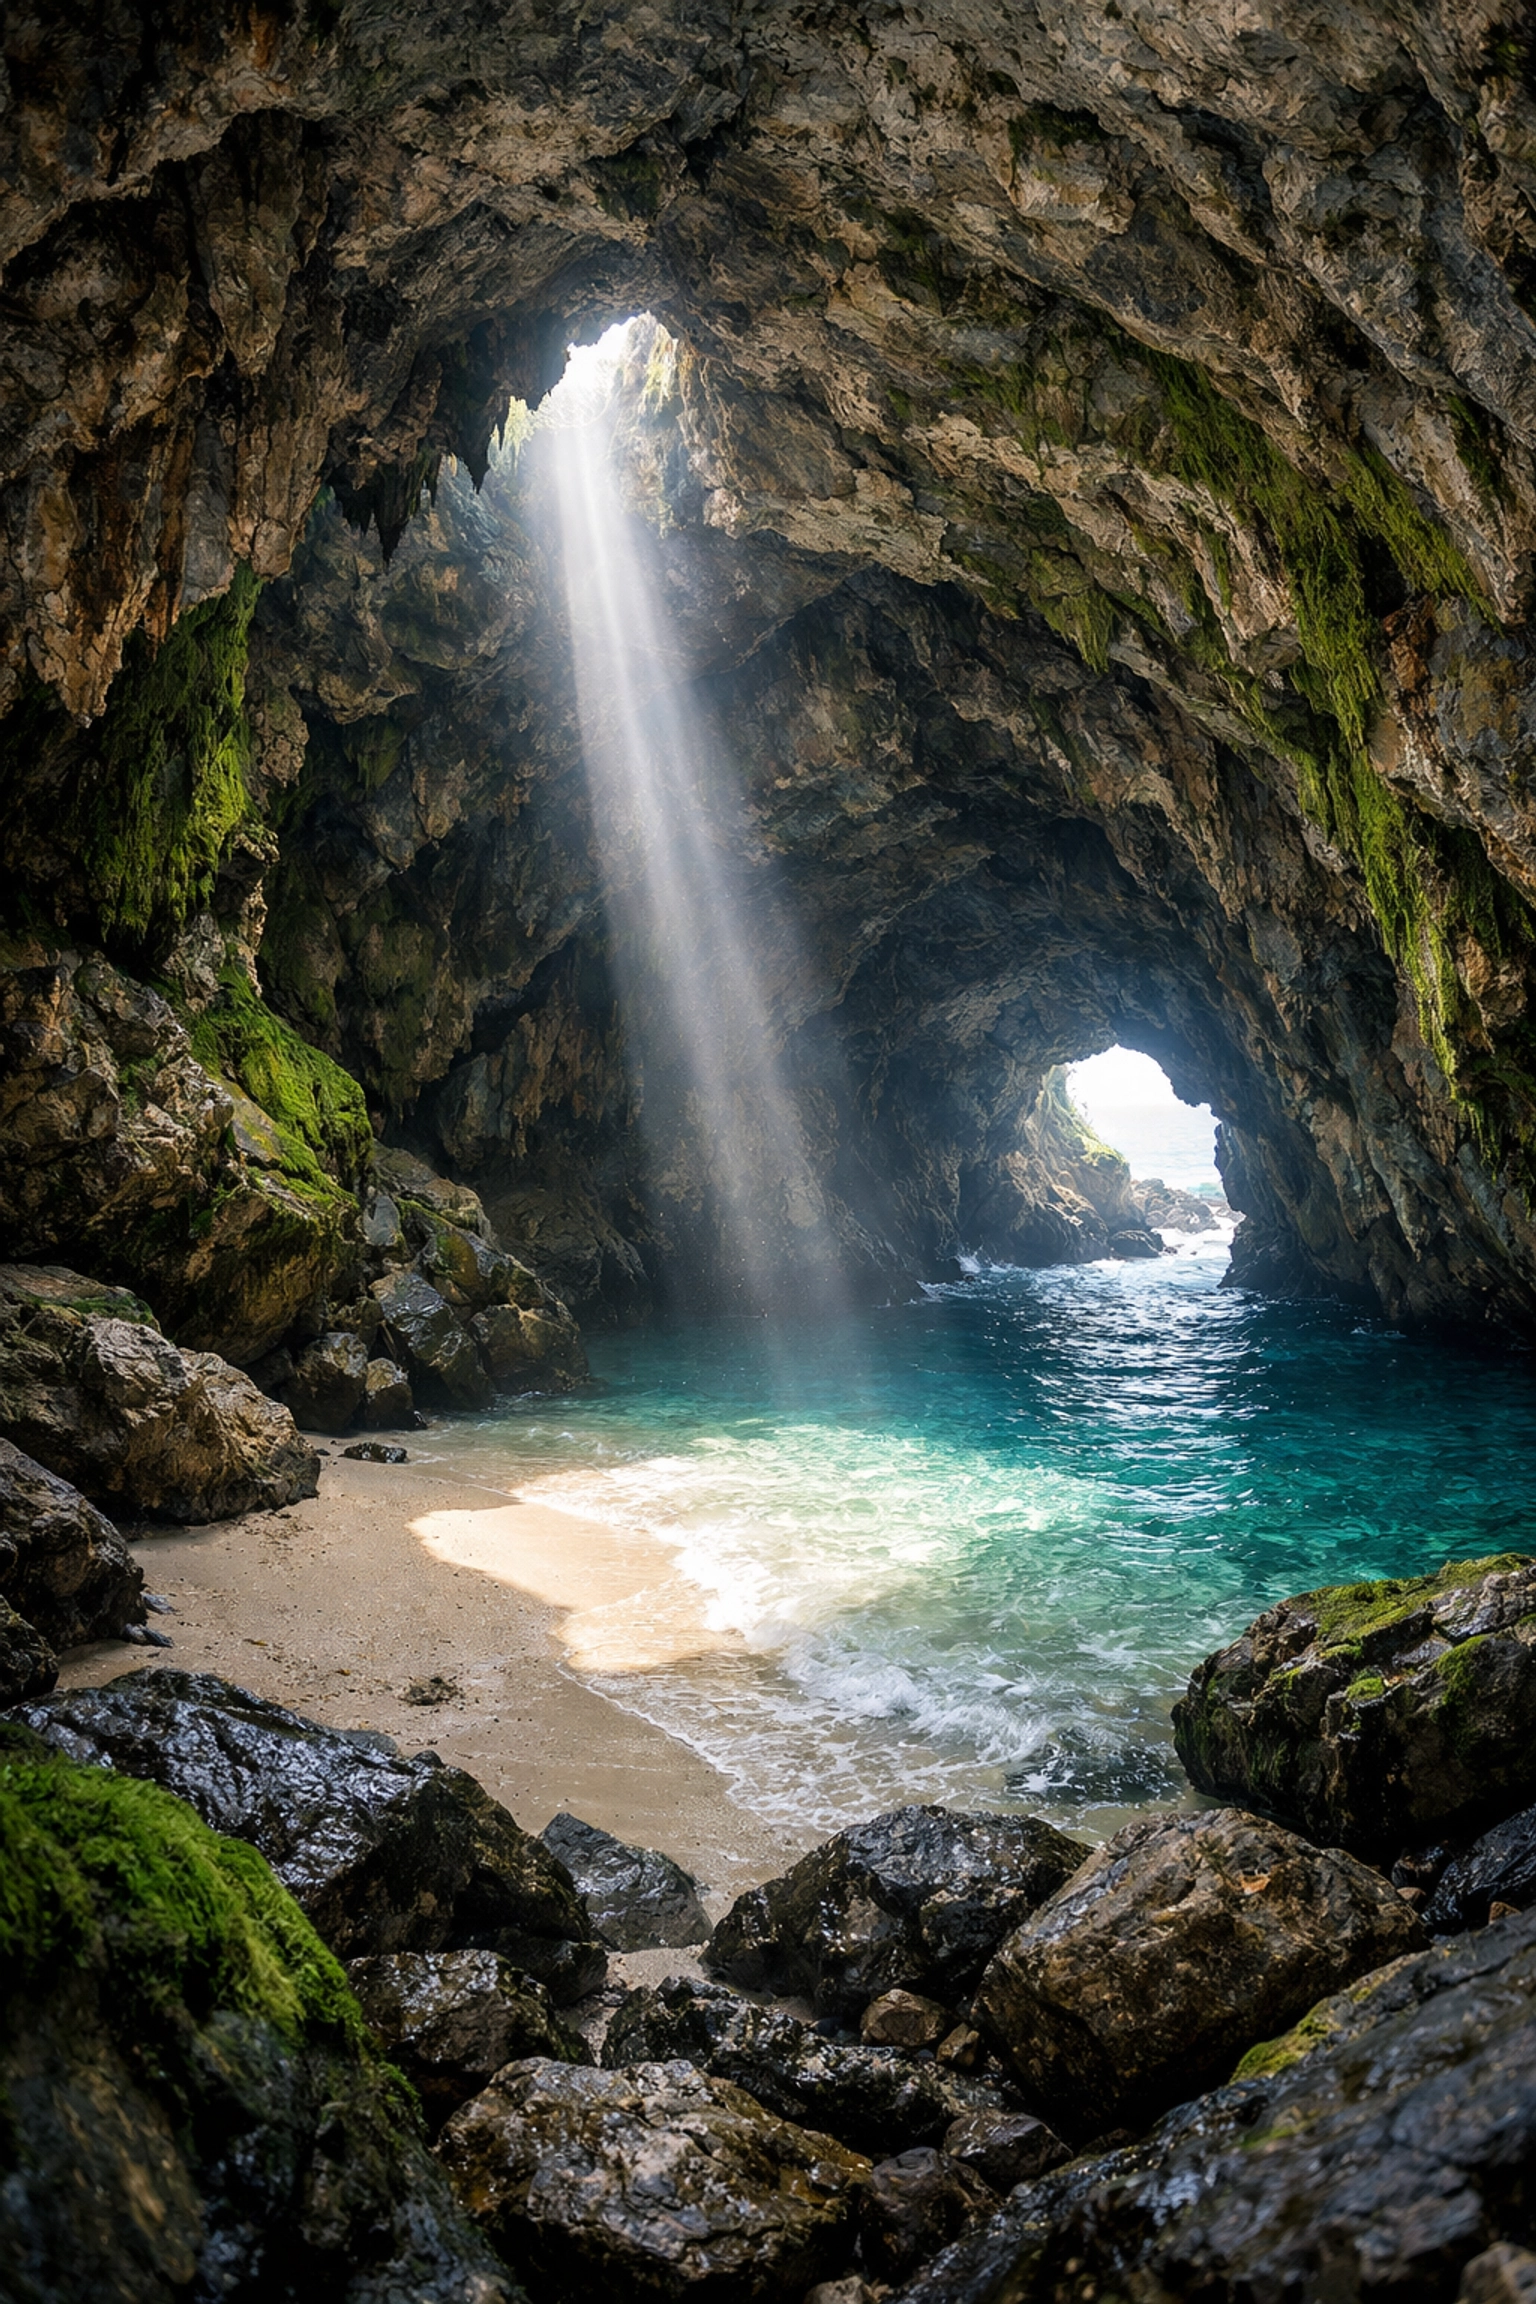
Landscape Photography: More Than Just "Point and Shoot"
We’ve all been there. You stand in front of a majestic mountain range, take a photo, and… it looks flat. Boring. Small.
Landscape photography is about translating the feeling of being there onto a flat 2D image. To succeed, you need to understand composition. Use leading lines, like a path or a river, to pull the viewer's eye into the frame. Don't forget the Rule of Thirds, but don't be afraid to break it if a centered shot feels more powerful.
If you’re serious about leveling up your outdoor game, you have to read The Ultimate Guide to Landscape Photography Tips. It covers the gear and the grit you need to actually bring home the shots you see in magazines.
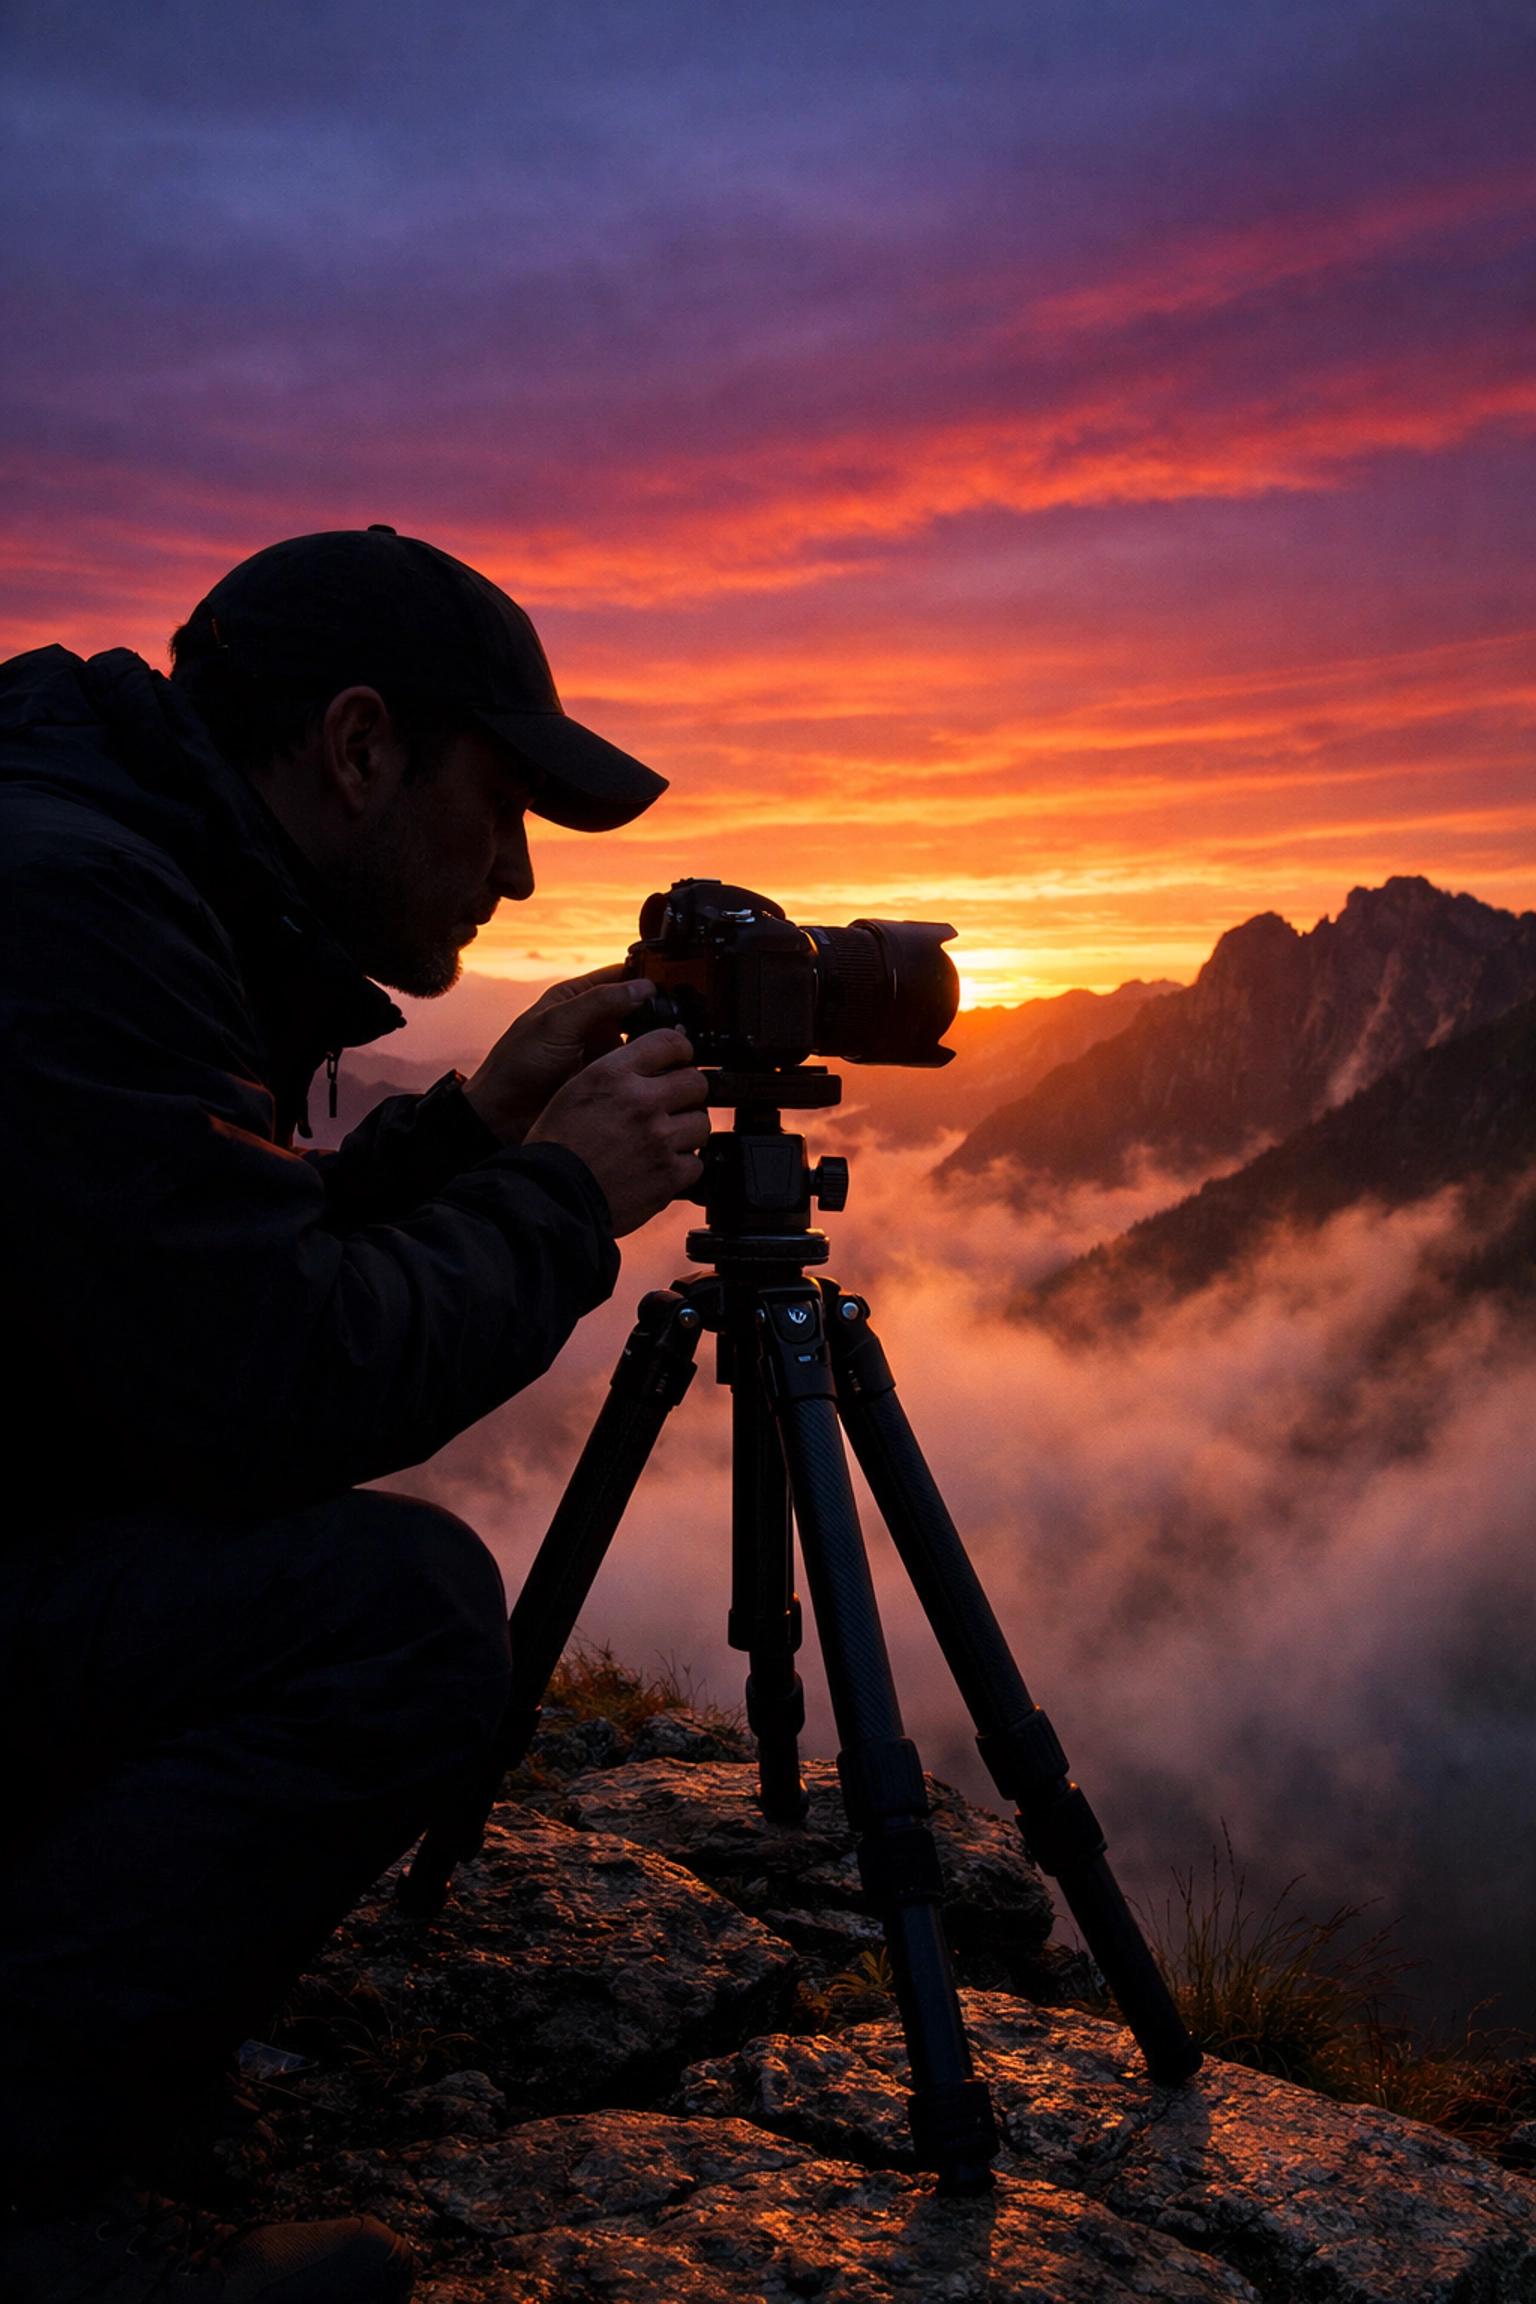
Pro tip: The best light isn't at noon. It’s during the Golden Hour (just after sunrise or just before sunset). If you want to find some truly epic spots to practice, take a look at these top spots for majestic sunset photography.
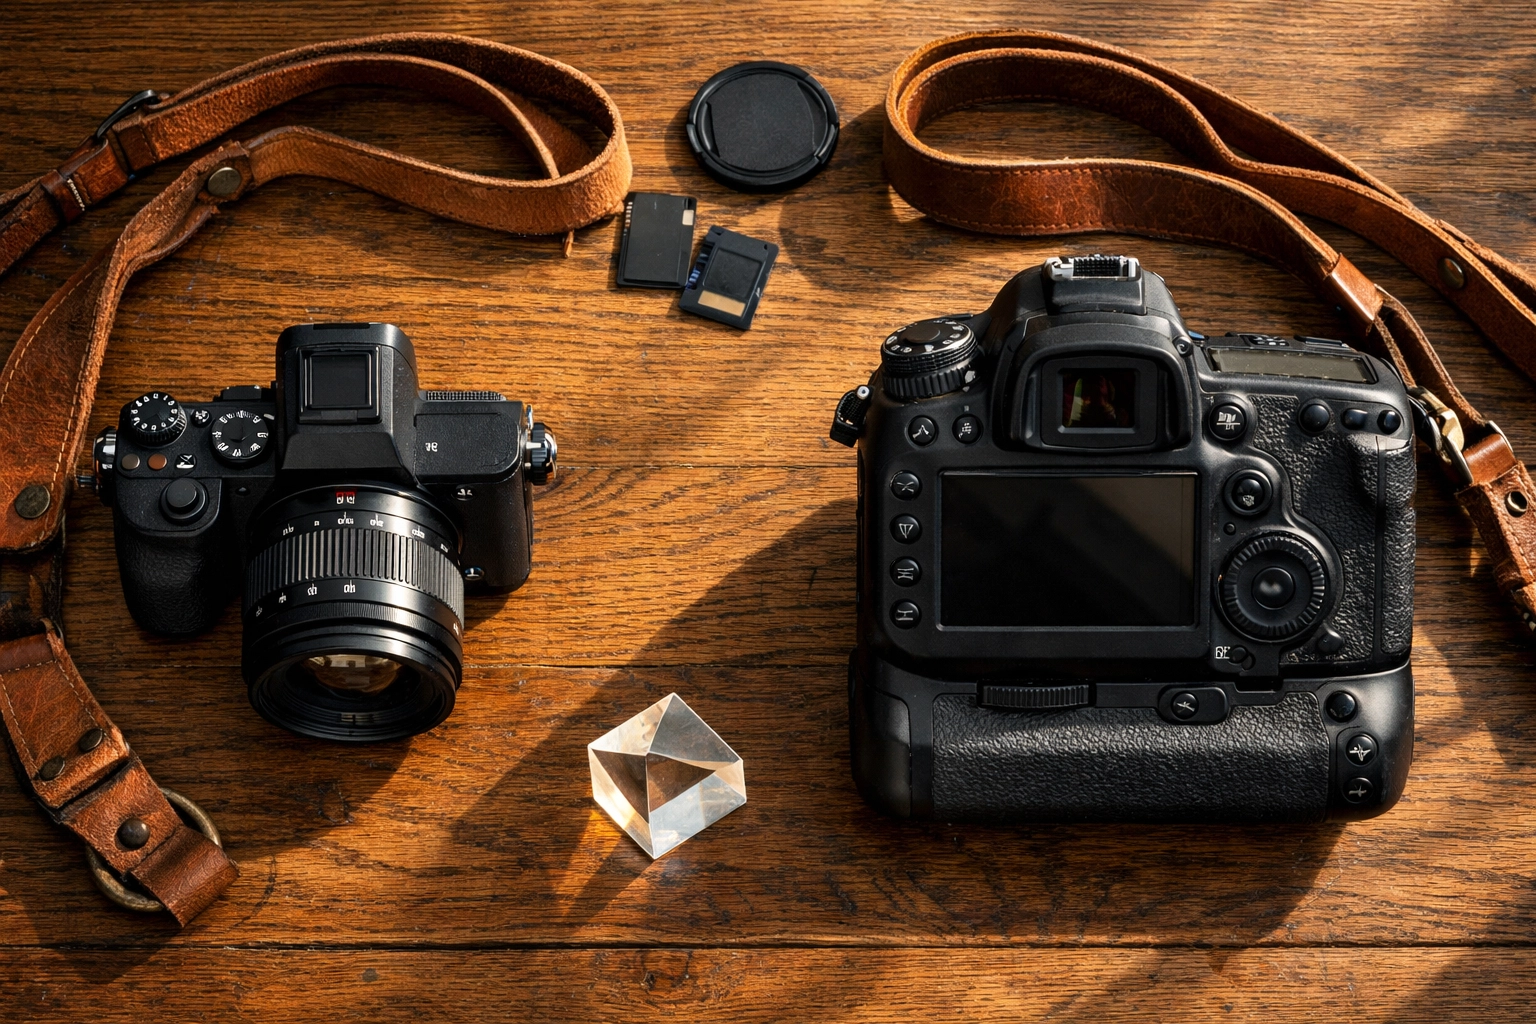
Camera Comparisons: Mirrorless vs. DSLR vs. Your Phone
"What camera should I buy?" is the question that haunts every pro's DMs.
The honest truth? The best camera is the one you actually carry. But if you’re looking to upgrade, the debate usually lands on Mirrorless vs. DSLR.
- DSLRs: These are the old-school tanks. They have incredible battery life and a massive selection of used lenses. They use a literal mirror to show you the image.
- Mirrorless: This is the future. They are generally smaller, lighter, and the autofocus systems are bordering on witchcraft. Because there’s no mirror, what you see in the electronic viewfinder is exactly how your exposure will look.
If you’re stuck on which brand or model to pick, head over to PhotoGuides.org for some deep dives into specific specs. For those looking for professional-grade gear reviews and industry standards, www.proshoot.io is a goldmine of information.
The AI Revolution: Editing in 2026
Editing used to mean sitting in a dark room with chemicals. Then it meant sitting in a dark room with a computer for six hours. Now? AI is doing the heavy lifting.
We aren't talking about "fake" photography. We’re talking about tools that remove the tedious work so you can focus on the art. Tools like Luminar have completely changed the game. With AI-driven sky replacement, skin retouching, and light manipulation, you can achieve in three clicks what used to take three hours.
AI can help you:
- Enhance Details: Sharpen images without adding ugly artifacts.
- Relight Scenes: Fix that awkward shadow on a face without masking for twenty minutes.
- Object Removal: Get rid of that annoying tourist in the background of your perfect beach shot.
For those who want to see how high-end editing is handled in a professional studio environment, you can check out the work over at www.edinstudios.com. Seeing the "after" shots there will give you a good idea of what’s possible with the right tools.
Getting Creative: Beyond the Basics
Once you know the rules, it’s time to break them. Photography shouldn't just be about documenting reality; it should be about your perspective.
One way to add a unique "feel" to your work is by using rare textures for tangible aesthetic photography. Instead of a clean, digital look, textures can add a sense of history and grit to your images.
If you’re feeling uninspired by your local park, maybe it’s time for a road trip. Seeking out hidden gem locations for travel photography can spark that creative fire again. There is something about being in a new environment that forces your brain to see shapes and light differently.
Finding Your Voice and Your Vibe
Photography is a crowded space. Everyone has a high-quality camera in their pocket. To stand out, you need a "vibe." This comes from your choice of subjects and how you process them.
Are you drawn to the grit of the city? Check out how to unlock secrets to enchanting urban photography. Do you prefer the quiet, moody atmosphere of a foggy morning? Explore lesser-known vistas for enigmatic photos.
Your voice as a photographer is developed through volume. Take a lot of photos. Most of them will be bad. That’s okay. Even the pros only show you the top 1% of their work. If you want to see what a curated, high-end portfolio looks like, browse through www.edinfineart.com to see how consistency in style creates a powerful brand.
Putting it All Together: The Workflow
So, you’ve got the gear, you’ve found the location, and you’ve mastered manual mode. What now?
A solid workflow looks like this:
- Plan: Check the weather and the sun's position. Use apps to find those secluded paradises.
- Shoot: Get it right in the camera. Manual mode is your friend here. Use the best camera settings for stunning water landscapes if you're by the coast.
- Cull: Don’t keep 500 photos of the same thing. Pick the best three.
- Edit: Use Luminar to enhance the mood you felt when you were standing there.
- Share: Get your work out there.
Why You Should Keep Going
Photography is a journey with no finish line. There is always a new technique to learn, a new piece of gear to try, or a new location to discover. Whether you are capturing picturesque coastal escapes or just shooting your cat in the living room, the act of seeing the world through a lens changes you. It makes you more observant. It makes you appreciate light in a way most people don’t.
If you’re looking for more inspiration or want to stay updated on the latest industry news, don’t forget to visit blog.edinchavez.com. We’re constantly sharing new insights to help you stay ahead of the curve.
Now, enough reading. The sun is starting to get low, or maybe it’s just rising where you are. Either way, the light is changing. Grab your camera, switch it to Manual, and go find something beautiful to shoot.
For more technical guides and deep dives into the gear that makes these shots possible, keep an eye on our essential water photography gear guide. It’s not just about having the most expensive stuff; it’s about having the right stuff for the job.
And hey, if you find a "hidden gem" location, maybe keep it to yourself for a little while: at least until you’ve got the shot. Just kidding (mostly). Share the love, tag us, and let’s keep building this community together.
To keep things moving, I'll be checking in with Sonny, our Social Media Manager, to see what you guys are digging the most on Instagram and TikTok. We want to make sure the tutorials we write here are exactly what you need to solve your current photography headaches. See you out there in the field!


