
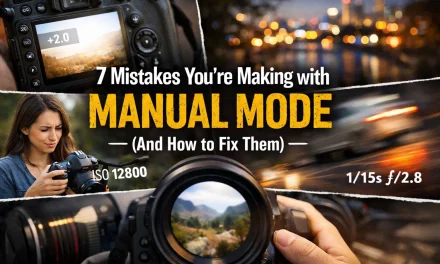
Let’s be real for a second. That little green "A" on your camera dial is a security blanket. It’s comfortable, it’s safe, and it’s also the biggest thing holding you back from taking photos that actually make people stop scrolling.
If you’ve ever looked at a stunning portrait with a creamy, blurred background or a landscape shot where everything from the foreground to the mountains is tack-sharp and wondered, "Why doesn't my camera do that?" the answer is simple: you’re letting the camera make the decisions.
Moving to manual mode isn't about being a "purist" or looking cool at a meetup. It’s about control. It’s about telling the camera exactly what you want the final image to look like instead of letting a computer chip guess what you’re seeing.
In this guide, we’re going to break down the five simple steps to mastering manual mode. No math degrees required, just a bit of practice and a willingness to make some mistakes along the way.
Why Auto Mode is Holding You Back
When your camera is in Auto, it’s trying to do one thing: make the image "neutral." It wants to make sure nothing is too bright and nothing is too dark. The problem? Neutral is boring.
Auto mode doesn’t know that you’re trying to capture the motion blur of a waterfall or the twinkle in someone’s eye while keeping the background soft. It just sees light and tries to balance it. By learning manual mode, you unlock the creative potential of your gear. Whether you're using one of the best vlogging cameras or a high-end DSLR, the principles remain the same.
The Core Concept: The Exposure Triangle
Before we dive into the steps, you need to understand the three pillars of photography: Aperture, Shutter Speed, and ISO. Think of these as a three-legged stool. If you move one, you have to adjust the others to keep the stool level.
- Aperture: How wide the lens opens (controls depth of field).
- Shutter Speed: How long the sensor is exposed to light (controls motion).
- ISO: How sensitive the sensor is to light (controls digital noise).
Mastering these is the secret sauce. If you want more in-depth advice, check out our top photography tips. Now, let's get into the steps.
Step 1: Start with Aperture Priority or Shutter Priority Mode
Jumping straight into full Manual (M) can feel like being thrown into the deep end of a pool when you’ve only ever used floaties. That’s why we start with "semi-auto" modes.
Aperture Priority (A or Av): You choose the aperture, and the camera handles the shutter speed. This is perfect for portraits where you want a blurry background or landscapes where you want everything sharp.
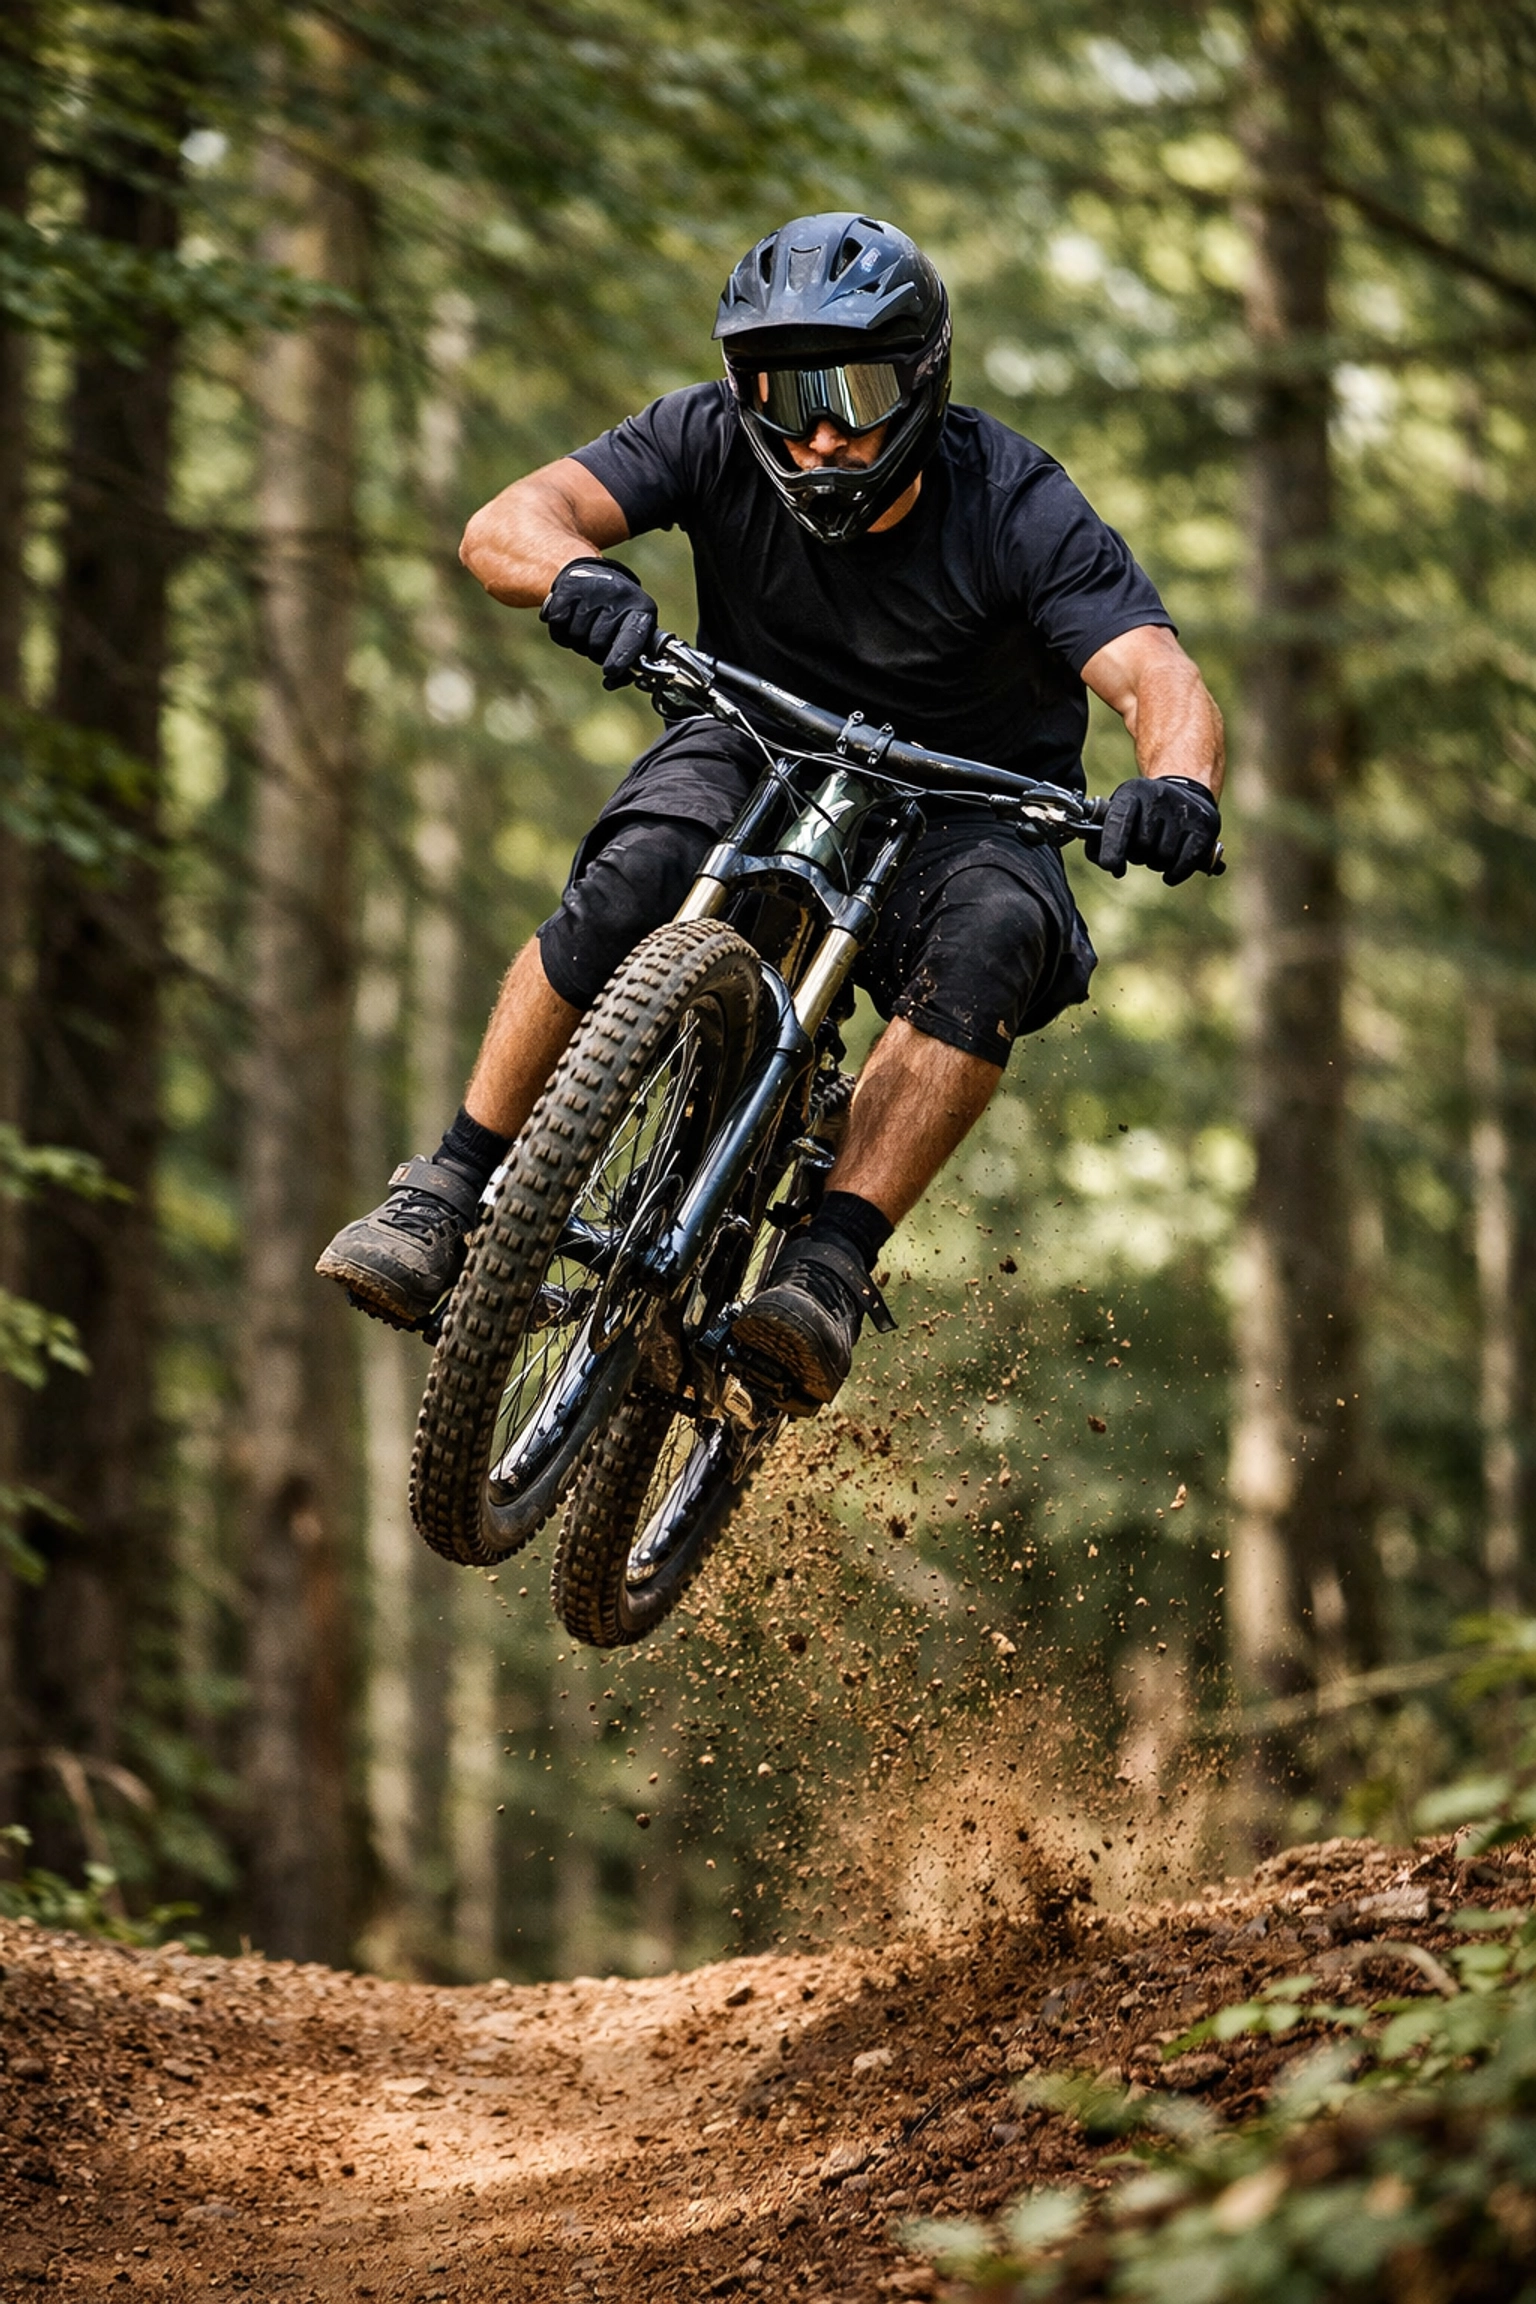
Shutter Priority (S or Tv): You choose the shutter speed, and the camera handles the aperture. Use this when you’re shooting sports or moving cars.
Spend a day shooting only in Aperture Priority. Watch how the camera changes the shutter speed as you move from a dark room to a sunny street. This builds the mental muscle memory you’ll need for the next steps. It’s a great way to learn how to succeed in landscape photography without getting overwhelmed by all the buttons at once.
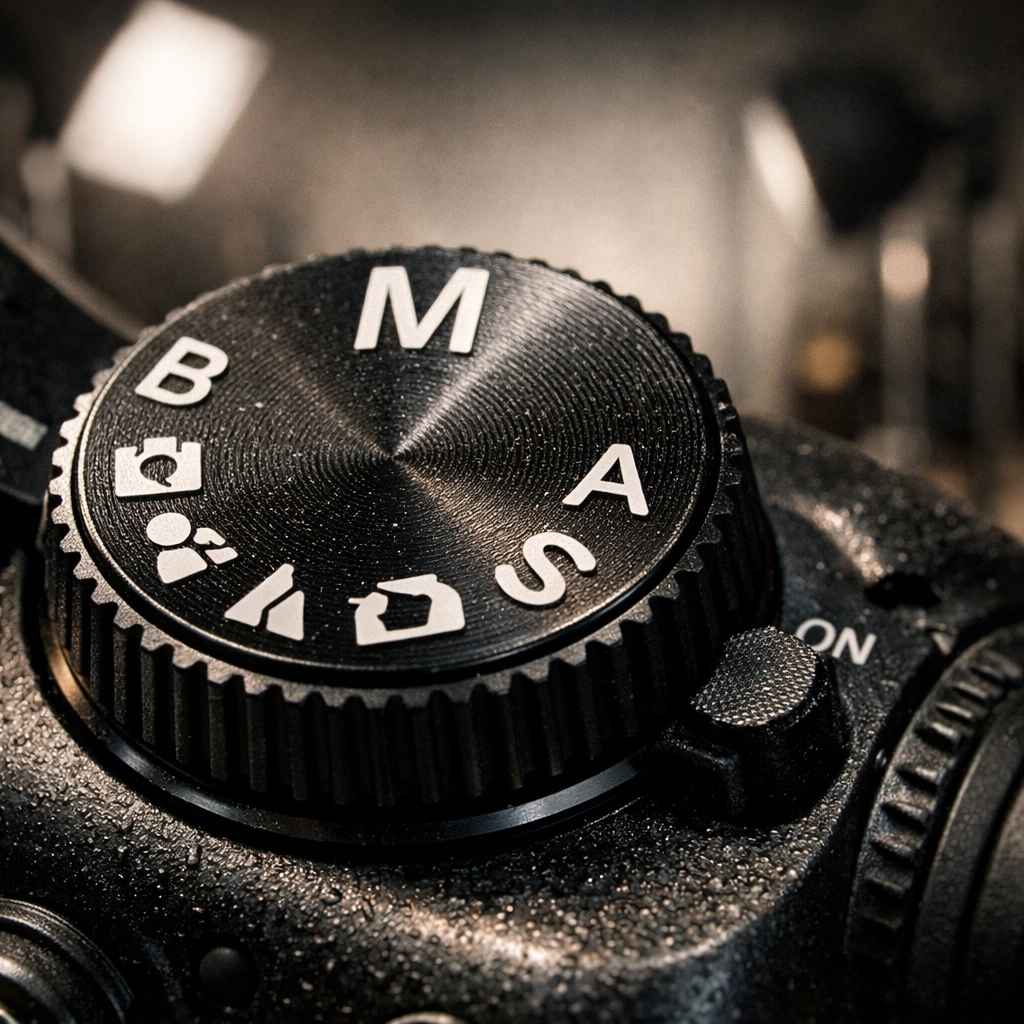
Step 2: Switch Your Camera to Manual Mode
Alright, take a deep breath. Rotate that dial to the "M."
When you first switch over, your screen might go black, or it might look like a white explosion. Don’t panic. This is where the fun begins. In manual mode, you are the boss. The camera will no longer "fix" your mistakes. If you set the shutter speed too high in a dark room, your photo will be black.
The goal here is to get comfortable with the dials on your specific camera body. Most cameras have one dial for shutter speed and a secondary dial (or a button-plus-dial combo) for aperture. If you're unsure where yours are, check out some camera comparison insights to see how different brands layout their controls.
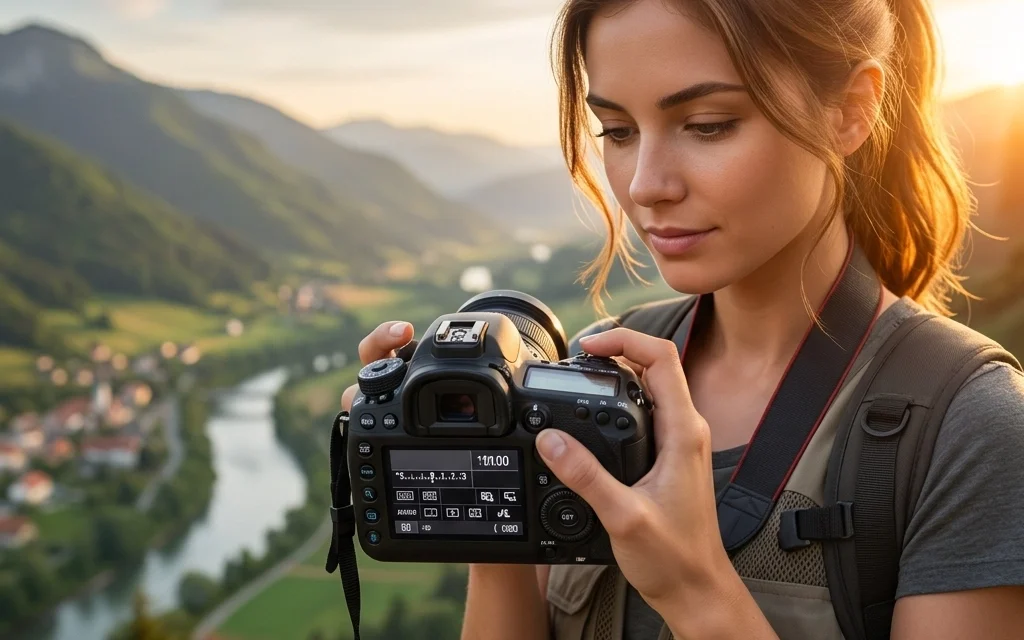
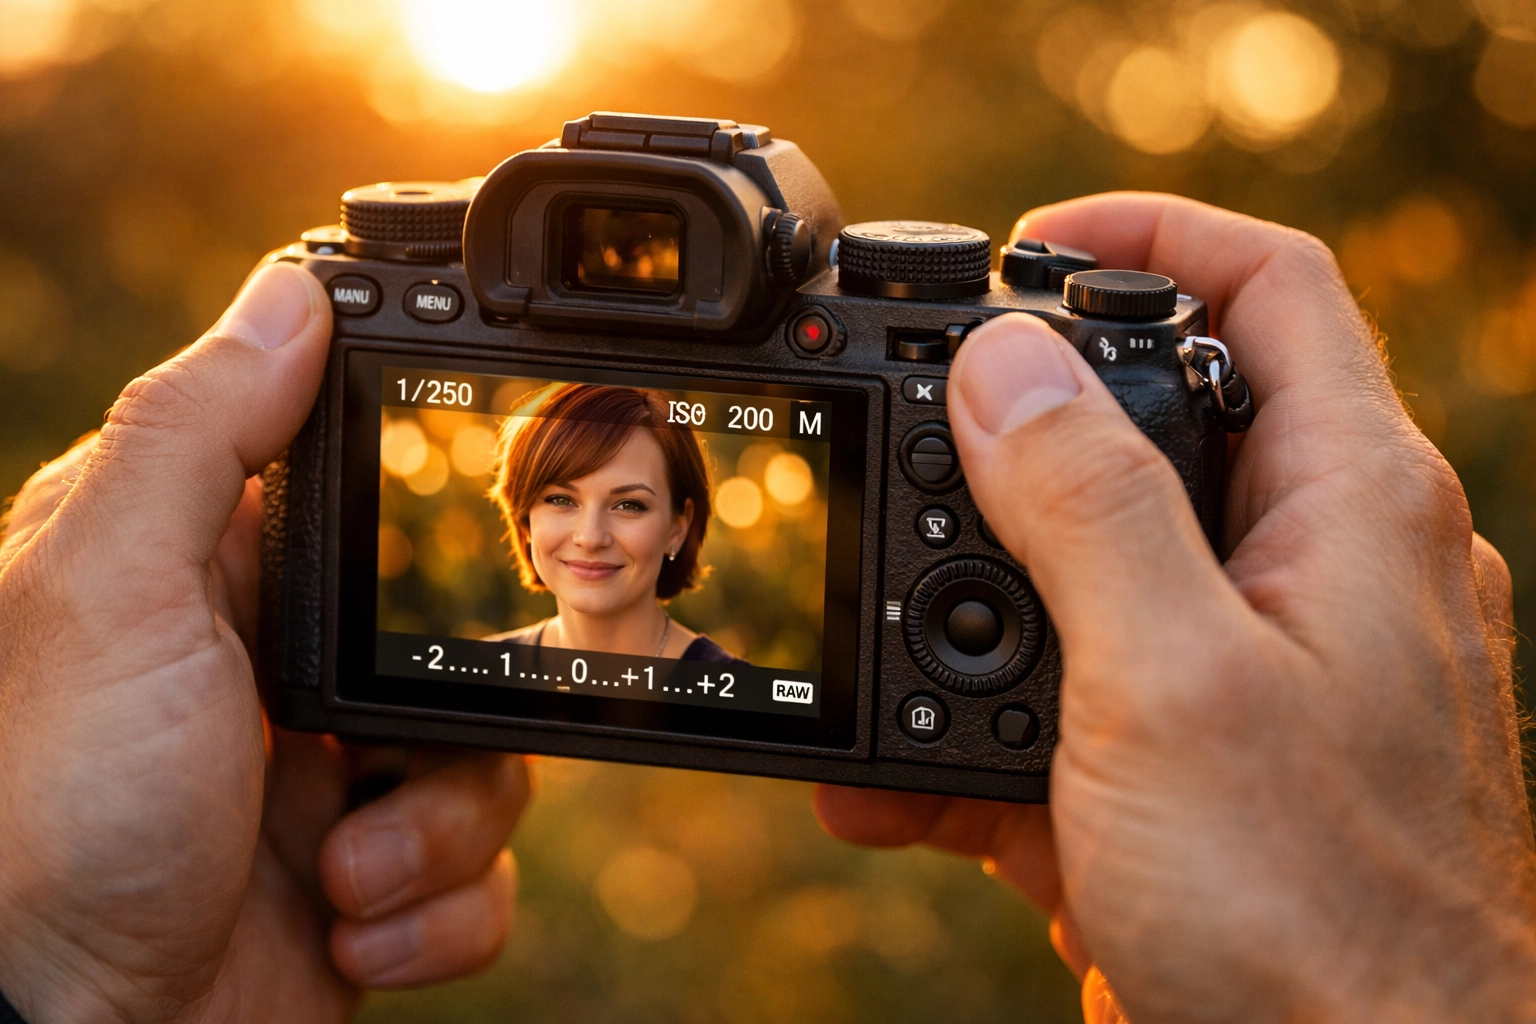
Step 3: Set Your Metering Method and White Balance
In manual mode, you need to know how the camera is "seeing" light. This is called Metering.
For most beginners, Matrix Metering (or Evaluative Metering) is the way to go. It looks at the entire scene and tells you the average light level. Look inside your viewfinder or at your screen; you’ll see a little bar with a "0" in the middle and "-" and "+" on the sides. That is your light meter. Your goal is usually to get that little ticker to land near the "0."
While you’re at it, set your White Balance. Auto White Balance (AWB) is actually pretty good these days, but if you’re shooting under weird yellow streetlights or in the shade, your colors might look "off." Setting it manually (e.g., "Daylight" or "Cloudy") ensures consistency across your shots. Consistency is key, especially if you plan to edit later in a program like Luminar.
Step 4: Choose Your Aperture Based on Your Creative Goal
This is the most important creative decision you’ll make. Ask yourself: "What do I want the focus to look like?"
- Low f-number (f/1.8, f/2.8): This opens the lens wide. It lets in a ton of light and gives you that beautiful "bokeh" (background blur). This is the "professional" look most people want for portraits or detail shots.
- High f-number (f/8, f/11, f/16): This narrows the lens opening. It lets in less light but keeps the entire scene in focus. If you're out mastering canyon and gorge photography, you'll likely be up in the f/11 range.
Start by setting your aperture first. It dictates the "vibe" of the photo. Once you’ve set your f-stop, you can move on to the "boring" technical stuff to balance the light.
Step 5: Set Shutter Speed and ISO to Balance Exposure
Now that your aperture is set for the look you want, you need to balance the light using the other two legs of the stool.
Shutter Speed
If you’re hand-holding your camera, try not to let your shutter speed drop below 1/60th of a second, or your natural hand tremors will cause "camera shake" (blurry photos). If you’re shooting a fast-moving subject like a dog or a kid, you’ll want 1/500th or higher.
As you click your shutter speed dial, watch that light meter we talked about in Step 3. If it’s moving toward the "-" (negative), you need a slower shutter speed. If it’s moving toward the "+" (positive), you need a faster shutter speed.
ISO
ISO is your last resort. Keep it as low as possible (ISO 100 or 200) to keep your images clean. If you’ve slowed your shutter speed as much as you can and opened your aperture as wide as you can, and the image is still too dark, start bumping up the ISO.
Just remember: higher ISO = more "grain" or "noise." It’s like turning up the volume on a cheap radio; eventually, you start hearing static.
Putting It All Together: A Real-World Example
Let’s say you’re outside at sunset trying to take a photo of a friend.
- Aperture: You want that blurry background, so you set your lens to f/2.8.
- ISO: It’s getting a little dark, so you set your ISO to 400.
- Shutter Speed: You look at your meter. It’s way over on the "+" side because it’s still fairly bright out. You spin the shutter dial until the meter hits "0." It turns out to be 1/1000th of a second.
- The Result: You take the shot. It’s perfect.
Now, imagine a cloud moves over the sun. Your light meter suddenly drops to -2. What do you do? You have two choices: slow down your shutter speed or raise your ISO. Since 1/1000th is very fast, you can safely drop it to 1/250th to let in more light without causing blur.
This constant "balancing act" is what photography is all about. For more technical deep dives, I always recommend checking out resources like PhotoGuides.org.
Practice Makes… Well, Better Photos
Don’t expect to be an expert by tomorrow. Manual mode is a language, and you’re currently learning how to say "hello" and "where is the bathroom."
A great way to practice is to go into a room with consistent lighting and try to take the same photo using three different combinations of settings that all result in a "0" on the light meter.
- Shot 1: Wide aperture, fast shutter, low ISO.
- Shot 2: Small aperture, slow shutter, low ISO (use a tripod!).
- Shot 3: Mid aperture, mid shutter, high ISO.
When you look at them on your computer, you’ll see how each setting affects the texture and depth of the image. While you're at it, make sure your gear is in top shape by following a camera maintenance guide.
The Role of Post-Processing
Even the pros don't get it 100% perfect in-camera every time. Sometimes the sky is just a bit too bright, or the shadows are a bit too deep. That’s where editing comes in. Using a tool like Luminar can help you recover those details that the sensor captured but the screen isn't showing yet.
However, editing is a tool to enhance a good photo, not to save a bad one. Manual mode ensures you have the best possible "digital negative" to work with.
Troubleshooting Common Issues
"My photos are always blurry!"
Check your shutter speed. If it’s lower than 1/60, you probably need a tripod or more light. Also, check your focus points. Manual mode controls exposure, but you still need to make sure your autofocus is locked onto the right spot.
"My photos are too grainy!"
Your ISO is likely too high. Try opening your aperture or slowing your shutter speed to allow more natural light in so you can lower the ISO.
"I keep missing the moment because I'm fiddling with dials!"
This is the "Manual Mode Wall." Every beginner hits it. The only way over it is practice. Eventually, you won't even think about the dials; your fingers will move them instinctively as the light changes. If you want to see how the pros handle high-pressure environments, check out Edin Studios or ProShoot.io for some professional inspiration.
Final Thoughts
Mastering manual mode is the single biggest "level up" you can achieve in your photography journey. It takes you from being a spectator to being the director.
Start slow. Use the semi-auto modes. Learn your light meter. And most importantly, don't be afraid to take some terrible photos. Every overexposed or blurry shot is just a lesson in how the triangle works.
If you want to see some examples of what full manual control can achieve in the world of fine art, head over to Edin Fine Art or read more personal stories on Edin’s blog.
Now, get out there, turn that dial to M, and shut your aperture!

