
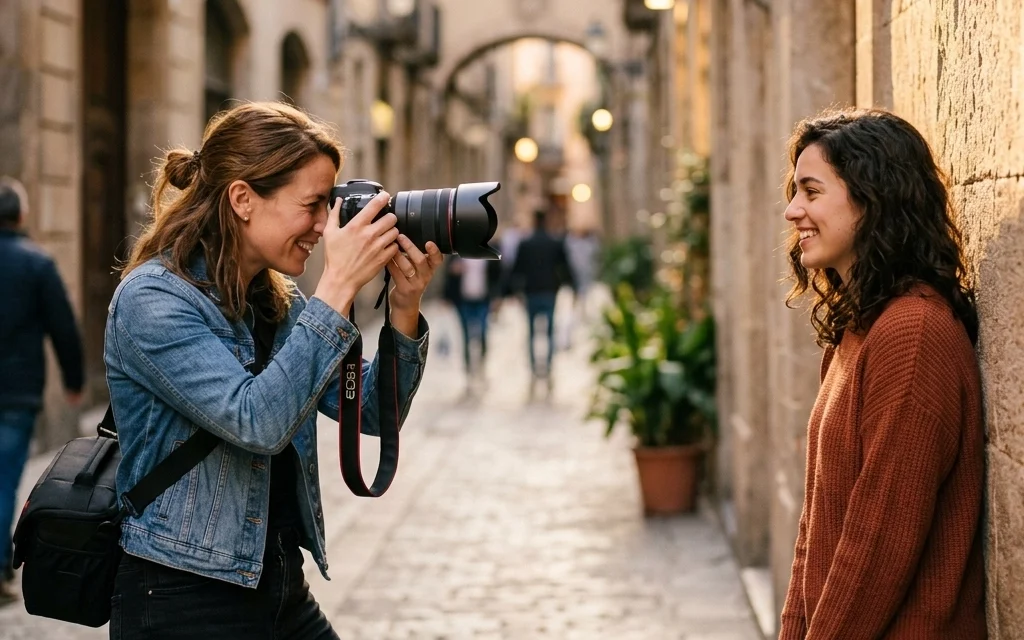
Let’s be honest: taking a photo of a person is easy, but creating a portrait is an entirely different beast. We’ve all been there: you have a beautiful subject, a professional-grade camera, and a stunning location, yet the final image feels flat. It’s missing that "spark."
At Shut Your Aperture, we believe that great portraiture isn't about having the most expensive gear (though a nice mirrorless camera certainly helps). It’s about the connection between the person behind the lens and the person in front of it. It’s about understanding how light wraps around a face and how a slight tilt of the chin can change the entire mood of a story.
In this guide, we’re going deep. We’re talking settings, lighting, gear, posing, and the subtle art of making people feel comfortable when they’re staring into a glass eye. Whether you’re a hobbyist or looking to go pro, this is everything you need to level up your portrait game in 2026.
1. Choosing the Right Gear: It’s Not Just About the Megapixels
While the "best camera is the one you have with you," some tools just make the job easier. In 2026, the industry has fully pivoted, and there’s a reason why everyone is talking about mirrorless cameras. Features like Eye-Autofocus (Eye-AF) have revolutionized portraiture, allowing you to focus on your subject’s expression rather than hunting for a focus point.
The Magic Focal Lengths
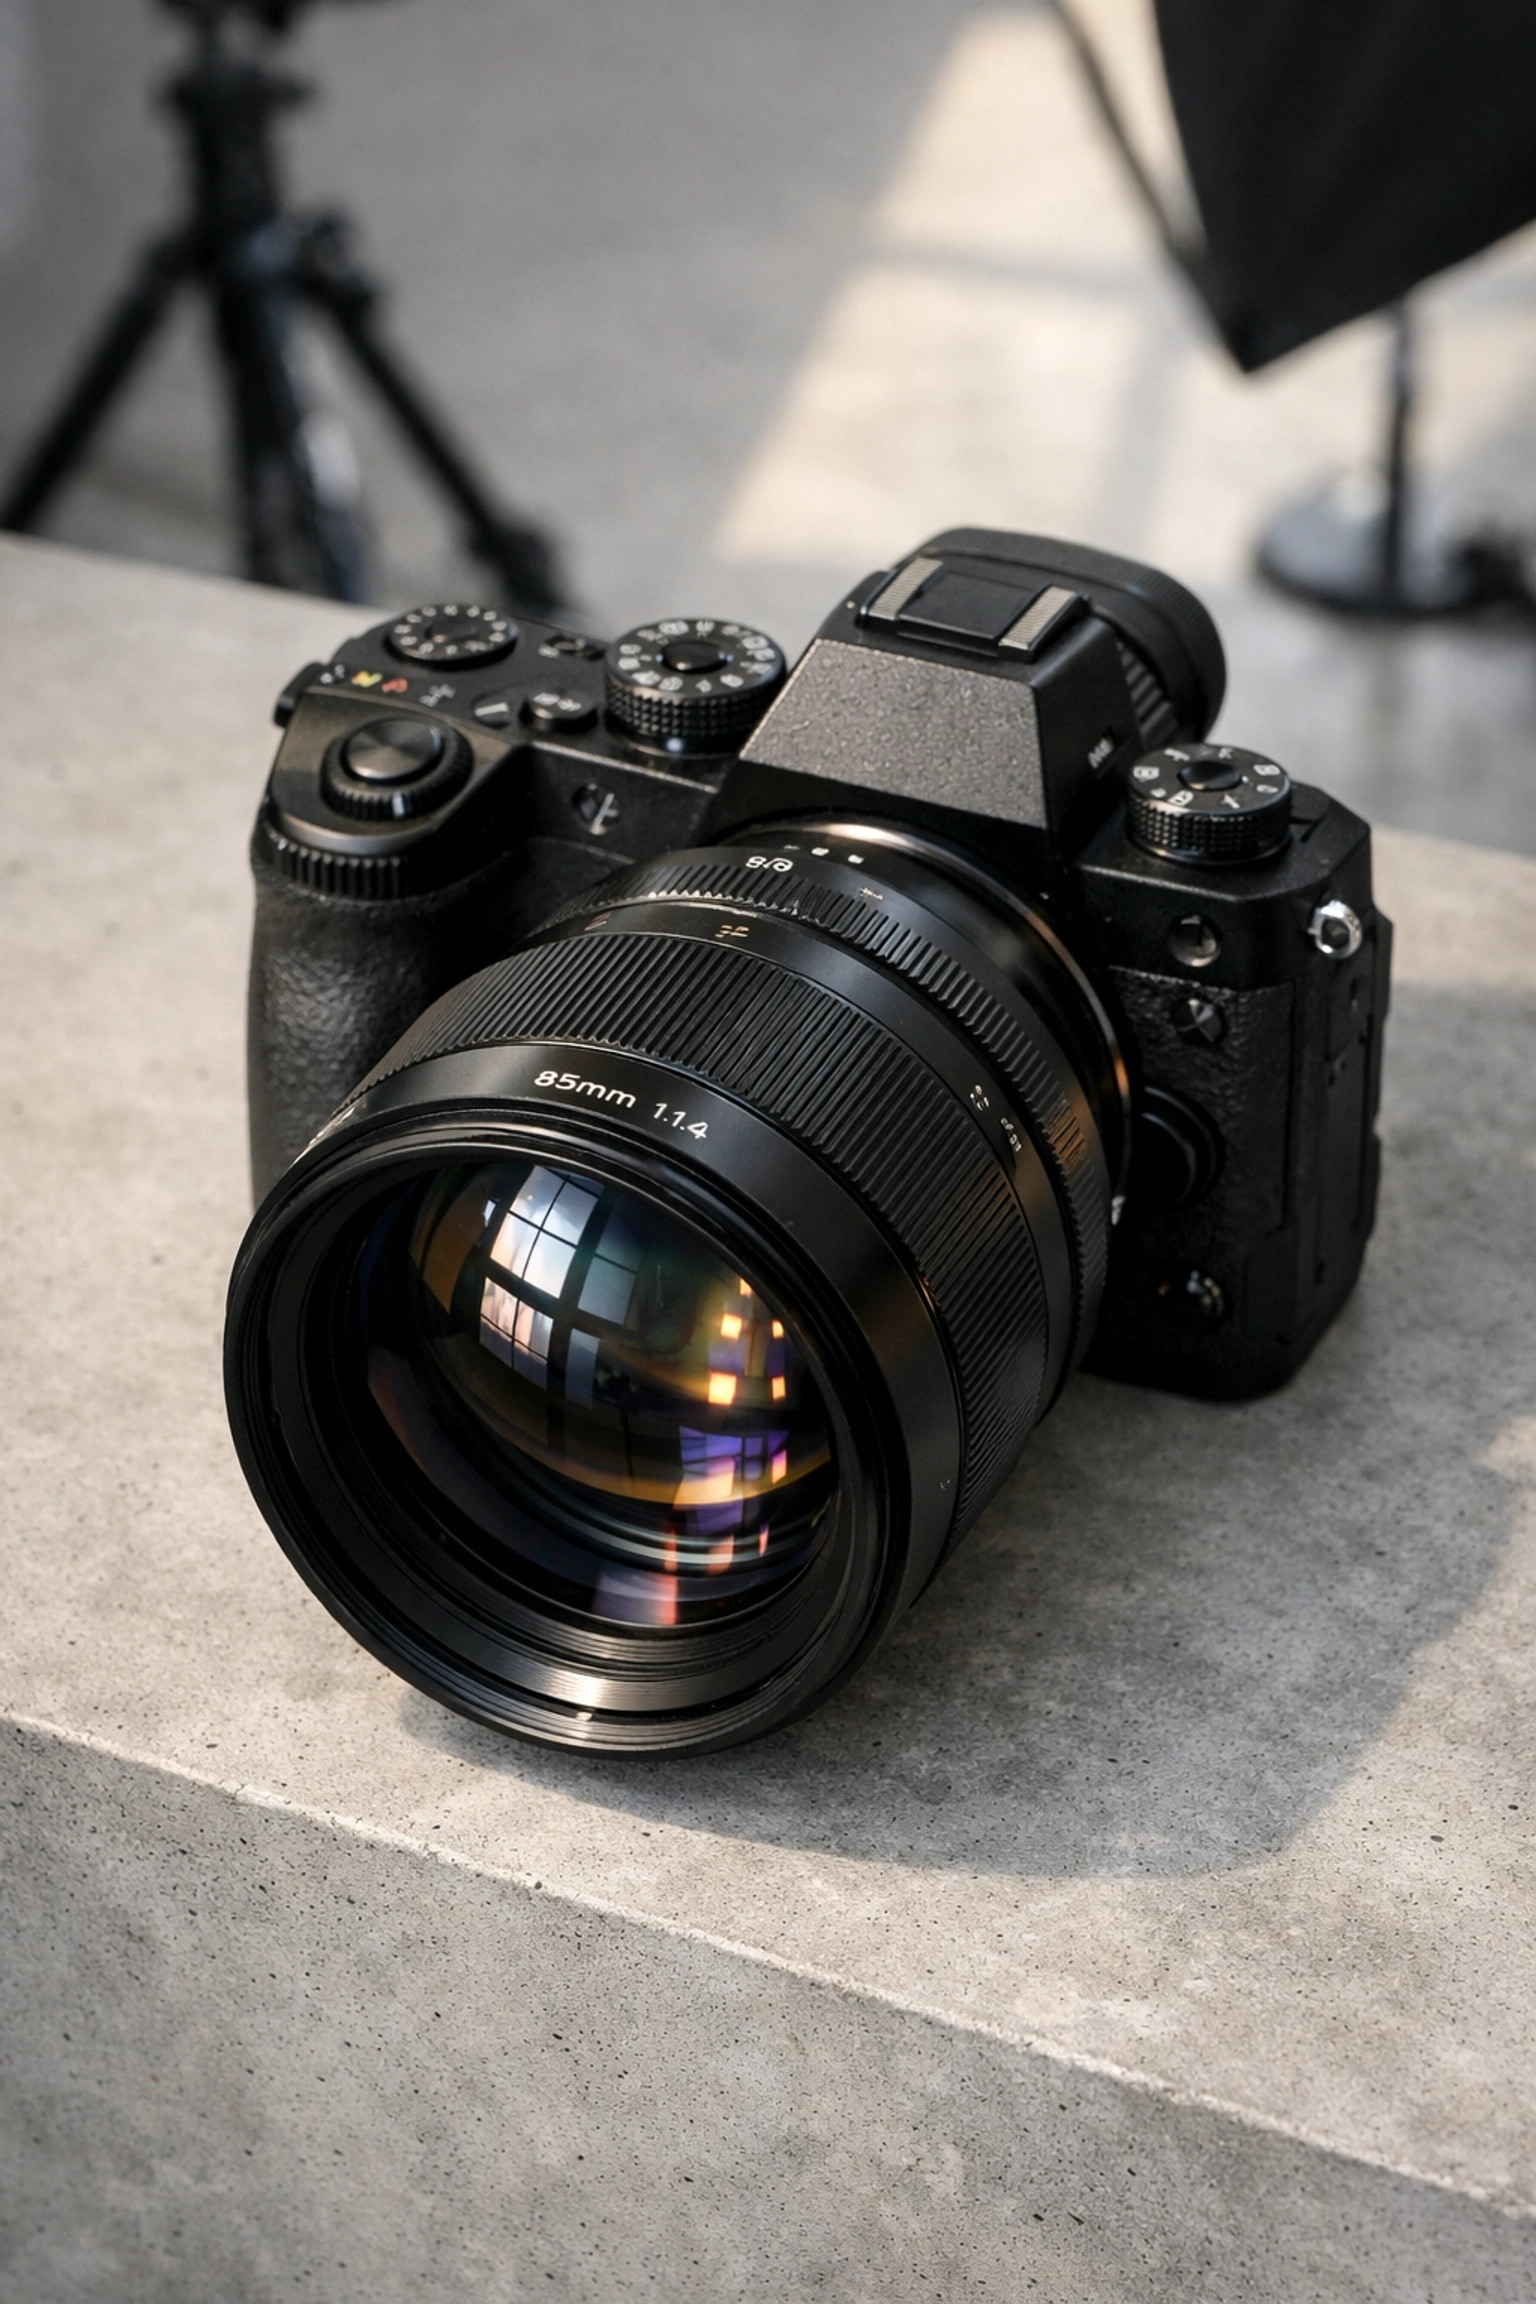
If you want that professional "look," you need to pick the right lens.
- 85mm: The undisputed king of portraits. It offers a beautiful compression that makes facial features look flattering and creates a creamy background blur (bokeh).
- 50mm: The "Nifty Fifty." It’s versatile, affordable, and mimics the human eye’s field of view.
- 35mm: Great for environmental portraits where you want to show the subject in their workspace or a scenic location.
If you’re still trying to decide on your primary body, check out our guide on how to choose the best mirrorless camera in 2026 to see which brands are leading the pack in sensor tech.
2. Mastering Your Camera Settings
You can’t stay in "Auto" mode forever. To get those blurry backgrounds and sharp eyes, you need to take control. If you’re feeling a bit shaky on the basics, don’t sweat it: we have a breakdown on photography for beginners and how to use manual mode that will get you up to speed.
Aperture (The Bokeh Factor)
For portraits, you generally want a wide aperture (a low f-number). Shooting at f/1.8 or f/2.8 isolates your subject from the background. This "shallow depth of field" draws the viewer’s eye exactly where you want it: the subject’s eyes.
ISO and Shutter Speed
Keep your ISO as low as possible (usually 100 or 200) to avoid "noise" or grain. For shutter speed, a good rule of thumb is to keep it at least double your focal length. If you’re shooting with an 85mm lens, don’t go below 1/160th of a second to avoid camera shake.
3. Lighting: The Secret Sauce
Lighting is the difference between a snapshot and a masterpiece. You don’t need a $10,000 studio setup to get great results; you just need to understand how light behaves.
The Power of Soft Light
Hard light (like the sun at noon) creates harsh shadows and makes people squint. Soft light is your best friend.
- Window Light: If you’re indoors, place your subject near a large window. It’s essentially a giant, free softbox.
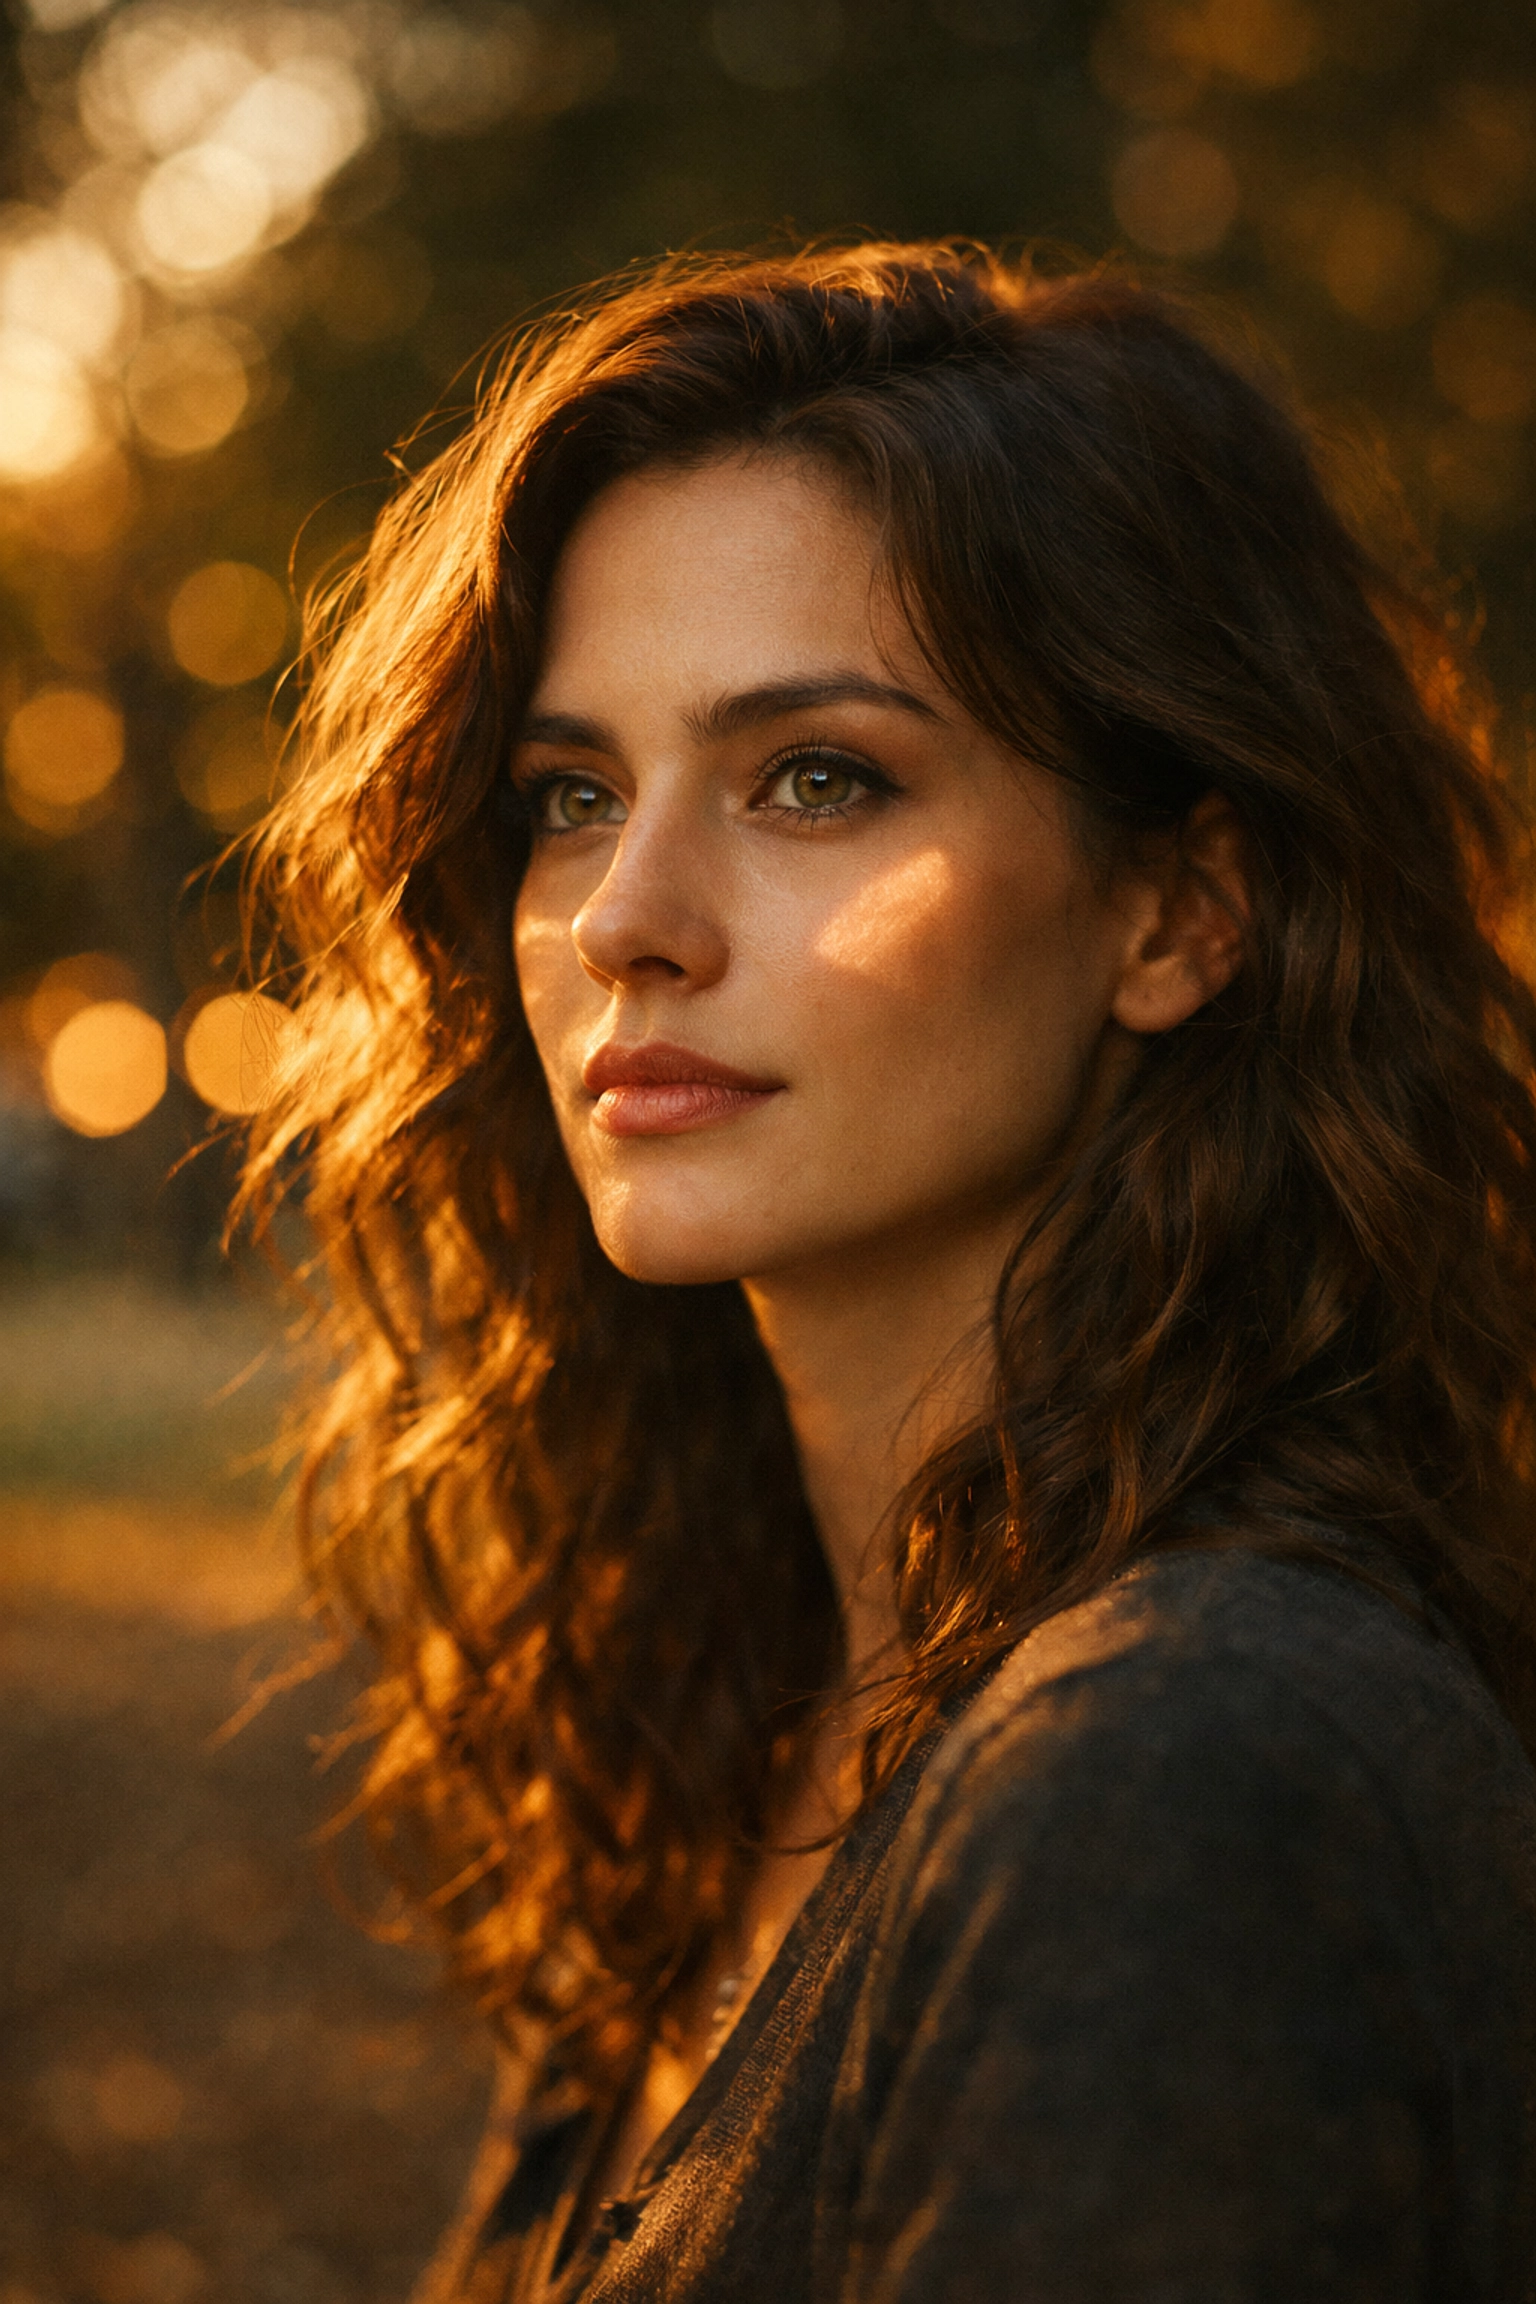
- The Golden Hour: The hour after sunrise and the hour before sunset. The light is warm, directional, and incredibly flattering. If you’re looking for spots to practice, check out these top spots for majestic sunset photography.
Classical Lighting Patterns
If you are using strobes or continuous lights, try these setups:
- Rembrandt Lighting: Characterized by a small triangle of light on the shadowed cheek. It’s moody and classic.
- Butterfly Lighting: The light is placed directly above and behind the camera, creating a small shadow under the nose. It’s great for high-fashion looks.
4. Composition and the "Rule of Thirds"
Composition is how you tell the viewer where to look. While the "Rule of Thirds" (placing your subject off-center) is a great starting point, don't be afraid to experiment.
- Focus on the Eyes: In portraiture, if the eyes aren't sharp, the photo is usually a throwaway. Always lock your focus on the eye closest to the camera.
- Change Your Angle: Don't just stand at eye level. Get low to make your subject look powerful, or get a bit higher for a more intimate, vulnerable feel.
- Framing: Use the environment. A doorway, tree branches, or even architectural elements can act as a "frame within a frame" to pull focus toward your subject. You can find more inspiration on this by exploring hidden gem locations for travel photography which often offer unique framing opportunities.
5. Posing and Directing (Stop Saying "Cheese")
The most common thing a subject will say is, "I don’t know what to do with my hands." It’s your job to lead them.
Movement is Key
Static poses often look stiff. Instead of telling someone to "stand there and smile," give them an action.
- "Walk toward me slowly."
- "Look over your shoulder and laugh."
- "Adjust your watch/hair/jacket."
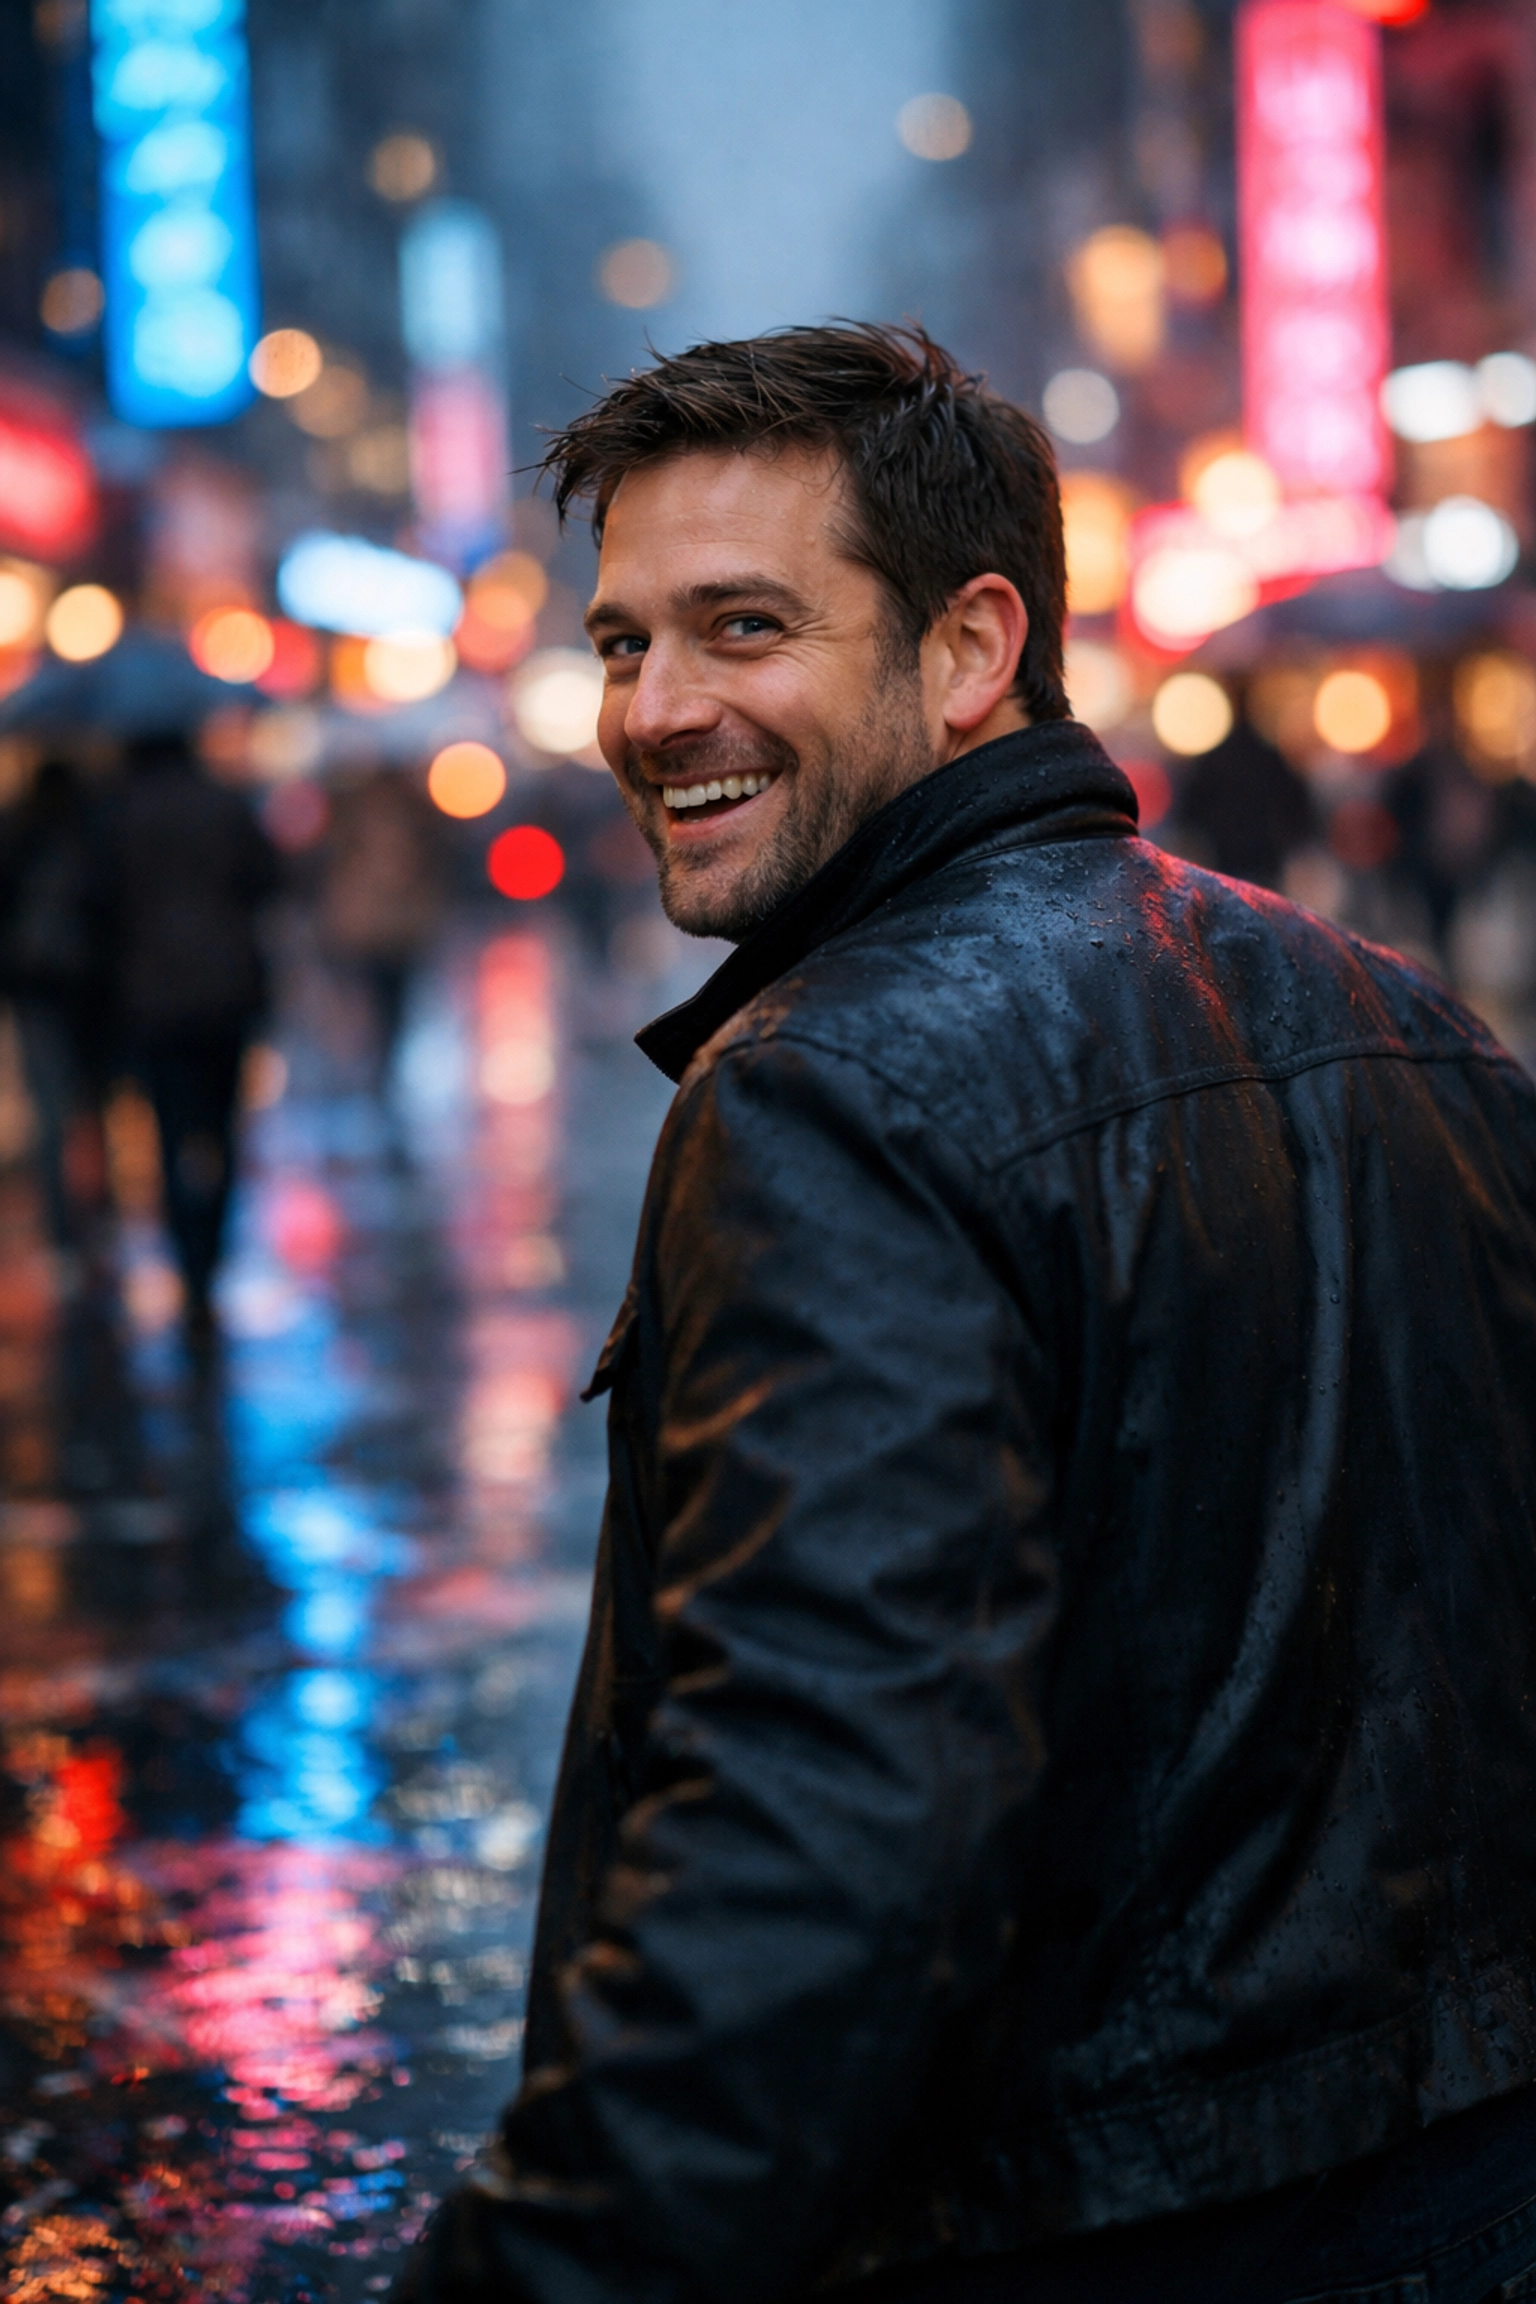
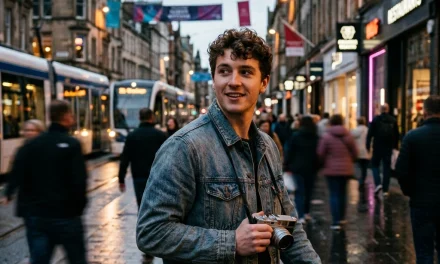
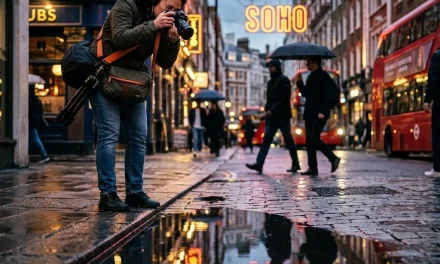
Movement creates natural lines and authentic expressions. If you’re shooting in a busy environment, try to unlock secrets to enchanting urban photography to learn how to use city movement to your advantage.
Building Rapport
Talk to your subject. Ask about their day, tell a bad joke, or share a story. The more they trust you, the more they will relax, and that’s when the real personality comes out. For more professional tips on managing shoots, check out ProShoot.io.
6. Styling and Atmosphere
What your subject wears matters just as much as your camera settings. Bold patterns can be distracting, while solid colors or subtle textures often work best. If you’re aiming for a more artistic vibe, consider using rare textures for tangible aesthetic photography in your backgrounds or wardrobe choices.
Also, consider the location. A corporate headshot in a park might feel off, just as a gritty street portrait might not work in a ballroom. If you're looking for unique backdrops, we've compiled a list of secluded paradises to enhance your photography portfolio.
7. Post-Processing: The Final Polish
The RAW file is just the beginning. Post-processing allows you to direct the viewer’s eye even further by adjusting contrast, color, and exposure.
Skin Retouching
The goal isn't to make someone look like a plastic doll. It’s to remove temporary distractions (like a blemish) while keeping the skin texture intact. Tools like Luminar have incredible AI-driven tools that can speed up this process significantly.
Color Grading
Color sets the mood. Cool tones can feel clinical or calm, while warm tones feel inviting and nostalgic. If you're new to the digital darkroom, start with our photo editing tutorials 101 guide.
For more advanced artistic inspiration, I often look at the work over at EdinFineArt.com to see how color and texture can transform a simple image into a piece of art.

8. Common Mistakes to Avoid
Even pros slip up. Here are a few things to keep an eye on during your next shoot:
- Tree Branches Growing Out of Heads: Always check your background. A poorly placed pole or tree can look like it’s sprouting from your subject’s skull.
- Over-editing: It’s easy to go overboard in Luminar or Lightroom. If the eyes look like they’re glowing or the skin is too smooth, back it off by 20%.
- Ignoring the Hands: Tense hands look awkward. Ask your subject to shake their hands out to relax them before a pose.
9. Finding Your Style
At the end of the day, portrait photography is subjective. Some photographers love dark, moody shots, while others prefer bright and airy "high-key" images. The only way to find your style is to shoot: a lot.
Try different locations. Go from picturesque coastal escapes to the grit of the city. Experiment with water photography to see how reflections interact with skin tones.
Final Thoughts
Portrait photography is a journey, not a destination. As technology changes: keep an eye on photography news for the latest updates: the fundamentals of human connection remain the same.
If you want to dive deeper into the technical side of things, head over to PhotoGuides.org for some excellent technical breakdowns. Or, if you’re looking for a professional studio environment to test these techniques, check out EdinStudios.com.
Now, grab your camera, find a willing subject, and go capture something amazing. And remember, for more tips and inspiration from the world of photography, keep up with us on the Edin Chavez blog.


