You don’t need a $10,000 studio setup with giant strobes and complex wiring to take a world-class portrait. In fact, some of the most iconic photos in history were taken with nothing more than a camera and whatever light happened to be falling through a window or hitting a sidewalk.
Natural light is the ultimate equalizer. It’s free, it’s everywhere, and it has a quality that artificial light often struggles to mimic. But because you can’t "turn it up" or "move it" with a remote, you have to learn how to work with it. Mastering natural light is about becoming a hunter. You’re hunting for shadows, highlights, and that perfect "glow" that makes skin look like it belongs on a magazine cover.
If you’re just starting out, this guide will break down the essential portrait photography techniques you need to stop guessing and start creating.
The Quality of Light: Hard vs. Soft
Before you even press the shutter, you need to look at the quality of the light. Not all sunshine is created equal.
Hard Light comes from a small, direct source: like the sun on a clear day at noon. It creates dark, well-defined shadows and bright, punchy highlights. While it can be used for dramatic, edgy shots, it’s usually the enemy of the beginner portrait photographer. It highlights every pore, wrinkle, and blemish, often leaving "raccoon eyes" (deep shadows in the eye sockets).
Soft Light, on the other hand, is diffused. Think of an overcast day where the clouds act as one giant softbox. This light wraps around your subject’s face, filling in shadows and smoothing out skin tones. This is your "safe zone." If you want flattering portraits, soft light is your best friend.
To learn more about the technical side of how your camera sees this light, check out our guide on photography for beginners: how to use manual mode.

Timing is Everything: The Golden and Blue Hours
If you ask any pro on Shut Your Aperture when the best time to shoot is, they’ll likely point to the Golden Hour. This is the hour just after sunrise and the hour just before sunset. The sun is low in the sky, meaning the light has to pass through more of the Earth's atmosphere, which scatters the blue light and leaves you with a warm, golden glow.
During Golden Hour, the light is naturally soft and directional. It’s hard to take a bad photo during this time. You get beautiful skin tones and a natural "halo" effect if you position the sun behind your subject.
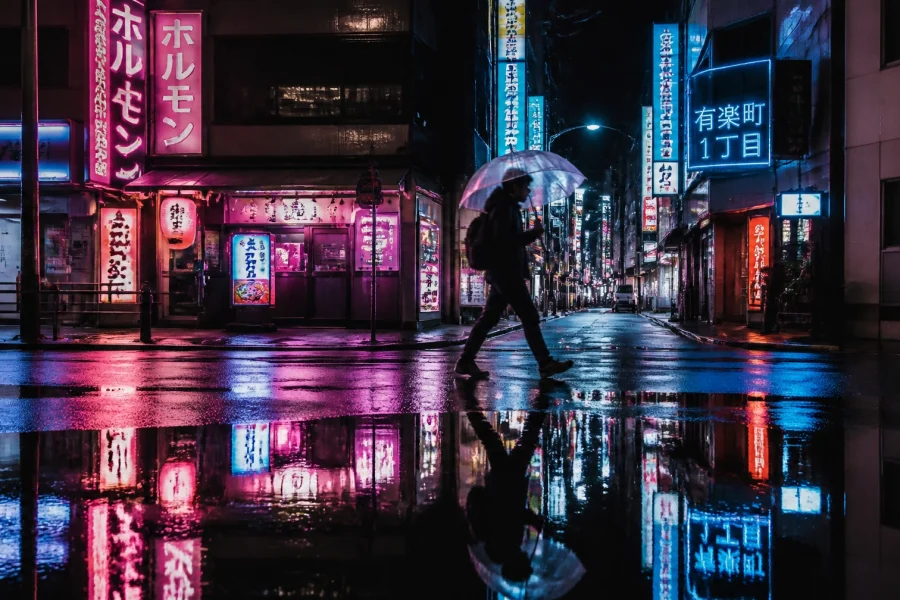
But don't sleep on the Blue Hour. This happens just before sunrise or just after sunset. The light is cool, moody, and very even. It’s perfect for capturing authentic emotions in travel or street photography where you want a more cinematic, somber vibe.
Finding the Light: The Hand Trick and Selfie Test
Sometimes it’s hard to tell where the light is actually coming from, especially in a city or a cluttered environment. Here are two quick hacks Edin Chavez uses to find the "good stuff":
- The Hand Trick: Hold your hand out in front of you and slowly spin in a circle. Watch how the light falls on your knuckles and the palm of your hand. Look for the spot where the shadows are soft and your skin looks "clean." That’s where you want your subject to face.
- The Selfie Test: Turn on your phone’s front-facing camera. Hold it up and rotate 360 degrees. You’ll immediately see which angles make you look like a bridge troll and which ones make you look like a model. Once you find the light, put your subject in that exact spot.
This is especially useful when you're looking for creative street photography ideas in areas with lots of tall buildings and competing reflections.
Mastering Light Direction
Where you place the light (or where you place your subject in relation to the light) changes the entire mood of the photo.
Front Lighting
This is when the sun is behind you, the photographer, and hitting the subject directly. It’s very safe because it fills in all the shadows, but it can also look a bit "flat." It can also make your subject squint, which isn't a great look for anyone.
Side Lighting
Position your subject so the light hits them from a 45-degree or 90-degree angle. This creates "split lighting," where one side of the face is bright and the other is in shadow. It adds depth, drama, and a three-dimensional feel to your portraits. It’s a classic portrait photography technique used to create a more serious or "painterly" look.
Backlighting
This is the "pro" move. Put the sun behind your subject. This creates a beautiful rim light around their hair and shoulders, separating them from the background. The trick here is to make sure their face isn't too dark. You can use a reflector (more on that later) or slightly overexpose the shot to keep the skin bright.

The Power of Open Shade
If you’re shooting in the middle of a bright, sunny day, don’t panic. Just look for Open Shade.
Open shade is an area that is protected from direct sunlight: like under a tree, in the shadow of a building, or under a porch: but is still right next to a bright area. The subject is in the dark, but the surrounding bright areas act as a giant reflector, bouncing soft, beautiful light onto them.
This is the "cheat code" for natural light portraits. It’s consistent, flattering, and prevents your subject from sweating or squinting. For more advanced tips on framing these types of shots, see our post on unleashing creativity and framing techniques.
Catchlights: The Secret to "Alive" Eyes
Have you ever seen a portrait that looked "dead"? Usually, it’s because there are no catchlights. Catchlights are those tiny reflections of light in a person’s eyes. They add a spark of life and draw the viewer’s attention to the most important part of the photo.
To get them, you just need a light source in front of the subject. It could be the sky, a white wall, or a reflector. If you don't see that little white glint in their eyes, have them tilt their head slightly toward the light until it appears. It’s a small detail that makes a massive difference in quality.
Essential Gear for Natural Light Portraits
While you don’t need a ton of gear, a few specific tools will make your life much easier.
The Right Lens
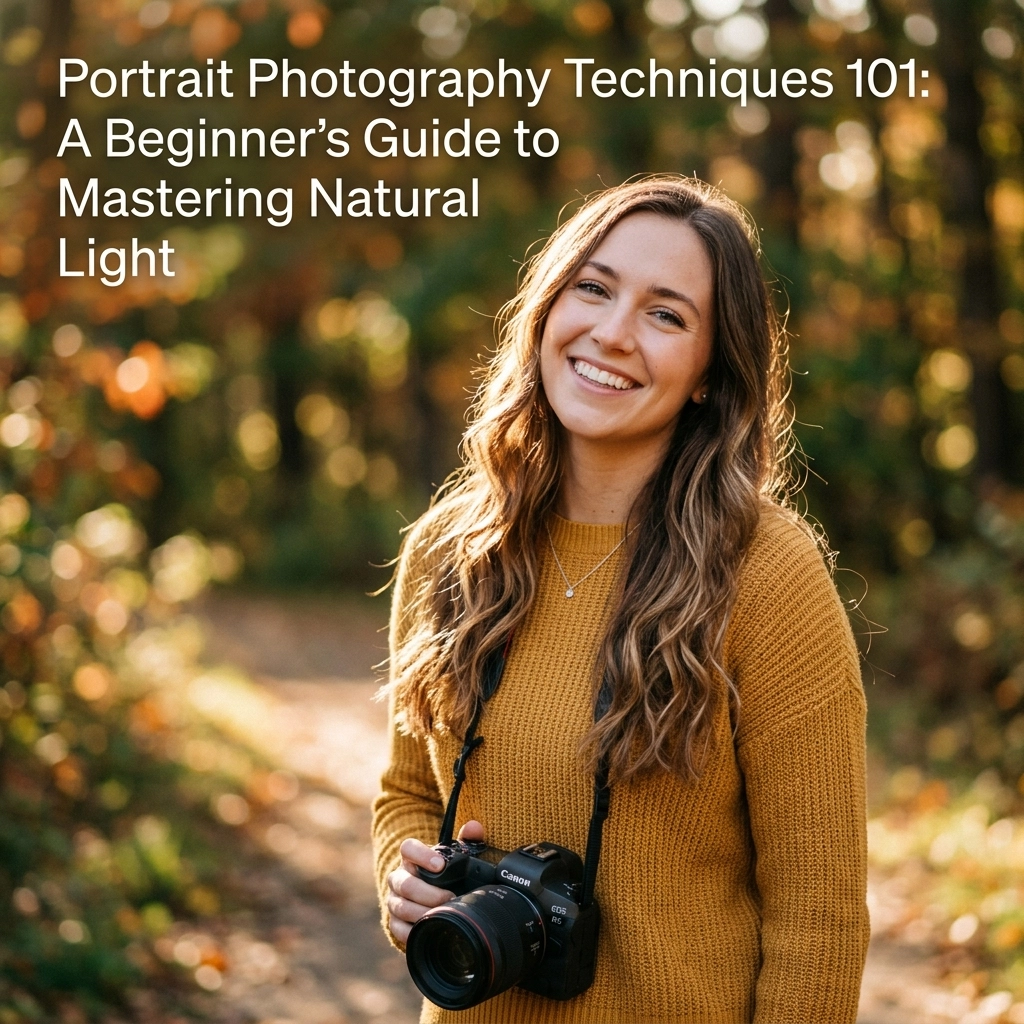
For portraits, you generally want something with a wider aperture (a lower f-number like f/1.8 or f/2.8). This creates that blurry background (bokeh) that makes the subject "pop." A 50mm or 85mm "prime" lens is the gold standard. If you’re currently shopping for gear, take a look at how to choose the best mirrorless camera in 2026.
Reflectors
A 5-in-1 reflector is the best $20 you’ll ever spend in photography. It allows you to bounce natural light back into the shadows. If you’re backlighting someone and their face is too dark, have a friend hold a white or silver reflector to bounce some of that sun back onto them. It’s like having a portable sun you can control.
Your Camera Settings
When shooting portraits in natural light, try using Aperture Priority mode or Manual mode. You want to control the depth of field. Keep your ISO as low as possible (usually ISO 100 or 400) to avoid "noise" or grain in your photos. If you're overwhelmed by settings, our ultimate guide to photography tutorials has you covered.

Background Selection
A common mistake beginners make is focusing so much on the subject that they forget the background. You could have the perfect lighting, but if there’s a trash can or a distracting neon sign behind your subject, the photo is ruined.
Look for backgrounds that are:
- Low Contrast: Nothing too busy that distracts from the face.
- Complementary Colors: If your subject is wearing blue, a warm orange-toned brick wall can look amazing.
- Darker than the Subject: Naturally, our eyes are drawn to the brightest part of an image. If the background is darker than the subject's face, the viewer’s eyes will go exactly where you want them to.
Posing for Natural Light
Natural light works best when your subject is relaxed. If they’re stiff, the shadows will look stiff too. Instead of having them stand "square" to the camera (shoulders flat toward you), have them shift their weight to one foot and turn their body slightly.
If you’re working on wedding photography, natural light is your best tool for capturing those soft, romantic moments. Encourage your subjects to move, walk, and look away from the camera. This movement allows the light to hit their face from different angles, giving you more variety in your shots.
Post-Processing: Elevating Your Natural Light Shots
Even the best natural light photo can use a little polish. Maybe the white balance was a bit too cool because you were in the shade, or perhaps you want to make those catchlights pop a bit more.
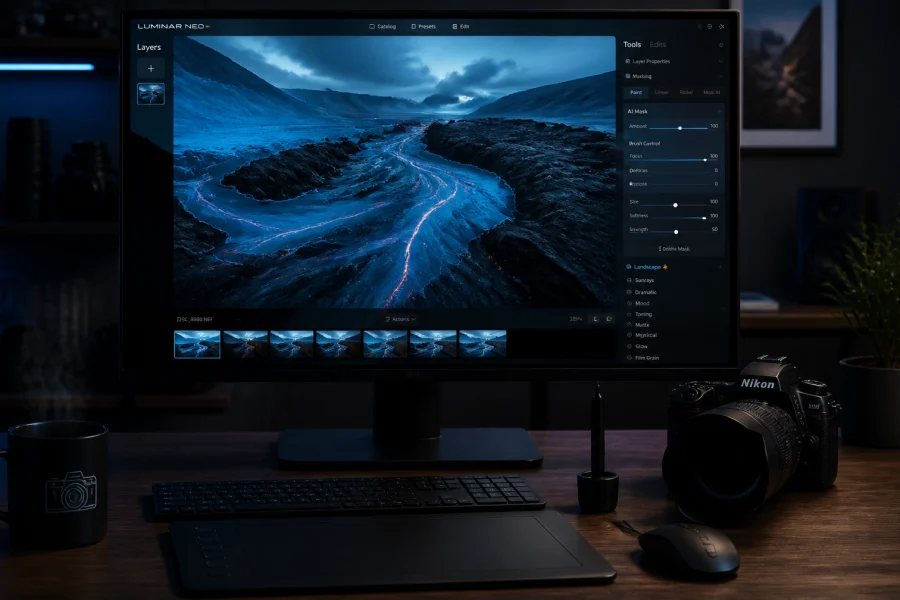
This is where Luminar comes in. It’s an incredible tool for portrait photographers because of its AI-driven features. You can use the "Portrait Bokeh AI" to further blur a distracting background or the "Face AI" to subtly enhance the eyes and skin without making them look plastic.
When editing, the goal with natural light should always be enhancement, not total transformation. You want to keep that organic feel. You can find more tips on professional editing on Edin Chavez’s personal blog.

Common Mistakes to Avoid
- Dappled Light: This is when light filters through tree leaves, creating "hot spots" of light and dark on the subject’s face. It’s messy and almost impossible to fix in post. Move them into full shade instead.
- Ignoring the White Balance: Shade light is very blue. If you leave your camera on "Auto White Balance," your subject might look a bit sickly. Switch your setting to "Shade" or "Cloudy" to warm things up.
- Over-Reflecting: If you use a silver reflector too close to someone's face, they will squint and look like they're being interrogated. Use the white side for a softer, more natural fill.
- Losing the Focus: Always, always focus on the eye closest to the camera. If the eyes aren't sharp, the portrait doesn't work.
Bringing it All Together
Mastering natural light is a journey. The best way to learn is to go out at different times of the day and see how the light changes your subject's face. Experiment with window light inside your house: it's one of the most beautiful light sources available and it's used by the top wedding photographers worldwide.
Don't be afraid to make mistakes. Some of the coolest shots happen when you "break the rules," like shooting directly into the sun for a lens flare or creating a silhouette against a bright sky.
If you're looking for more inspiration or want to stay up to date with the latest industry shifts, check out our photography news or grab a quick update with our 3-minute news summary.
Now, grab your camera, find a patch of shade or a window with a view, and start shooting. The light is waiting for you. And if you need more high-end gear or studio space for your next big project, don't forget to visit ProShoot.io or Edin Studios.
Photography is about seeing what others miss. Once you master natural light, you'll see beauty in places you never noticed before. Keep your aperture open, your shutter ready, and most importantly, shut your aperture and go shoot!
Skylum’s Aperty is purpose-built for portrait retouching with AI skin, eye and detail enhancement. Luminar Neo’s Portrait AI complements it for full-body and editorial work. Tagged as affiliate per FTC.