
Let’s be real for a second. We’ve all been there. You spend three hours hiking up a mountain, wait for the perfect light, click the shutter, and… the photo looks like a wet paper bag. Then you go on Instagram and see a professional photographer post a shot from the same spot that looks like it was touched by the gods themselves.
You start thinking, "Man, they must have a $50,000 camera." Or maybe, "They have a secret 'make it look awesome' button in Photoshop."
Here is the truth: there is no magic button. But there are secrets. There are specific techniques and mindsets that pros use to transform a boring file into a masterpiece. Most experts won't tell you these because they want to keep the "pro" aura alive. At Shut Your Aperture, we’re not about that. We want you to take better photos, period.
If you’re looking to level up your game beyond the basics, you need to know what’s actually happening behind the glowing monitors of the world’s best editors. Here are the photo editing secrets the pros usually keep to themselves.
1. The RAW Truth: Your Camera is Lying to You
The biggest secret in photo editing isn't even about the editing software, it's about the file. If you are still shooting in JPEG, you are essentially letting a tiny computer inside your camera make all the creative decisions for you.
When you shoot in RAW, the camera captures every single bit of data the sensor can grab. It looks flat and ugly at first, but that’s because it’s a "raw" ingredient. Professionals shoot RAW because it allows them to recover highlights that look blown out and shadows that look pitch black.
Think of a JPEG as a baked cake. You can't un-bake it to change the amount of sugar. A RAW file is the flour, eggs, and butter. You have total control. If you want to learn more about the technical side of gear and how it handles these files, check out our gear category.
2. The Saturation Trap
Beginners love the saturation slider. It’s tempting. You move it to the right, and suddenly the grass is greener and the sky is bluer. It feels like instant success.
But experts know that over-saturation is the fastest way to make a photo look cheap and amateurish. If your colors look like a bowl of Fruit Loops, you’ve gone too far.
The Secret: Use "Vibrance" instead of "Saturation." Vibrance is smarter; it boosts the less-saturated colors without nuking the ones that are already bright. Even better? Professionals often desaturate certain colors to make the subject pop. If you have a portrait, desaturating the background greens can make the skin tones look much more natural and professional.
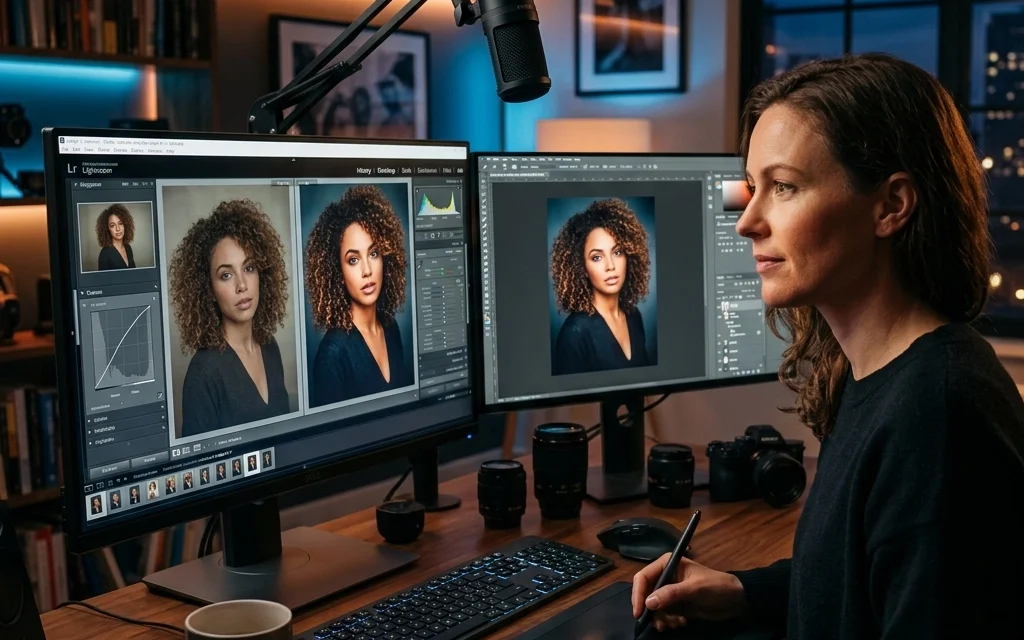
3. Use AI, But Don't Be a Robot
There’s a lot of talk about AI in photography right now. Some people hate it; some people love it. The secret the experts won't tell you is that they are all using it. They just aren't letting the AI do all the work.
Software like Luminar has changed the game. Instead of spending forty minutes masking a sky by hand, pros use Luminar to do the heavy lifting in seconds. This isn't "cheating", it's efficiency. The secret is using AI to handle the boring stuff (like noise reduction or sky selection) so you can spend your time on the creative stuff (like color grading).
If you want to see how top-tier editing looks in practice, you can find inspiration at PhotoGuides.org, which is a fantastic resource for improving your eye.
4. The Power of "Micro-Contrast"
You’ve probably seen the "Clarity" slider. It adds a certain "crunch" to the photo. Beginners crank this up to 100 and wonder why their photo looks like a HDR nightmare from 2011.
Experts use micro-contrast. Instead of applying clarity to the whole image, they use brushes or masks to apply it only to specific textures, like the bark of a tree or the iris of an eye. This creates a sense of "pop" without making the entire image look crunchy and digital.
If you're wondering how to get that high-end look you see on EdinFineArt.com, it’s usually down to subtle local adjustments rather than global sliders.
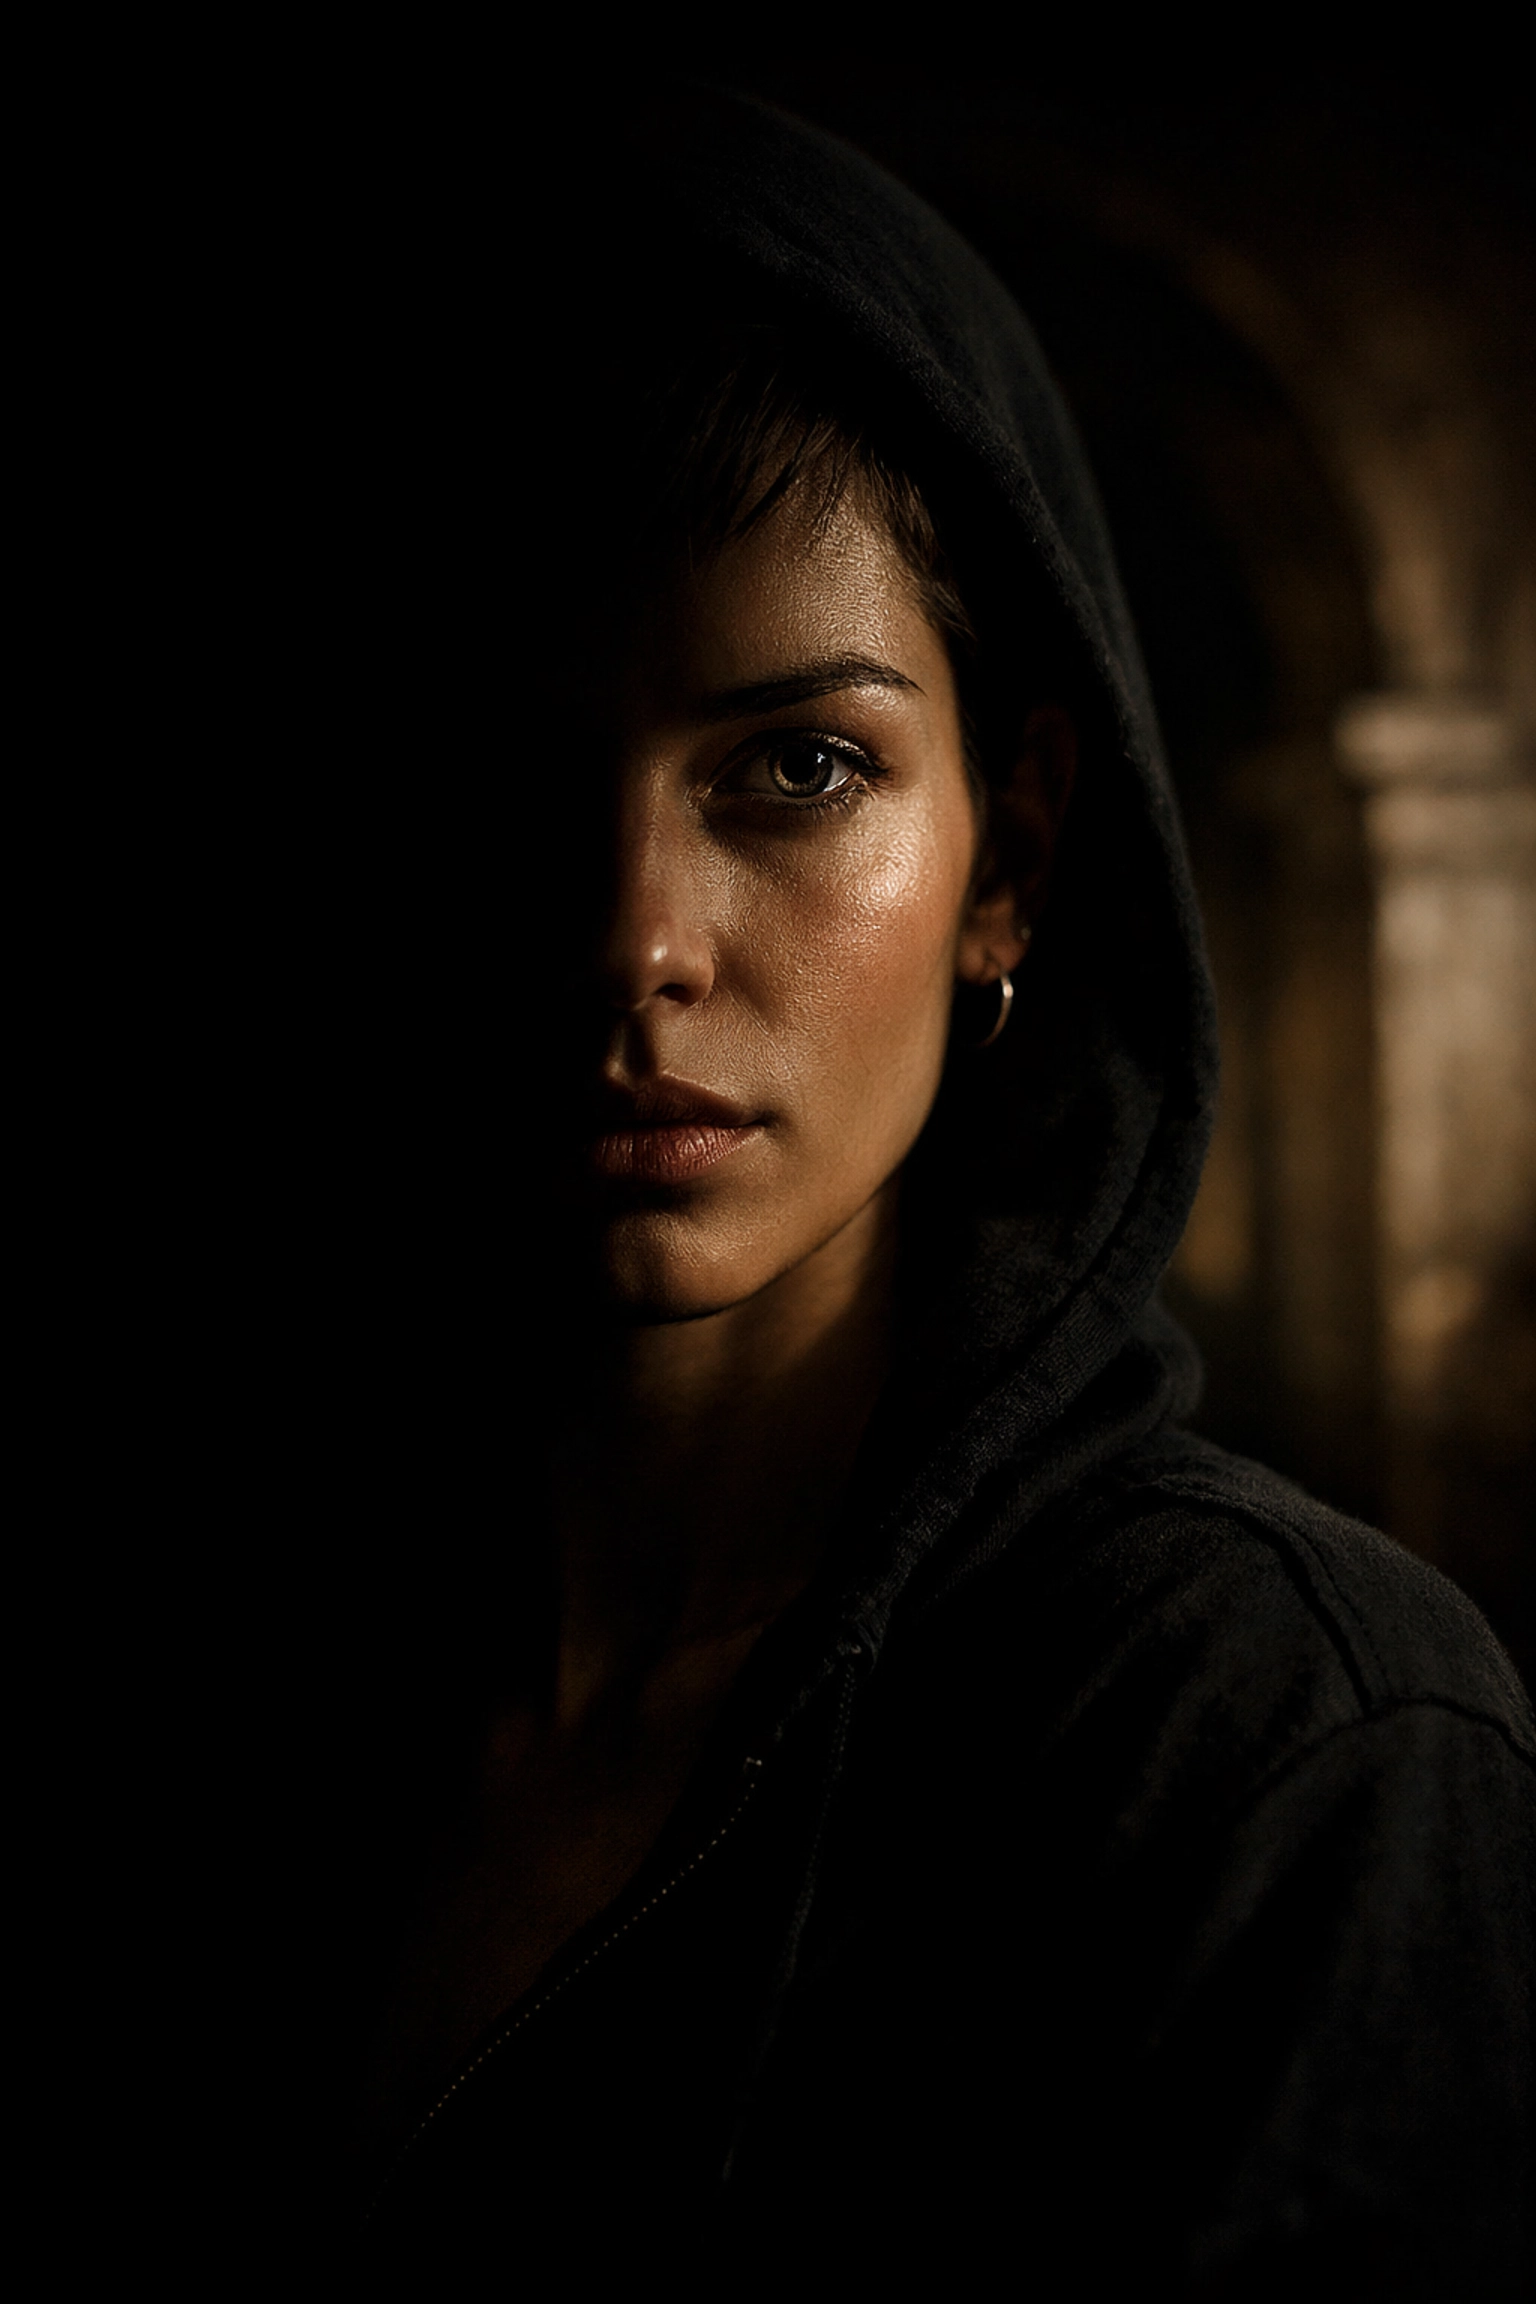
5. Shadows Are Your Friend
One of the most common mistakes in how-to guides is telling people to "shadow recover" everything. People see a dark area and immediately slide that shadow bar to 100.
Stop it.
Shadows provide depth. Without shadows, your image is flat. It has no soul. Professionals embrace the dark areas of a photo because they lead the eye toward the light. If you look at high-end documentary photography, you'll notice that the shadows are often deep and rich. They give the image a three-dimensional feel.
6. Sharpening: Less is More (Way More)
Over-sharpening is a dead giveaway that a photo was edited by someone who doesn't know what they're doing. When you see white "halos" around the edges of objects, you’ve pushed the sharpening too far.
The secret? Most pros only sharpen the parts of the image that are actually in focus. They also use a "masking" slider (in Lightroom or Luminar) to ensure the sharpening doesn't hit the flat areas of the image, like the sky or skin. Sharpening noise in a sky just makes the photo look grainy and messy.
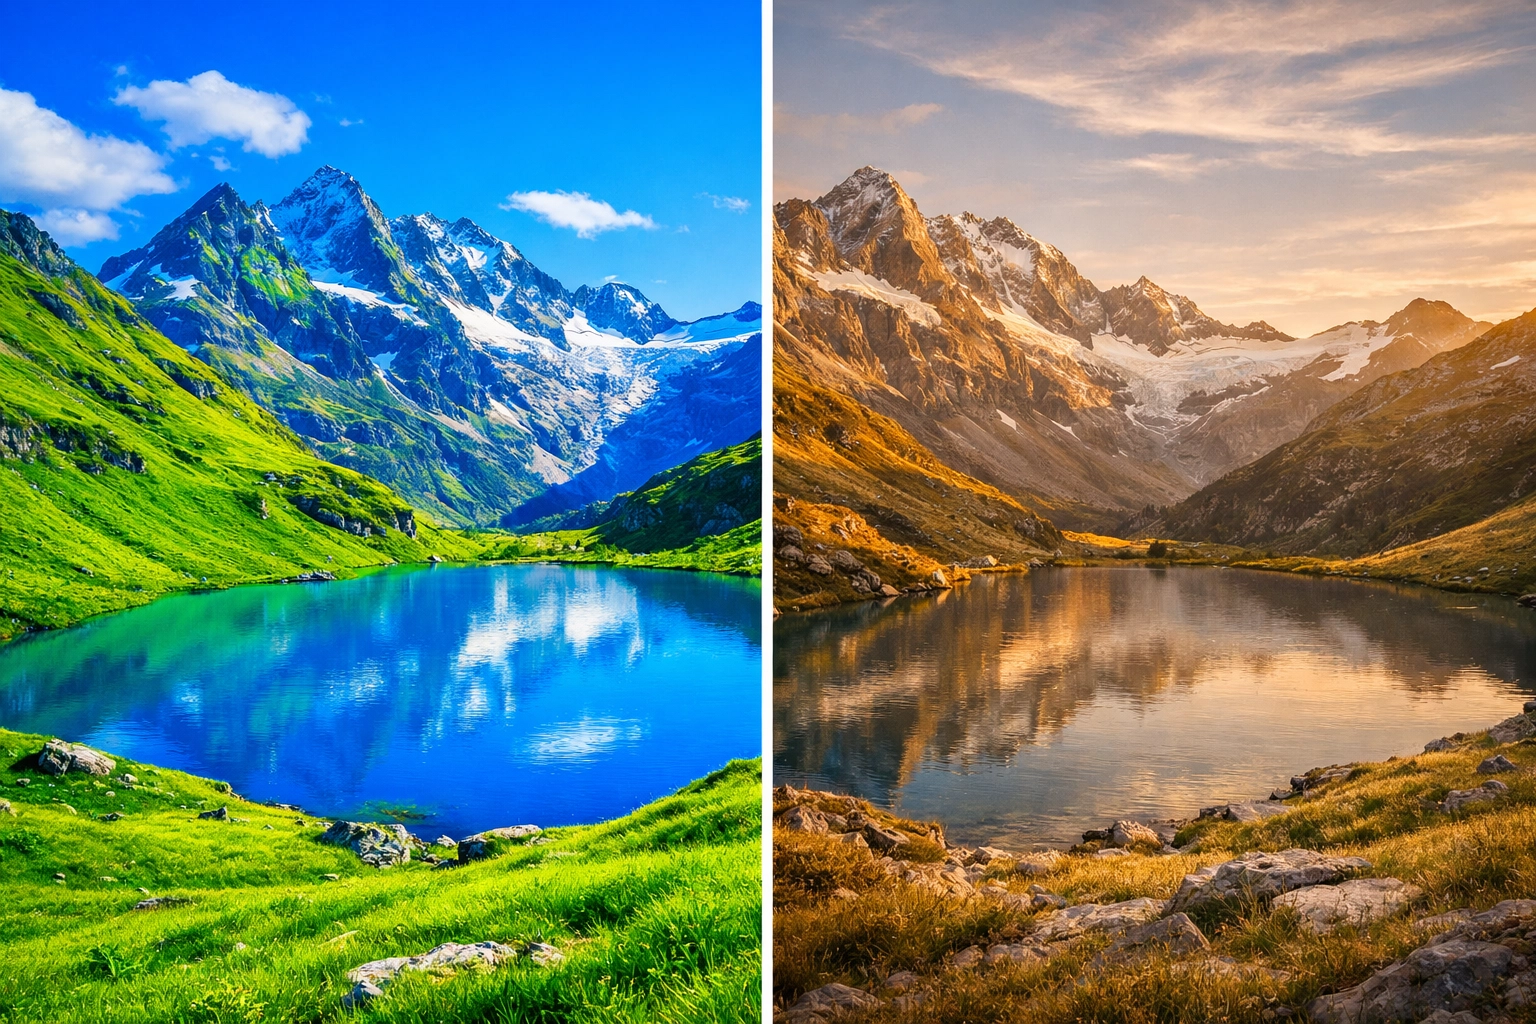
7. Color Grading vs. Color Correction
This is a big one. Most people think editing is just fixing the exposure and making the colors look "right." That’s color correction.
Color grading is the secret sauce. This is where you give the photo a "mood." It’s the difference between a snapshot and a cinematic experience. Experts often use "Split Toning" or "Color Balance" to add subtle blues to the shadows and warm oranges to the highlights. This "teal and orange" look is a classic for a reason, it creates color contrast that is pleasing to the human eye.
For more deep dives into the "why" behind the "how," I always recommend checking out blog.edinchavez.com for more personal insights into the creative process.
8. The Business Secret: It's Not About the Edit
Here is a secret that might hurt: your editing doesn't matter as much as your business strategy. I’ve seen mediocre editors make six figures and world-class editors starve.
Pros know that a "good enough" edit delivered on time is better than a "perfect" edit delivered three weeks late. They use presets as a starting point to maintain consistency across their brand. Consistency is what gets you hired. If a client looks at your portfolio and sees ten different editing styles, they won't trust you.
If you’re looking to turn your passion into a career, proshoot.io is where you need to be to learn the professional side of the industry.
9. Global vs. Local: The 80/20 Rule
The 80/20 rule in editing is this: 80% of your time should be spent on the final 20% of the image.
Anyone can move a slider and change the whole photo. That takes ten seconds. The "secret" is taking the next ten minutes to use local adjustment brushes. Want the viewer to look at the subject's face? Brighten it by 0.2 stops and add a tiny bit of warmth. Want the background to fade away? Lower the contrast and saturation slightly in that area.
These "invisible" edits are what make a photo feel professional. If the viewer can see what you did, you failed. If the viewer just thinks, "Wow, that’s a great photo," you won.
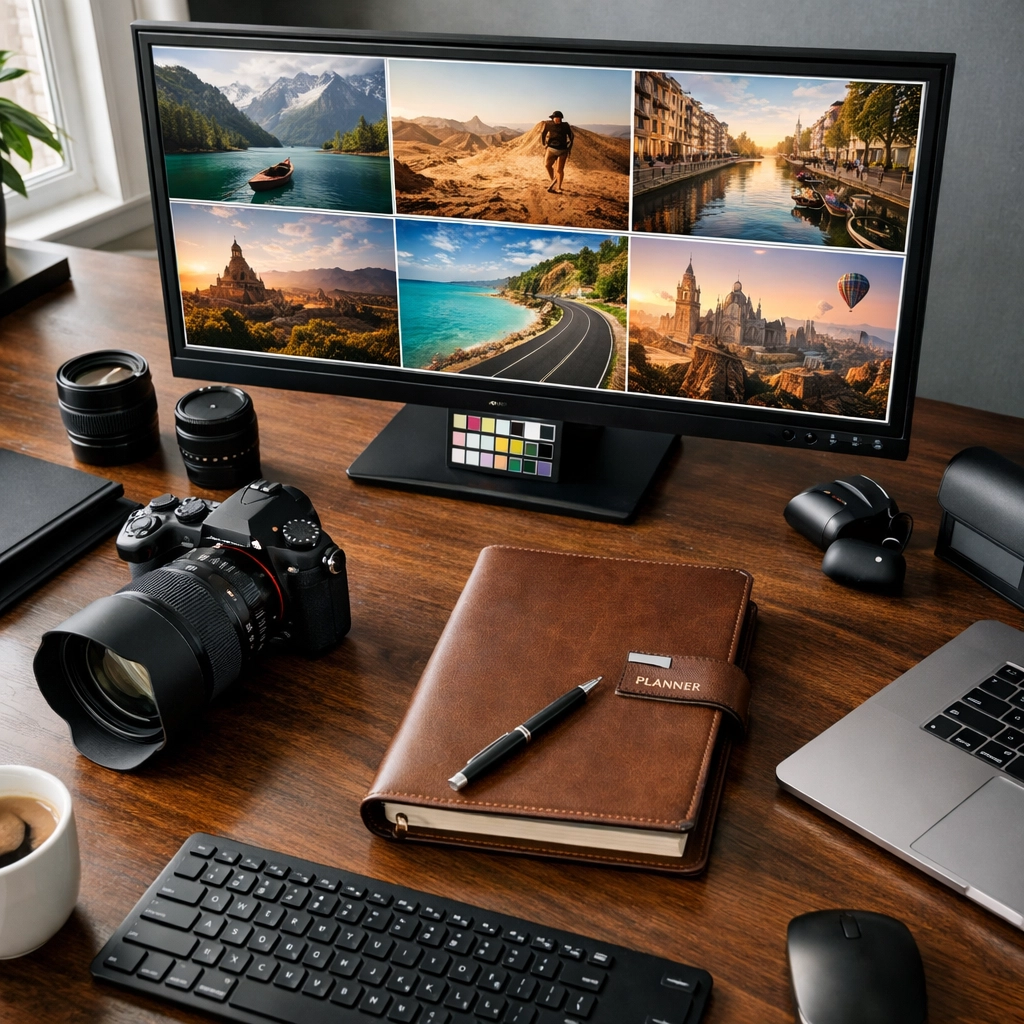
10. Calibrate Your Screen
You could be the best editor in the world, but if your monitor is lying to you, your photos will look like trash on every other device.
Most laptop screens are too bright and too blue out of the box. Pros use hardware calibration tools to make sure that the red they see on their screen is the same red that will come out of a printer or show up on an iPhone. If you're serious about your work, stop guessing and start calibrating.
11. The "Step Away" Method
This is the most underrated secret in the industry. Your eyes get tired. After staring at a photo for thirty minutes, your brain starts to normalize the weird colors you're creating.
The secret? Walk away. Get a coffee. Look at a white wall. When you come back to the screen, you’ll often realize, "Holy crap, I made his skin look like an orange." Professionals always do a final "sanity check" before hitting export.
12. Learn From Others (But Don't Copy)
The best way to learn these "secrets" is to watch people do them. We have a whole section for behind the scenes and videos that show the actual workflow of working photographers.
Don't just copy a preset. Understand why the photographer moved that slider. Was it to fix a lighting issue? Or to create a specific mood? Once you understand the "why," you can create your own "how."
Putting It All Together
Editing isn't about fixing a bad photo; it's about revealing the best version of a good one. The "experts" aren't wizards; they just have more discipline and a better eye for detail. They know when to stop. They know that software like Luminar is a tool, not a crutch. And they know that the most important part of the photo is the story it tells.
If you’re looking for more tips on specific styles, whether it’s food photography or product photography, we’ve got you covered.
Remember, photography is a journey. Your edits today will look "okay" next year, and that’s a good thing. It means you’re growing. Keep shooting, keep editing, and most importantly, keep your aperture shut (when necessary).
For more inspiration and a look at how these secrets are applied in a professional studio environment, head over to edinstudios.com. There’s a whole world of visual storytelling waiting for you.
Now, go open those RAW files and start revealing your own secrets.
Want to stay updated with the latest trends and tech? Check out our trending and tech categories for the latest in the photography world.


