
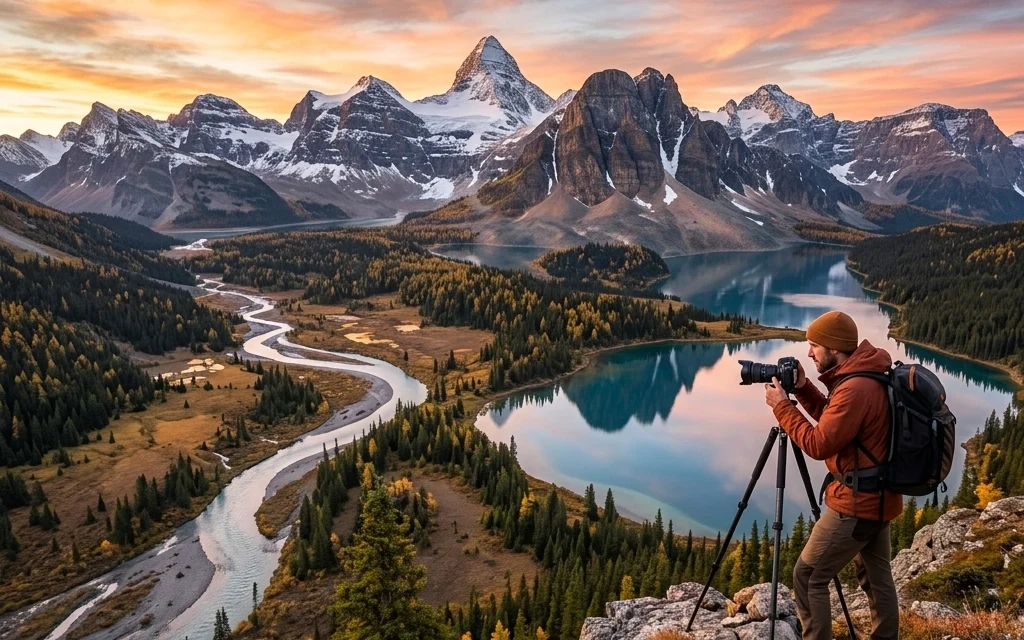
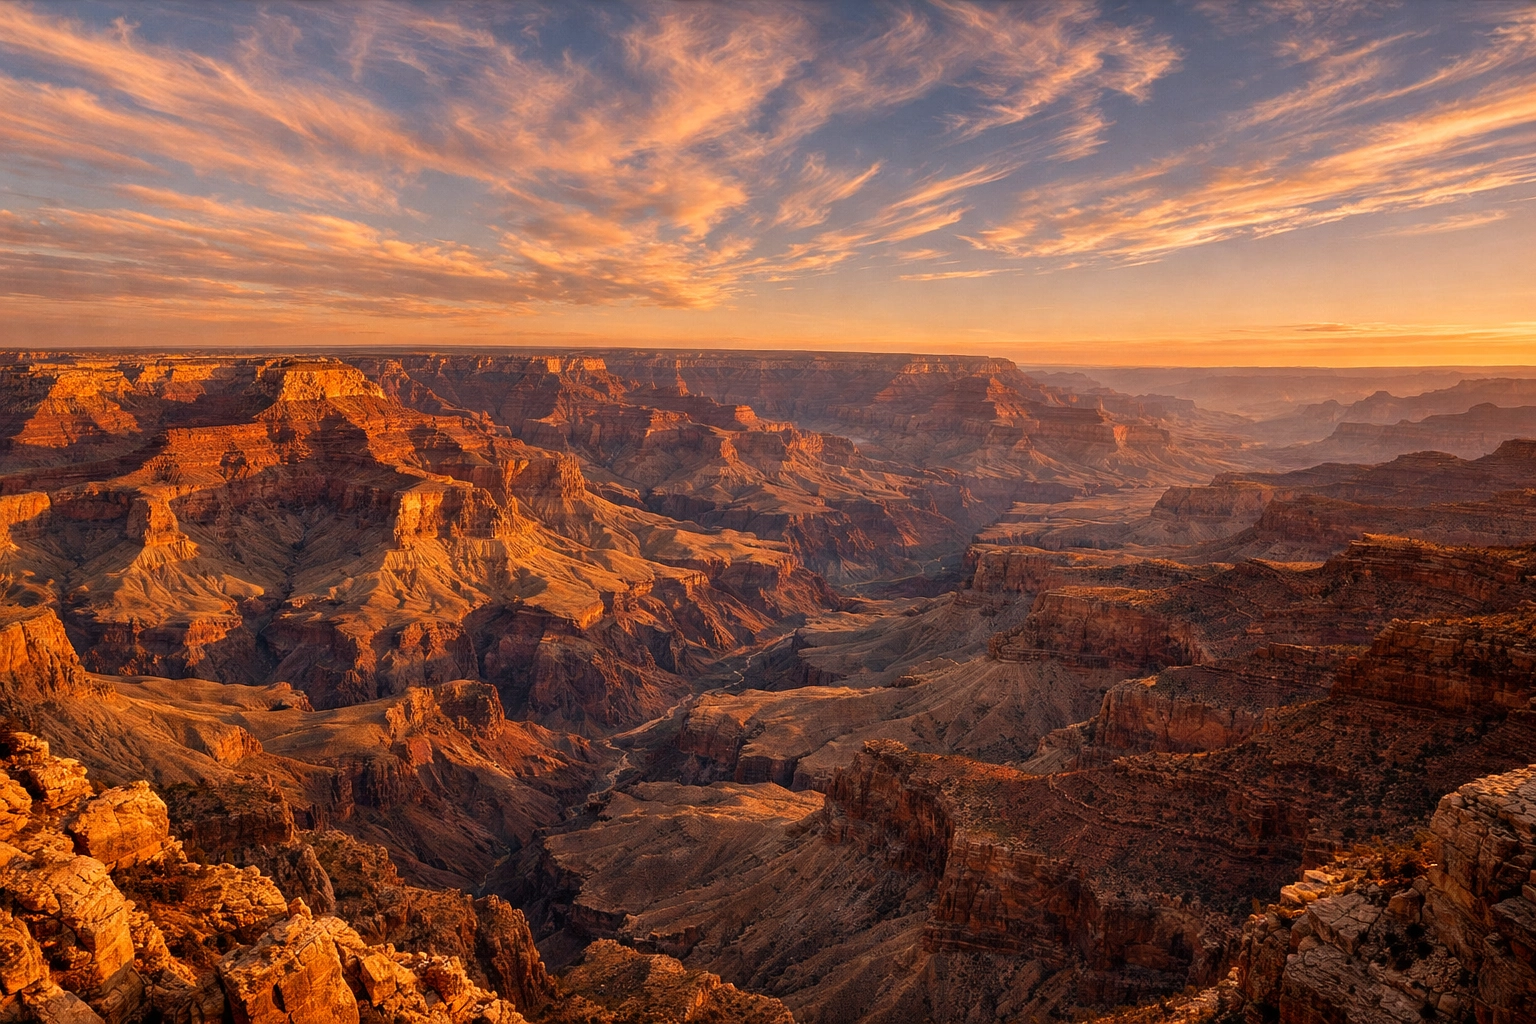
Landscape photography is a bit like a bad relationship: you spend hours waiting for something beautiful to happen, you get cold, you get rained on, and sometimes you go home with absolutely nothing. But when that light hits the peak of a mountain just right, or the tide rolls out to reveal a perfect reflection, it’s all worth it.
Whether you are a hobbyist with a new camera or a seasoned pro looking to refine your craft, mastering the great outdoors requires more than just a fancy lens. It’s about patience, technique, and a little bit of luck. At Shut Your Aperture, we believe anyone can take a killer landscape shot if they have the right roadmap. This is that roadmap.
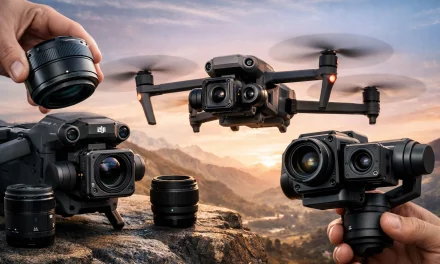
1. The Gear You Actually Need (And What You Don’t)
Before we talk about settings, let's talk about the stuff in your bag. You don’t need the most expensive gear on the planet, but you do need gear that works for the environment.
The Tripod: Your New Best Friend
If you take anything away from this guide, let it be this: buy a solid tripod. You cannot get those tack-sharp, low-light, or long-exposure shots while hand-holding your camera. Even the steadiest hands have a heartbeat, and that heartbeat causes blur. Look for something carbon fiber if you plan on hiking long distances, or aluminum if you’re on a budget.
Lenses: Wide and Tight
Most people think "landscape" and immediately grab a wide-angle lens. While a 16mm or 24mm is great for capturing grand vistas, don’t sleep on your telephoto lens. Sometimes the best landscape shot is a tight crop of a mountain peak or a lone tree in a field. Using a 70-200mm lens can compress the scene, making distant objects feel more imposing. For more on choosing the right gear, check out our mastering photography 10 essential tips.
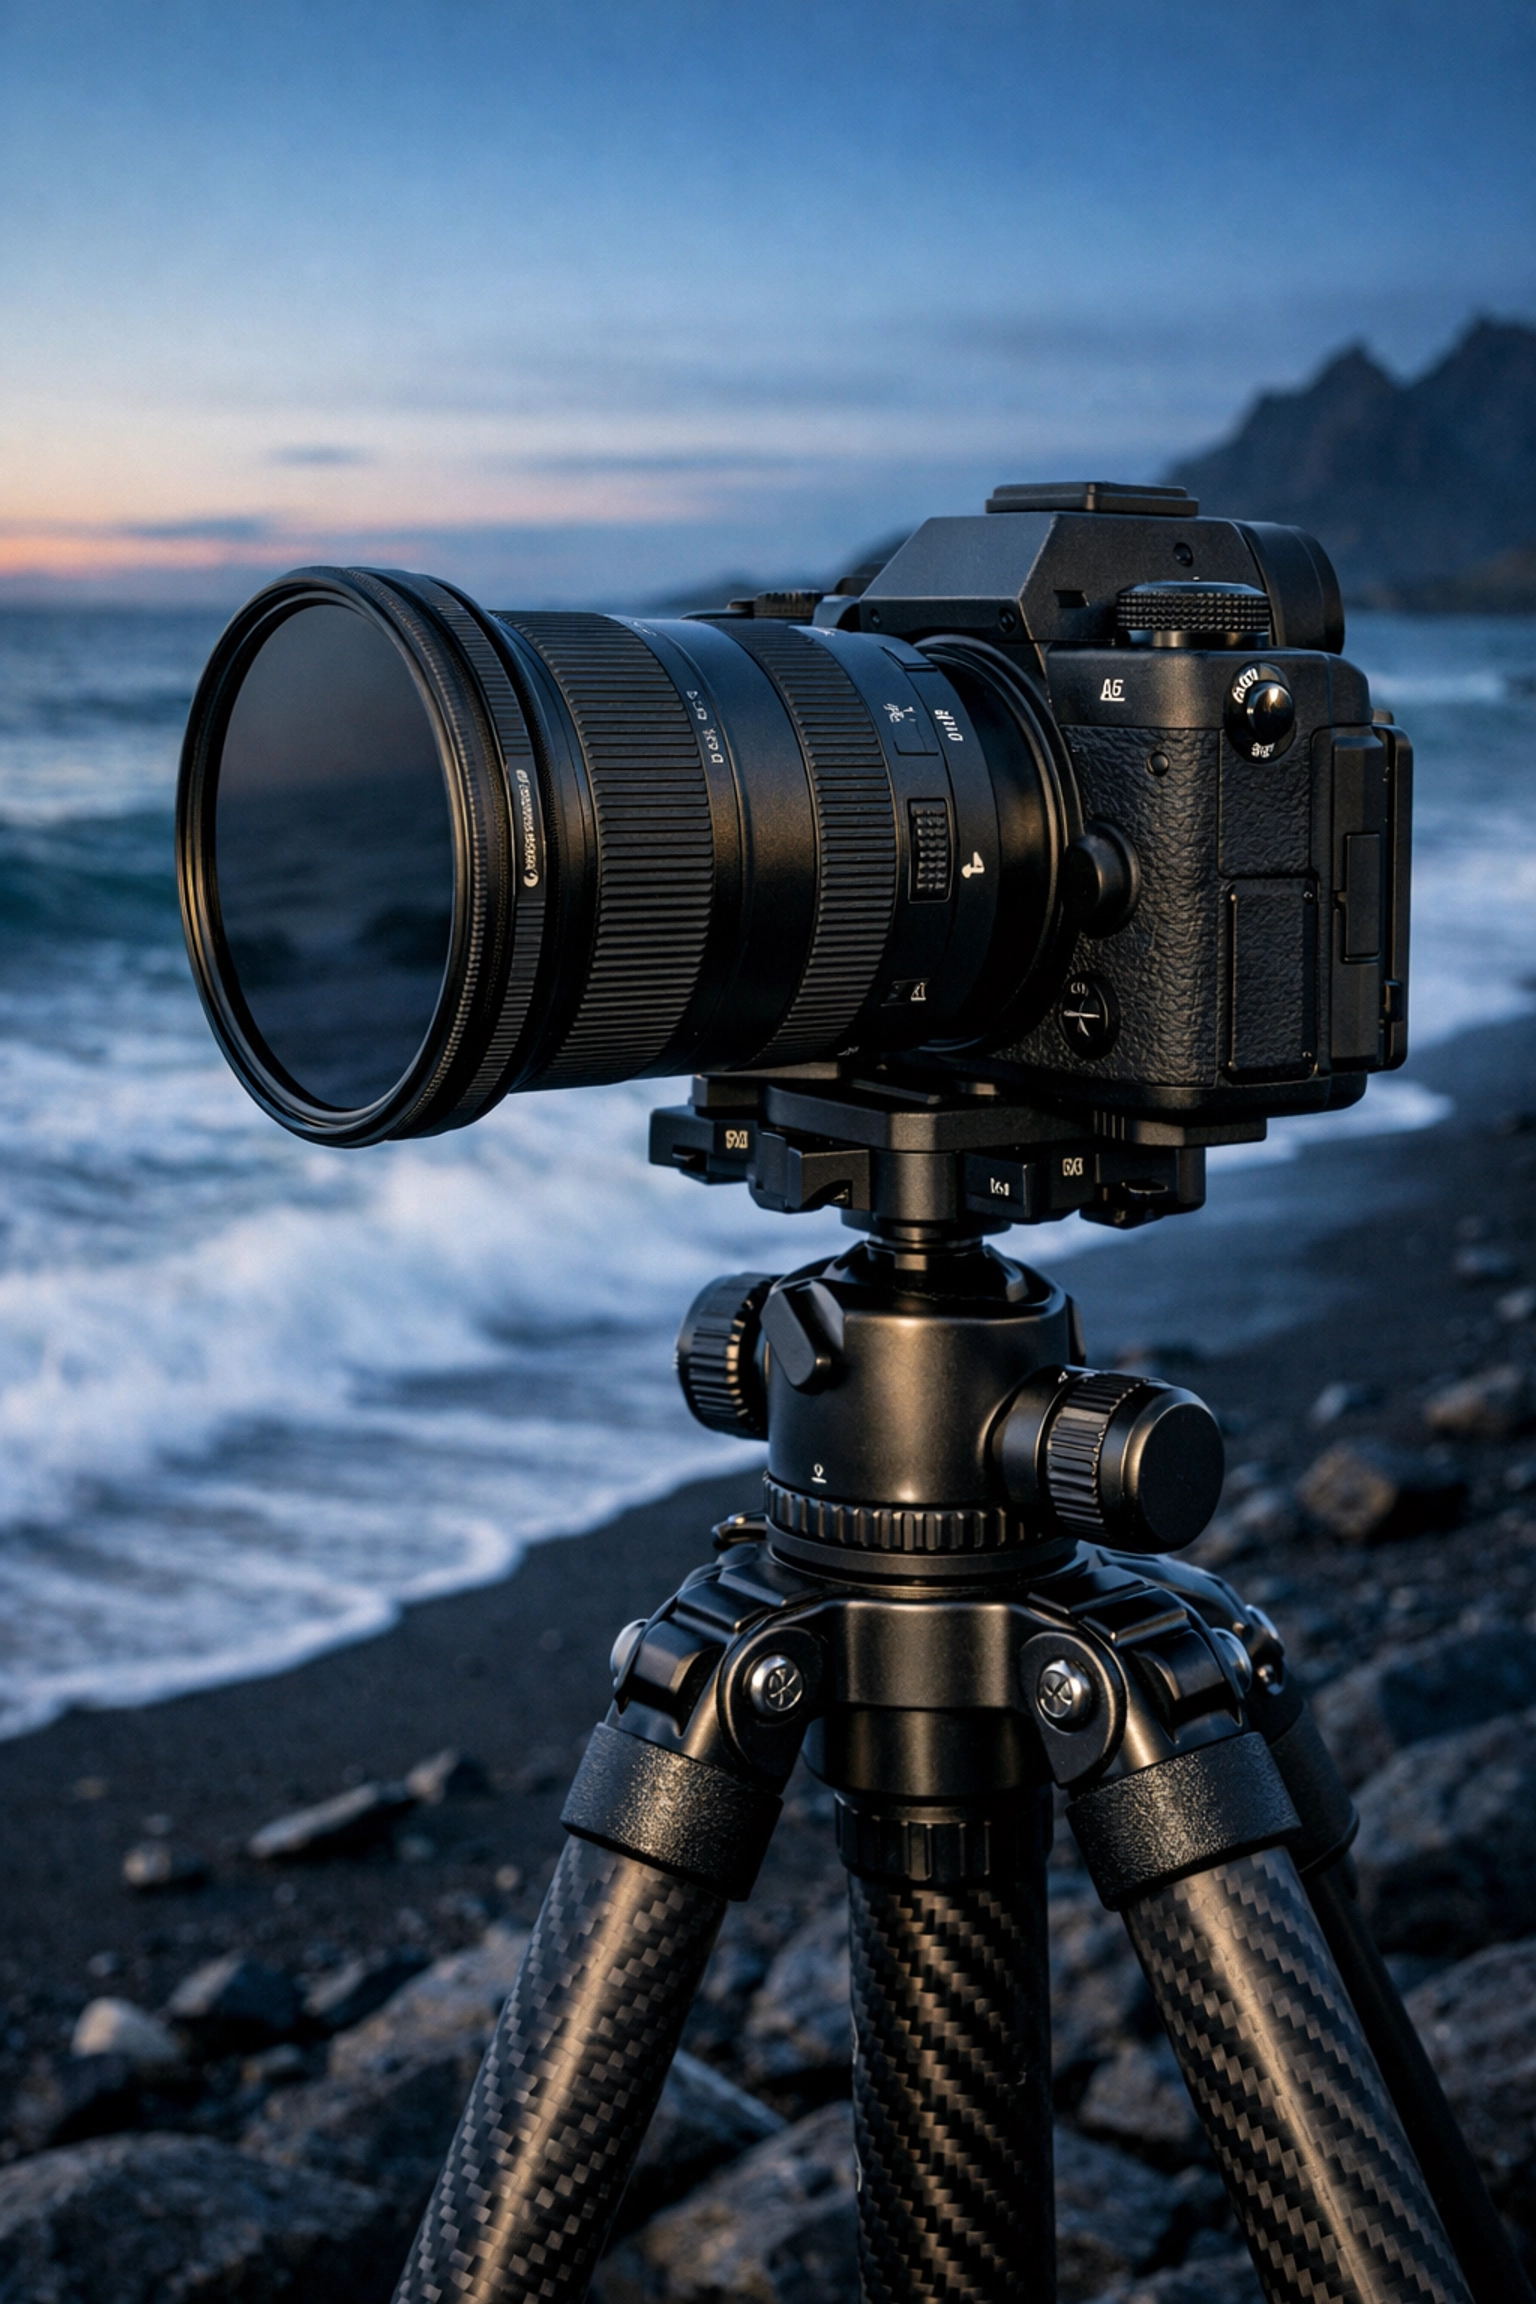
Filters: The Sunglasses for Your Lens
A Circular Polarizer is non-negotiable. It cuts glare on water, makes clouds pop against a blue sky, and saturates the foliage. If you want to get into those silky-smooth waterfall shots, you’ll also want a Neutral Density (ND) filter to block out light, allowing for longer shutter speeds during the day.
2. Mastering the Exposure Triangle for Landscapes
In the world of landscape photography, the "Auto" mode is your enemy. You want control. You want to be the boss of your sensor. To do that, you need to understand the exposure triangle: Aperture, ISO, and Shutter Speed.
Aperture: The Sweet Spot
For landscapes, you usually want everything from the blade of grass at your feet to the mountain in the distance to be sharp. This means you need a deep depth of field. Most landscape photographers live in the f/8 to f/16 range.
However, don't just crank it to f/22 and call it a day. Most lenses suffer from "diffraction" at their narrowest apertures, which actually makes the image softer. Usually, f/11 is the "sweet spot" for most glass. If you're looking for inspiration on how the greats handle this, read about the techniques behind Peter Lik’s landscape photography.
ISO: Keep it Clean
Keep your ISO as low as possible: typically ISO 100. This ensures your images are clean and free of "noise" or grain. Since you're (hopefully) using a tripod, you don't need to worry about a slow shutter speed, so there's no reason to bump the ISO unless you're shooting the Milky Way or trying to freeze a moving object in low light.
Shutter Speed: Creative Motion
This is where the magic happens. A fast shutter speed (1/1000s) freezes a crashing wave, while a slow shutter speed (2s to 30s) turns that same wave into a misty, ethereal dream. If you are struggling with blurry images even on a tripod, try using a 2-second timer or a remote shutter release. Even the act of pressing the button can cause enough vibration to ruin a shot.
3. Composition: Leading the Eye
A great landscape isn't just a "pretty view." It’s a story told through the frame. You want to guide the viewer’s eye through the image so they feel like they are standing there with you.
The Rule of Thirds
Imagine your frame is divided into a 3×3 grid. Place your main subject: a tree, a rock, or the horizon: along those lines or at the intersections. Placing the horizon right in the middle often makes a photo feel "cut in half" and stagnant. Try putting the horizon on the bottom third to emphasize a dramatic sky, or the top third to show off interesting foreground textures.
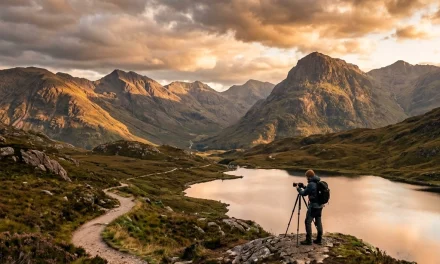
Leading Lines
Use natural lines to "point" the viewer toward your subject. This could be a winding path, a river, a fallen log, or even the shadows of a fence. These lines create a sense of depth and movement. For more advanced ideas on how composition can change a viewer's perspective, look at vistas and perspectives: manipulating real estate perception: the same principles apply to the great outdoors.
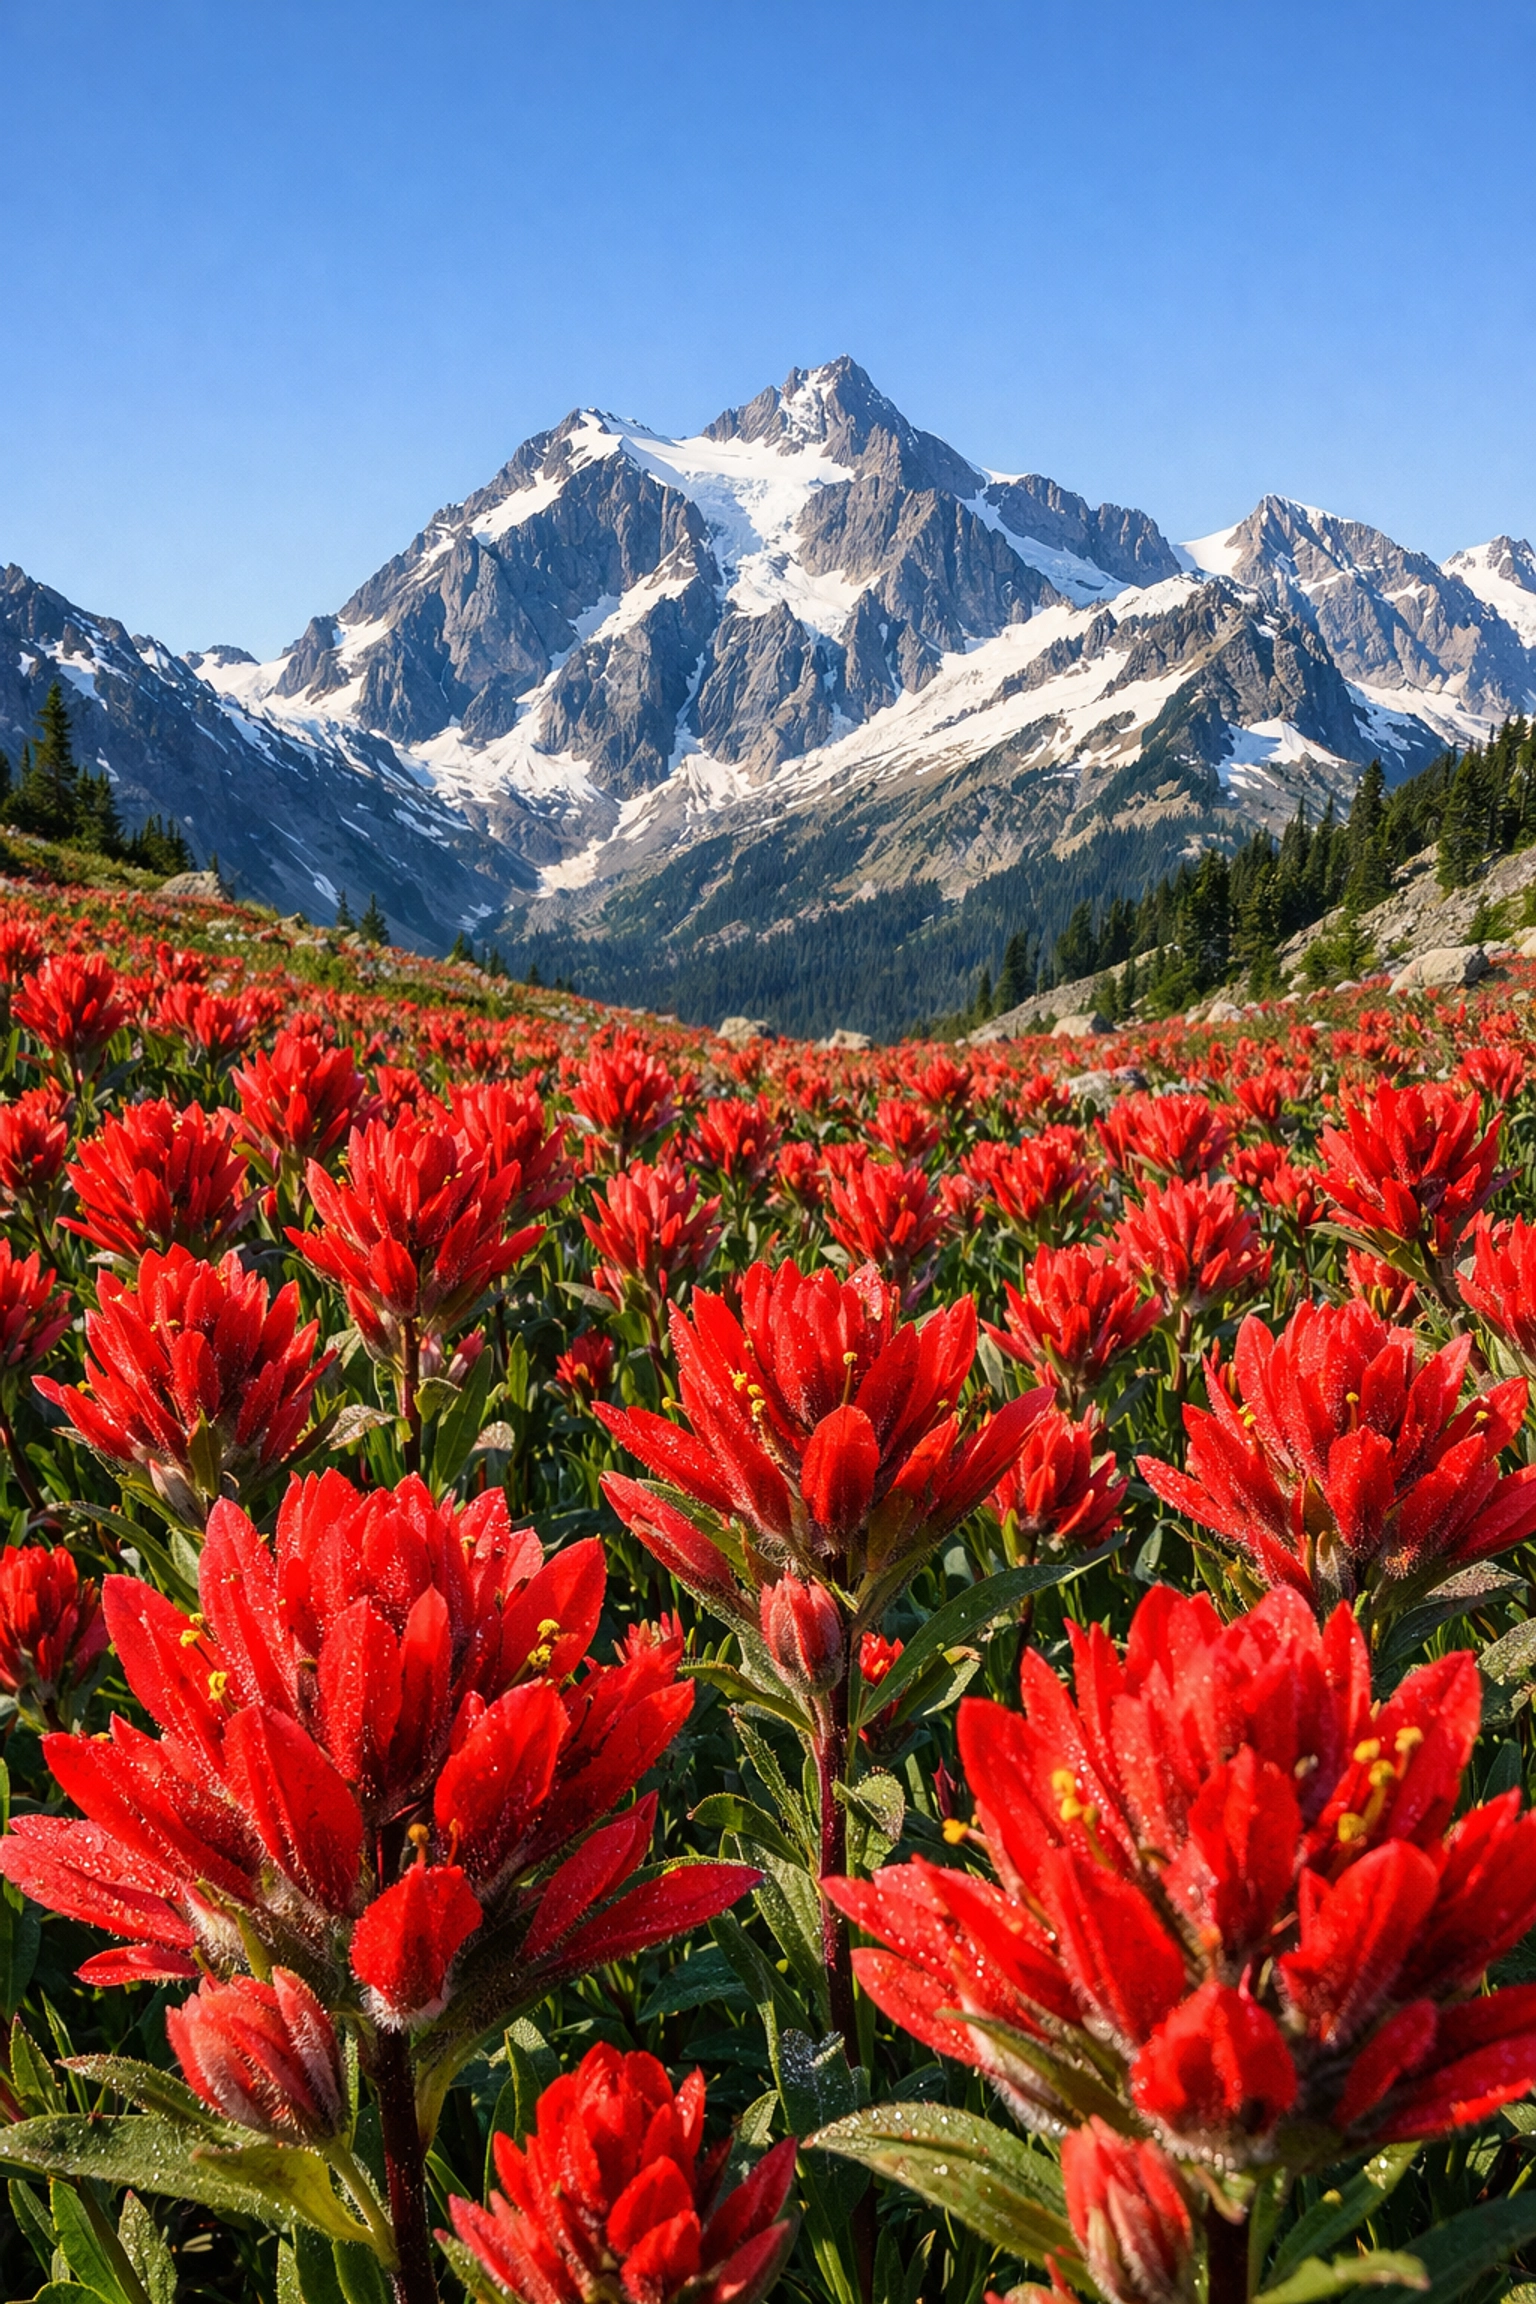
The Foreground is King
One of the biggest mistakes beginners make is ignoring what’s right in front of them. A grand mountain range is nice, but if there's nothing in the foreground, the image feels flat. Find a cool rock, some colorful flowers, or an interesting ice formation to "anchor" the bottom of your frame. This adds a 3D feel to a 2D medium.
4. Chasing the Light
You can have the best gear and the best composition, but if the light is garbage, the photo will be garbage. Mid-day sun is harsh, creates ugly shadows, and washes out colors.
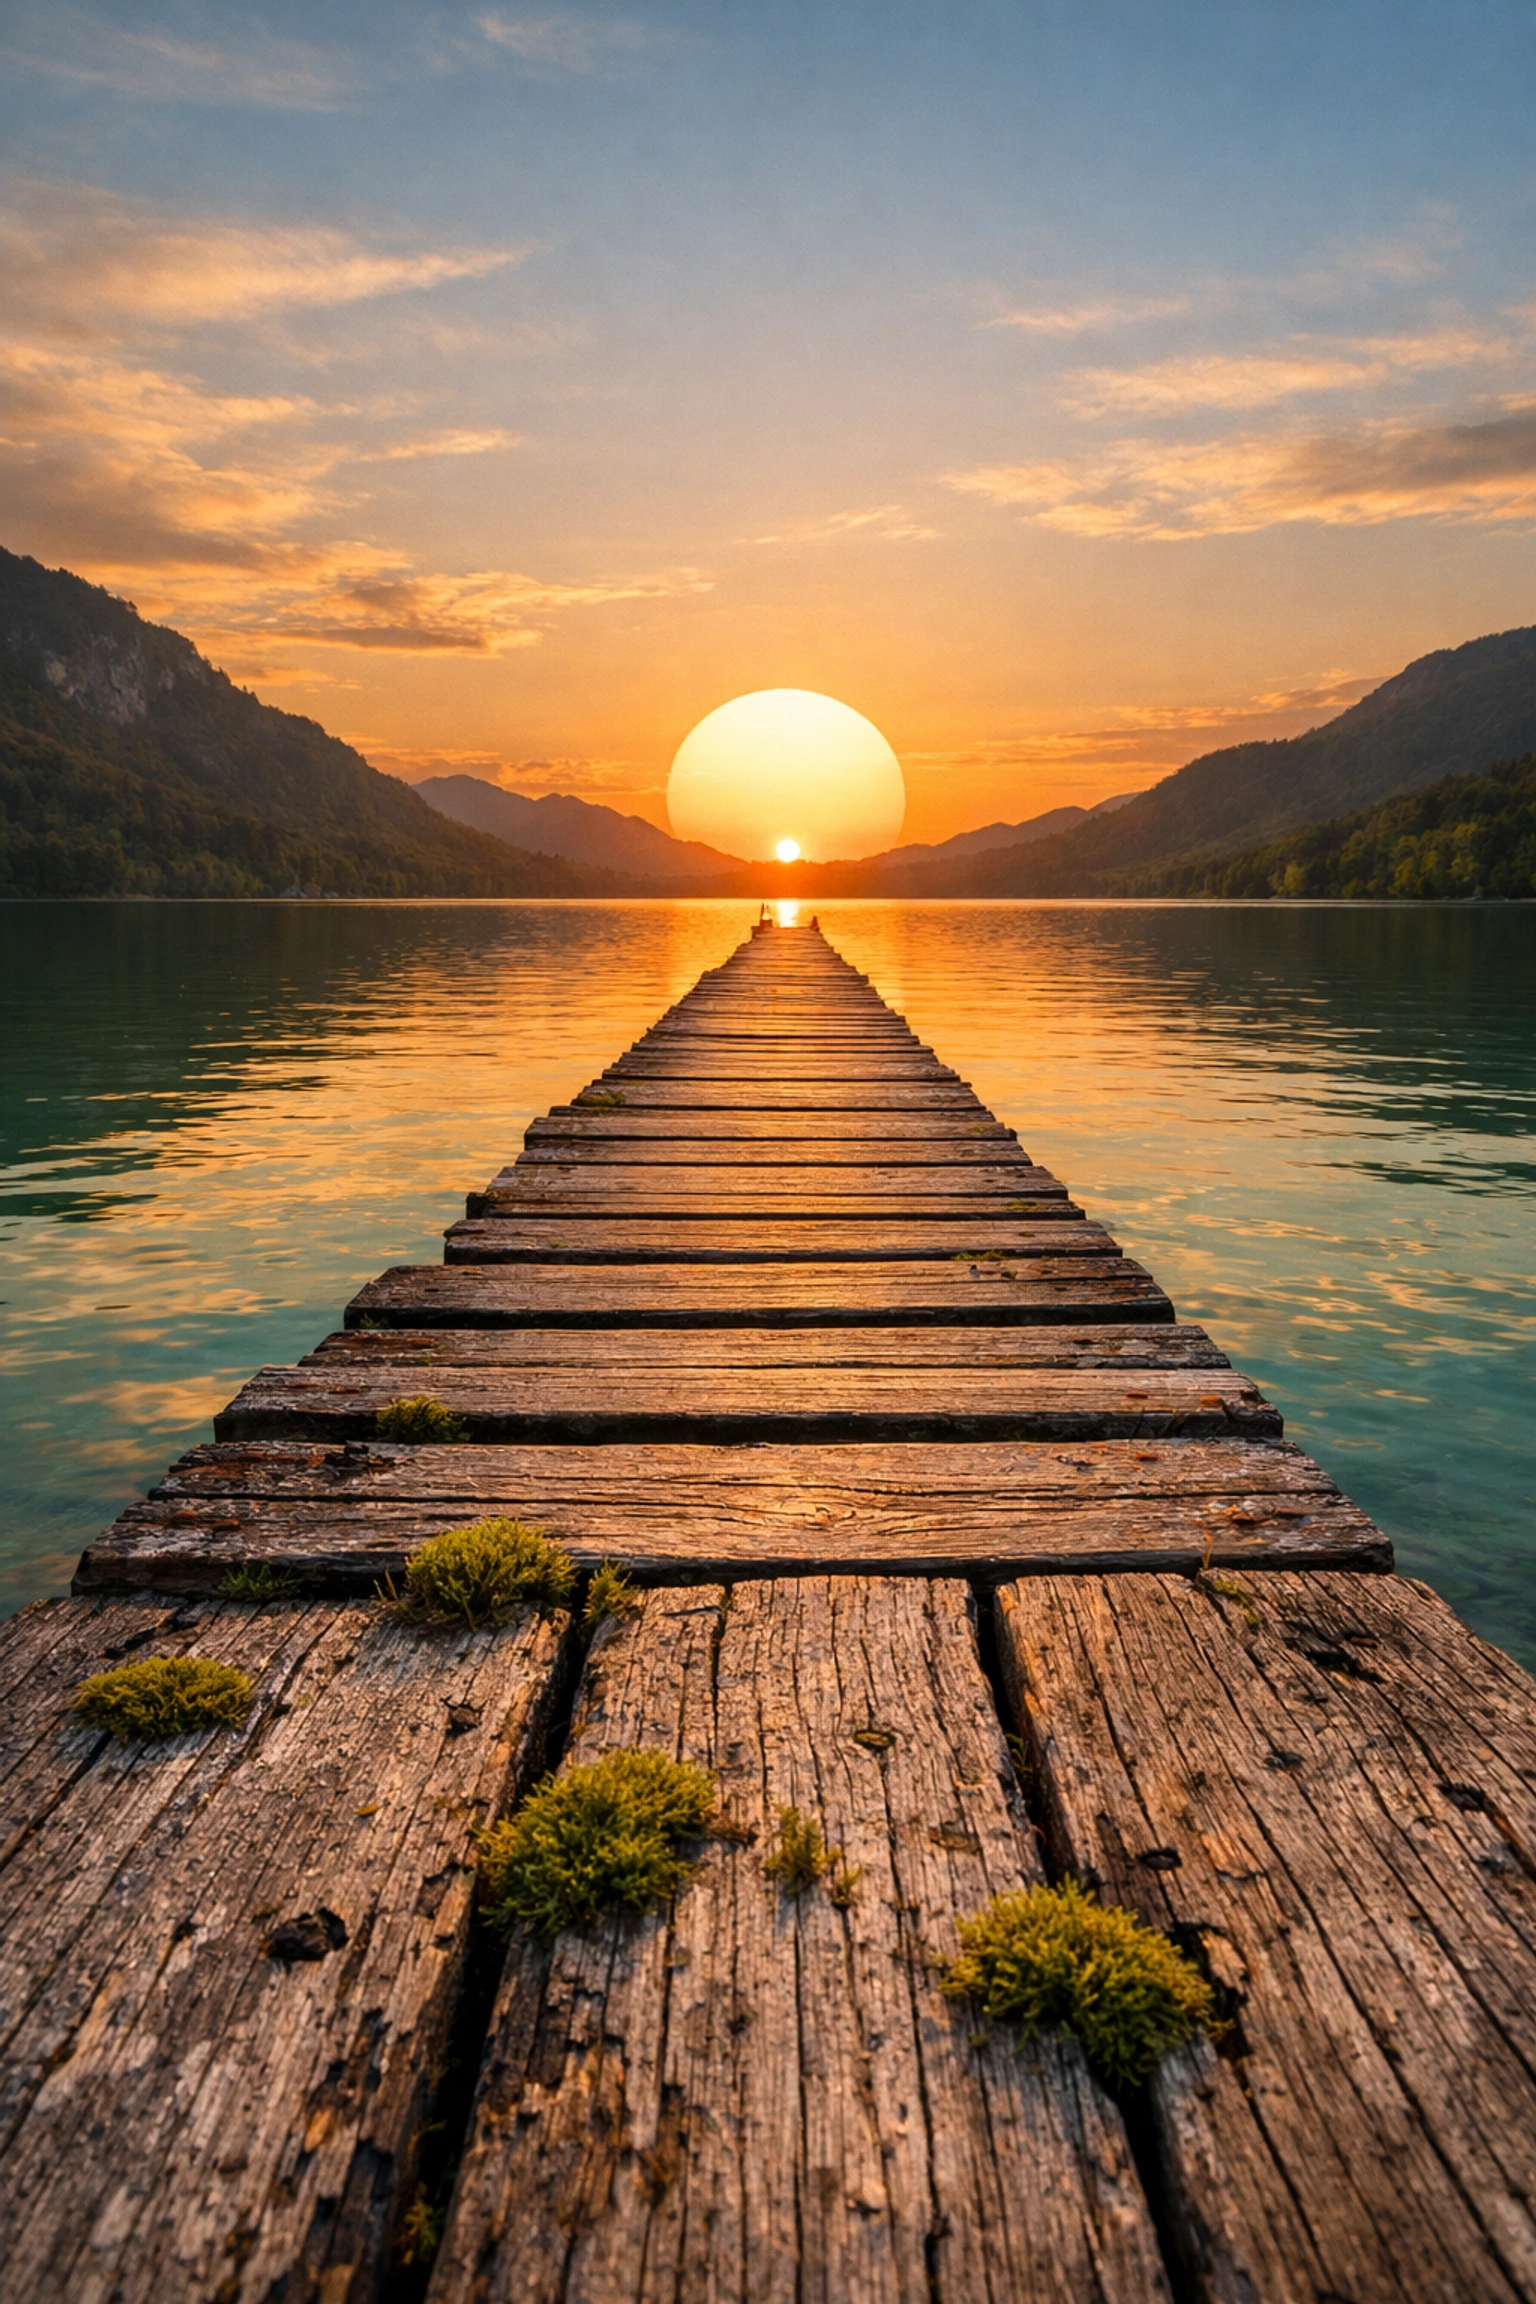
The Golden Hour
This is the hour after sunrise and the hour before sunset. The light is warm, soft, and hits the landscape at an angle, creating long shadows that reveal texture. This is when the pros do 90% of their work. If you want to see how this kind of light impacts high-end work, check out Peter Lik’s iconic works through the years.
The Blue Hour
Don't pack up your gear as soon as the sun dips below the horizon! The "Blue Hour" occurs about 20-30 minutes after sunset. The sky turns a deep, moody blue, and the world takes on a tranquil, ethereal glow. This is a fantastic time for long exposures and city-meets-nature landscapes.
Weather is Your Friend
Blue skies are boring. Stormy clouds, fog, and mist add drama. Some of the best landscape photos ever taken were shot right as a storm was breaking. If you see clouds rolling in, don't run for the car: grab your rain cover and get ready.
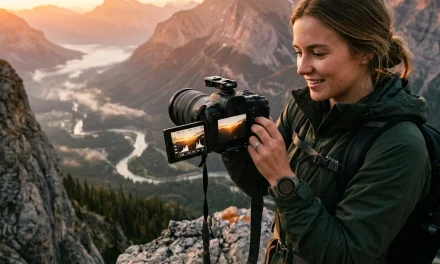
5. Sharpness and Technical Precision
Getting a "sharp" photo involves more than just a good lens. It involves understanding the physics of your camera.
Hyperfocal Distance
This sounds like a sci-fi term, but it’s actually quite simple. The hyperfocal distance is the point of focus where everything from half that distance to infinity is in focus. There are plenty of apps to help you calculate this, but a good rule of thumb is to focus about one-third of the way into your scene.
Focus Stacking
Sometimes, the laws of physics won't let you get a flower two feet away and a mountain five miles away both perfectly sharp in one frame. In this case, you use focus stacking. You take 3 or 4 shots without moving the tripod, changing only the focus point for each shot. Later, you blend them together in post-processing. For more technical deep dives, visit PhotoGuides.org.
6. Post-Processing: Making It Pop
The RAW file out of your camera is like a raw steak: it’s got potential, but you wouldn’t want to eat it yet. Post-processing is where you add the "flavor."
Non-Destructive Editing
Always shoot in RAW. This gives you the most data to work with when you’re trying to recover shadows or highlights. When it comes to editing, you want a tool that is powerful but easy to use.
We highly recommend using Luminar. It uses AI to help with things like sky replacement (when the weather didn't cooperate) and accenting natural light. It’s a game-changer for landscape photographers who want professional results without spending six hours in front of a computer.
Don't Overdo the Saturation
We've all seen those "radioactive" landscapes on Instagram where the grass is neon green and the sky is purple. Don't be that person. Use the HSL (Hue, Saturation, Luminance) sliders to subtly enhance colors. If you want to see how professional-grade editing looks, browse through Edin Fine Art to see how color and contrast can be balanced for a gallery finish.
7. Advanced Landscape Techniques
Once you've mastered the basics, it's time to play with some advanced techniques that will set your work apart.
Bracketing for High Dynamic Range (HDR)
Sometimes the sky is too bright and the foreground is too dark for the camera to handle in one shot. Bracketing involves taking multiple exposures: one for the sky, one for the midtones, and one for the shadows: and merging them. This prevents "blown-out" skies and "crushed" shadows.
Panoramas
If a wide-angle lens still isn't wide enough to capture the scale of a canyon, shoot a panorama. Take a series of vertical shots, overlapping each one by about 30%, and stitch them together later. This creates massive, high-resolution files that look incredible when printed large.
8. Finding Your Signature Style
The world doesn't need another generic photo of Horseshoe Bend or the Maroon Bells. While these spots are beautiful, the real goal of landscape photography is to find your own voice.
Learn from the Masters
Look at the work of others not to copy them, but to understand their "why." How do they use light? What do they leave out of the frame? You can find great lessons in landscape photography from Peter Lik on our blog, which explores how he became one of the most successful landscape photographers in history.
The Emotional Connection
The best photos come from a place of genuine interest. If you love the desert, shoot the desert. If you’re obsessed with the ocean, spend your time there. Your passion for the subject will show up in the final image. For more tips on finding your creative edge, check out blog.edinchavez.com.
9. Common Mistakes to Avoid
Even the pros mess up. Here are a few things to keep an eye on:
- Tilted Horizons: Use the built-in level in your camera. A tilted ocean looks like the water is leaking out of the frame.
- Sensor Dust: When you shoot at small apertures (f/11+), dust on your sensor becomes very visible as dark spots in the sky. Keep your sensor clean or be prepared to spend time in Luminar spotting them out.
- Ignoring the Mid-Ground: We talk about foreground and background, but don't forget the middle. A lack of mid-ground elements can make the jump from foreground to background feel jarring.
- Not Checking the Edges: Before you click the shutter, look at the very edges of your frame. Is there a stray branch or a piece of trash sticking in? Adjust your position slightly to keep the frame clean.

10. Taking Your Work to the Next Level
Landscape photography is a journey, not a destination. You will have days where the weather is perfect, and you still come home with nothing you like. That’s okay. The act of being out in nature, observing the light, and practicing your craft is what matters.
If you are looking to turn your passion into a business or want to see how these techniques translate into other fields like high-end property imagery, check out is photography essential for real estate marketing. Whether you're shooting a mountain or a mansion, the rules of light and composition remain the same.
For those who want to see the pinnacle of what professional photography can achieve, visit Edin Studios or explore ProShoot.io for more industry insights.
Now, stop reading this, grab your tripod, and go find some light. The mountains are waiting.

