
Landscape photography is a lot like dating. It requires patience, an alarm clock that goes off way too early, and a willingness to get a little dirty. You’re trying to capture the essence of a place, but Mother Nature doesn't always want to cooperate. Sometimes she gives you a stunning sunset; other times, she dumps three inches of rain on your expensive glass.
Whether you are standing on the edge of the Grand Canyon or in your local park, the goal is the same: to create an image that makes people stop scrolling and actually feel something. This isn't just about snapping a picture of a tree. It’s about storytelling, technical precision, and a bit of luck.
If you’re ready to stop taking "nice" photos and start creating epic ones, you’re in the right place. Let’s dive into the ultimate guide to landscape photography.
1. The Gear: It’s Not Just About the Camera
Let’s get one thing straight: a fancy camera doesn't make you a great photographer any more than a fancy oven makes you a Michelin-star chef. However, having the right tools for the job makes life a whole lot easier.
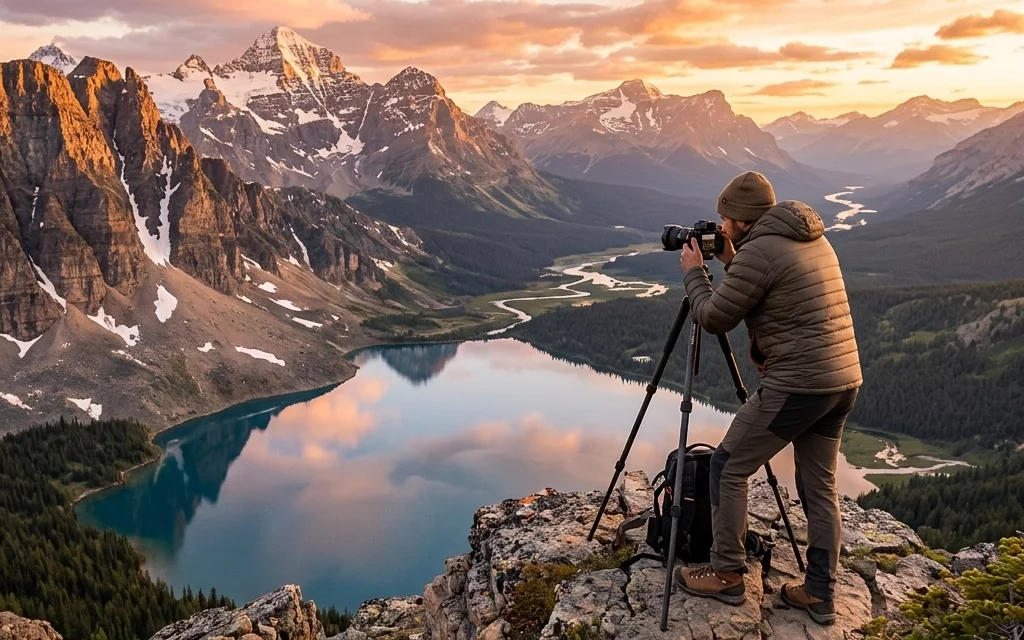
The Tripod is Your Best Friend
If you want sharp landscape photos, you need a tripod. Period. Even in the brightest daylight, a tripod allows you to slow down and think about your composition. When the light fades during the "Golden Hour," a tripod becomes non-negotiable. It allows for longer shutter speeds without the dreaded camera shake. If you're looking for more technical breakdowns on gear, check out PhotoGuides.org for some solid reviews.
Filters are Like Sunglasses for Your Lens
In the digital age, many people think they can "fix it in post." While Luminar is incredibly powerful for enhancing your shots later, some things are better handled in-camera.
- Circular Polarizer: This is the MVP. It cuts glare on water, makes clouds pop, and saturates the greens in a forest.
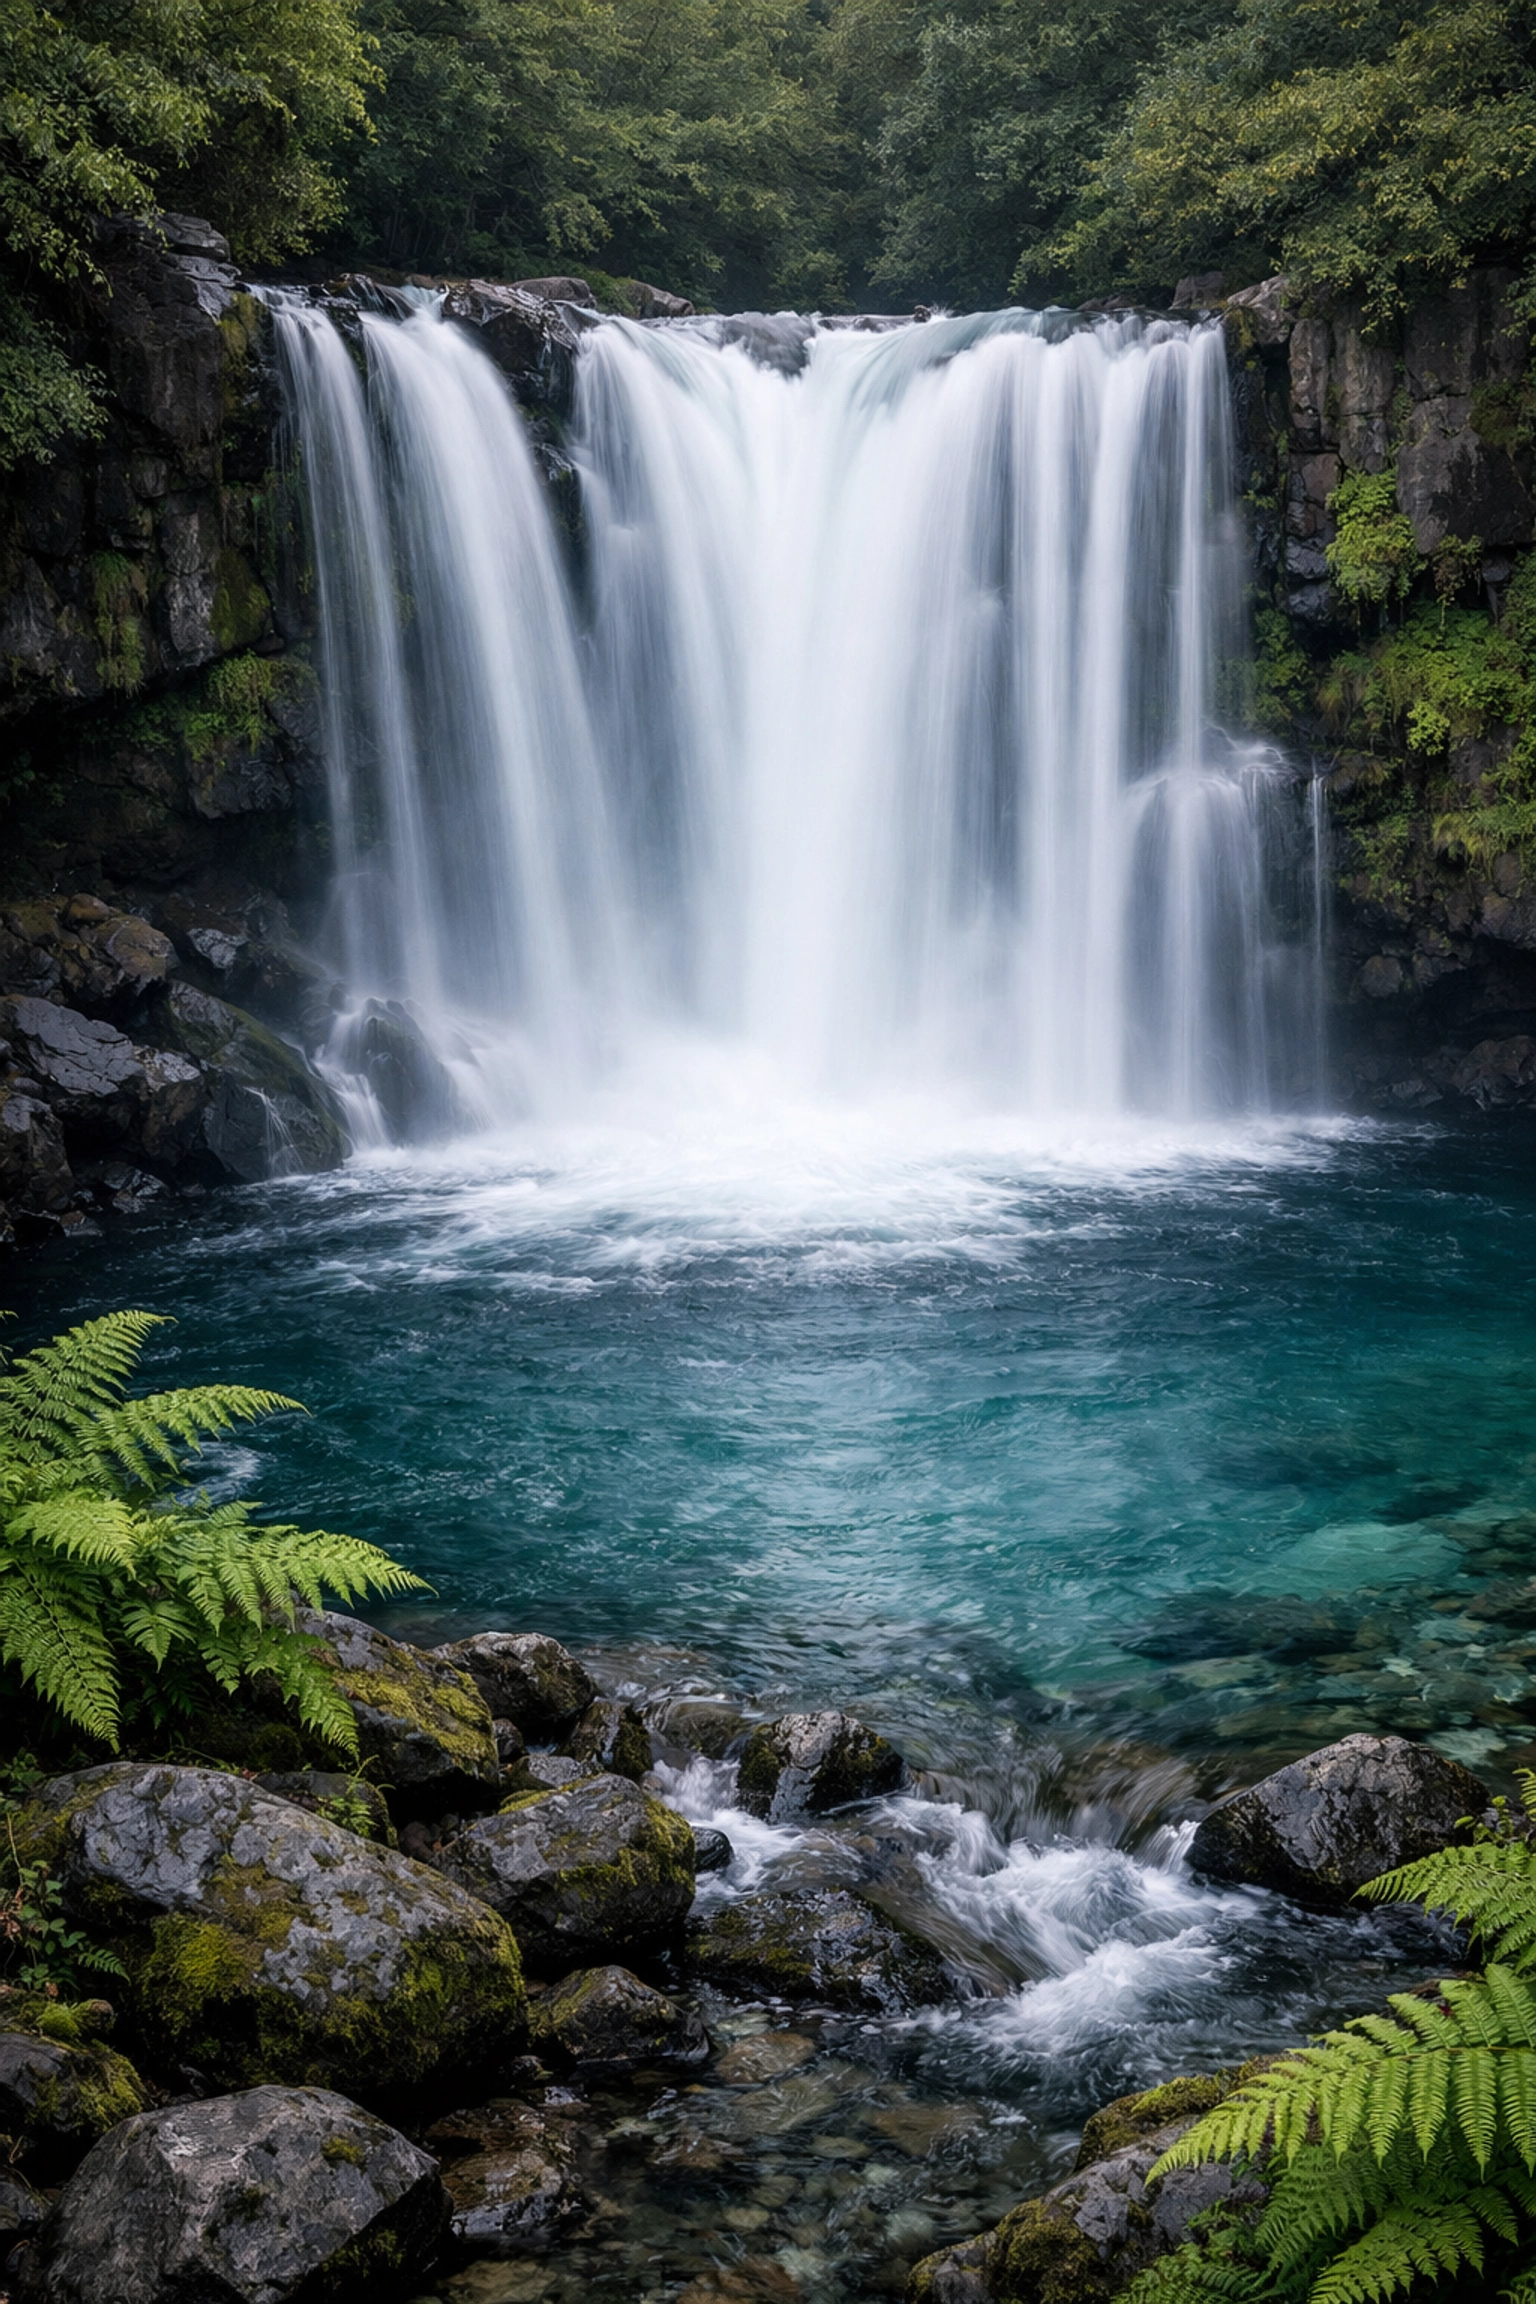
- Neutral Density (ND) Filters: These are like dark sunglasses that let you use long shutter speeds even in bright light, turning a waterfall into silky smooth magic.
2. Master the Technical Triangle
You can’t cheat physics. Understanding how ISO, Aperture, and Shutter Speed work together is the foundation of everything we do at Shut Your Aperture.
Aperture: The Depth of Field King
For landscapes, you generally want everything from the pebble at your feet to the mountain in the distance to be sharp. This means using a narrower aperture (a higher f-stop number).
- The Sweet Spot: Most lenses are sharpest around f/8 or f/11.
- Avoid f/22: You might be tempted to crank it to f/22 for maximum depth, but you’ll often run into "diffraction," which actually makes the image softer.
ISO: Keep it Clean
Keep your ISO as low as possible, usually ISO 100. This ensures the highest image quality with the least amount of digital noise. Landscape photography is about detail, and nothing ruins detail like a grainy sky.
Shutter Speed: Creating Motion
The shutter speed is where the drama happens. A fast shutter speed freezes a crashing wave, while a slow shutter speed (several seconds) turns that same wave into a mystical mist. If you’re struggling with the editing side of these long exposures, our long exposures lightroom editing video course can help you bring out those ethereal details.
3. Composition: The Art of Leading the Eye
Composition is what separates a snapshot from a photograph. It’s the way you arrange the elements in your frame to tell a story.
The Rule of Thirds (and When to Break It)
Imagine your frame is divided by two horizontal and two vertical lines. Placing your subject or the horizon along these lines creates more balance and interest than sticking everything right in the middle. But hey, if you have a perfectly symmetrical reflection in a lake, throw the rule of thirds out the window and center that bad boy.
Leading Lines
Use natural lines to lead the viewer’s eye into the frame. This could be a winding path, a fallen log, or a shoreline. You want to guide the viewer’s gaze toward your main subject.
Look for the "Z" Shape
Our eyes love to wander. A "Z" shape composition: like a river winding through a valley: keeps the viewer’s eye moving through the entire image. It creates a sense of depth that makes the photo feel three-dimensional. For more in-depth strategies, our guide on The Art of Landscape Photography goes deep into these visual psychology tricks.
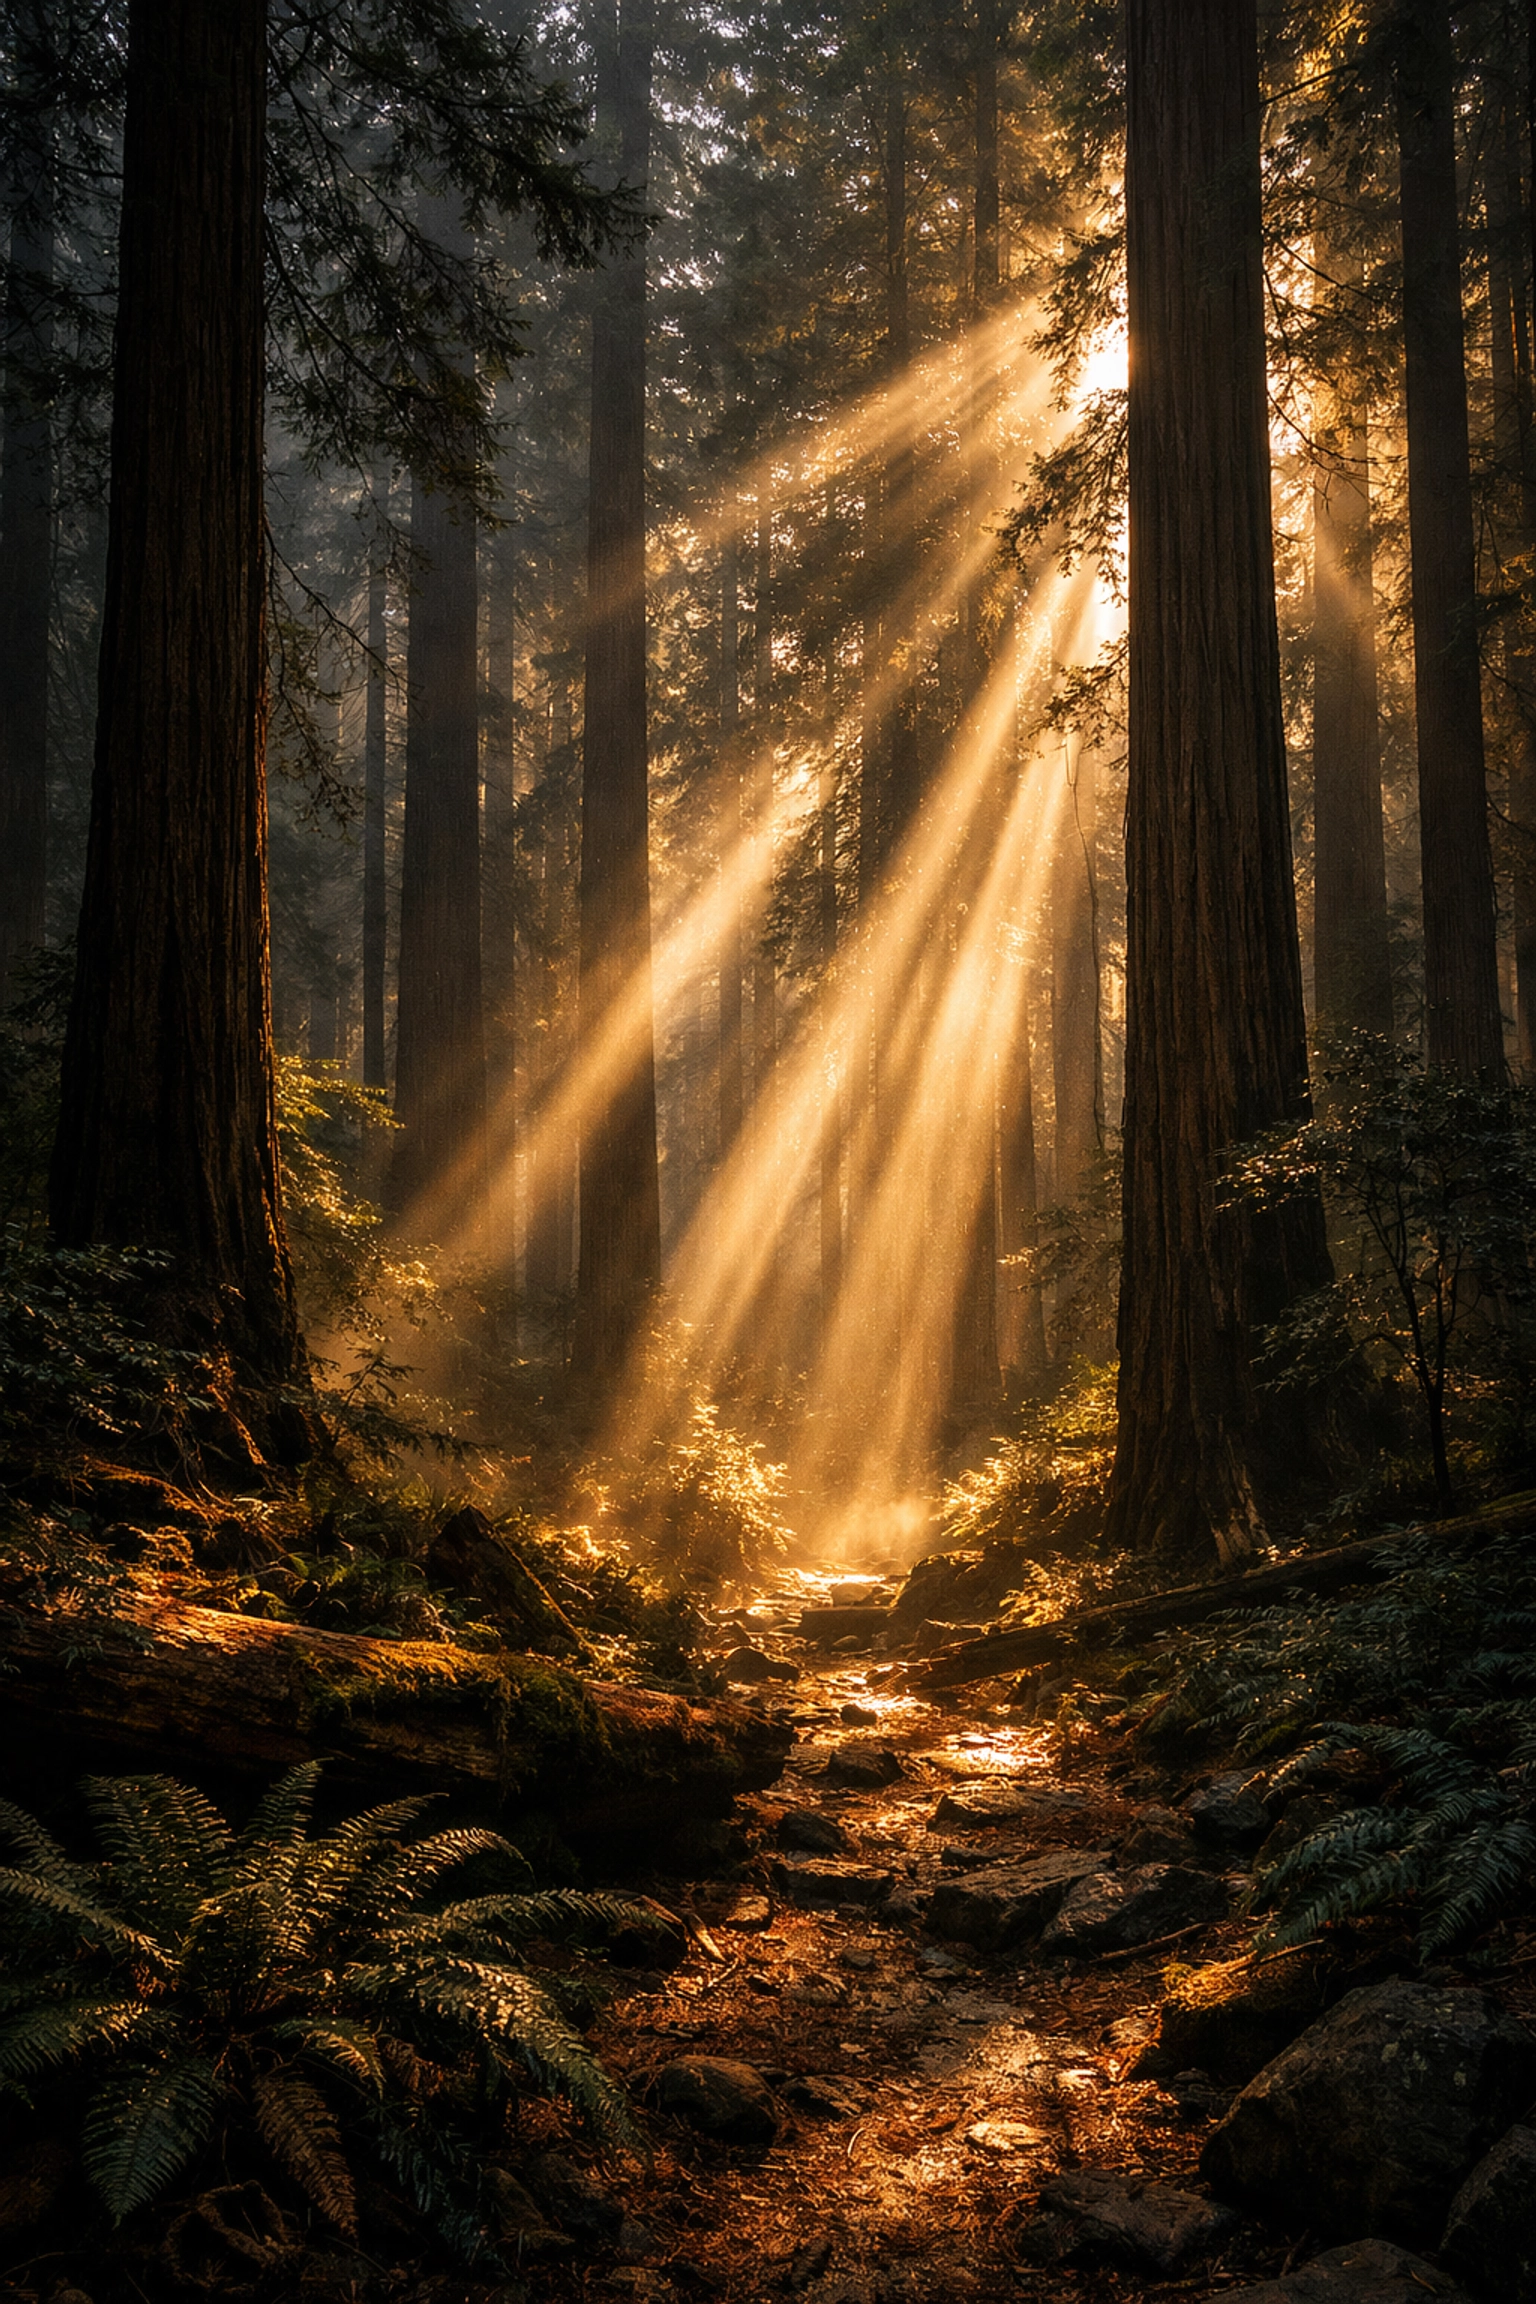
4. Light: The Secret Sauce
You can have the best composition in the world, but if the light is flat and boring, your photo will be too.
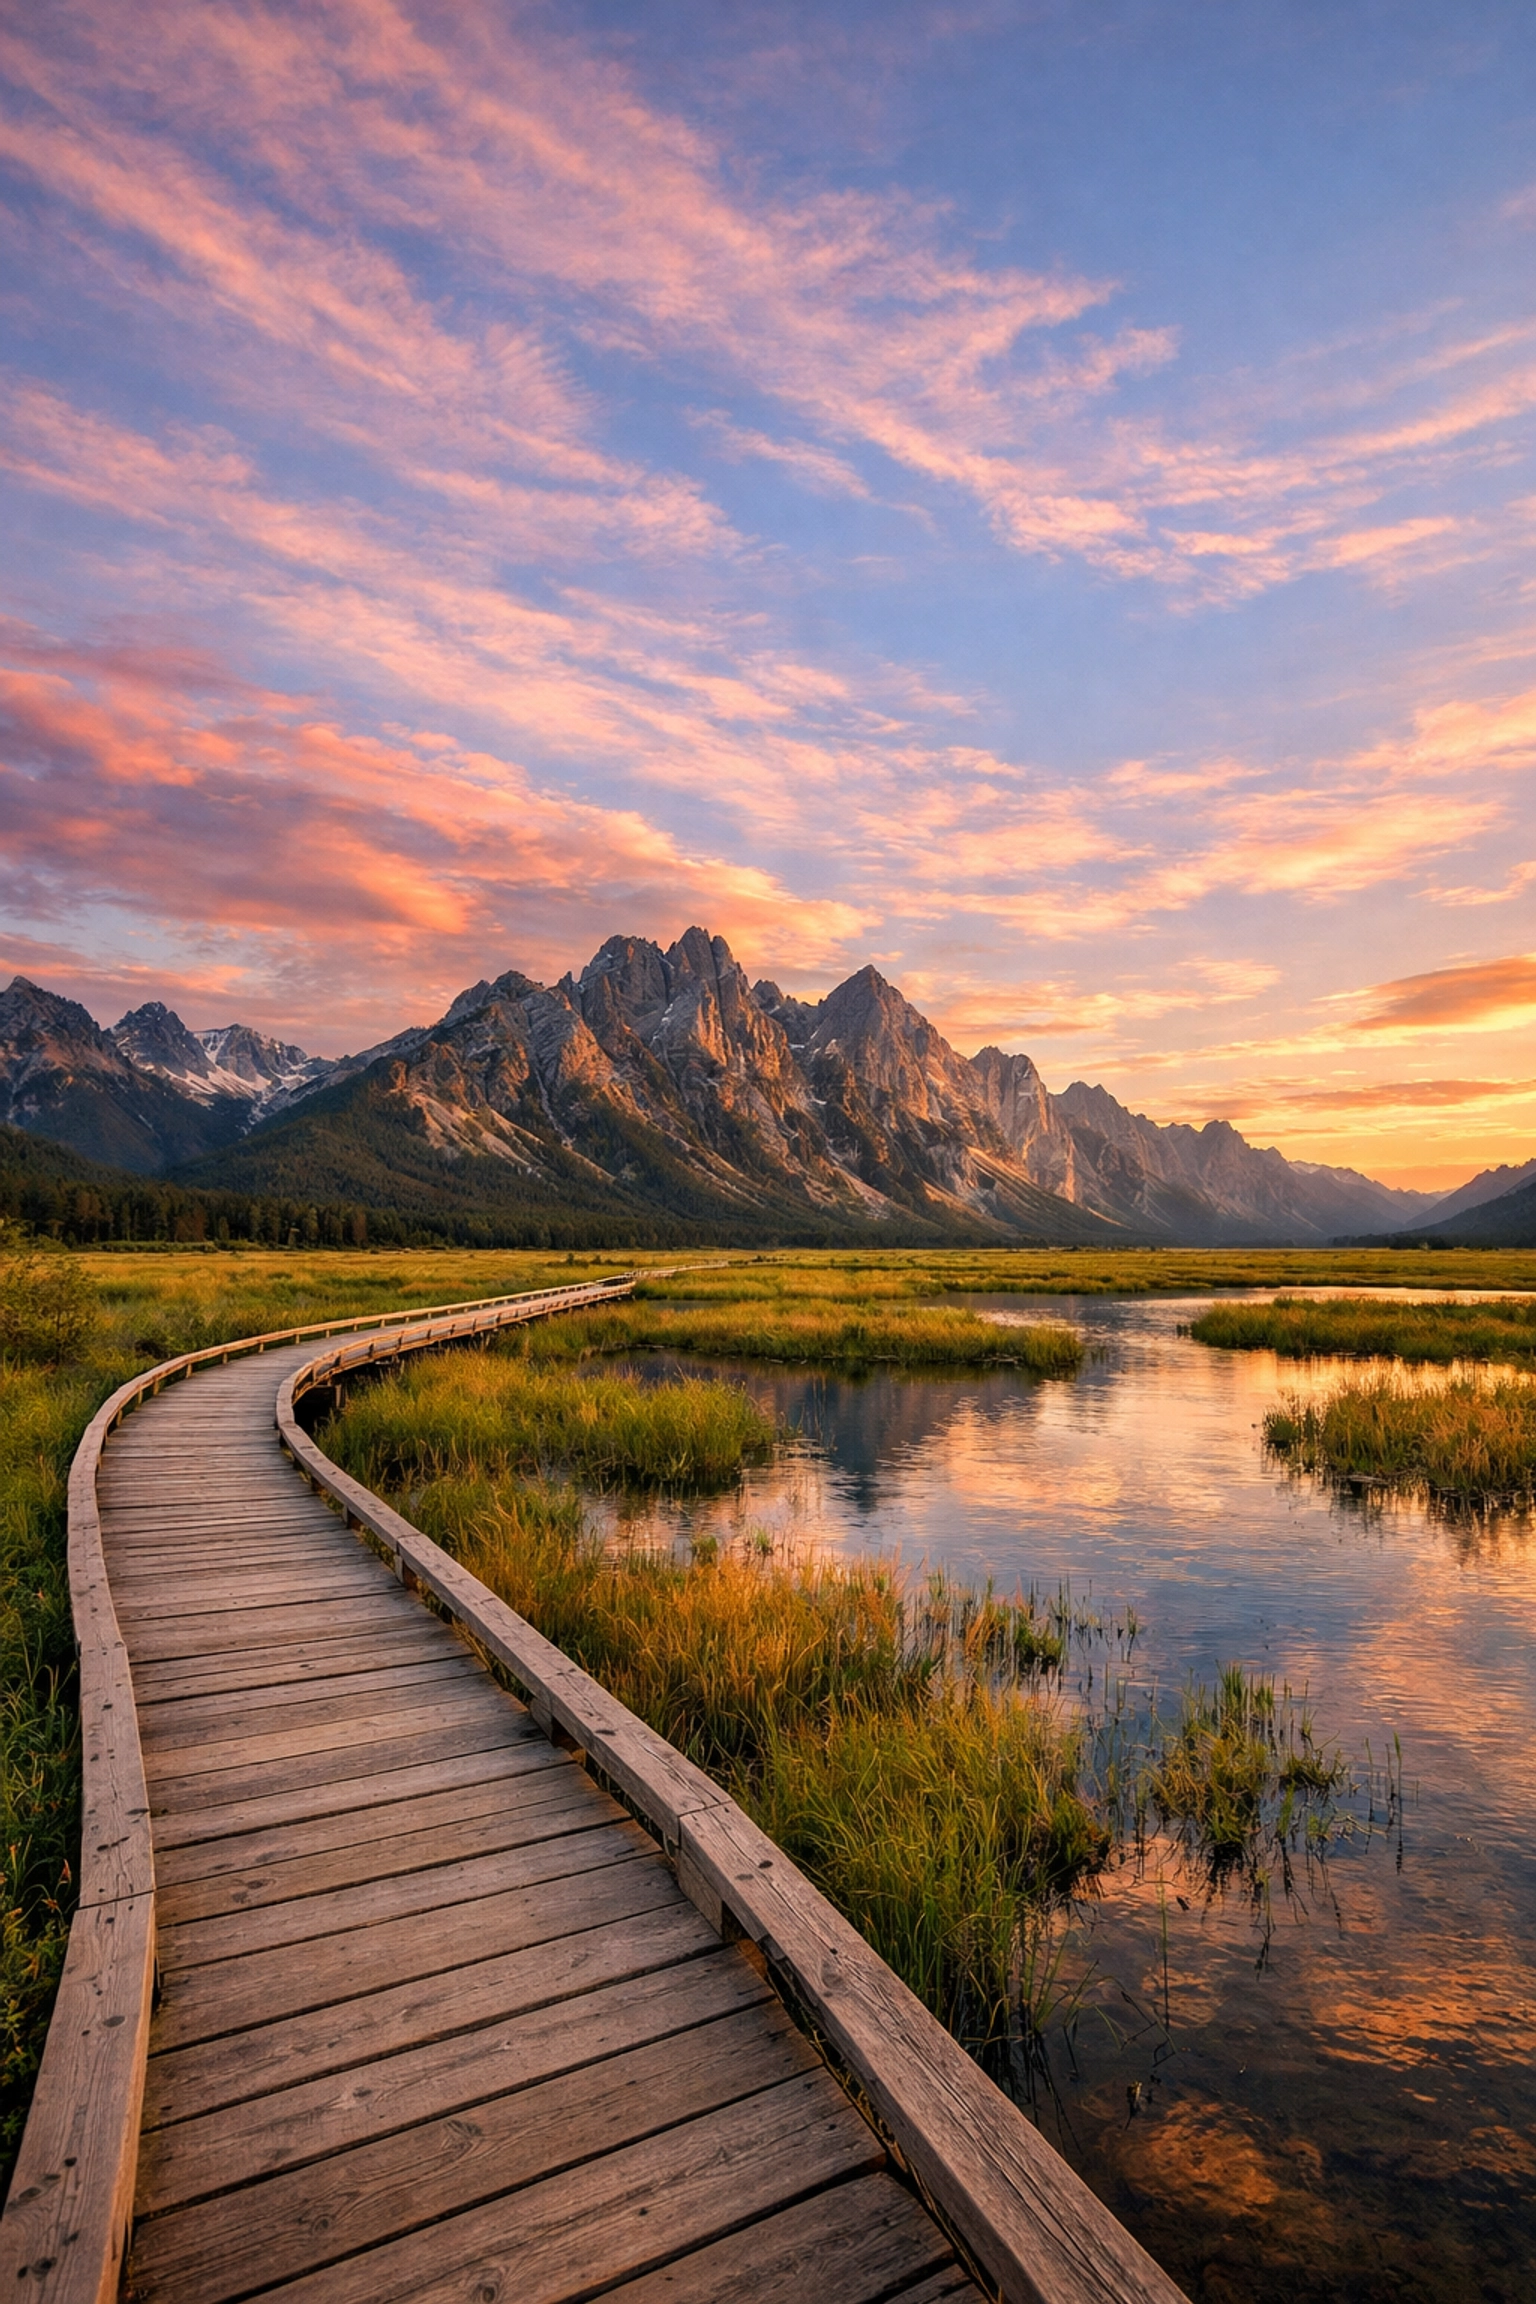
The Golden Hour
This is the hour after sunrise and the hour before sunset. The light is soft, warm, and creates long, beautiful shadows that add texture to the landscape. This is when the magic happens. If you want to see some world-class examples of light in action, head over to Edin Chavez's blog.
The Blue Hour
Don’t pack up as soon as the sun dips below the horizon. The "Blue Hour" occurs shortly after sunset when the sky turns a deep, cool blue. This is a fantastic time for cityscapes or landscapes with artificial light sources.
Don't Fear "Bad" Weather
Stormy skies, fog, and rain often produce much more dramatic photos than a clear blue sky. A clear sky is actually a bit of a landscape photographer’s nightmare: it’s just a big, empty blue void. Clouds add character and mood.
5. Advanced Techniques for the Pros
Once you’ve got the basics down, it’s time to level up.
Focus Stacking
Sometimes, even at f/11, you can't get that flower in the extreme foreground and the mountain in the background both sharp. Focus stacking involves taking multiple shots at different focus points and merging them in post-processing. It’s a game-changer for tack-sharp images.
Bracketing for HDR
The human eye can see a much wider range of light and dark than a camera sensor. Bracketing means taking three or more shots at different exposures (one for the sky, one for the shadows, and one for the middle). You then blend them to ensure you don't have "blown out" whites or "crushed" blacks. To speed up your workflow on these types of shots, you might want to try our HDR Lightroom presets.
6. The "Less is More" Philosophy
One of the biggest mistakes new landscape photographers make is trying to cram everything into one shot. If there’s a mountain, a lake, a forest, a cow, and a cabin, the viewer doesn't know where to look.
Exclude everything you possibly can.
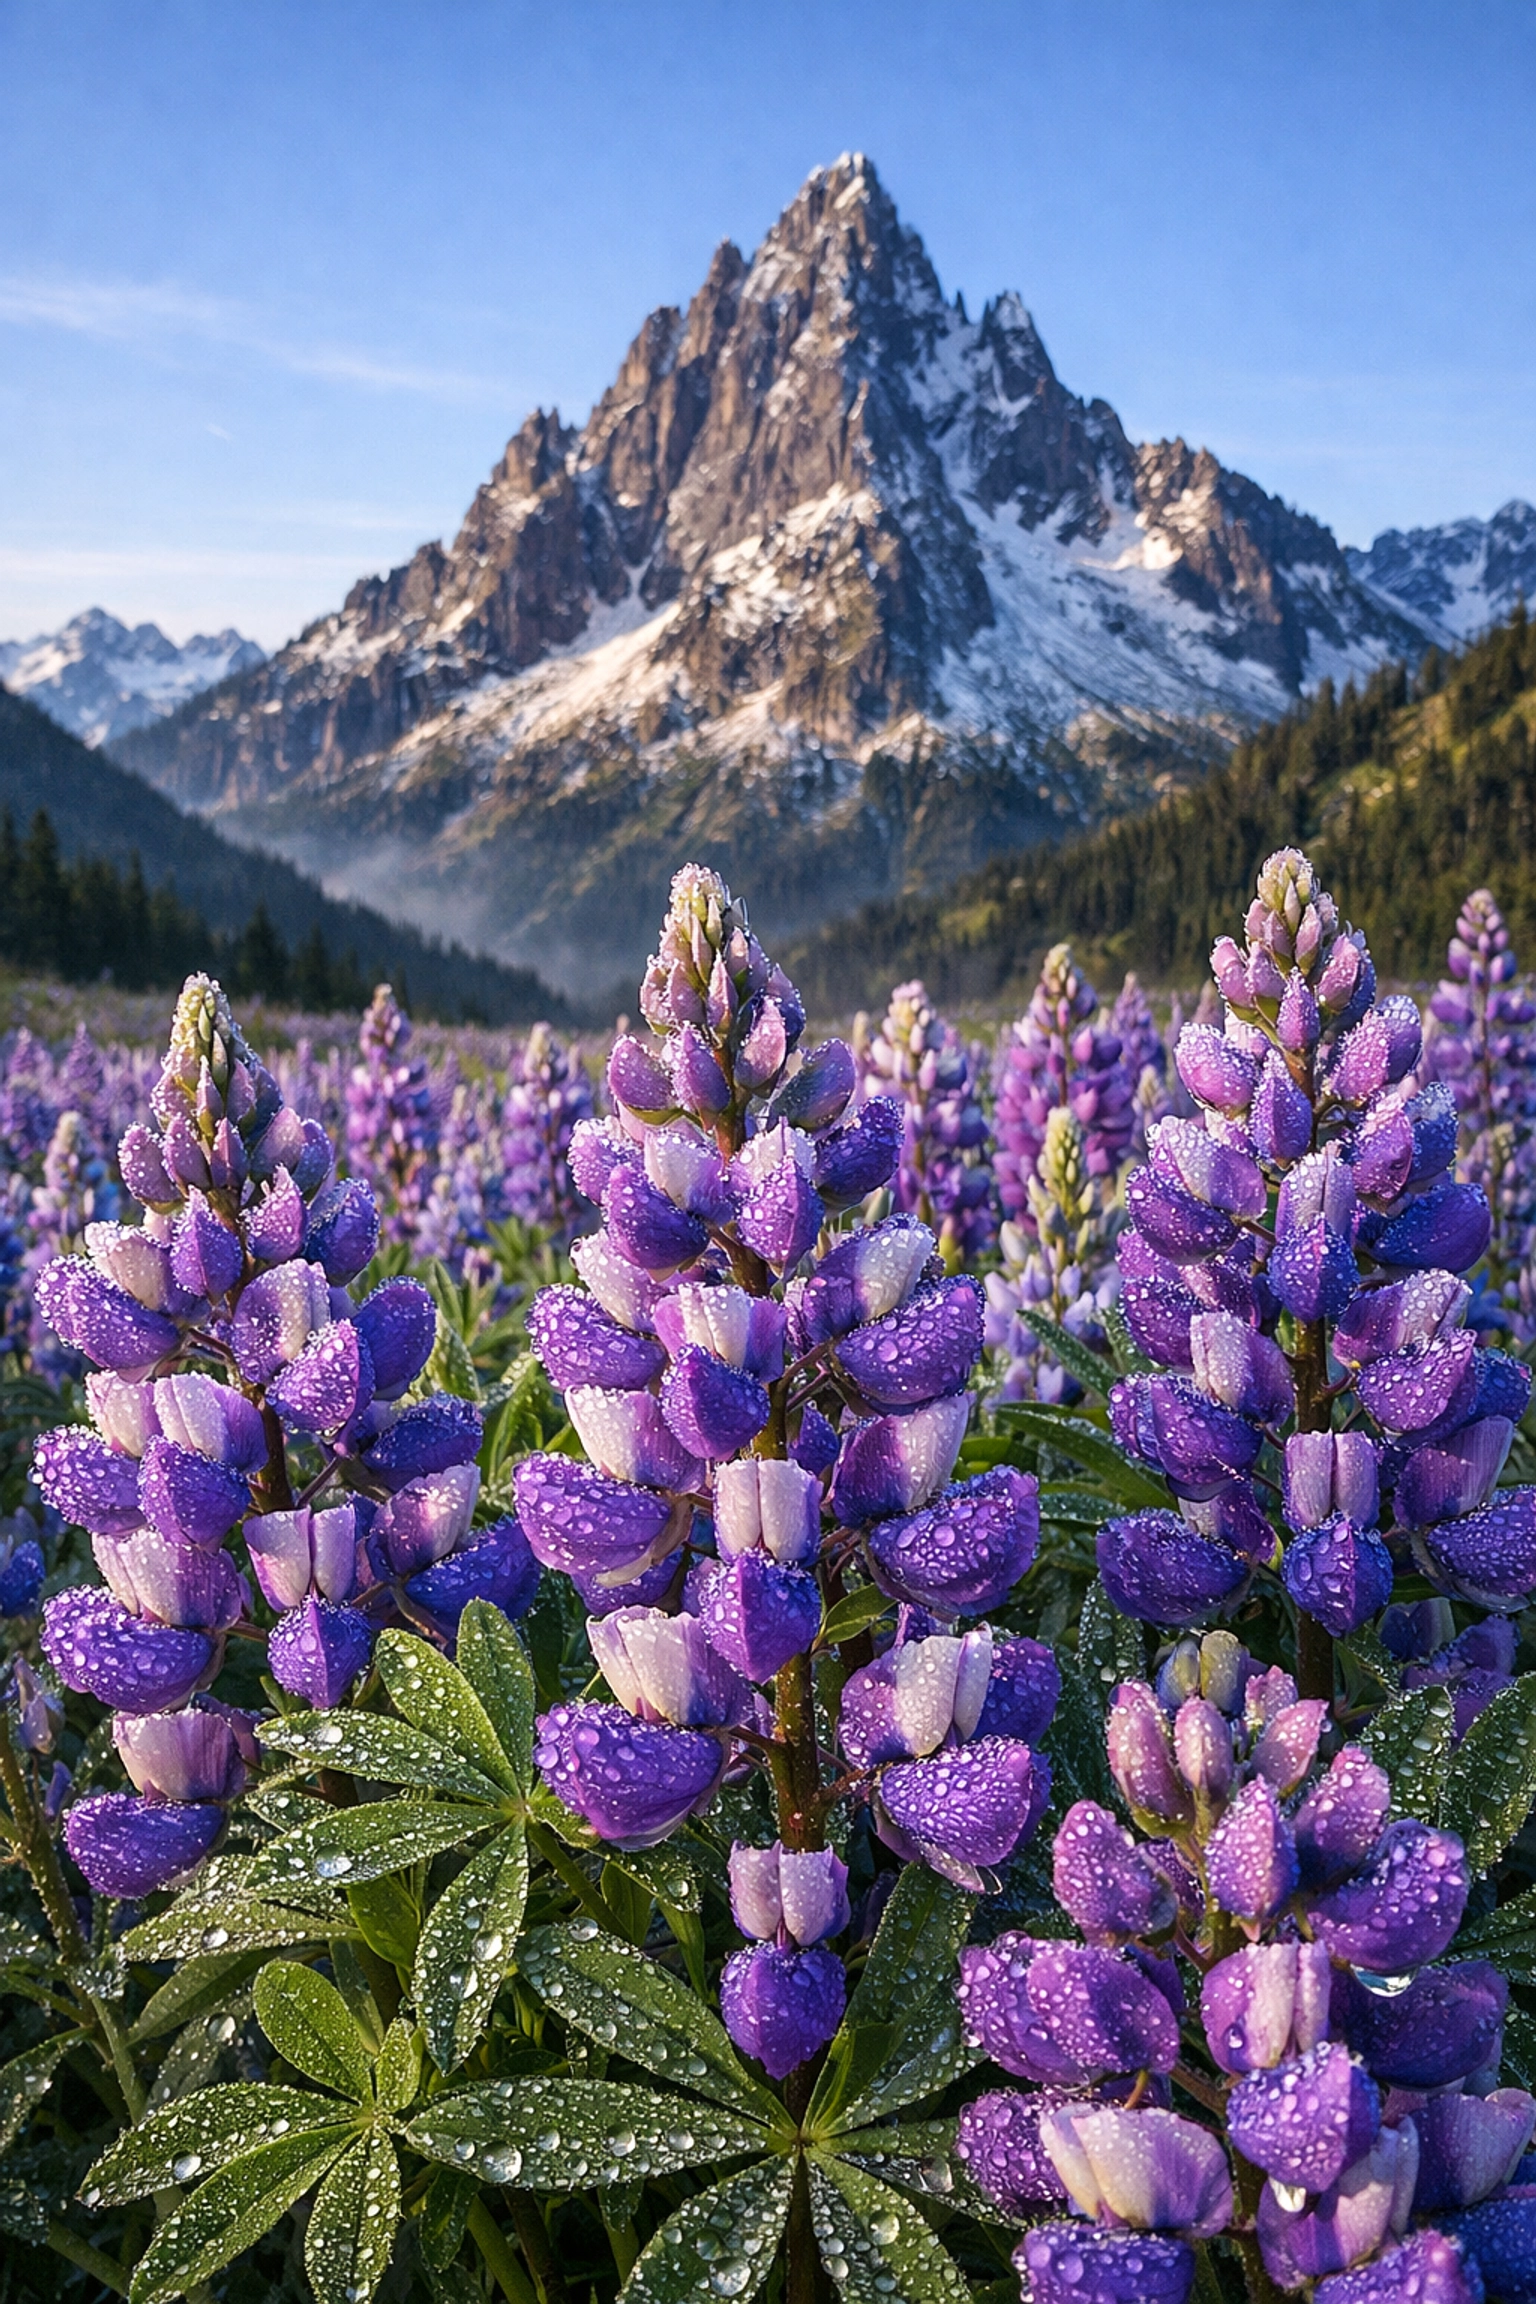
If an element doesn't add to the story, get it out of the frame. Move your feet, zoom in, or change your angle. Minimalism is powerful. Sometimes a single tree in a field of snow is more impactful than a whole mountain range.
7. Post-Processing: Bringing the Vision to Life
Editing is not "cheating." It’s an essential part of the photographic process that has existed since the days of film and darkrooms.
The Power of RAW
Always shoot in RAW. A RAW file contains all the data captured by your sensor, giving you the most flexibility when editing. JPEGs are processed by the camera and throw away a lot of that precious data.
Developing a Workflow
Whether you use Luminar or Lightroom, having a consistent workflow is key. Start with basic adjustments (exposure, contrast, white balance) before moving into more creative edits like color grading.
For those who want a head start, our landscape and cityscape lightroom presets are designed to give your photos a professional look with just a few clicks. If you're more of a DIY person, check out our dodge and burn lightroom editing video course to learn how to sculpt light manually.
8. Scouting and Preparation
Great landscape photos are rarely accidental. They are the result of planning.
- Google Earth is your friend: Use it to scout locations and see how the light will hit the terrain at different times of the day.
- Apps like PhotoPills: These apps tell you exactly where the sun, moon, and Milky Way will be at any given time.
- Check the weather: Not just for your safety, but to see if you’re going to get those epic clouds you’re hoping for.
If you’re traveling to a new city for some urban landscapes, browse www.proshoot.io to find local spots that other pros are using.
9. Emotional Connection
At the end of the day, a photograph should tell a story. Ask yourself, why am I taking this photo? Is it to show the scale of the world? The solitude of the desert? The power of the ocean?
If you feel something when you look through the viewfinder, chances are your audience will feel it too. Don't just document a place; interpret it. Use your settings and composition to convey a mood. A dark, moody forest requires a different approach than a bright, airy beach.
Final Thoughts
Landscape photography is a journey, both literally and figuratively. It gets you out into the world, forces you to slow down, and helps you appreciate the beauty that’s often right under your nose.
You’re going to fail. You’re going to wake up at 4 AM, hike three miles, and have the sky turn grey and dull. That’s okay. It’s all part of the process. The more you get out there, the more you’ll start to "see" the light before you even take your camera out of the bag.
Remember to coordinate with the rest of the community: Sonny, our Social Media Manager, loves seeing your results, so make sure to share your wins. And if you’re looking for more inspiration, Edin Fine Art has some incredible galleries that show what’s possible when you master these tips.
Now, stop reading this, pack your bag, and go find a horizon to shoot. Just remember to keep it simple, keep your ISO low, and for heaven's sake, bring a tripod.


