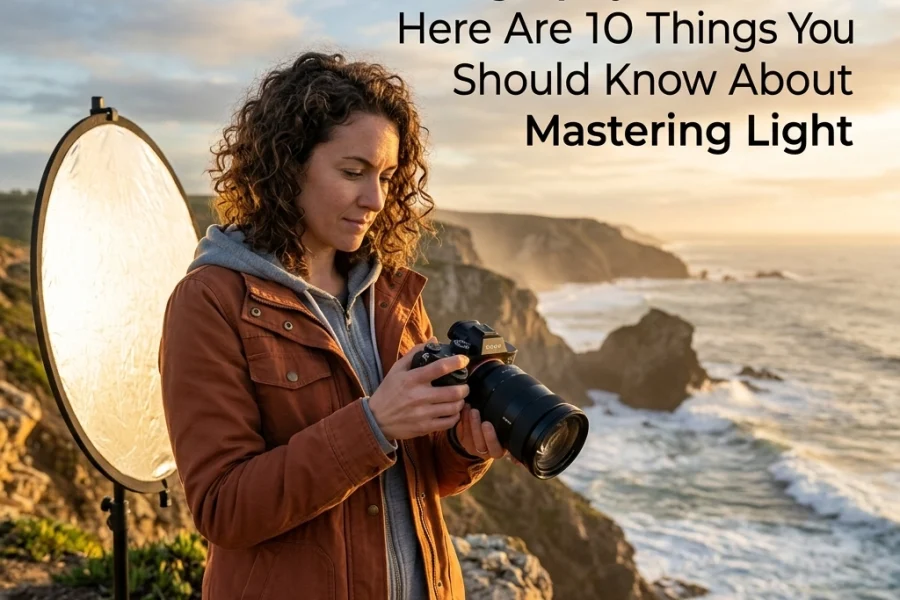
Landscape photography looks easy on paper. You find a big mountain, wait for the sun to do something cool, and press the shutter. Boom. National Geographic, right?
Well, not exactly. If it were that easy, we’d all be selling prints for thousands of dollars. Instead, most of us end up with a hard drive full of "meh" photos that don't quite capture how epic the scene actually felt. We’ve all been there: standing in front of a breathtaking vista, only to look at the back of the camera and wonder why the photo looks like a flat, boring postcard from 1994.
The truth is, landscape photography is a game of millimeters and minutes. A slight tilt of the camera or a five-minute delay in pressing the shutter can be the difference between a masterpiece and a digital paperweight. If you're struggling to level up your shots, you’re probably falling into a few common traps.
At Shut Your Aperture, we want you to stop taking snapshots and start making art. So, let’s break down the seven most common landscape photography mistakes and, more importantly, how to fix them for good.
1. The "Drunken" Horizon
Let’s start with the most basic, yet most distracting mistake: the crooked horizon. There is nothing that ruins a professional-looking landscape faster than a horizon line that’s tilted at a three-degree angle. Unless you’re trying to convey that the ocean is literally leaking out of the frame, keep it level.
Even a slight tilt can make a viewer feel subconsciously uneasy. It feels "off."
The Fix: Most modern mirrorless cameras have a built-in electronic level. Turn it on! If your camera doesn’t have one, use the grid lines in your viewfinder. Align the horizon with one of the horizontal lines.
If you still mess it up in the field, you can fix it in post-processing. Tools like Luminar have incredibly easy "Horizon Leveling" tools that use AI to detect the line and straighten it for you instantly. Just remember that cropping to straighten will eat into your edges, so it's always better to get it right in-camera. For more foundational help, check out our Photography 101 guide.
2. Using the Wrong Lens (The Wide-Angle Trap)
When people think "landscape," they immediately reach for a 14mm or 16mm wide-angle lens. While wide glass is great for capturing grand scale, it can also be your worst enemy.
The problem with wide-angle lenses is that they push everything away from the camera. That massive, majestic mountain in the distance suddenly looks like a tiny molehill because your lens is trying to cram 180 degrees of sky and dirt into one frame.

The Fix: Don’t be afraid of the telephoto lens. Some of the best landscape shots are taken at 70mm, 200mm, or even 400mm. Long lenses compress the scene, making distant mountains look massive and layering the landscape in a way that wide lenses can't.
Next time you’re at a viewpoint, try zooming in. Look for patterns, textures, and specific peaks. If you're still deciding on what gear to add to your bag this year, take a look at our comparison on choosing the best mirrorless cameras for 2026.
3. The "Empty" Foreground
This is arguably the biggest mistake beginners make. You see a beautiful sunset over a lake, you point the camera at the lake, and you shoot. The result? A whole lot of "nothing" in the bottom half of your photo.
A great landscape photo needs layers: a foreground, a middle ground, and a background. Without a strong foreground element, the viewer has nowhere to "enter" the image. Their eyes just wander around aimlessly.
The Fix: Get low. Find a rock, a patch of flowers, a piece of driftwood, or even a leading line in the sand. By placing something interesting in the foreground, you create a sense of depth and scale. It pulls the viewer into the frame and leads their eye toward the main subject in the background.
If you're having trouble visualizing this, spend some time looking at the galleries on Shut Your Aperture to see how pros utilize foreground elements.
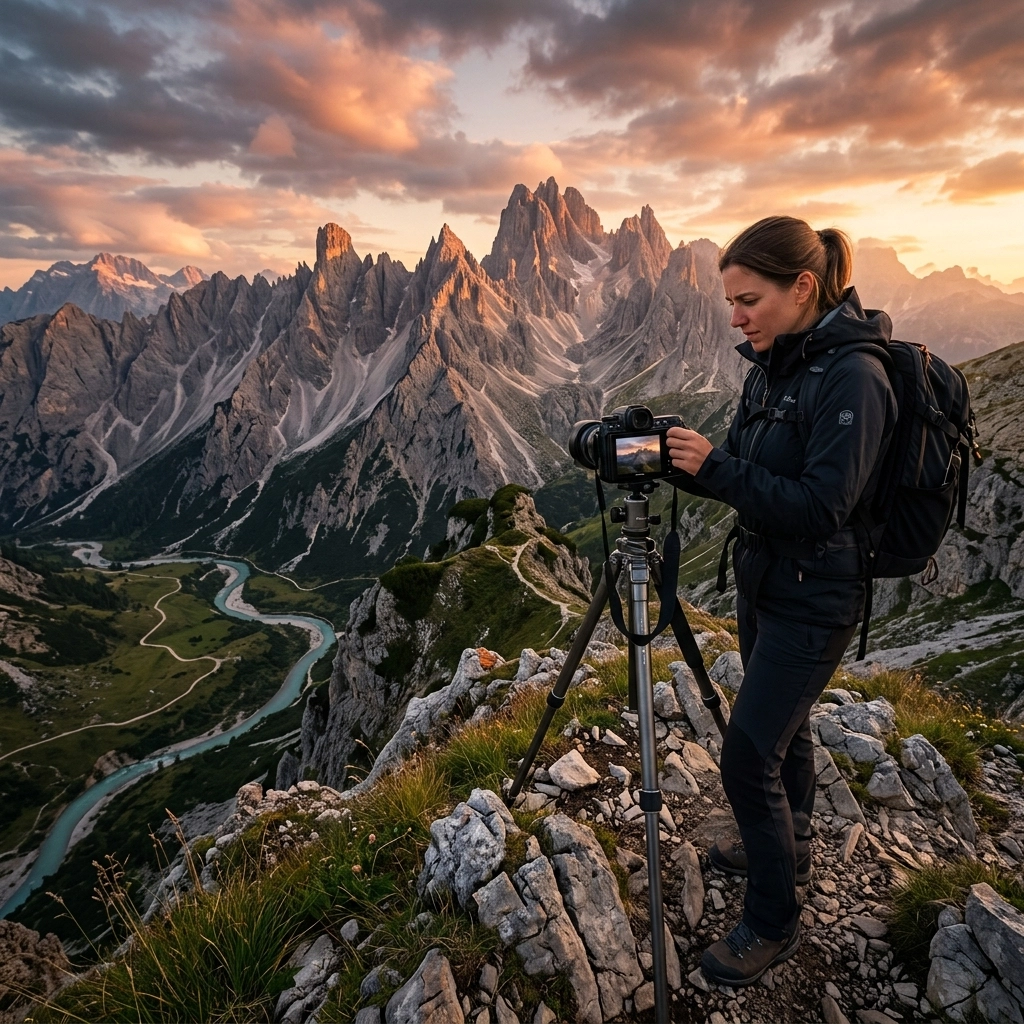
4. Shooting at the Wrong Time of Day
I get it: you’re on vacation, you’re hiking at 1:00 PM, and the view is incredible. You take the shot. But when you look at it later, the colors are washed out, the shadows are harsh and "crunchy," and the sky is a boring, bright white.
The sun is a landscape photographer's best friend and worst enemy. Mid-day light is flat and unflattering. It kills texture and creates high-contrast shadows that are nearly impossible to recover.
The Fix: Chase the "Golden Hour" (the hour after sunrise and the hour before sunset) and the "Blue Hour." This is when the light is soft, directional, and full of color. The long shadows during these times reveal the texture of the land, making everything look three-dimensional.
If you absolutely must shoot in the middle of the day, look for overcast skies. Clouds act as a giant softbox, providing even lighting that is great for forest scenes or waterfalls. To understand more about how light interacts with your sensor, check out our guide on mastering manual mode.

5. Not Having a Clear Focal Point
One of the most frequent landscape photography mistakes is trying to "capture everything." You find a beautiful valley and try to fit every single tree, hill, and cloud into the shot. The problem? The viewer doesn’t know what they’re supposed to be looking at.
A photo without a focal point is just visual noise. You need a "hero" in your shot: a lone tree, a specific peak, a cabin, or even a person.
The Fix: Before you click the shutter, ask yourself: "What is the subject of this photo?" If you can’t answer that in one word, your composition is likely too busy. Simplify the scene. Use your feet to move around until the distracting elements are gone and your main subject stands out.
Sometimes, using AI-powered tools in Luminar can help you emphasize a subject through selective blurring or relighting, but nothing beats a solid composition from the start.
6. Over-Processing (The "Nuclear" Sky)
We’ve all seen those photos on Instagram where the grass is neon green and the sky looks like a scene from an apocalyptic nuclear winter. It’s tempting to push those saturation and contrast sliders to 100, but over-editing is a surefire way to make your work look amateur.
"Crunchy" skies: where the clouds have weird halos or the blue looks unnaturally dark: are a major red flag. This often happens when you over-apply HDR effects or push the highlights too far down.
The Fix: Less is more. Start by getting your exposure right in-camera. If you're editing, use subtle adjustments. If you're using AI tools, like those discussed in our AI photo editing mistakes post, make sure you're adjusting the opacity of the effect.
A great tip from Edin Chavez over at blog.edinchavez.com is to walk away from your computer for 15 minutes after you finish an edit. When you come back with fresh eyes, you’ll often realize you went a little too far with the saturation.

7. Neglecting the Edges of the Frame
You’re so focused on that beautiful mountain in the center of your lens that you don’t notice the trash can, the stray branch, or the corner of a tripod leg creeping into the bottom corner of your frame.
These "edge distractions" pull the viewer’s eye away from the subject and out of the photo. They make the shot feel cluttered and unpolished.
The Fix: Develop a "border patrol" habit. Before you take the shot, run your eyes around the very edges of your viewfinder. Is there anything cutting into the frame that shouldn't be there? If so, shift your position slightly or adjust your focal length.
It’s much easier to move your camera two inches to the left than it is to try and clone out a complex tree branch later. For those interested in more technical perfection, our tips on professional corporate headshots actually share a lot of the same principles regarding distracting backgrounds.
The Role of Technology in 2026
Since we are living in the golden age of photography tech, it would be a mistake not to mention how AI is changing the game. We’ve written extensively about why AI-powered mirrorless tech is a big deal. Features like AI subject tracking and advanced dynamic range processing are making it easier to avoid technical errors like blown-out highlights or missed focus.
However, technology can't fix a bad composition. You still need to understand the "why" behind the "how."
Working with the Team
I’ve been chatting with Sonny, our Social Media Manager, and we’re going to be sharing some "Before and After" examples of these common landscape mistakes on our Instagram and TikTok. If you want to see these fixes in action, make sure you’re following us. We’ll be linking back to this post frequently as a resource for our community.
Final Thoughts
Landscape photography is a journey. You’re going to make mistakes: I still make them, and Edin still makes them. The key is to recognize them and understand why they happened.
Whether you’re shooting with the latest Sony A7 IV or an old DSLR you found in your garage, the principles remain the same. Level your horizons, find a subject, wait for the light, and keep your edits tasteful.
If you’re looking for more inspiration, go check out the fine art landscapes at www.edinfineart.com. Seeing what’s possible when everything clicks into place is the best motivation to get back out there and keep shooting.
Stop making these mistakes, start applying the fixes, and I promise your landscape shots will start looking like the epic vistas you remember.
Ready to dive deeper? Check out our Ultimate Guide to Photography Tutorials for a full breakdown of everything from gear to post-processing.

Luminar Neo’s Sky AI, atmosphere AI and SuperSharp are designed for landscape work — replace flat skies, add depth, and recover detail in seconds. Tagged as affiliate per FTC.